Studio Recap – A Year of Progress
Now that I finally finished my kitchen entry makeover, I’m back to work in my studio! I usually have about 5 different projects going on at once. I like it that way so I don’t have much down time. While glue is setting up here, I can paint over there. While that paint is drying, I can start building something else. While that glue is curing…
After taking a whole month away from the studio, I had to regroup and decide which project to start back on first. While looking around and taking stock, I realized that it was about this time last year when I started building my studio “craft room”. I thought it would be fun to take a walk down memory lane and look back at how this project has taken shape.
This is what the loft was like when we purchased this house.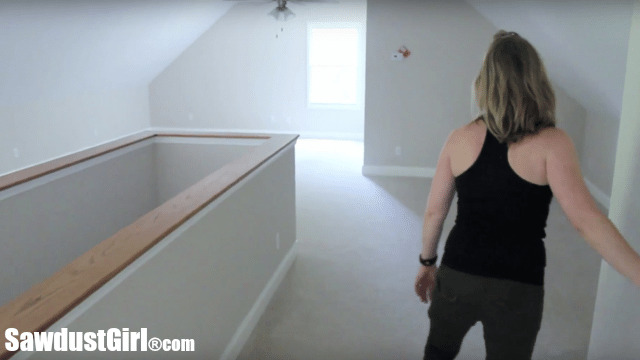
At one point I started building a recording studio for Madison. 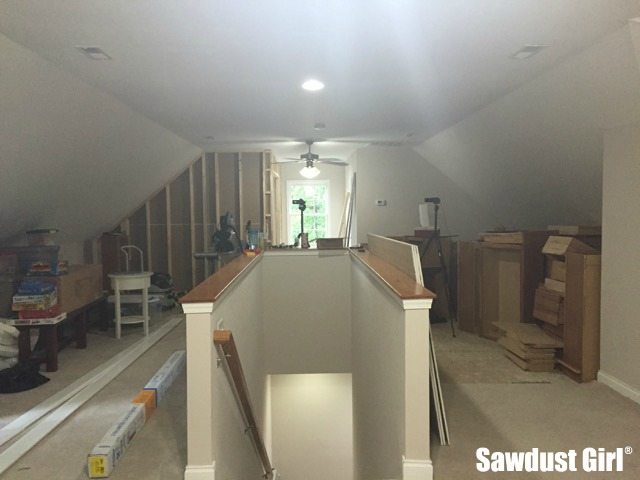
Then life happened and we realized the recording studio wouldn’t be used much and I decided that the loft would be my studio! 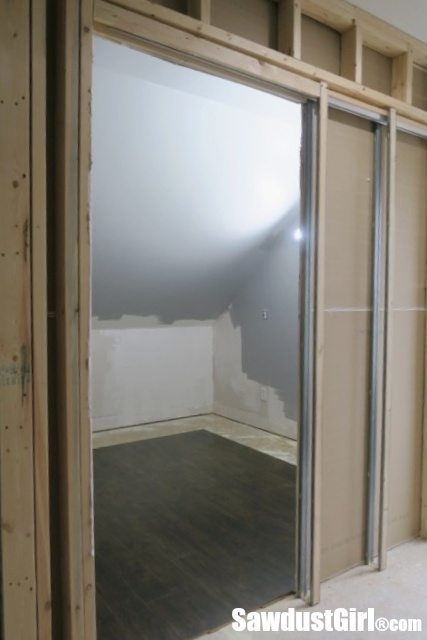
So I tore those walls back out.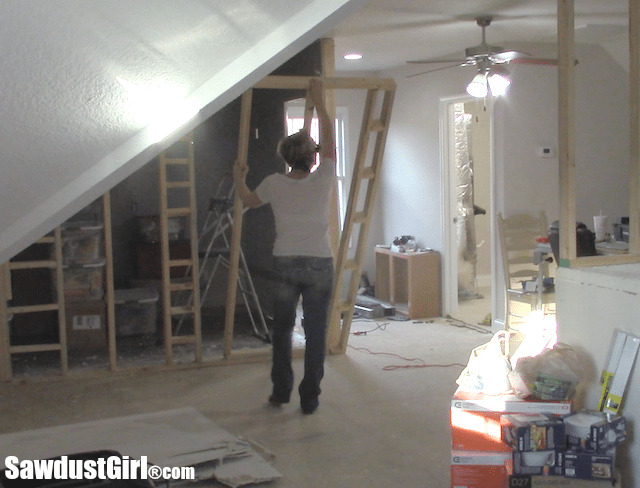
I wanted a clean slate to build on with nothing other than the existing HVAC closet to work around.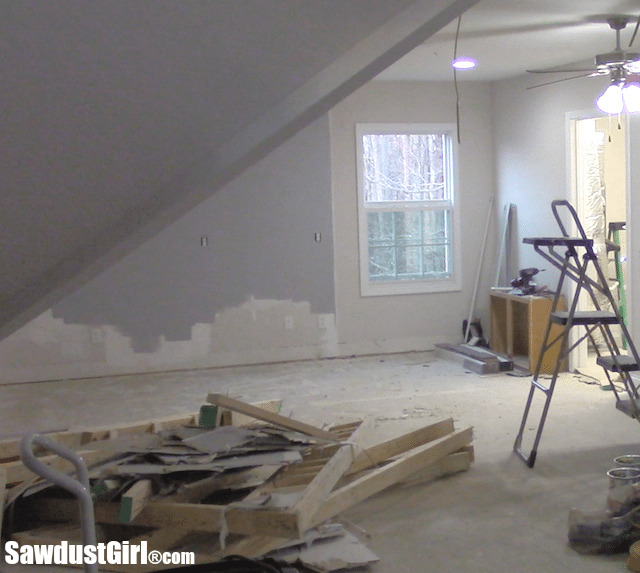
I saved money by beveling plywood to create a faux tongue and V-groove plank ceiling.
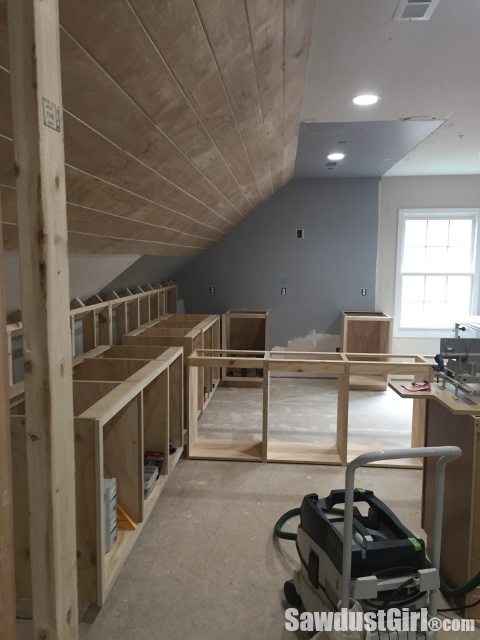
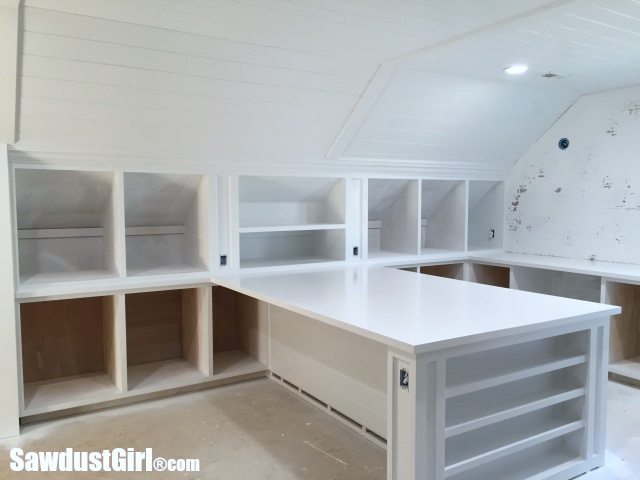
I built cabinets and installed countertops for the craft room island area.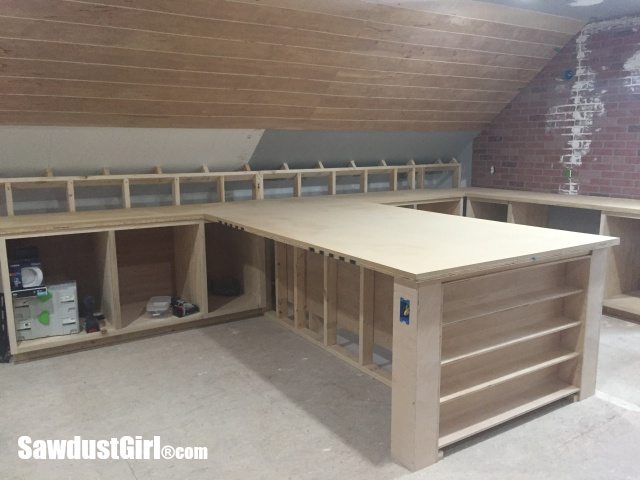
I created a faux brick wall and painted the ceiling and built angled cabinets.
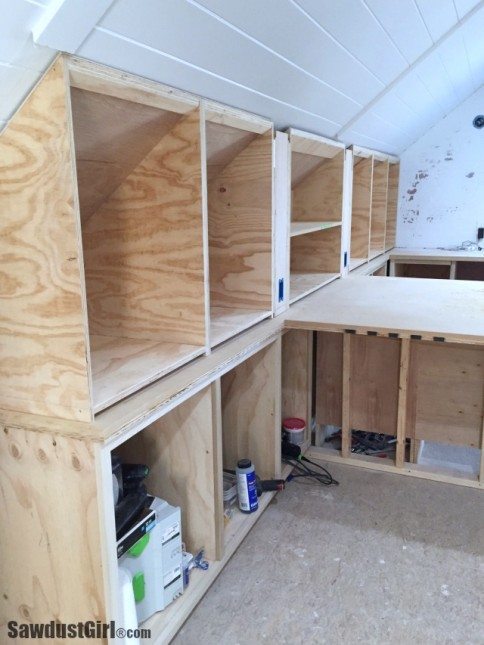
I painted the countertop, cabinets and ceiling with my Graco airless sprayer.
I get asked often so …Sherwin Williams, Pro-Classic in semi gloss. Color is Decorator White. 🙂
The loft has it’s own heat pump so I can control the temperature on this level, separate from the main floor. Which I love! But it’s a big ugly unit so the closet here is essential for hiding it. However, the closet wasn’t planned for function so I had to do some fix’n. As it was, there’s not a whole lot of space for shelves so the best storage option is stacking bins against the angled, low ceiling wall. Waste of a very big closet!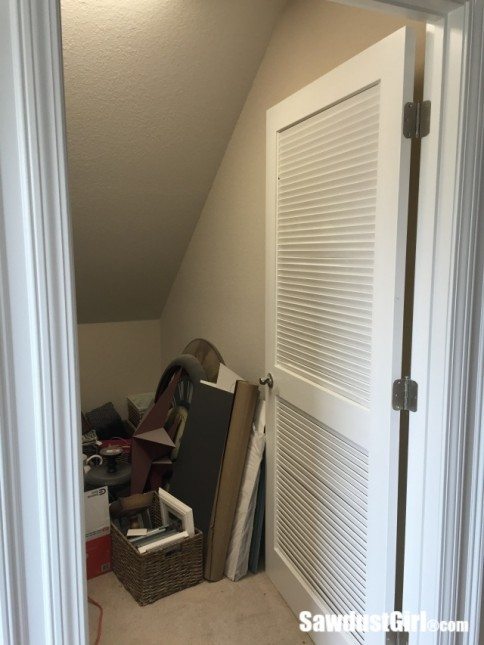
I removed the door (and frame) and changed the location and height of the doorway.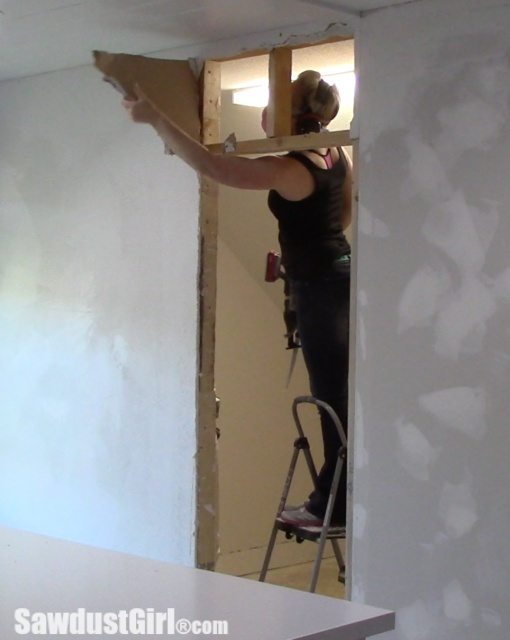
I moved the doorway over as far as I could without encroaching on the HVAC unit. The I built floating shelves.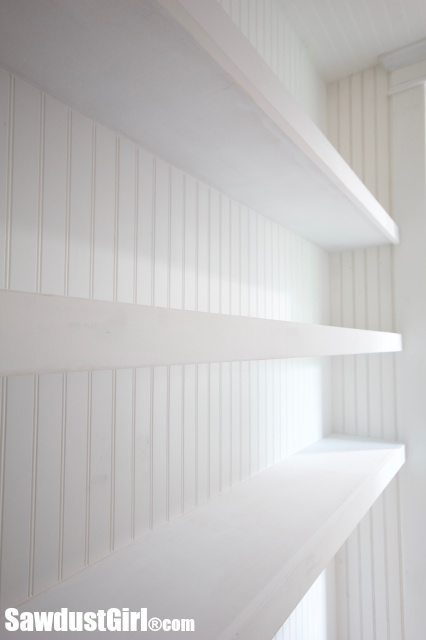
Now that closet has oodles of room for ORGANIZED storage!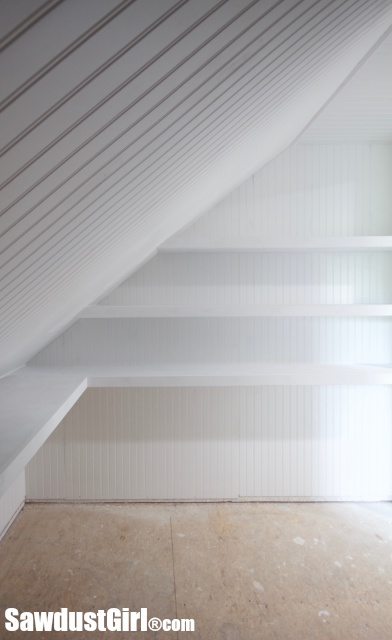
I also added a little partition wall inside the closet to hide the hvac unit from view when the door was open.
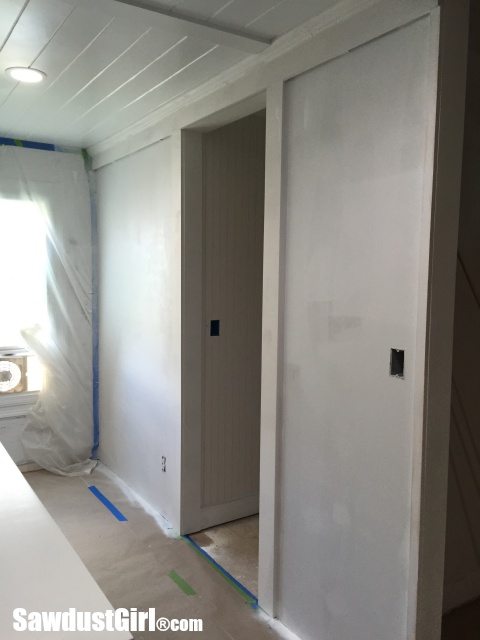
And speaking of door, I installed this chippy paint barn door over painted cork panels I installed on the walls.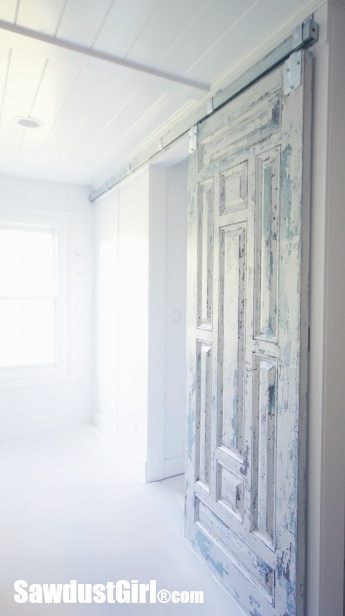 Then I installed my Pergo floors.
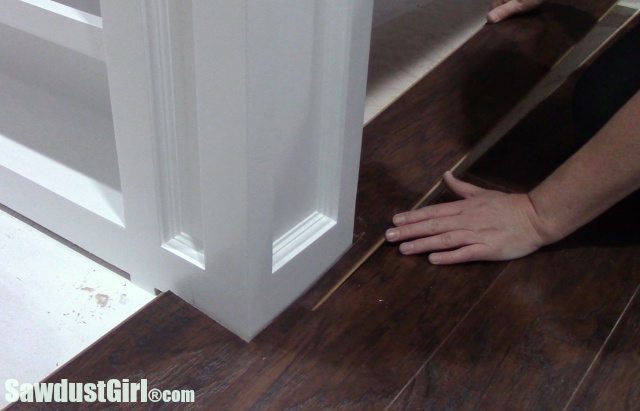
I built a distressed picture ledge.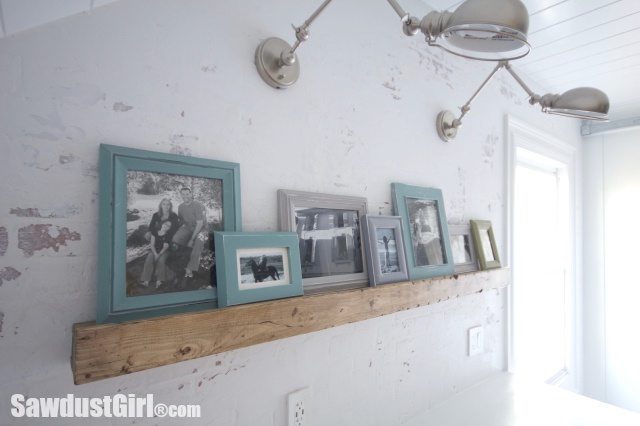
And then built drawers, drawers and more drawers!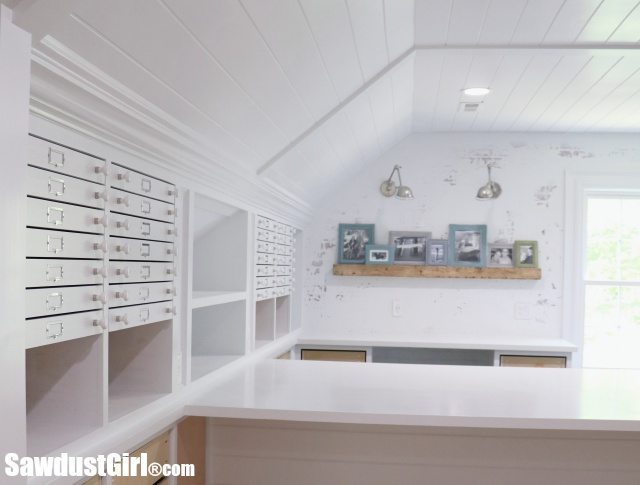
And that’s the half finished state which THAT part of my studio still remains.
I’m currently working on the other side of that space. If you can look past all the tools, cabinets and other junk, this is how it looked before…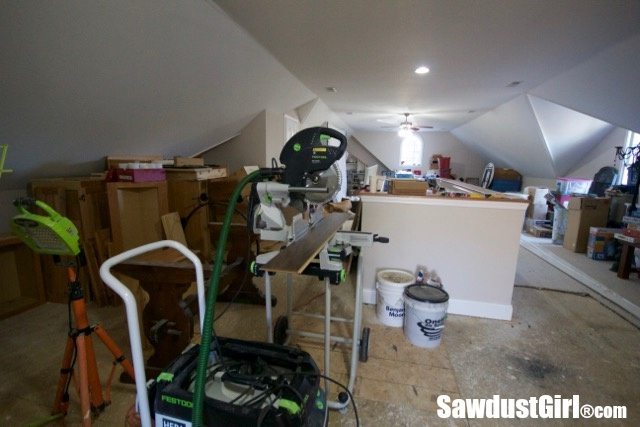
I extended the stairway walls to go all the way to the ceiling. I don’t want the loft to be one giant open space and I want to use the vertical space for storage.
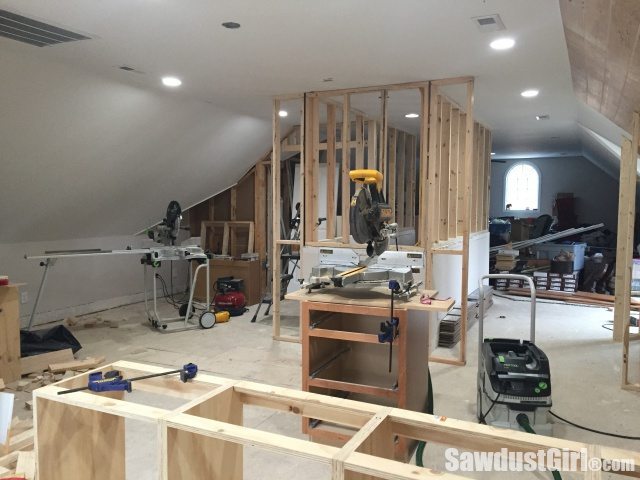
I also extended the length of the wall at the front of the staircase. These wall “bump outs” create nooks which for built-in cabinetry. It also creates a wider space for my cutting table.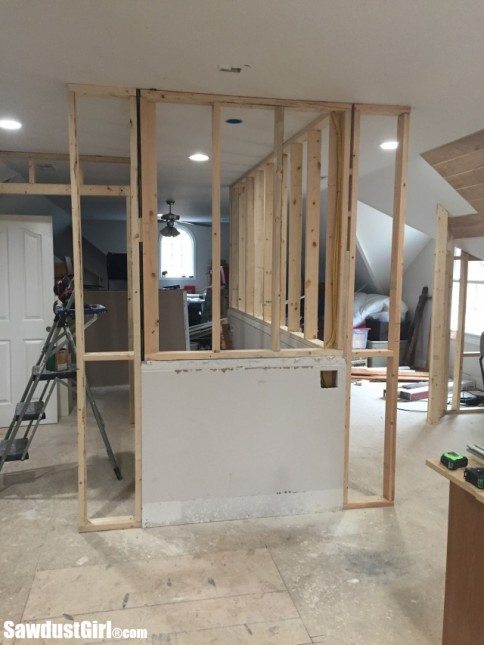 Because I want a giant cutting table.
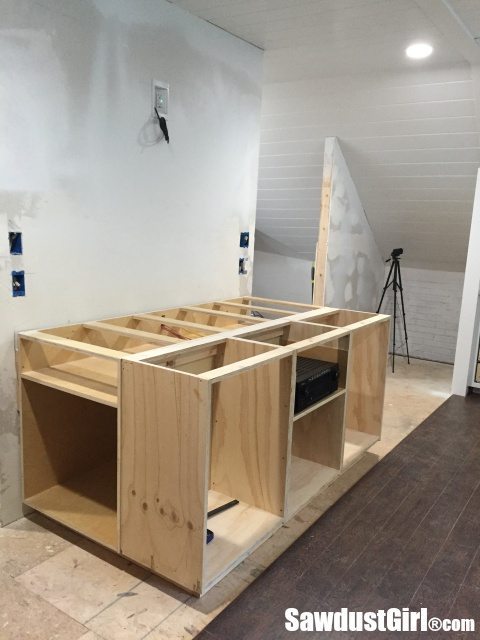
That cutting table is one of the 5 projects I was in the middle of when I started my kitchen entry – detour project. But I did complete another faux brick wall and my electrician got all the wiring hooked up and ready for the TV that will hang there.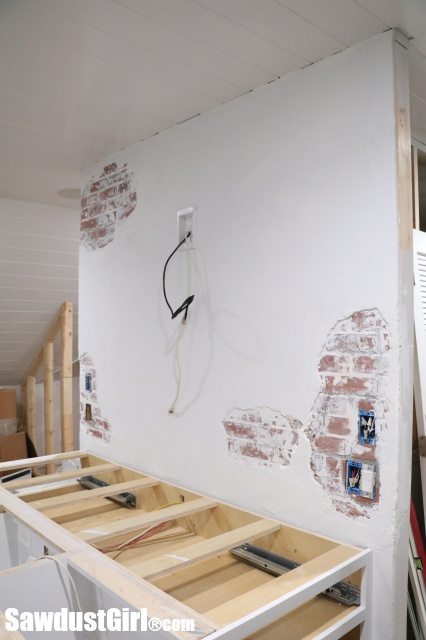
When I came up here on Monday and had to decide where to dig back in –I settled on the sink area. I built the cabinets previously so the plumber could come in and do the rough-in work. (Which he did while I was working on the kitchen entry.)
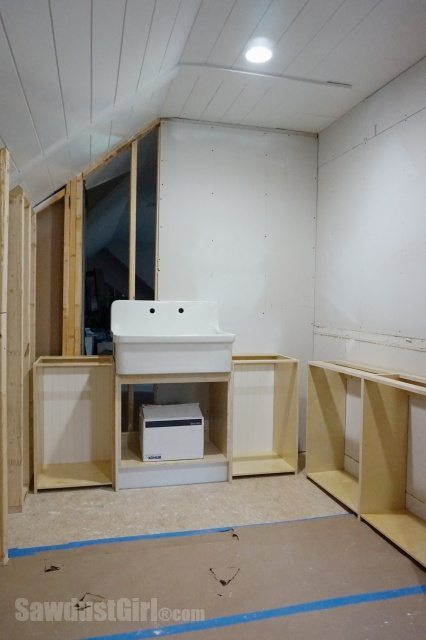 Which brings us to today and what progress I’ve made this week. I didn’t get a whole lot done because I spent some time doing family stuff (Christmas shopping with Madison). What I did get done was install sheetrock in the “sink area” as well as inside my little broom closet. I framed the closet walls to separate the sink area from the sewing area. Each wall needed to be a certain length for the corresponding cabinetry that I plan to build. I realize it may look odd to some at this stage — because Madison was puzzled by the small door opening. But it was well thought out and is as it needs to be. Trust that it will make sense at some point — or I’ll change my mind and tear it out. I’ve been known to do that.
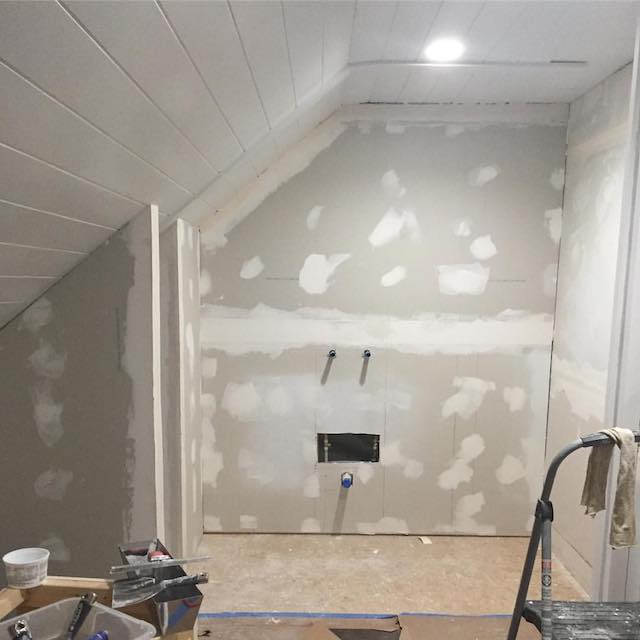
I’d like to get it all mudded and primed this weekend. I probably won’t because I always spend days and days finding imperfections and adding just a little more mud here and there…
I’m not a professional drywaller. I do a decent job but it takes me a really long time to do it. Finding a professional that does a good job, is decent to work with and responds when you need a job done –is difficult. Really difficult! So I don’t have a “drywall guy” and don’t have the energy to vet one out. I just spend a few days doing it myself when it needs to be done. So we’ll see how long this job takes me. 😀
In other news, we finally found a “concrete guy” and should be getting our kitchen entry deck poured this week! Cross your fingers for us that they show up.
Also, I’m flying to Dallas on Monday to see Shelby’s House. I was able to help frame it at the Dallas “Women Build” with Lowe’s and Habitat for Humanity. I’m excited to go out and see it completed and spend some time with Shelby again.
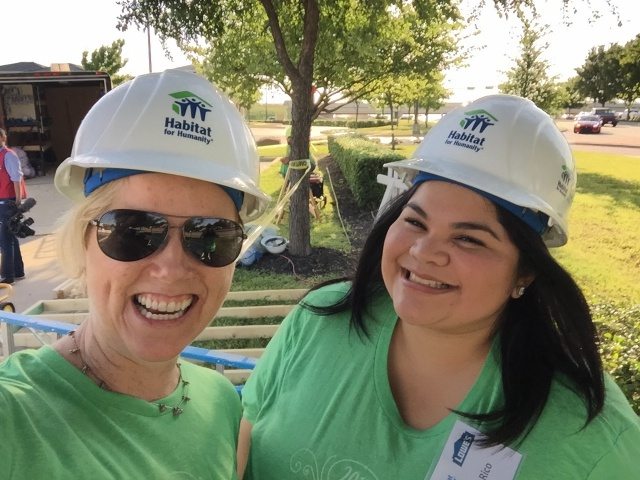
We’re going to build a toy chest for her kids. I still need to design it and draw up some plans. So maybe I won’t be mudding any more this weekend. I have plans to create, material lists to draw up and packing to do! And can you believe it’s December already! I’m so excited! (crazy laugh)
See you soon!
Been looking through the loft build (via a search for angled attic space cabinetry, I need some inspiration for my first built-in angled wardrobe cabinet 🙂 ), enjoying the many detail articles and am hoping to find a completed build?
Anything since Dec 2016?