Kitchen Reveal
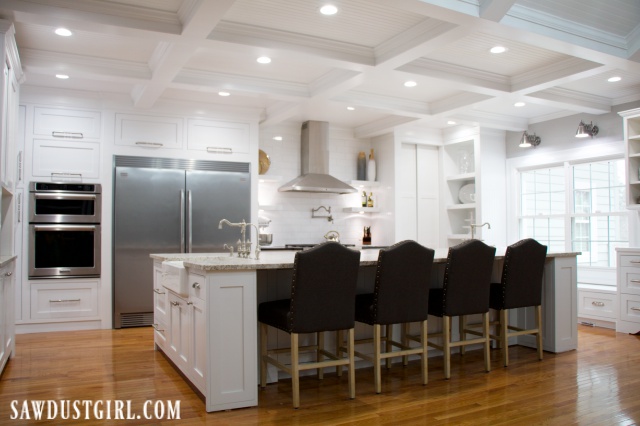
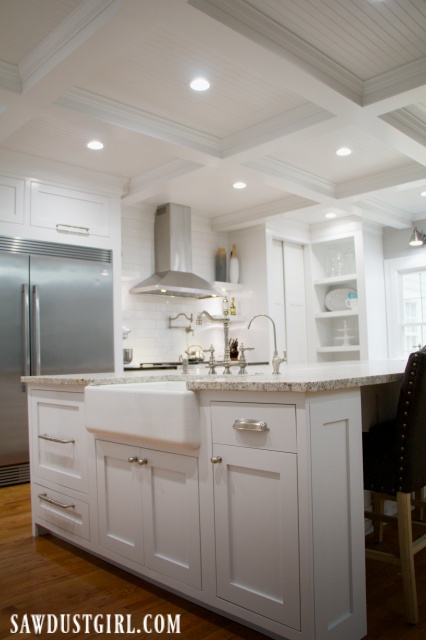
The kitchen is done! Five years and one back surgery later, I finally completed the kitchen renovation. You’ve seen a few sneak peeks as I’ve shared some kitchen cabinet tutorials. Today you get to see the whole room! I’ll just say, it feels GOOD to be done!!! Real good.
Kitchen -Before
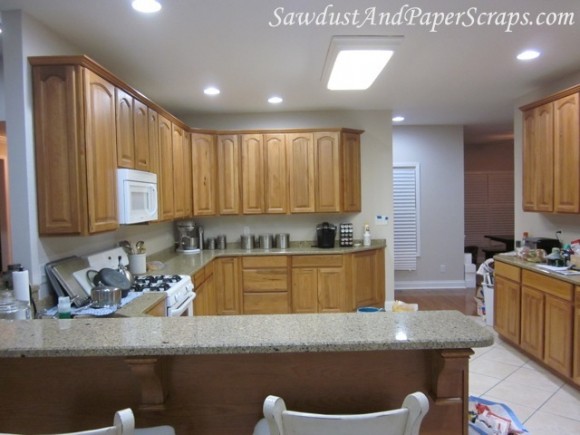
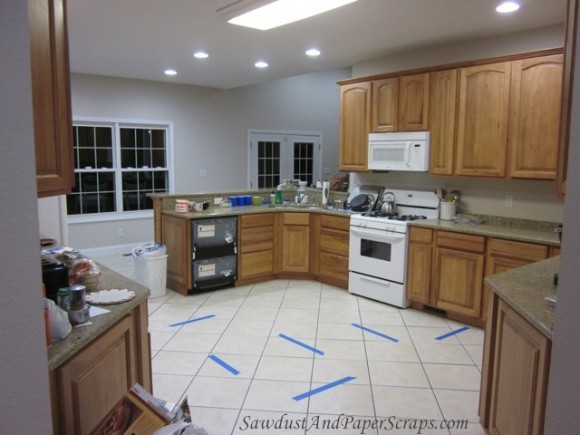
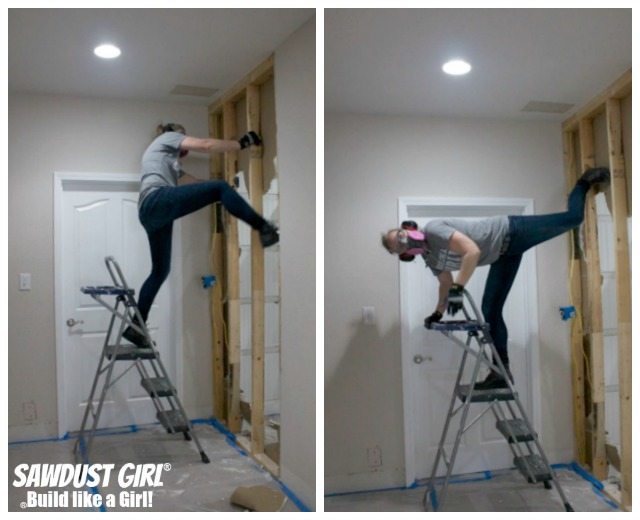
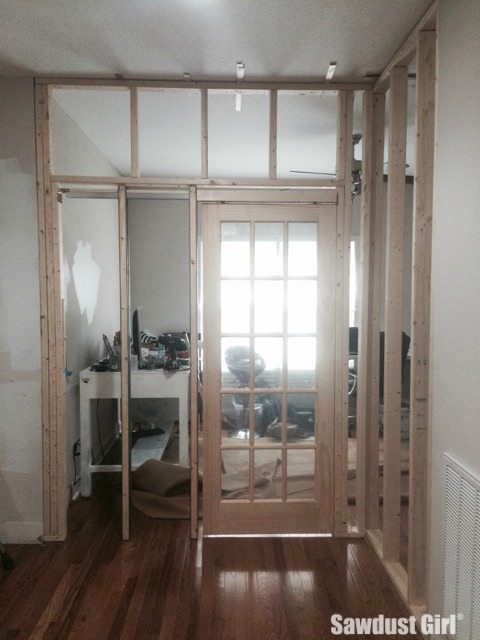
Do you remember what it looked like before? The biggest impact came from removing the wall separating the kitchen and living room. The cabinets and quartz countertops were nice but I didn’t keep anything from the original kitchen. Just not my style. I sold or gave it all away.
Appliances
It was fun to build a whole kitchen from scratch. To pick out ever single detail, including all the appliances.
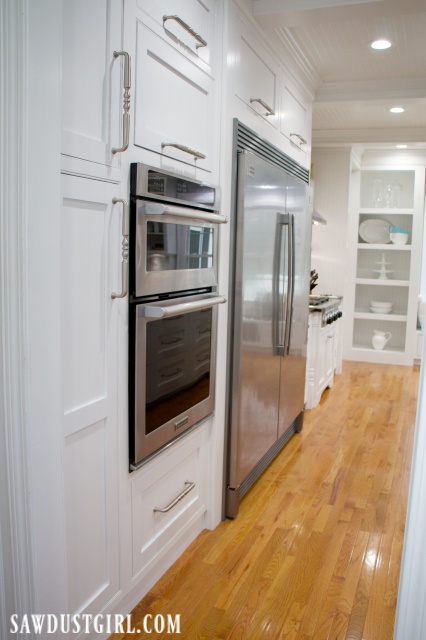
I get asked a lot about the refrigerator and freezer set. We bought them at Home Depot along with a 5 year warrantee. The refrigerator stopped cooling earlier this year and it took 44 days to get it repaired. So, in answer to the question which I suspect you might ask, yes. I would buy these appliances again. However, Wes and I both agree that we will only buy appliances from a local “specialty” store that has service technicians on staff.
The KitchenAid Microwave/Oven combo has worked fine. The microwave has convection cooking so you can bake and such in it. However, it’s quite small for baking. We tried it once. There have been many times we wished we had another actual oven. So, in our next kitchen, we will go back to a regular double over and separate microwave.
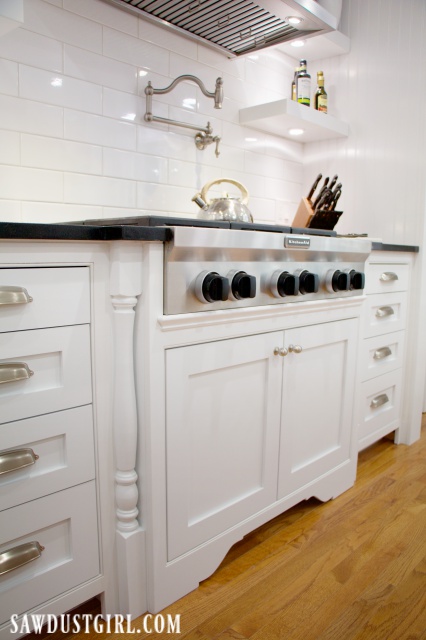
The KitchenAid 36″ gas cooktop has been decent. It has two 20K BTU burners A 5K BTU simmer/melt burner. My one complaint is that it doesn’t allow you to make slight adjustments. Sometimes something is boiling just a little too hard so I try to lower it slightly. Then it’s too low so I have to raise it… I even look below the pot to see what the flames are doing as I turn the knob – and it doesn’t do anything as I turn it slightly. I keep turning slowly and then suddenly it lowers. It’s not a huge deal, but I want more finite adjustability for my next cooktop.
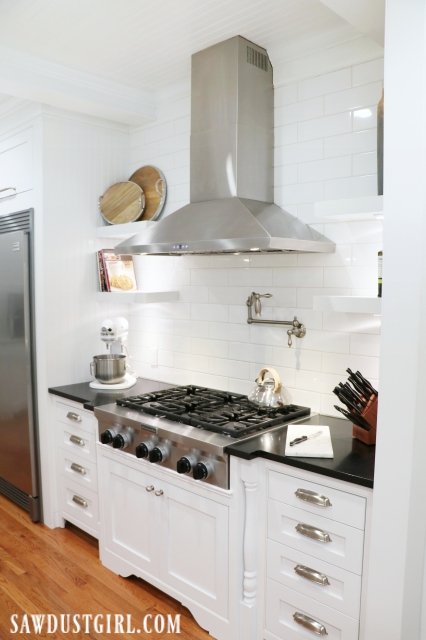
The 36″ Cavaliere range hood works great and is very quiet. I purchased for less than $400. I wanted an insert so I could build a custom hood. But inserts are expensive. So I decided to work with a decorative vent. We’re happy with it. Wes uses an indoor grill frequently which he uses on the countertop next to the cooktop. With that in mind, in the next kitchen I’m putting in a much larger hood. Then we can cook bacon without the underside of the floating shelves accumulating grease mist.
Countertops Sink and Faucets
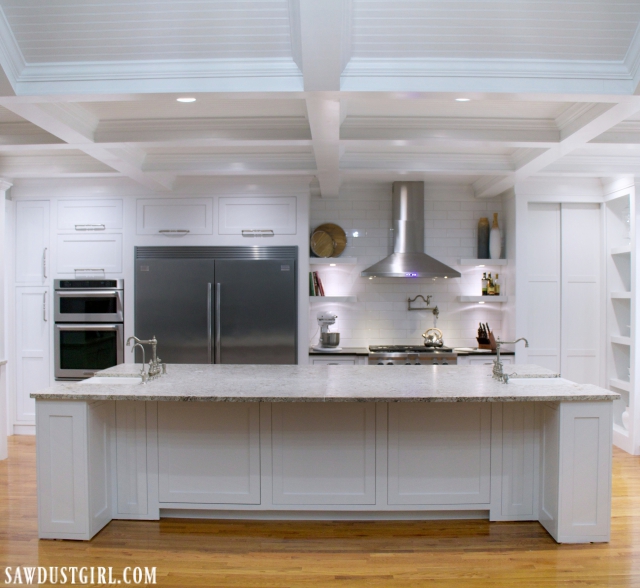
I still love my choices for countertops and faucets. Since I have sinks on both ends of the island, I also have matching faucets on both ends. The cooktop countertops are absolute black, matte granite. I had this same granite in my IL kitchen. Still love it too.
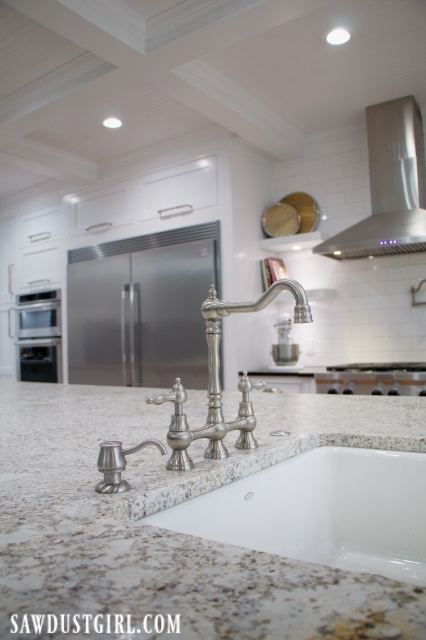
The white leathered granite is a dream. It doesn’t show if it’s dirty. Which, can be a good or a bad thing. You can wipe the counter and five minutes later find a crumb that you missed. Still, I love having the texture so light doesn’t shine across it and constantly show streaks and smears as flat granite often does.
The faucets I purchased are no longer available. I picked them purely because of how they look. They don’t have any special function, like the “in countertop” button that turns on the disposal. I really prefer that to a switch somewhere. The soap dispenser built into the countertop is also something I like. It keeps the countertop clear of clutter.
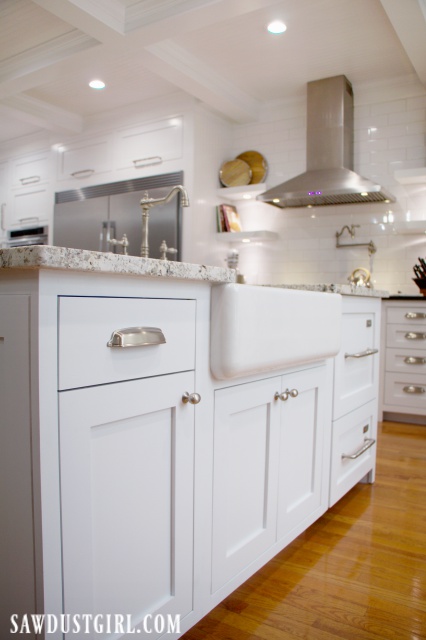
I love the Kohler enameled cast iron sinks. The sink on both ends of the island are the same, single basin sink. They have held up really well. There are also dishwashers next to each sink and I LOVE having two sinks and two dishwashers. I will do that again in my next house.
Storage
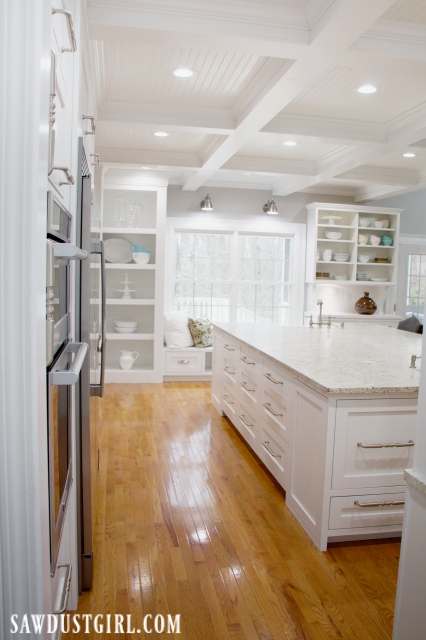
There is TONS of storage in this kitchen. There are nine drawers on in the island, in addition to the hidden cabinets on the other side. The top three are shallow and used for utensils and such. The bottom six are deeper. Most have peg organizers and two drawers aren’t even utilize. One is full of tea and another hold lids for pans. I love the 12″ appliance pulls from D.Lawless Hardware.
China Hutch and Window Seat
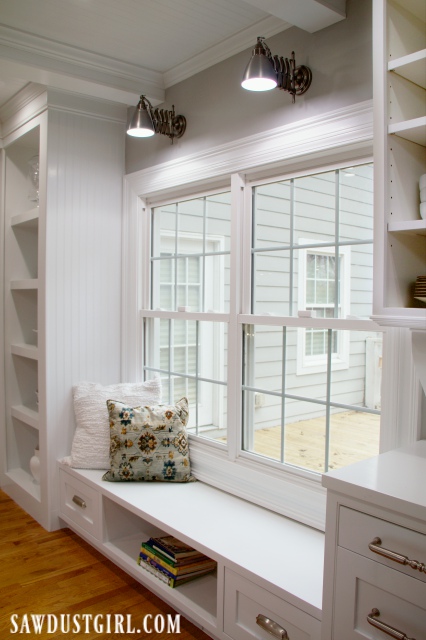
I shared the plans for the base and shared the tutorial for the upper section. This hutch was to have sliding doors like the coffee hutch. These were to have glass rather than panels. However, building in phases doesn’t always pay off. The back track isn’t in the right location so the back door won’t slide. SO–I’m just leaving it open. It looks good. If I didn’t tell you I originally planned on adding glass doors, you wouldn’t expect anything but what you see now. So I’m letting go of that one.
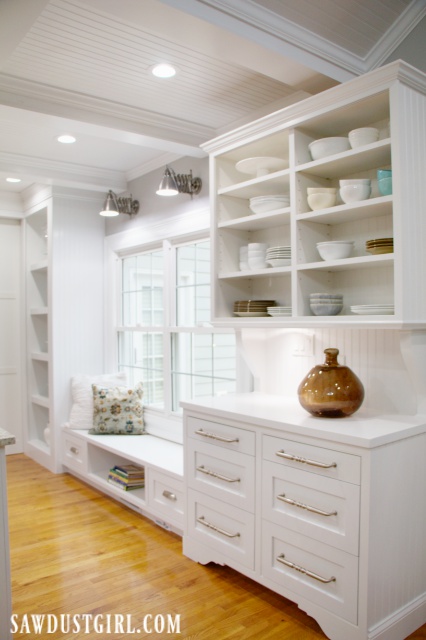
The window seat has both a floor vent and a toe-kick vacuum port. Though, we don’t use the toe-kick vacuum port too often. I usually forget it’s there. But it’s there for the rare occasion that someone want’s to use it.
What I would do differently here is I would take out the window and put in a sliding door. I wanted to do that in the beginning but that detail was going to push Wes over the edge. He was already dealing with a lot of stress over demo -which isn’t his favorite. So I let go of the door. It’s all about compromise. 🙂
Coffee Hutch
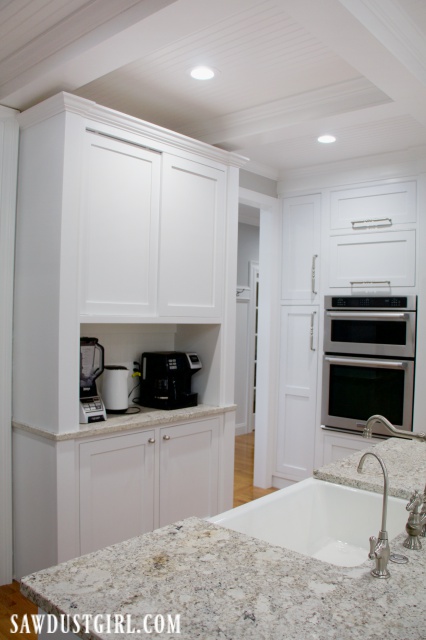
The coffee hutch is between the dining room and the side entrance to the kitchen. In addition to the sliding doors, I was planning on add a lift up door to hide the small appliances. But decided against it. When we put the house on the market, I’ll stage that area and make it look attractive.
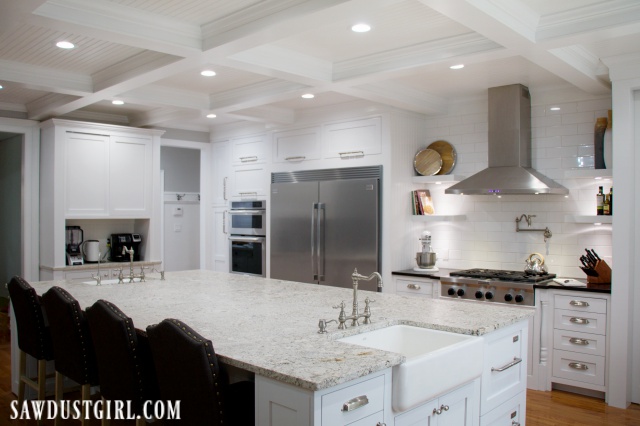
For now, it’s a really functional place for the coffee maker, tea pot and blender. We use all three of those daily and want them readily available.
Pantry
Now that the kitchen is done, it matches the hidden pantry. It took me three tries but I finally got it right.
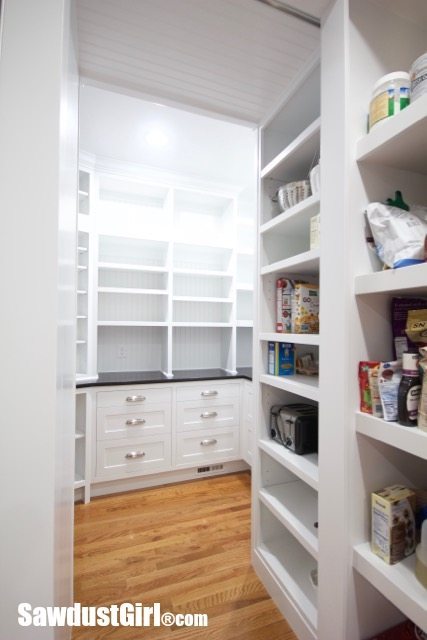
Brody kept super close as I was taking pictures of the kitchen. He kept finding his way into my shot so I kept his cute face in one. Behind Brody you can see the doors to the pantry. What a surprise to slide them open and find a big walk-in Pantry!
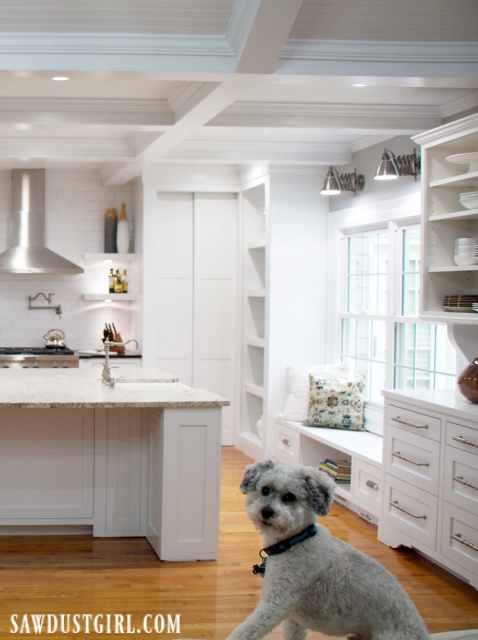
We don’t really close the pantry doors very often. Mostly just for pictures or when we’re having people over. It’s nice to have the ability to close them when we want to close off that room. It is a food storage room, after all. I don’t care on a daily basis but I like being able to hide it from guests.
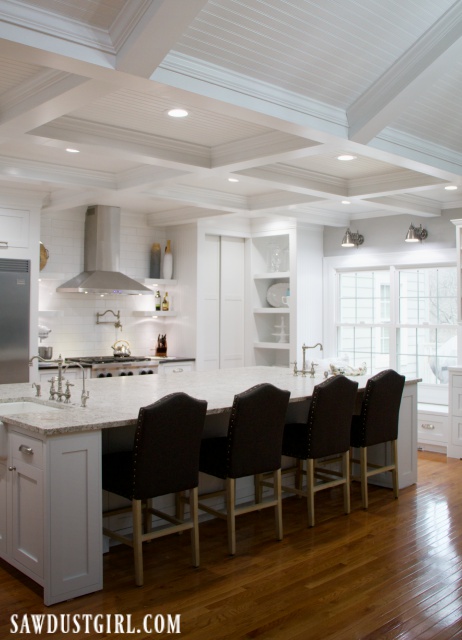
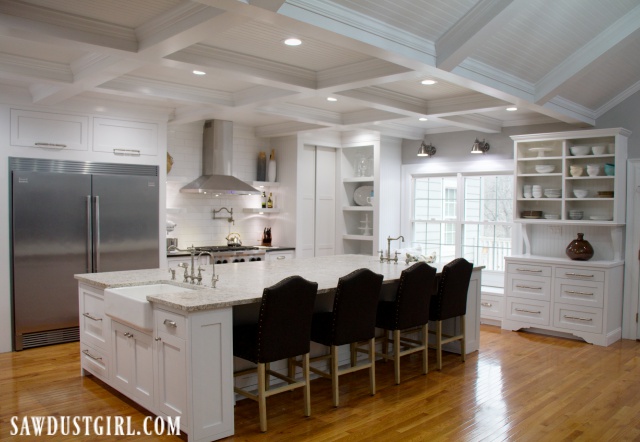
I put a lot of work into building this kitchen. Demo, designing and building…and then it took me five years to get the doors on. What a difference those doors make! We are really enjoying getting to use the kitchen now that it’s done.
It’s been a journey. Thanks for following along!

Thank you so much for following along Gwen!
your kitchen is beautiful, what a blessing that you were able to finish. thanks for letting all your fans
enjoy your work. gwen
Well, thank you very much. I am glad that we get to enjoy living in it, finished, for a while. Then I’ll start planning my next one. I need a little break first though. LOL
And here’s another WOW. What an absolutely stunning, gorgeous, dream kitchen!!!! Your attention to detail and your design is incredible. I just love everything about your kitchen. You’ve done an absolute brilliant job and you must be so proud of your amazing efforts and achievement. Well done Sandra.
Thanks so much Cara! We’re enjoying it. I’m sure it will take me forever to finish everything else…even though I keep telling myself I’ll be done in a month. Ha!