 Painting cabinet doors is something I do all the time and I generally do it by hand, with a brush and roller. I’m using my airless sprayer for the kitchen and pantry cabinets because there’s a LOT of them so the benefit of a speedy application justifies the cleanup and gallon of paint it takes to prime my 50 foot hose (I ordered a much shorter one for next time). Cleanup really isn’t that bad but that hose… But there’s still a lot of prep work to do before I touch these babies with paint!
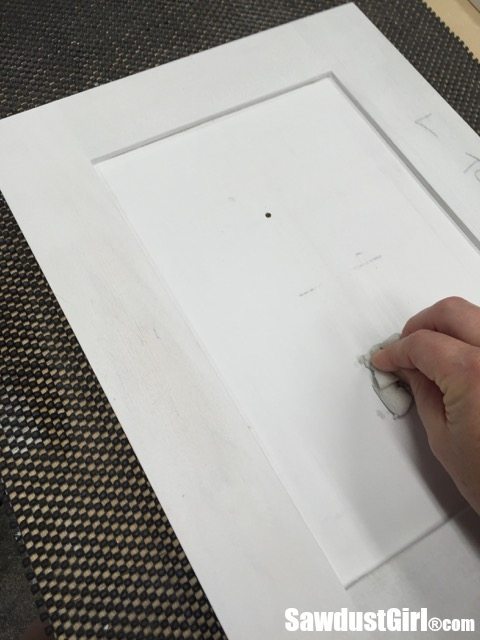
First I wanted to remove all the pencil marks. I generally prefer to erase pencil marks rather than try to paint over them. I tried sanding but the marks were stubborn and I think would have gone through the primer before I removed them.
So I resorted to a magic eraser. Worked like a charm!
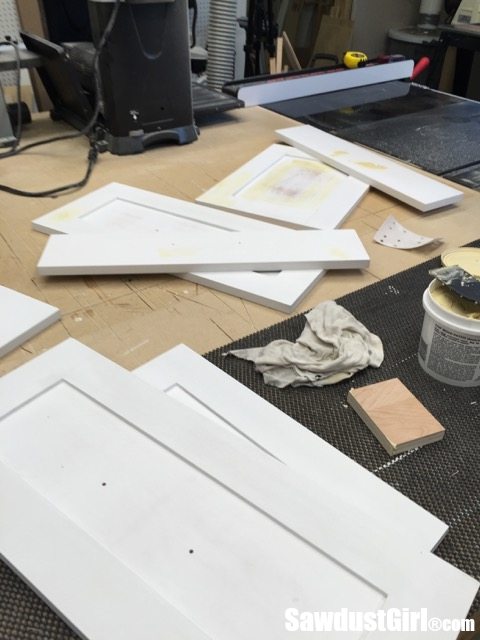
I had a few misplaced drawer pull holes to patch as well as filling any little imperfection I could find. I used my favorite wood patch for all of that.
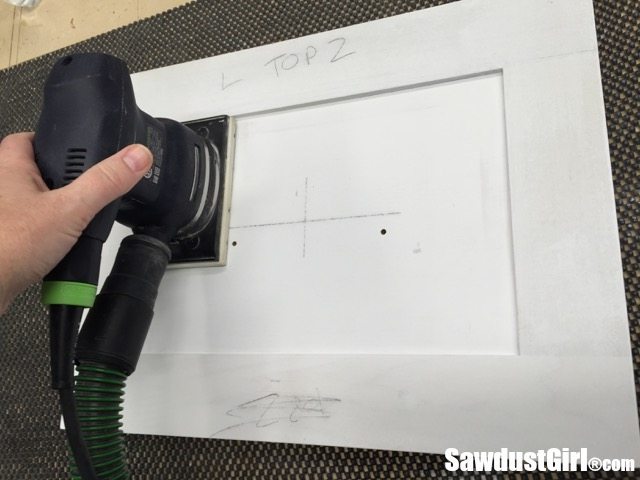
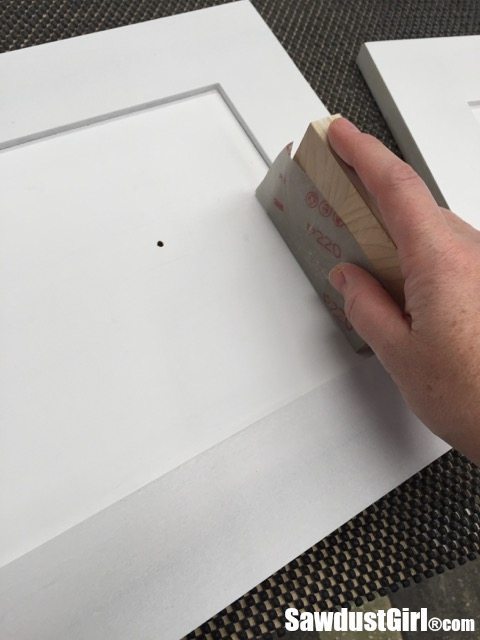
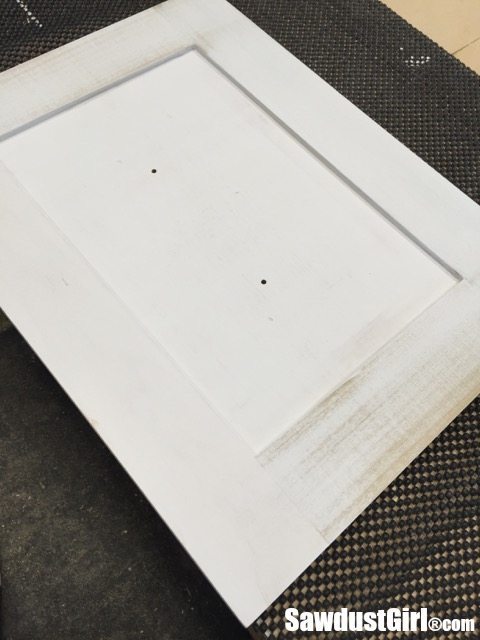
I sanded every surface, including the little reveal on the inset panel. I used 220 grit sandpaper and a block of wood and just a very light touch.
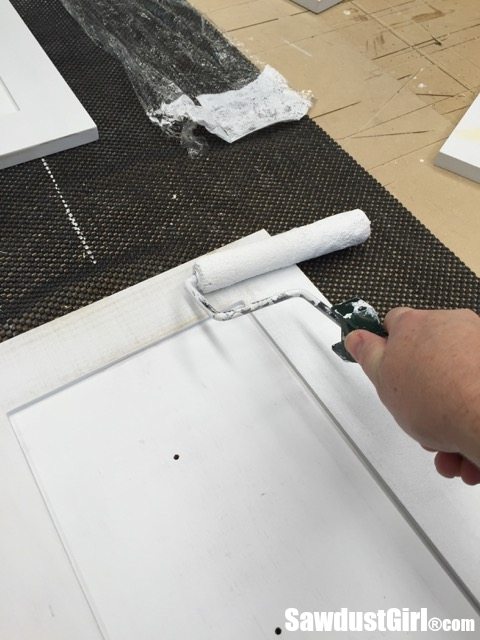
Some of the primer was left pretty thin but what’s another coat of primer? Nothing — much.
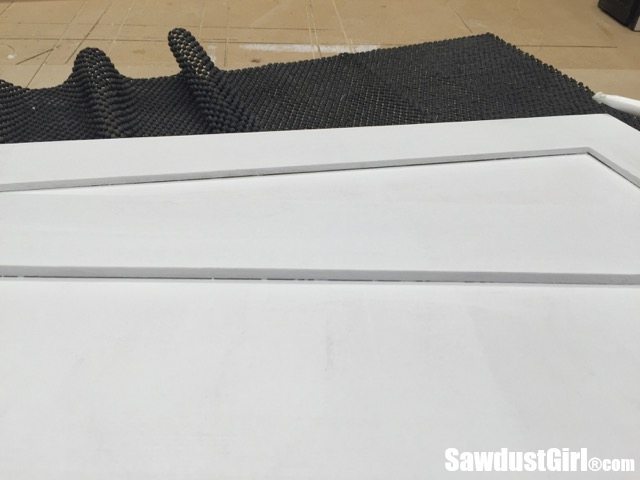
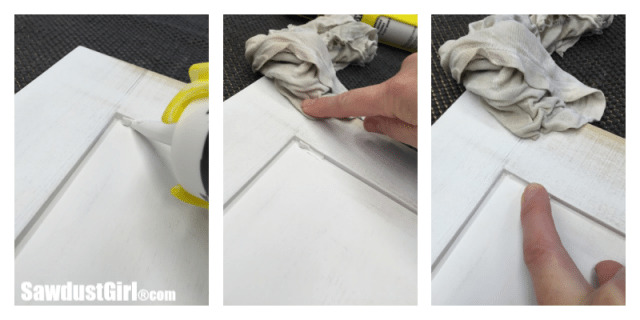
First I dealt with the cracks between the frame and the panel. With a plywood or MDF panel I don’t have to worry about leaving room for the panel to move (expand and shrink and all that jazz).

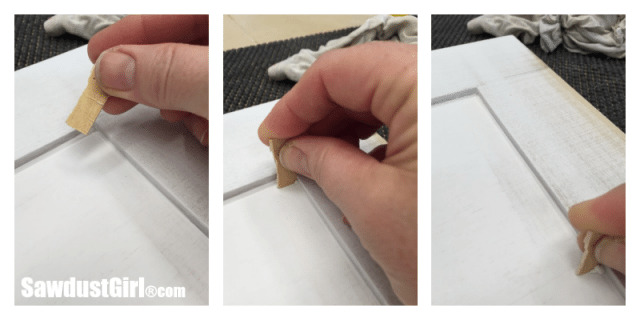
So I caulk. I used a combination of a wet finger to force the caulk into the crack.
Then I used a scrap of wood to clean up. I wanted crisp lines, not rounded transition from the panel to the frame.
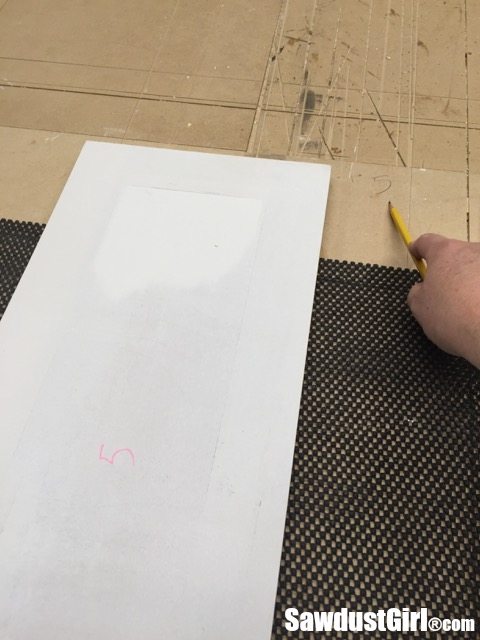
Not much of the backs will be visible, like less than an inch anywhere but I primed the whole back. It just felt necessary. I transferred my marks from the dry fit first. They all kind of only fit perfectly in their designated place so I could figure it out but the numbers are comforting.
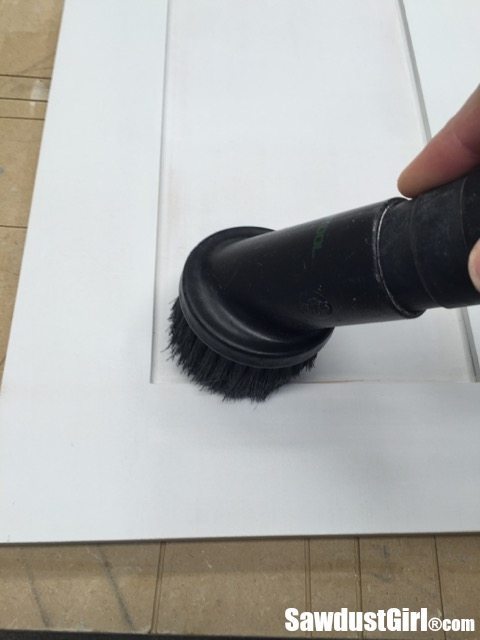
After the primer was dry I sanded lightly again. Then I vacuumed and wiped them all with a damp cloth.
Painting Cabinet Doors
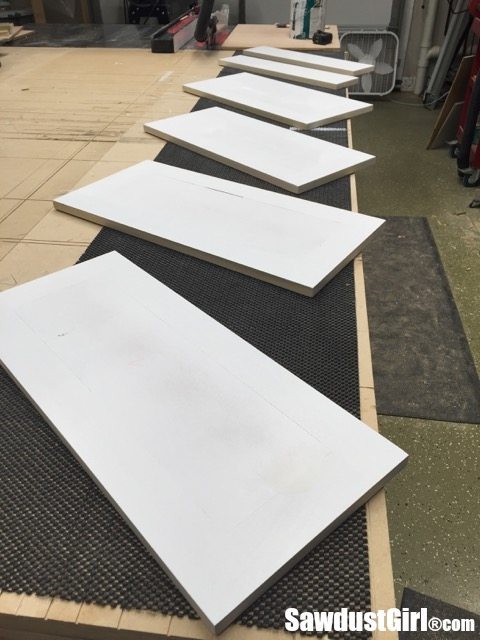
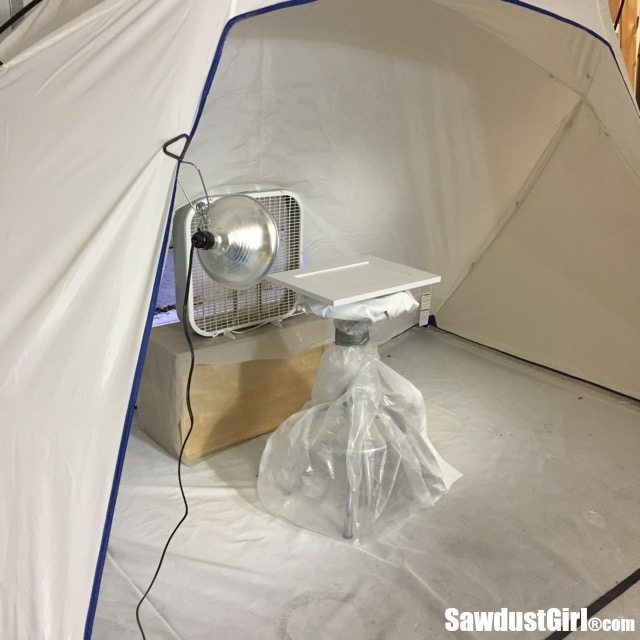
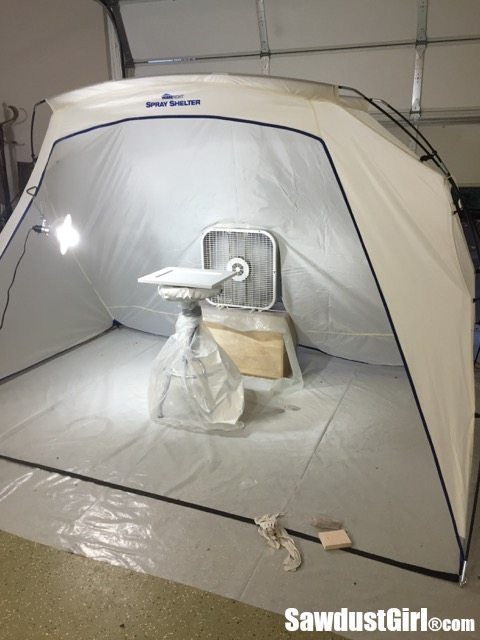
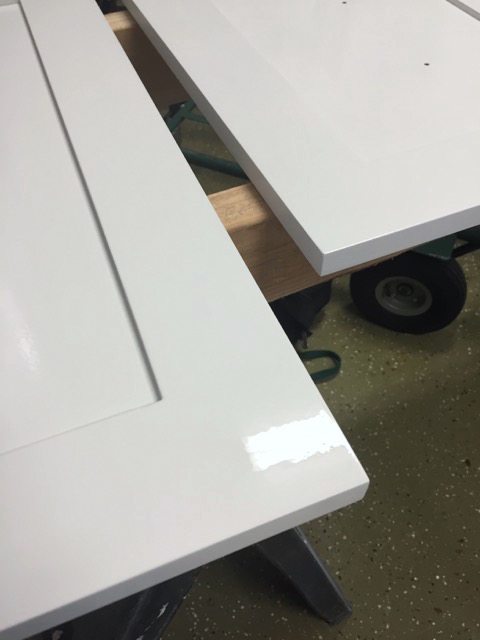
Then hauled the big stack over the other garage (Wes’ side) which I commandeered for a few days and set up as my painting station. I set up the spray tent and painted. I intended to spray the backs first but was so nervous about getting my spray pattern perfected and ON the doors that I just set the first door down, willy nilly and started painting. So the first coat went on the fronts.
I let those dry overnight.
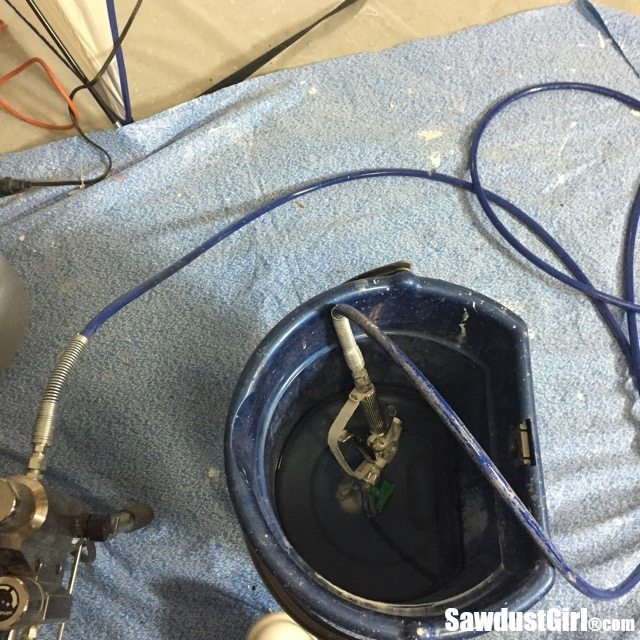
And here’s something new I learned from watching a video on the Graco channel — I didn’t even have to clean my sprayer. I just put it in a pail of water! Cool. Sometimes reading instructions pays off.
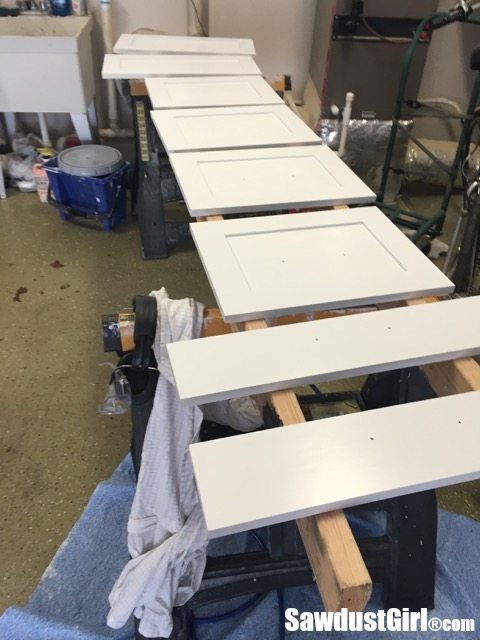
The next day I painted the backs of the cabinet doors and then fronts again – twice. Light coats dry fast and then you can re-coat sooner.
Also, painting horizontal surfaces allows the paint to level out with a thicker coat so I didn’t worry too much about not being awesome at applying “light coats”. There’s something about noticing that one area didn’t get as much paint as another area that makes me go back over the same area I just sprayed even though I know I should leave it and move on. I JUST HAVE to go back over it. I have a thing about “being even”. It’s one of my quirks.
But, like I said, thick paint — horizontal surface — leveling out — it’s all good. Then once these puppies dry I can finally install them! Does it feel like years, yet? It does to me! 🙂

Nancy wiLliams says
Hi Sandra,
I really appreciate all the detail that you put into my posts! I have a window seat that has had two large openings under them that I put baskets under in the past. I finally built 2 drawers and put them in with those crappy Euro-Glides because I am too intimated by the ones you use!
The drawer fronts are next, but I will use the cope and stick method with my router bits to match the other cabinets in the house. Pray that they turn out semi-decent because they are inset!
Nancy
Sandra says
Nancy the Blum glides are so much easier to work with. You’ve got to give them a try once so you can compare the experience. Just cross your fingers you don’t get a bad batch like I did with the 3/4″ material ones I had that kept breaking!
Andrea says
You’re almost there! I am scared of paint sprayers, but would love to figure out how to love them so we can paint our own doors and trim (I want to roll the walls of the new house – we sprayed the last ones, and I was never happy with them)…I will be doing some (more) research on your awesome website.
p.s. I can’t wait to see your finished kitchen!
MARIEROXANNE says
you can always rent one out at a home depot or somewhere, and get scraps of wood from the same store (they are free!) and play with it until you feel confortable!
Sandra says
The sprayer world can be intimidating. There are many different kinds and then different quality in each category and with most HVLP’s there’s the added confusion of thinning the material enough to get it to spray well through your gun. Which is why I love the airless sprayer. You just have to make sure you have the correct nozzle and tip for the finish and size of spray pattern you want to use. I’m not sure I would rent one from a home improvement store because you don’t know how well it’s been cleaned after each use. My local Sherwin Williams rents one and I know they clean it themselves after each use because they were out of “sale” buckets once and offered to give me one of their cleaning buckets… I know how you feel about it. I’ve been there and while ago I wasted $500 on a sprayer I could never get to give me a good finish. Sometimes hand painting is just easier! LOL
Karen says
I appreciate your honesty about you being so “nervous” you painted the backs first! Given the pro results you produce and your experience, it’s helpful to know you get nervous too.
I know you have a favorite wood filler, but do you have a favorite caulk too? If yes, please share. Thanks for taking us on your journey. 🙂 I really looking forward to seeing your kitchen reveal and hope there’s a video involved.
Sandra says
I think if I leave out the “real” parts — someone might think this all is easy. It’s not! It’s not impossible — but it’s not easy and after working so hard to build the doors as perfectly as I could I didn’t want to mess up the paint. Nervous is totally normal in a case like that. I think. 😀
Karen says
lol… I mean’t the “fronts” first. 🙂
Feral Turtle says
They are looking good Sandra! Way to spray!
Amy says
Yay for getting things done 🙂
What paint are you using? This last year, inspired by you and a couple other bloggers, I built my own kitchen cabinets. They turned out great! (Actually I still have a few doors to finish :). I used a Graco sprayer and did one coat of primer and 3 coats of sherwin williams ProClassic. It hasn’t been very long but I’m already getting some chips along my drawer fronts! No bueno! Do you clear coat over your paint?
Sandra says
I use the ProClassic. It’s my go to. It’s what I always use — currently and for years. I have never had issues with chipping. I ding the wood frequently though! 🙂 Bummer though! What primer did you use?
Darlene says
You’ve mentioned before that you paint with a brush and roller and you touched up the primer on the doors with a roller. I just haven’t found a roller that leaves a very smooth finish.
Sandra says
It’s a combination of the roller, the paint, the conditions in which you are painting and how you prep your paint for the application. It’s a process! 🙂
Darlene says
OK, then I’m going to need to buy some of your time. I’m in the process of adding painted jamb extensions and casings to all our windows and new trim for the doors and I want a nice finish.
Sarah says
They are looking great. I love the look of inset but I’ve been too intimidated/lazy to ever go for it and just do full or partial overlay. I’m excited to see them installed!
Sandra says
Inset are definitely an investment of time and a labor of love. LOL