Crown Molding on Angled Ceiling
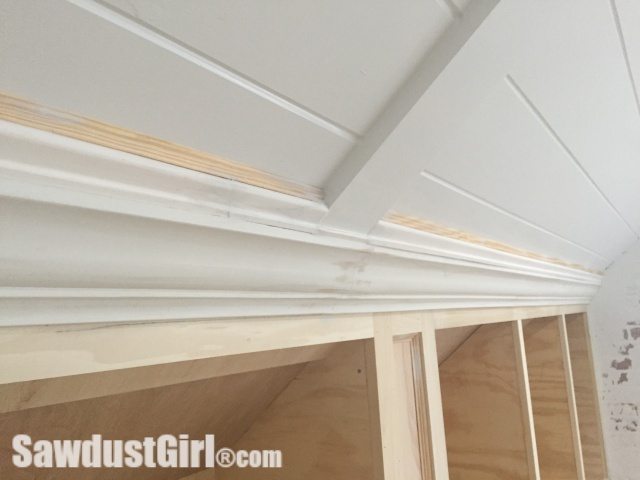
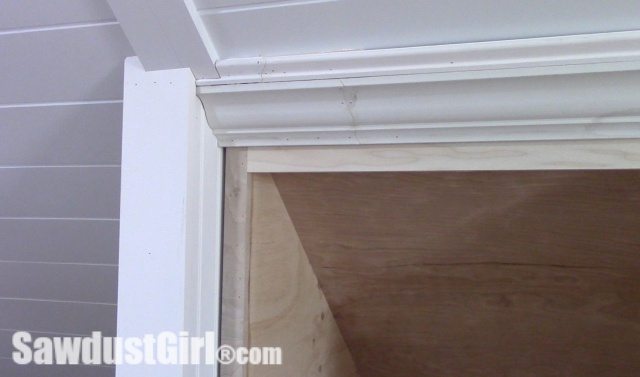
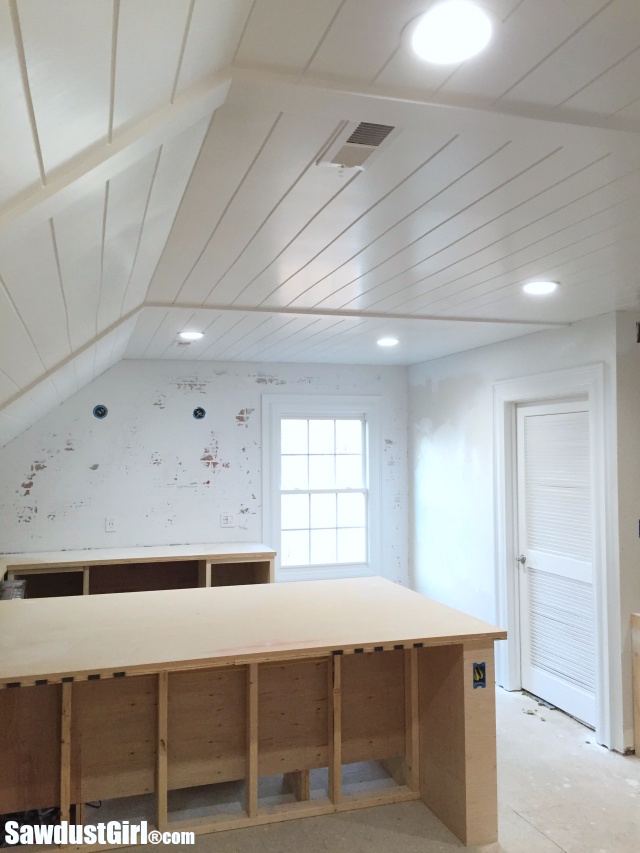
Installing crown molding on the angled ceiling in my studio was 100 times easier than I expected. Since this run of molding doesn’t make any turns, I didn’t have to worry about inside or outside corners, which is the tricky part about crown molding. In this instance, I simply layered three different pieces of trim to build up to the angled ceiling, rather than trying to find a single crown molding profile that was wide enough to fit the space.
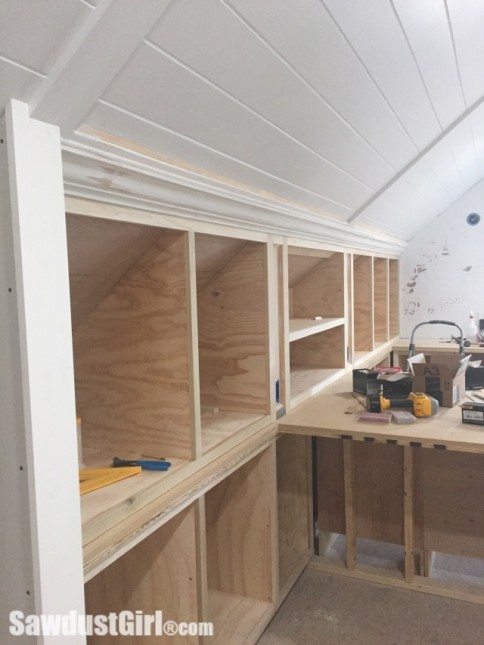
Crown Moulding on Angled Ceiling
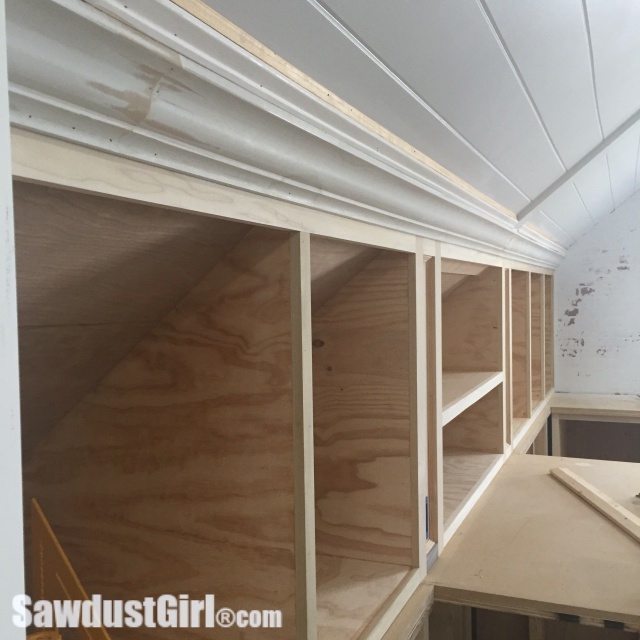
I started out securing traditional crown molding onto my cabinets leaving 1½” of the faceframe visible. This piece of molding ran in front of the 1x5s on the ceiling. I cut the crown molding into short runs so I could install it by myself.
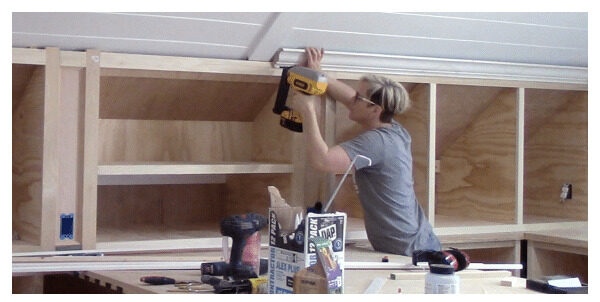
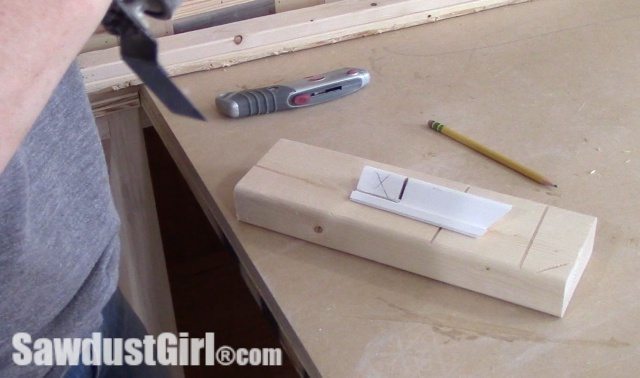
Next I installed backer blocks to support the next section of molding. I found the perfect backer in my scrap pile. It was a piece of ¾” thick pine that had been beveled at 45º. The angle worked perfectly to support the second piece of molding.
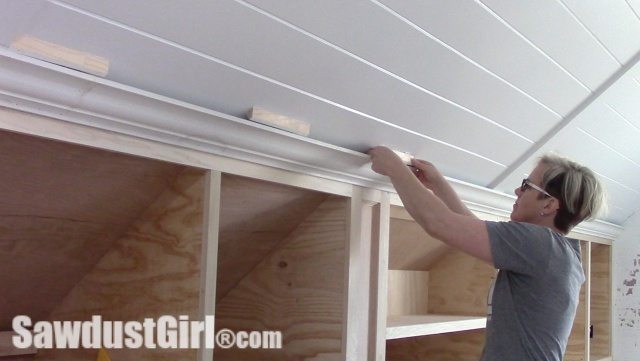
I played around with a couple different pieces of molding to find the combination that worked and then secured the second molding to the backer blocks.
The third section is glass bead molding which I added along the ceiling, finishing off my molding trio.
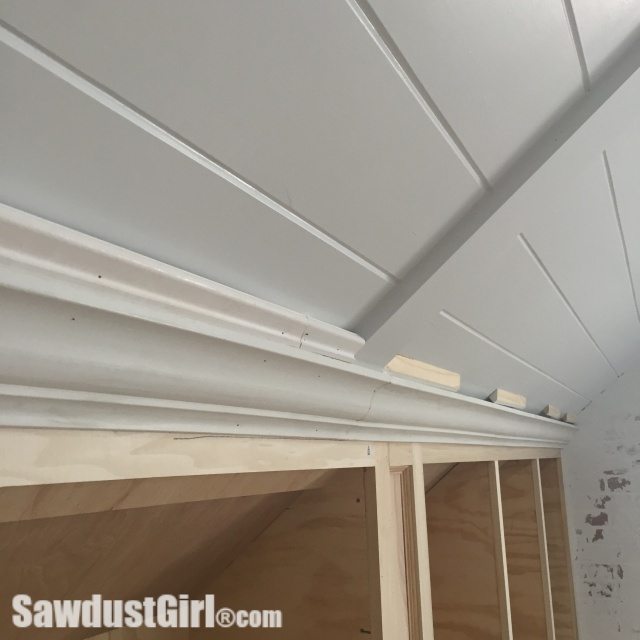
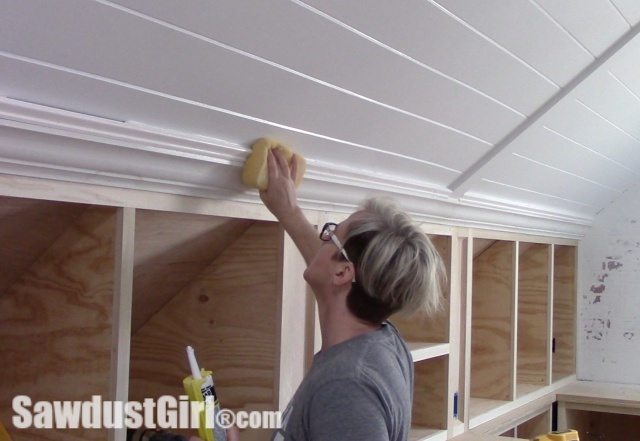
I mentioned the seams being easy to hide and I want to show you an up close look at the before and after to give confidence to those that might find themselves staring at a similar project in their own home and thinking, “THIS is going to look like crap”. If you put in the time, fill the holes and cracks with putty and caulk, the seams and holes will nearly disappear.
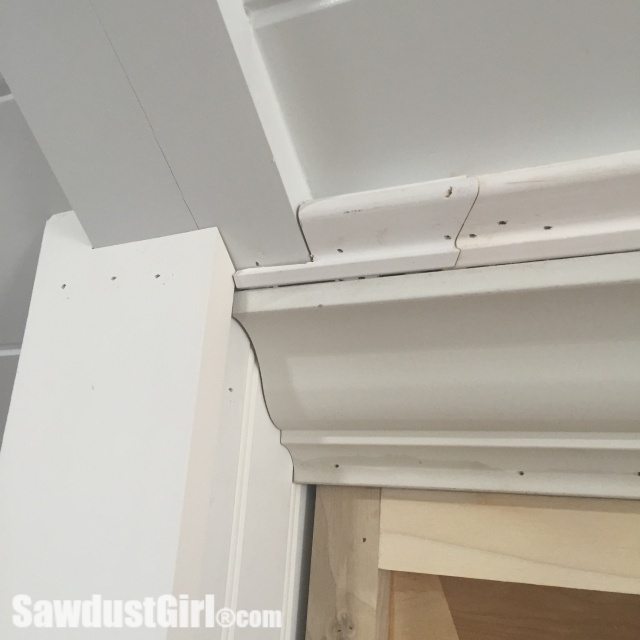
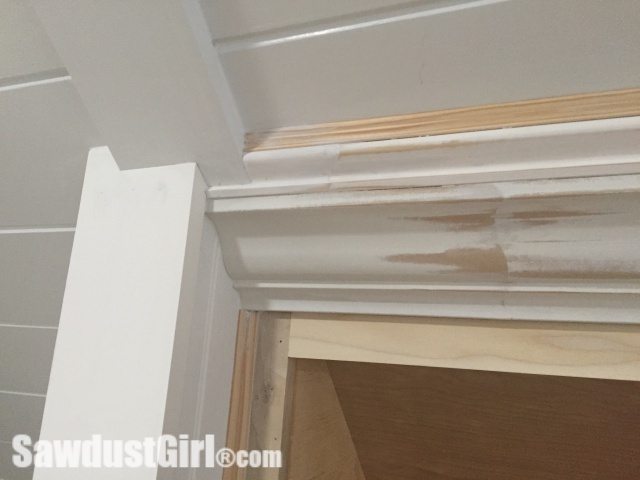
Once it’s all painted the same color the three different molding blend nicely into each other and it all looks very seamless.

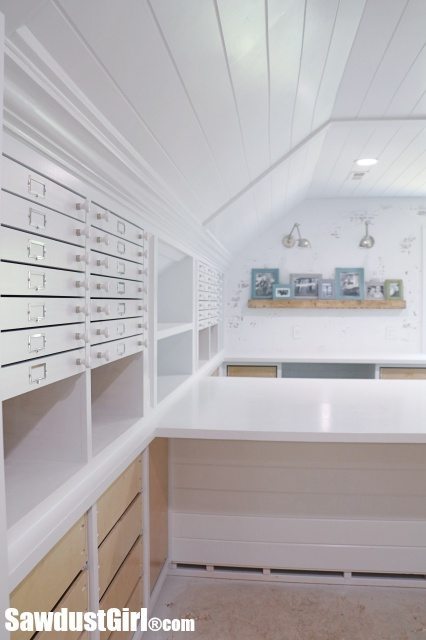
Checkout the completed craft room and the finished map drawers!
I agree with the above poster – I really could see how you take it up that level. I often quote you to my hubby “caulk fixes everything”, but I now can see that I need to spend a bit more time being careful before painting. I always learn so much, so thanks!!
Thanks Gwen. I try to make as much of my project sharing a teaching opportunity beyond the main idea of the post. I’m a visual learning and I would want to SEE the results — so I try to share the same way I would want to learn.
I still love ZAR but this stuff works great too for small holes and cracks. Plus, it dries faster and is already primed so it’s perfect for painted trim.
Looks fantastic, and excellent job with the video too. Flowed along nicely, loved the voice-over, and it was helpful watching your selection process with the mouldings. Also thank you for the closeup of all those nail holes and joints, and showing your attention to caulking and sanding those areas. Bloggers always say caulking can hide it all, but it’s nice to see how true it is with the correct attention to detail.
Wait, what happened to you loving Zar Wood Patch? Is that for something different, or have you changed products?