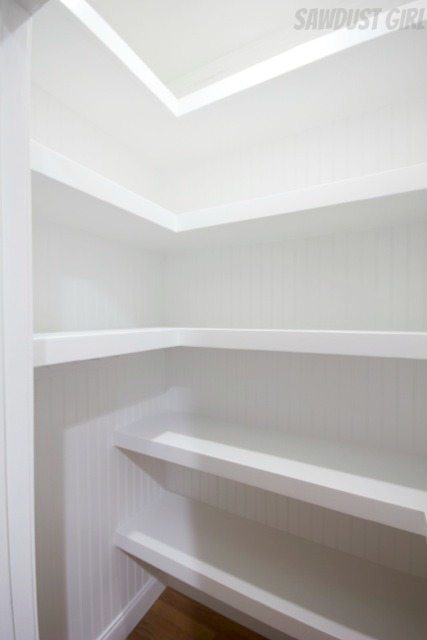
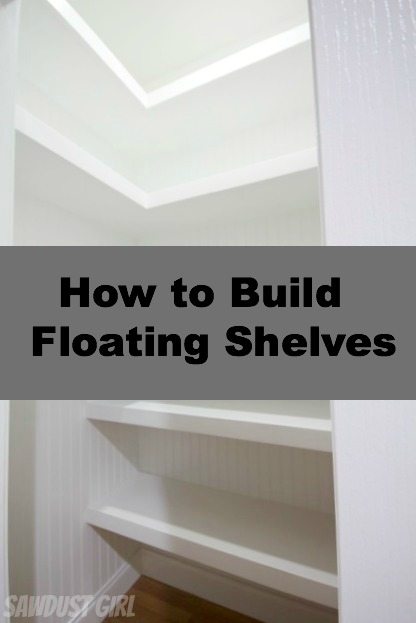
How to Build Corner Floating Shelves
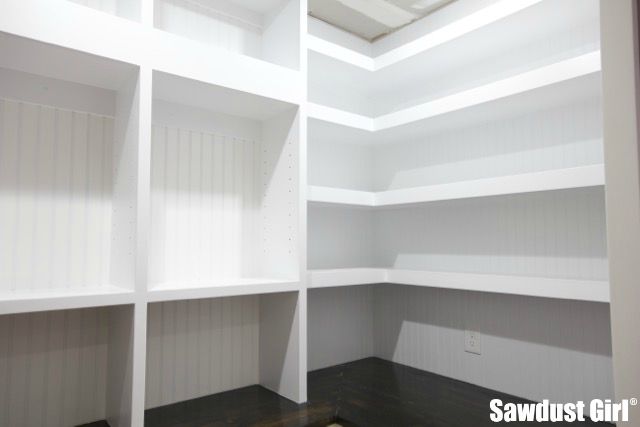
In this tutorial, I’ll show you how to build U-shaped floating shelves that wrap around three walls, using a hidden cleat system. This is a beginner-friendly project, but solid and customizable enough to work in closets, pantries, offices, or anywhere you want sturdy storage with a seamless look.
Materials used:
- 2×2 lumber for cleats and braces
- 1/2″ plywood (top of shelf)
- 1/4″ plywood (underside of shelf)
- 1/4″ beadboard for walls
- 1×3 poplar (for shelf face)
If you have a table saw you can rip your own 2×2 from 2×4 and 2×6 lumber. This will usually give you straighter stock than what you find at the big box store. If not, spend extra time selecting the straightest 2x2s you can find.
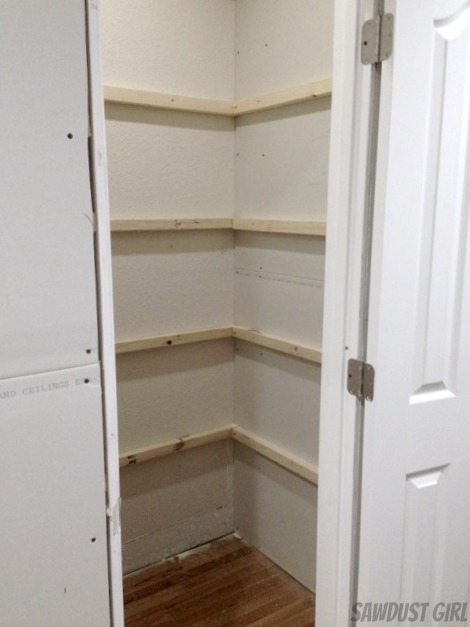
1. Mark your studs
- Use a stud finder and mark the location of all the studs on the walls where shelves will be installed.
- It’s important to find and mark every stud along the entire length of your shelf layout. Floating shelves need solid anchoring to support weight so drive installation screws into every stud along each shelf.
2. Plan Your layout
Knowing what you plan to store on your shelves will help determine the spacing needed.
Don’t forget to account for the thickness of the shelf materials:
(1 1/2″ cleat + 1/2″ plywood + 1/4″ plywood = 2 1/4″ total shelf height).
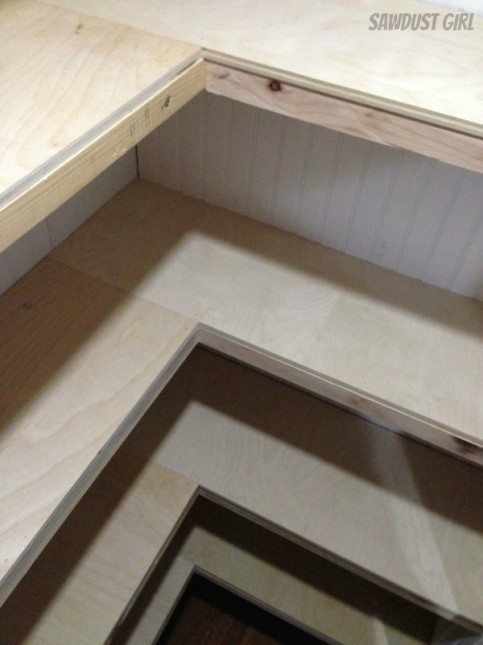
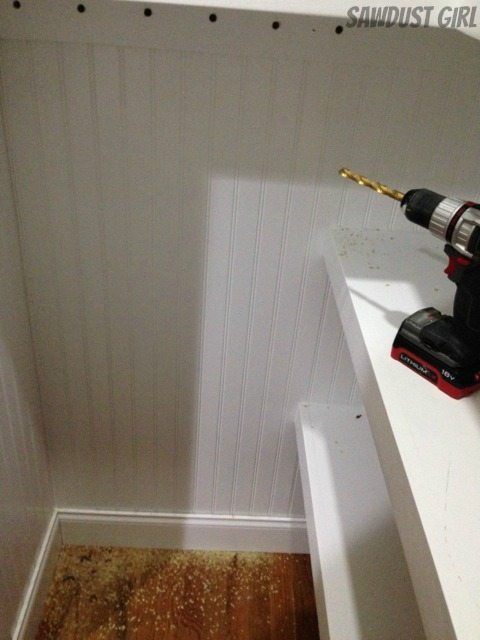
3. Install 2×2 cleats
Make sure each cleat is level and attach them to studs using 3″ construction screws.
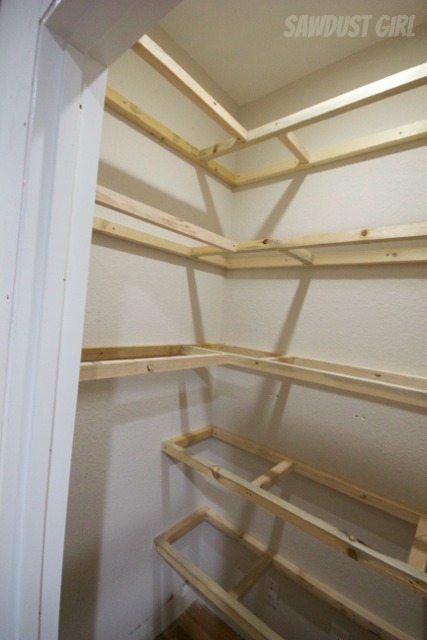
4. Build shelf skeleton
- Attach 2×2 cross section braces to the wall cleat every 18″.
- The length of each brace depends on your shelf depth. I used 14″ for deeper bottom shelves and 12″ for upper shelves.
- Secure the braces with 2 1/2″ or 3″ wood screws, driven in at angles.
Optional Step: Cover Ugly walls with Beadboard
Cover the walls with beadboard before shelf installation for a clean finish.
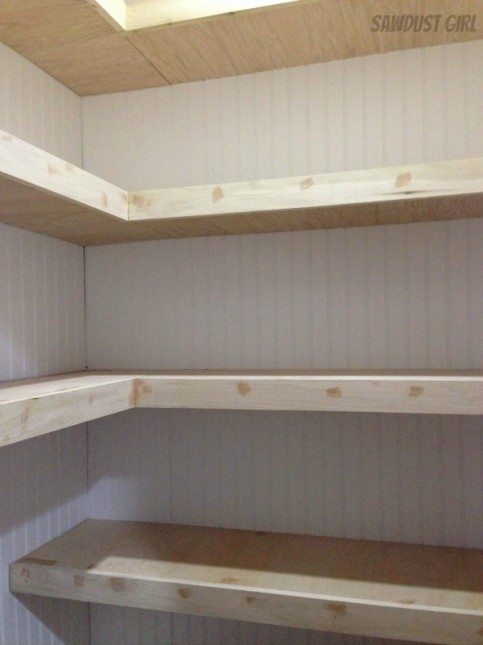
5. Cover with plywood and trim
- Start with the shelf tops:
Cut 1/2″ plywood to size for the tops of the shelf skeleton. Each U-shaped shelf will require three sections.
- Install in sections:
- Begin on one wall and measure the distance from the wall to the first corner.
- Cut and install that first piece.
- Measure the distance from the edge of that installed piece to the next corner.
- Cut and install the second piece.
- Repeat for the final section, ensuring tight seams all the way around.
- Secure each piece:
Apply a bead of wood glue or caulk to the braces before laying each plywood section down.
Use 18-gauge nails to attach the plywood firmly to the cleats and braces.
- Install shelf bottoms:
Use 1/4″ plywood on the underside of the shelves. Secure with caulk and 18-gauge brad nails.
- Add the face frame:
Secure 1×3 poplar to the front of the shelves using construction adhesive and finish nails.
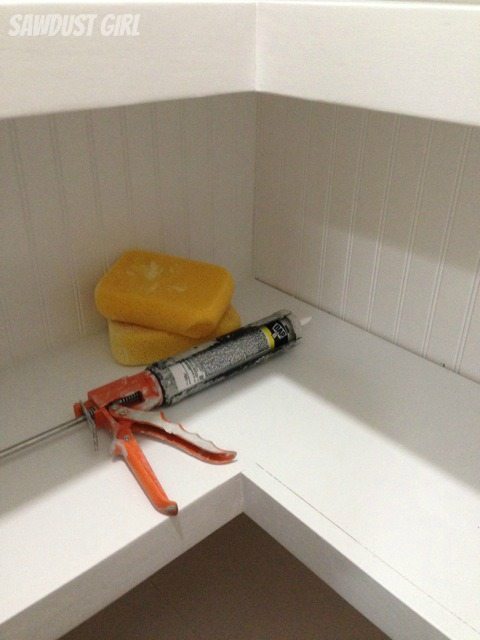
6. Caulk and Paint
- Fill all nail holes with wood putty and sand everything smooth once dry.
- Apply a generous bead of caulk anywhere shelves meet the wall or where seams need hiding.
Caulk not only gives a clean, professional finish—it also adds strength as a lightweight adhesive. - Finish with paint for a seamless built-in look.
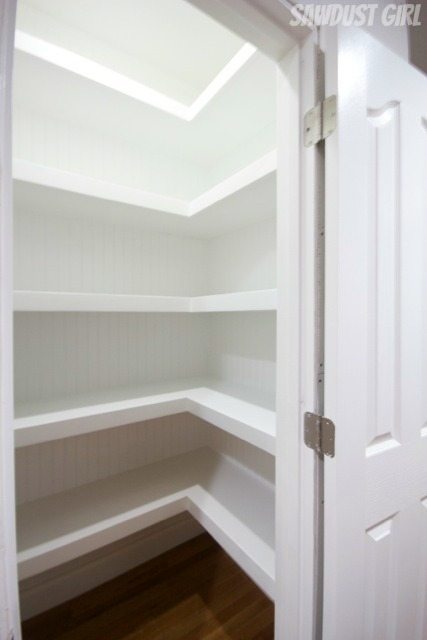
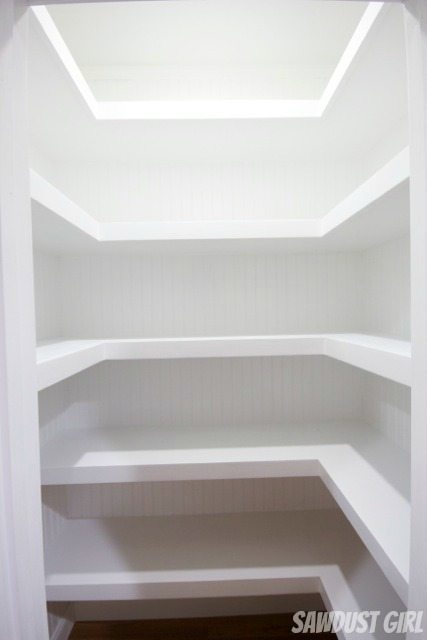
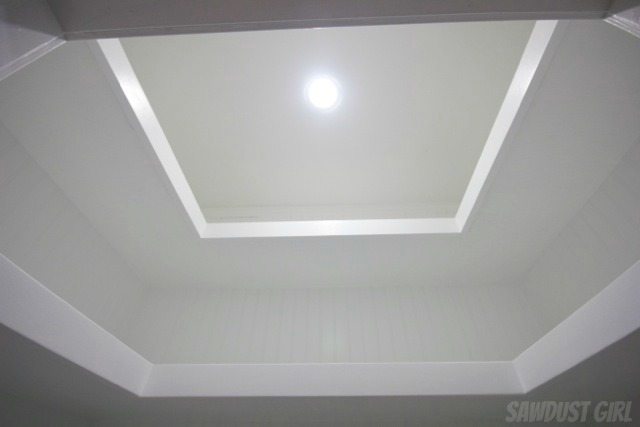
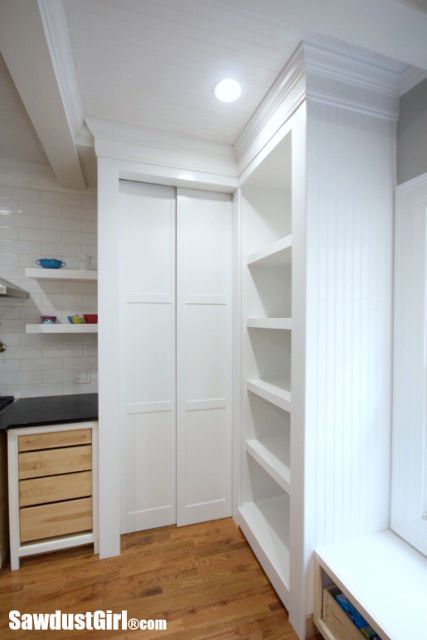
Project Reveal
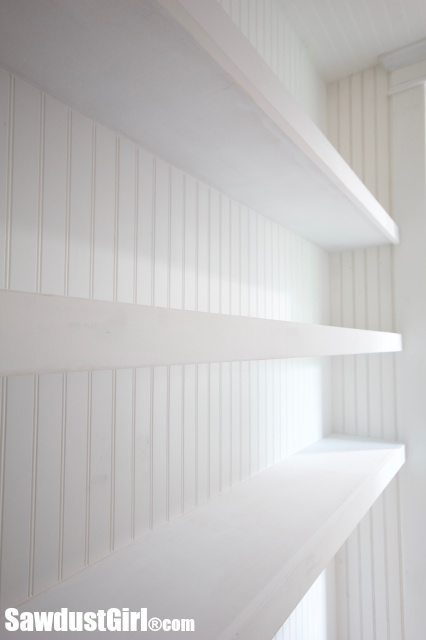
After caulking and paint, the finished shelving is sleek, seamless, and strong. The wraparound layout makes the most of every inch, and the floating design keeps everything open and easy to access from top to bottom.
Bonus Tips
- Stud Marking: Mark studs near both the ceiling and the floor, then connect the marks with a straightedge. This gives you the most accurate reference line, especially in older homes where studs may not be perfectly plumb. If you just mark a stud mid-wall and use a level to draw a line, you might miss the actual stud location.
- Design and Layout: Plan your shelf spacing based on what you’ll store. Consider leaving an open section for taller items like brooms, vacuums, or bins. In this closet, one side was intentionally left open at the bottom for just that.
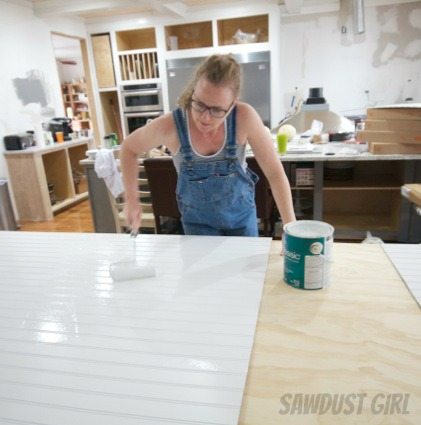
- Pre-Painting: Paint or prime your plywood, trim, and beadboard before installation for a cleaner finish and faster touch-ups. It’s much easier than trying to cut in around corners after everything’s installed.
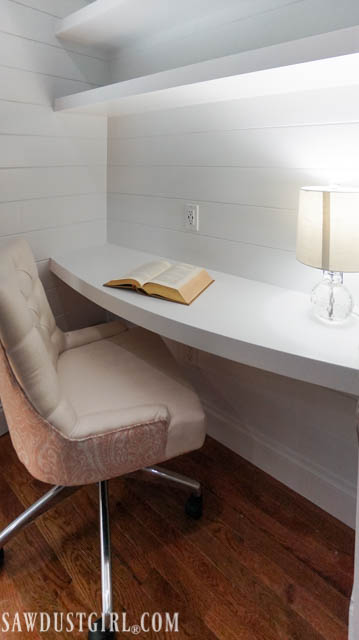
U-shaped floating shelves are a simple way to maximize space and make a big difference in storage-heavy rooms. One of the best parts? No brackets or braces to work around—just clean, open access from top to bottom. If you’re planning a different layout, check out some of the other floating shelf styles I’ve built below.
67″ and 47″ are quite long spans and 24″ is very deep. I think in this instance I, personally would have a support at the junction.
Thank you for the tutorial! Could I do these style shelves with 1×1’s instead? I’m trying to put as many shoes as I can fit and get as many shelves as possible! I was going to make them 24inch deep. Would 1×1 be strong enough? Was thinking 1/4 inch or 1/2 inch tops? :)) The shelves will be an L shape 67 x 47 x 96 tall.
I don’t remember. Probably either would work.
For joining the support pieces of the skeleton frame and the 2x2s not attached to the wall (most outward pieces), did you use pocket screw holes or drill in screws at angles via the sides?