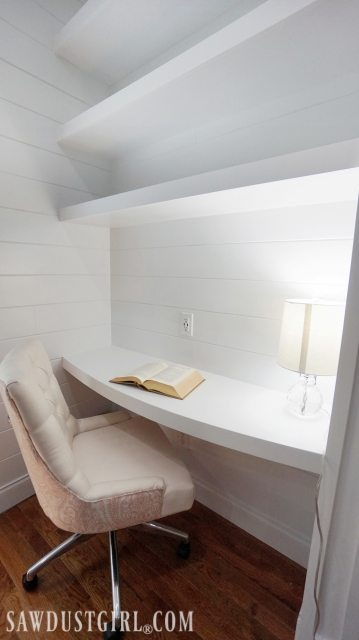
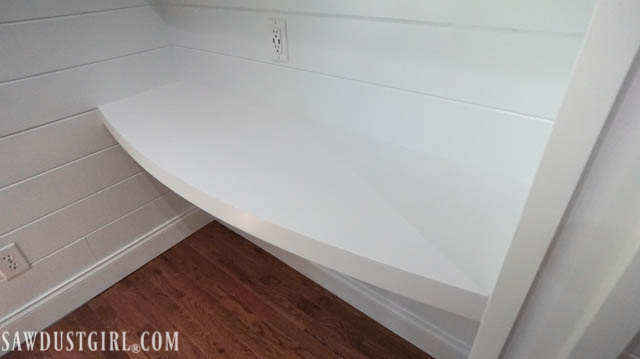
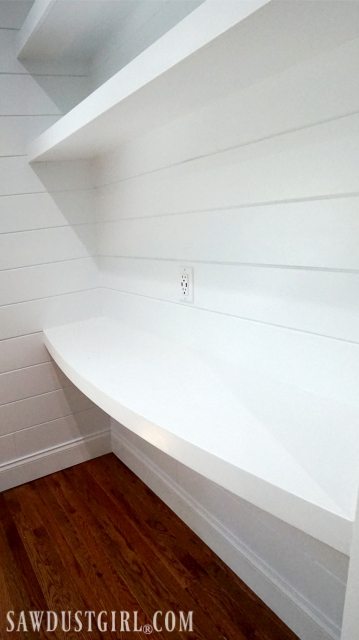
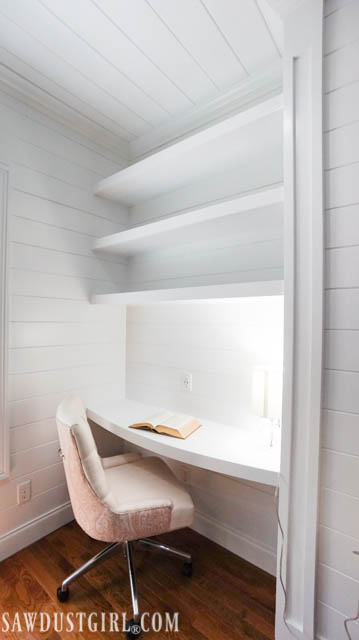
This curved floating desktop is built into an existing niche that was original to the house. The setback of the niche is only 12″ which is perfect for floating shelves but a little shallow for a desktop. Adding a curve to the desktop creates a deeper and more comfortable work surface.
Building a Curved Floating Desktop
1. Build support frame
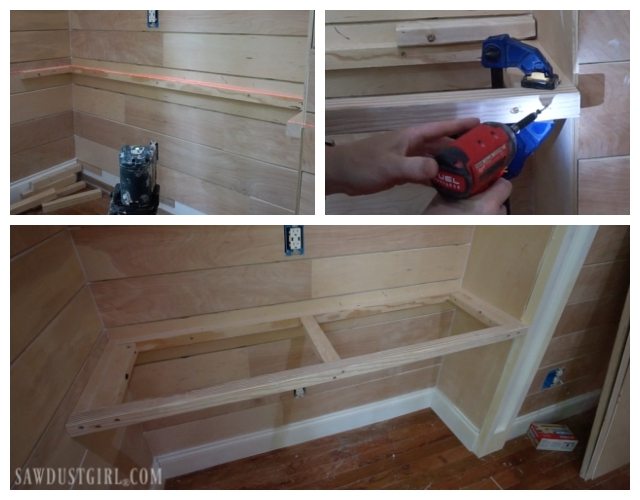
- Attach 2×2 cleats to the studs in the wall using 3″ construction screws or heavy duty lag screws.
- Secure front 2×2 to the side cleats by driving screws in at an angle. This will create a stonger hold than driving the screw straight into the endgrain of the side cleat.
- Optional – double up the side cleats to create extra surface for securing the front 2×2.
2. Size and cut MDF for desktop
The curved desktop is out of 3/4″ MDF, cut to the width of the niche (mine is about 42″). Give yourself some room to play with on the depth. I started out with 22″ deep.
3. Mark and cut the curve
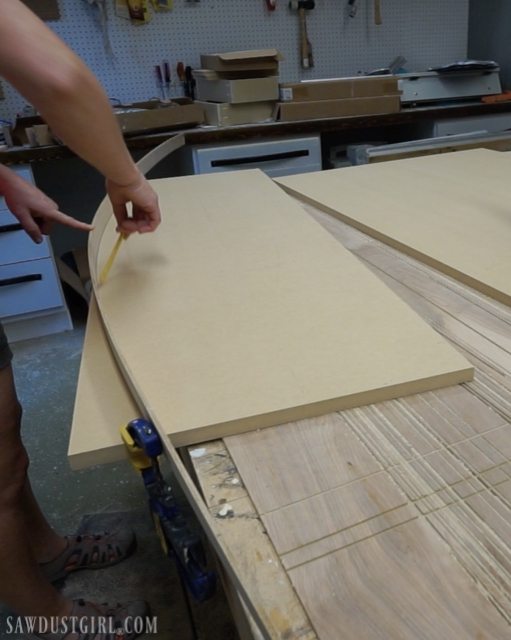
- Find the center of the desktop and put a mark at the front/center.
- Then put a mark on both sides, at 18″ from the back.
- Use something bendy (I used 1/4″ plywood) to draw the curve.
- Clamps are great to hold the plywood in place on the side marks.
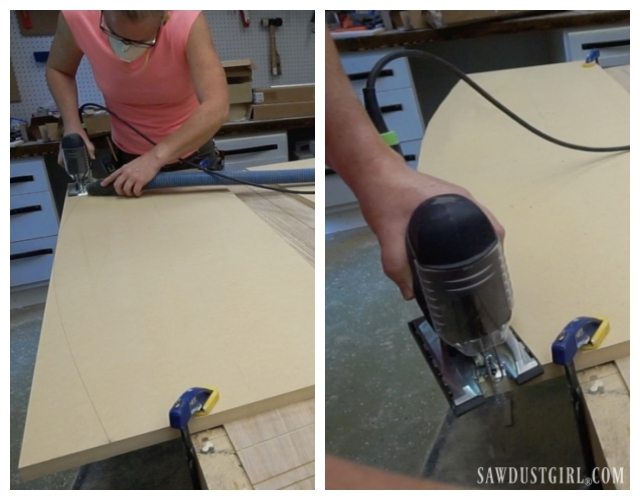
- Use a jigsaw to cut out the curve.
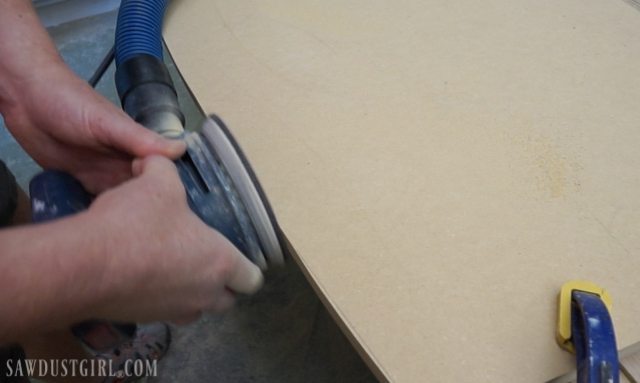
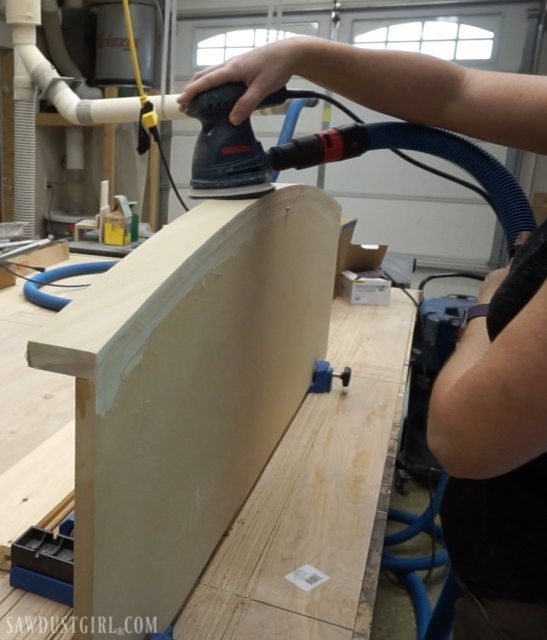
- If needed, clean up the cut with an orbital sander.
4. Test fit
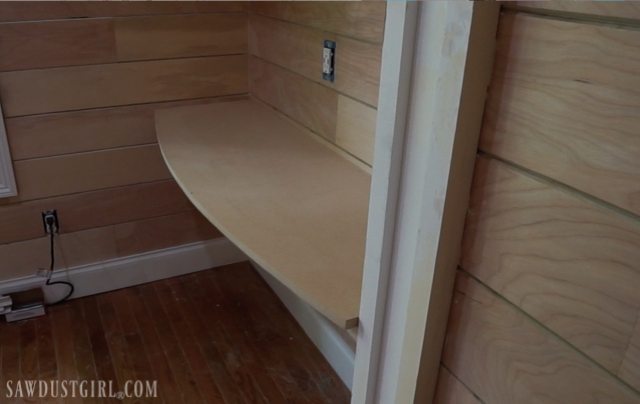
Place curved MDF piece in place to get an idea of what the end product will look like and determine what you want for the final depth.
I decided I wanted my desktop to terminate into the column and I’d wait until the last step to trim down to the final depth.
5. Create a curved apron
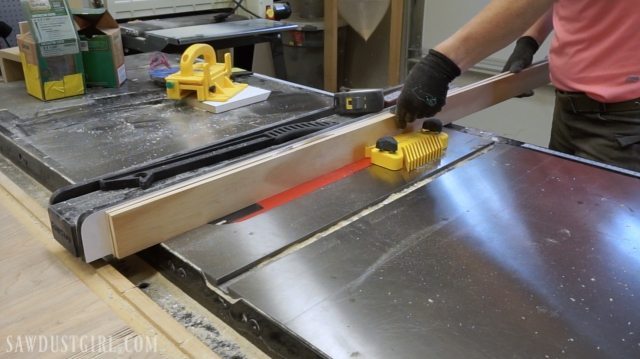
Use a tablesaw or bandsaw to rip three 3/8″ thick pieces of 1×3 poplar.
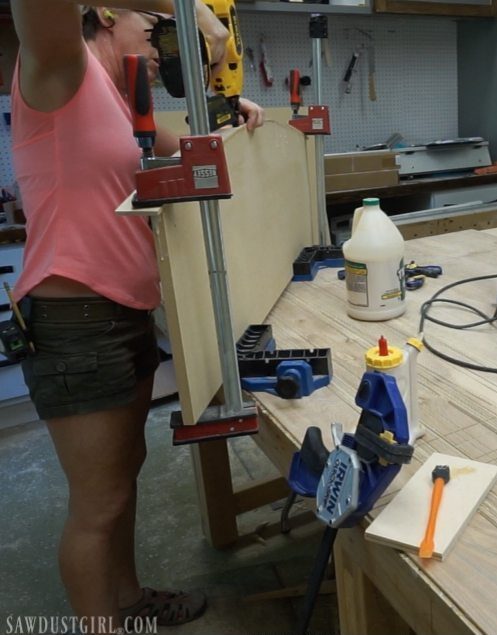
Glue and nail these strips onto the curved MDF. You could apply glue to all the strips, place them onto the MDF, and bend and attach the whole stack at once. However, I find it’s easier to keep the edges flush by attaching them one at a time.
-
- Start by applying glue to the MDF and set one of the strips on top of the glue.
- Drive a nail into the center to hold it in place.
- Use a couple clamps to pull the wood down to form the curve. Drive additional nails to hold strip in place.
- Repeat steps 1-3 on the next two strips of wood.
6. Smoothing and Beautifying
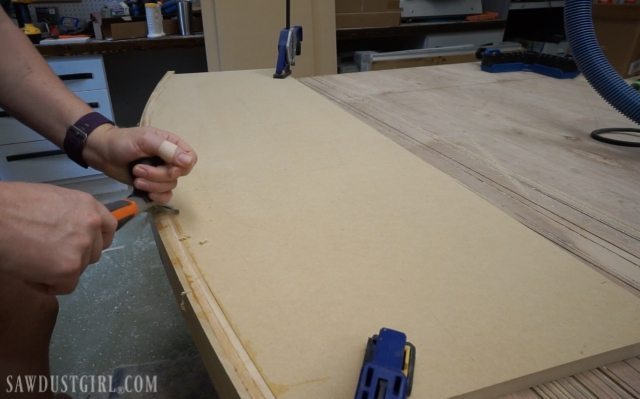
Remove excess glue
Glue tends to gum up sandpaper very quickly so it’s good to scrape off as much as possible before sanding.
Smooth out top surface
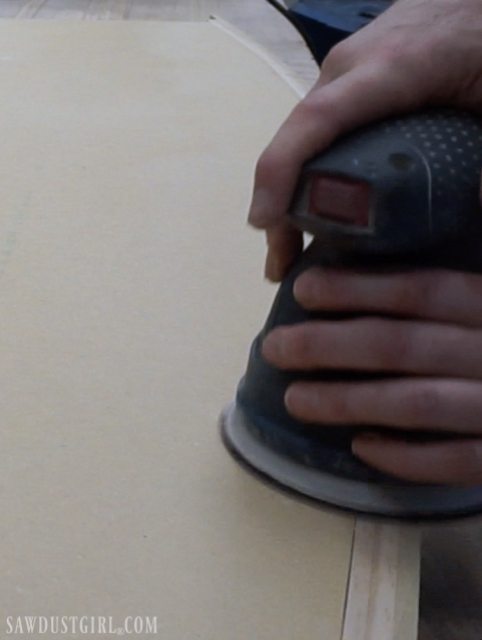
Use 120 to sand the top of the strips that were just attached to make sure they are smooth and flush with the MDF.
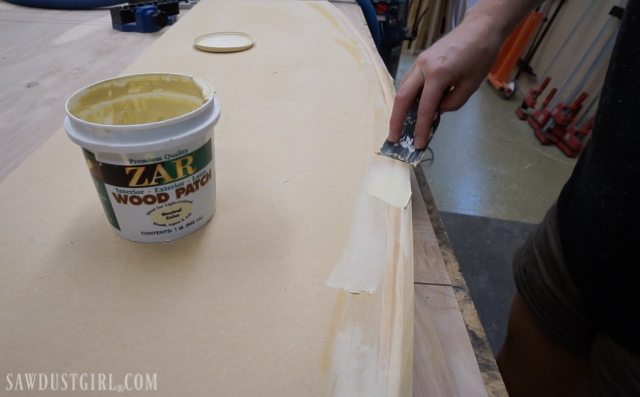
Fill holes and cracks with wood filler
Sand
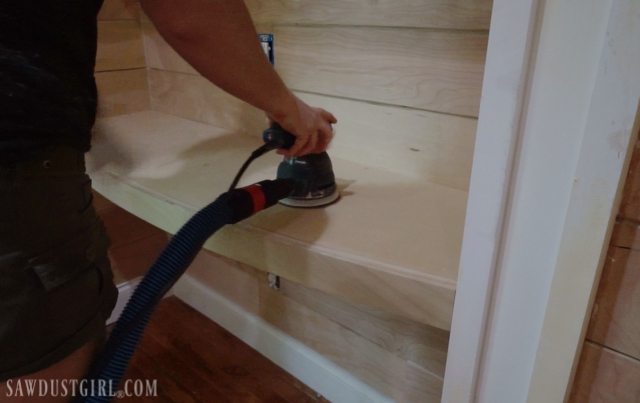
Once the wood putty is dry, sand all the surfaces and edges. I like to soften the edges and corners, especially on a desktop where arms will rest on the front edge.
7. Final fitting
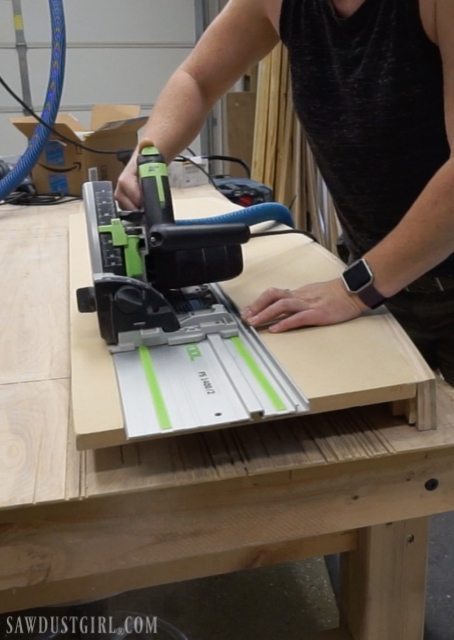
With the face added to the desktop, set in place to test fit and measure for final depth.
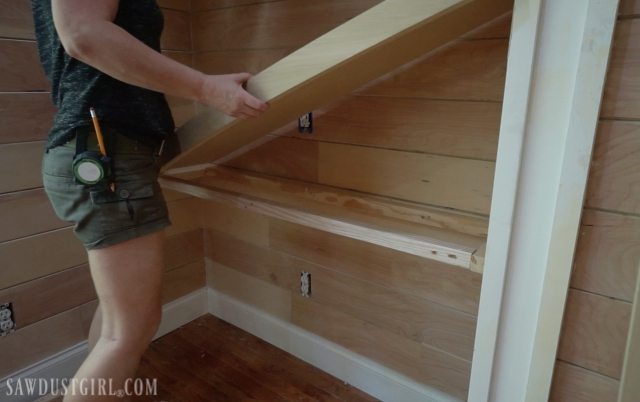
is a super useful tool for this kind of task but a tablesaw would work as well.
8. Attach desktop to support frame.
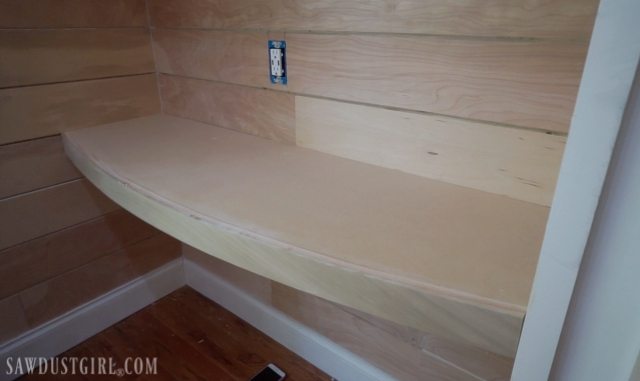
Set the desktop in place and secure with screws from the underside through the support frame. Use construction adhesive or caulk for added strength.
9. Finish
I did a final sanding and then primed and painted my desktop. I used an airless sprayer and painted the desktop at the same time as painting the plywood plank walls.
But here it is done. Voila!

Ana says
That’s really cool! Also enjoyed the post on the shiplap.
Sandra says
Thank you Ana.
Georgiann burdette says
Very nicely done! The many layers of the curved front give testament to your thoroughness of
design. I completely relate to your not stopping to go for weights on the screwing and installation. Once a project gets so close to the end, it gets more difficult to think out all the steps and tools needed. I am the same! LOL! I do enjoy your blog and skills and efforts. Thanks for letting me share your journey.
Sandra says
Sometimes I just can’t bring myself to run out and grab the right tool that one last time. So I don’t LOL
Johnny brooke - Crafted Workshop says
That looks awesome, Sandra! So clean!
Sandra says
Thanks man!
janice kirwan says
Lovely! So inspired by your determination and knowledge! I wish I had half of your skills.
Sandra says
Thanks Janice. I started with no skill or knowledge and grew from there — so there’s hope for everyone! 🙂
Cath says
Lovely finish and the paint is so bright. Thank you for sharing all your work I really look forward to new posts
Sandra says
Thanks Cath!
Tess says
Very nice, I built a desk top for my daughter a few years ago that had a couple curves on it. Your is a better build. Mine too way too long. Anyway I ended up drilling a cord hole for the cords and cables for her electronics. Put in an office plug and it was done. When we moved I brought it with us and cut it down for my craft room. Its now a great memory.
Sandra says
Good memories. I need to drill a hole for her cords. Haven’t done it yet but it needs to be done!
Larry Thompson says
I like the way the desk came out. I don’t think I would have making the desk top curved need to remember this next time I build a floating desk. What type of lumber is the floor? It looks like it may be old pine and I do like it. I do enjoy your post so please keep them coming.
Sandra says
The floors are red oak.
Rade says
Hai there,
Iv’e been following you on YouTube for over a year you are very skilled at what you do, no doubt about that.
I love woodworking but I don’t have the space and the tools to do things like this. Do you have a link were I could read how you started, would love to read it.
Take care,
Rade, Rotterdam, Holland.