How To Create A Mitered Return On Trim Molding
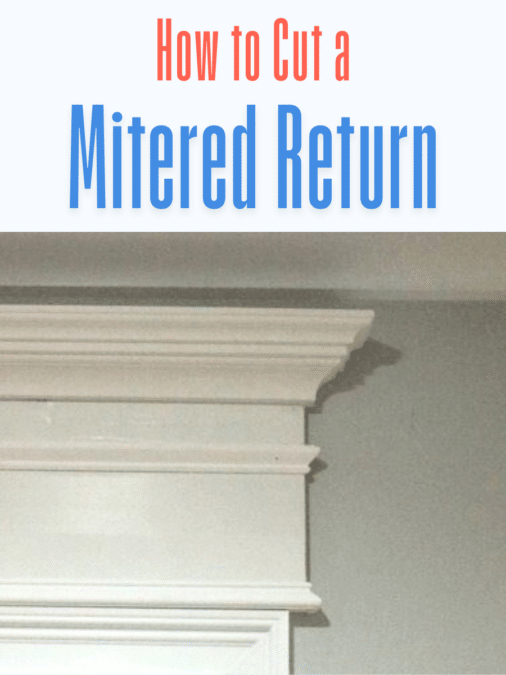
When installing trim molding where it doesn’t terminate into a wall, cabinet or other structure that allows you to simply cut the end straight – a mitered return will give you a professional finished end.
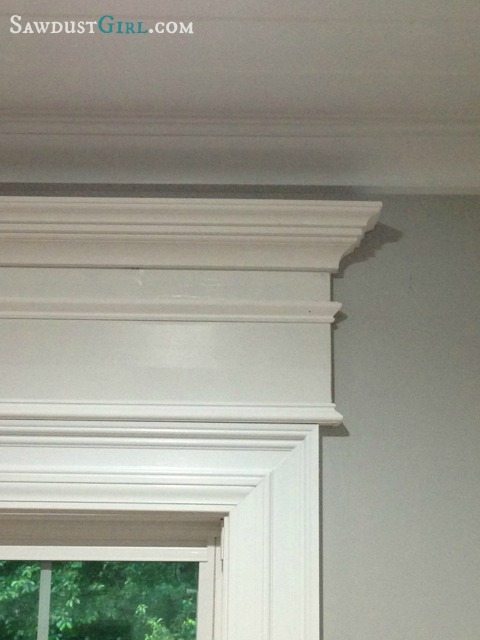
Cover cutting surface gaps
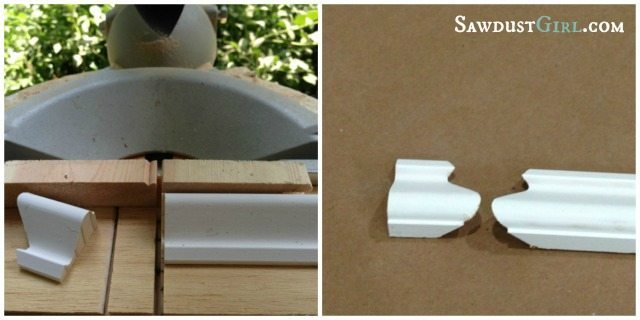
These tiny pieces often fall into the open throat on the saw surface and get flung backwards through the gap in the fence. Using scrap wood to create a 0-clearance cutting area both under and behind the cut. Use double sided tape to stick the sacrificial boards to the saw’s surface and each other. You’ll eventually have quite a few cuts through your sacrificial fence and the tape will help keep it in place.
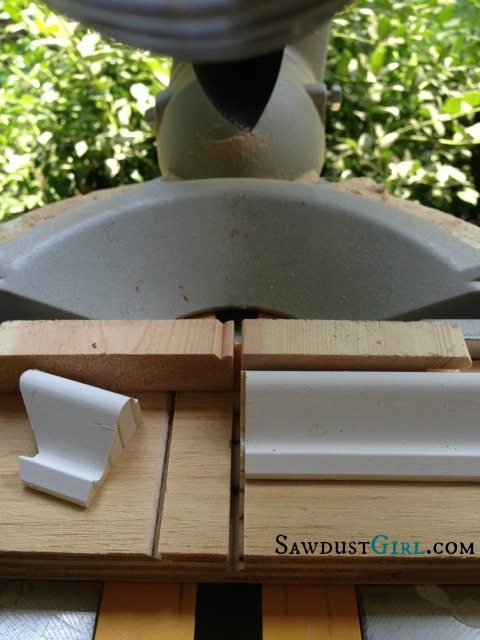
How to cut mitered returns
- The trim sits flat on the saw surface
- The Sawblade is set at a 45• left bevel.
- The edge of the trim that sits against the fence will flip between top and bottom
The trickiest part is getting the tiny piece cut at just the right length. You’ll likely have to cut a few pieces before getting the length perfect – and you’ll have to cut a new piece each time because you can’t safely trim down a tiny piece of wood on a miter saw.
Outside Corners
- The mitered return is an outside corner joint.
- The bevel will always cut into the backside of the trim.
- One side of the joint will be cut with the top of trim against the fence – the other side will be cut with the bottom against the fence.
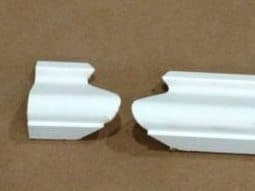
- First, cut the small return piece.
– The edge of the trim that sits against the fence will depend on the side of the joint you are cutting.
– Safely holding a long section of molding against your sacrificial fence, with your saw bevel set to 45•, slowly bring the blade down to cut that tiny piece.
– IF the piece is not the correct length, start over and cut another piece until you have the length you need. - Now flip the trim around so the other edge is against the fence and cut the end off – creating a mating bevel.
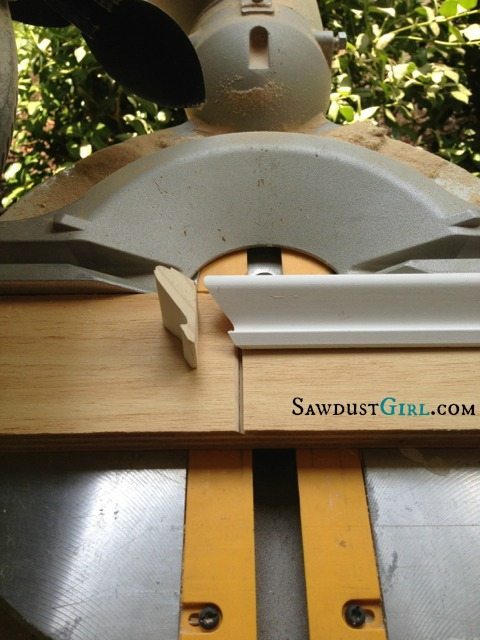
Install Mitered Return
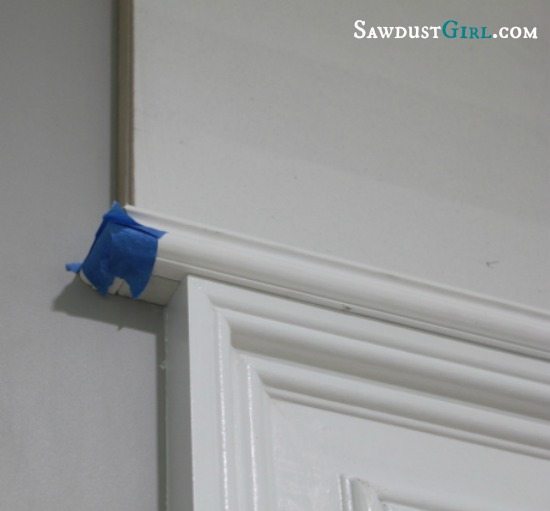
When installing these tiny pieces, nails often split the wood so glue is preferable. CA glue is fantastic because it sets quickly. Wood glue works but takes longer to set up so use painters tape to hold the small piece in place while the glue sets.
Additional crown molding tutorials


I would love to see a tutorial on how you did the trim around the doors that looks built up
You can see how I did that in this post: https://sawdustgirl.com/how-to-trick-out-your-trim-molding-in-5-easy-steps/
18 guage is too large for a small piece of trim. Try using a 23 guage pin nailer to secure the pieces together while the glue dries.
A lot of people don’t have a 23 ga nailer and tape alone works perfectly fine for holding the pieces while the glue dries. Once the glue sets up, I prefer not to nail through the return to hold it in place.
Sandra, you can use “Collins Miter Clamps” to hold the small end pieces together with authority. They will stay where the clamps hold them and you can adjust them if they’re not perfect. Amazon sells them. Fill small holes with putty or spackle.
Which is why I don’t nail them. I’ve yet to have a glued return fall off. Knock on wood.
Enjoy watching your work. I’m adding corner column to the living room and liked your blog on that. Instead of glue and tape. Get yourself some CA glue and activator instead of wood glue and blue tape. I learned about it on YouTube channel “finished carpentry” 10 seconds and your mitered returns are tight and hard, no need for brad nail that might split the trim. Keep up the great work.
¿Where can I buy this types of Moldings?
Thank you.
What do you use to trim out window and door casings and baseboards- MDF or wood? If wood, do you use a certain type of wood for places that get more abuse, like baseboards and windowsills?
I have some of both. I choose based on the profile and size that I want not based on the material. How well they hold up depends on the abuse. I don’t have a preference.