DIY Crown Molding Cutting Jig
Knowing how to cut crown molding is one of the things that most people struggle with, even after years of practice. The reason it is so challenging is because you are working with compound angles. Each cut has to be beveled and mitered (to account for the angle between the wall and the ceiling AND the corners of the walls). There are a couple ways you can go about cutting those compound angles depending on what tools you have available to you. Using a crown molding cutting guide jig can simplify this process.
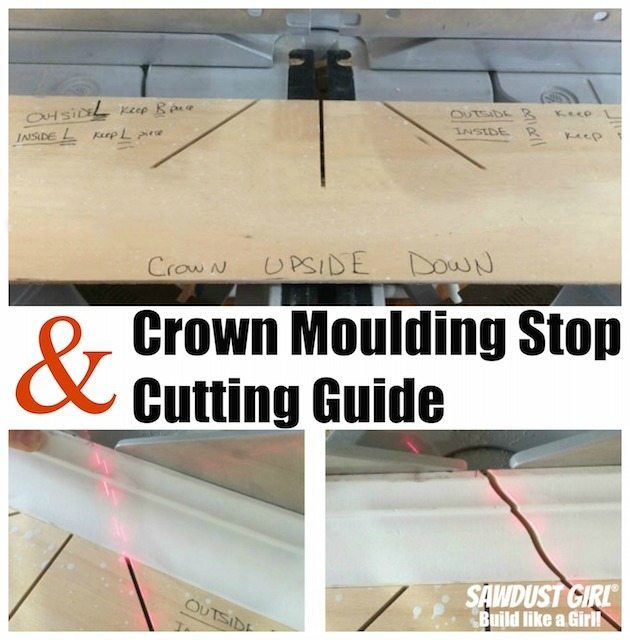
Ways to Cut Crown Molding
- Cutting crown while it’s laying flat
- Laying flat on the saw like in my Crown Moulding Templates tutorial. That is a great option if you are using a crown moulding that is too tall to use another method and/or if your saw only bevels in one direction.
- Using a crown molding cutting guide jig
- Using a cutting guide/jig allows you to cut the crown moulding without needing to set a bevel (tilt). With a crown molding resting against your saw fence at the same angle on which it would rest against your wall, you only have to miter! Because the way the molding is sitting on your saw creates the bevel WHILE you make a mitered cut. Woohoo!
Make your own Crown Molding Cutting Guide Jig
I have found that with a piece of scrap wood and some trusty double sided tape , one can quickly and easily make a customized cutting jig that will help you make practically perfect cuts every time! The size of your piece of scrap wood isn’t too important provided it is longer than the span of your saw. Mine is 6″ wide and 36″ long.
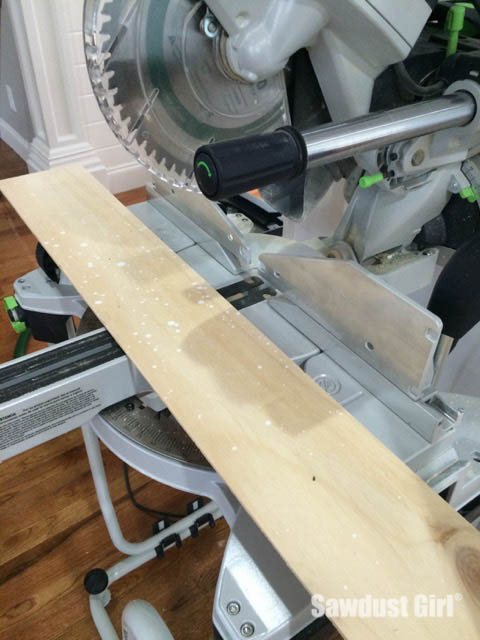
1. Adhere scrap wood to your miter saw
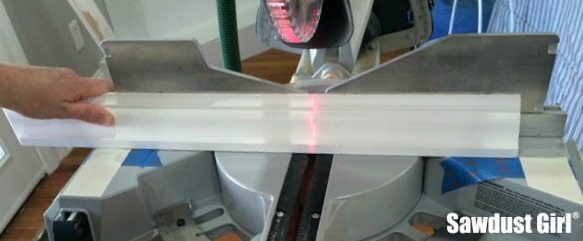
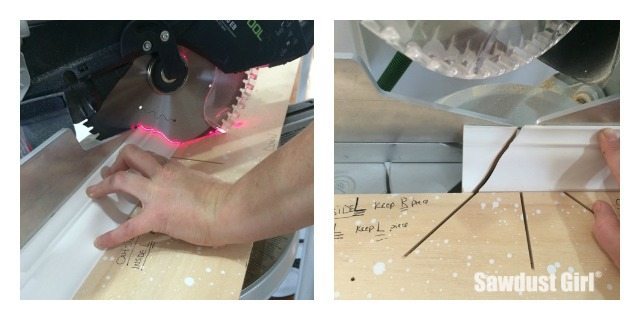
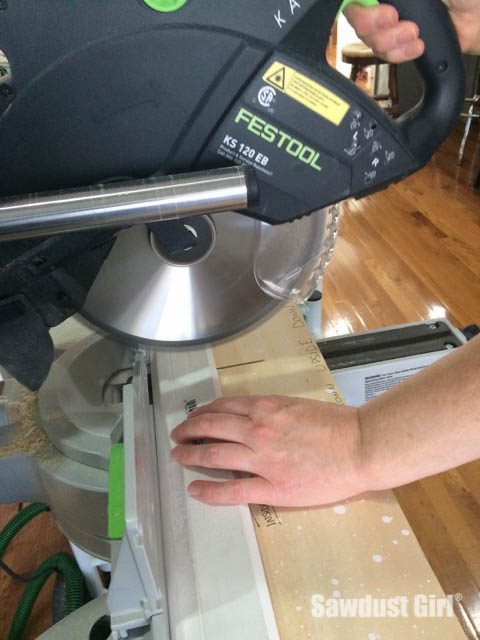
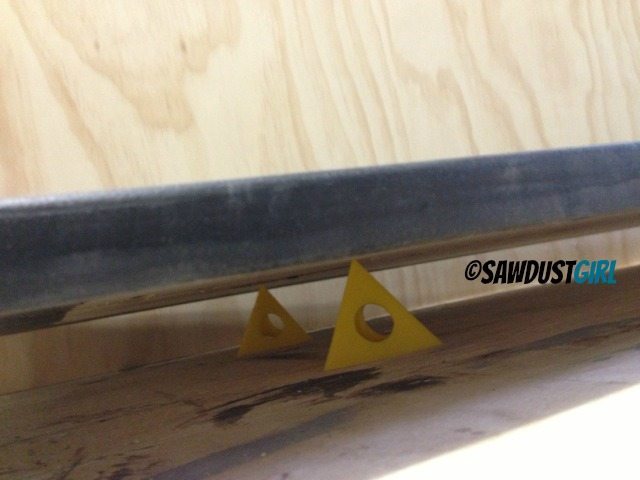
- Set the crown molding against the fence, upside down at a proper angle.
- Use painters tape or a pencil to mark where the crown sits on the saw base.
- Stick double sided tape to the saw platform near the outside edges
- Remove the backing on the double sided tape and secure the scrap board to the saw.
- Be sure to line the top of the board up with the blue painters tape.
2. Cut three lines into the guide jig
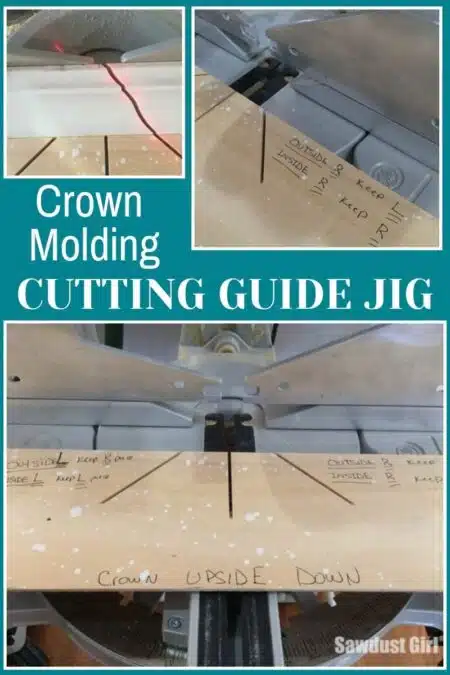
With the board secured to the saw, you are going to make three cuts. Make sure you don’t cut through the whole width of the board.
- Make a cut at 45˚ to right
- Make a cut at 45˚ to the left
- Make a straight cut at 0˚
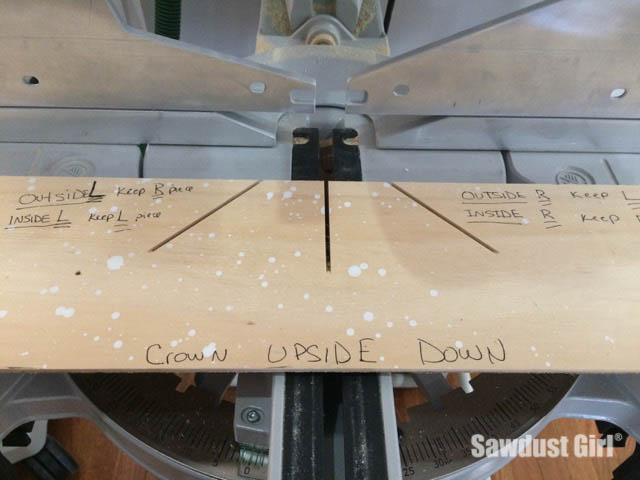
3. Label your Cutting Guide Jig
- In big, bold letters write, “Crown UPSIDE down“. As seen in the photo above. This is so you always remember that – every – single – time, the crown is placed upside down against the fence on your saw.
- (The bottom of the crown moulding is the decorative part — generally.)
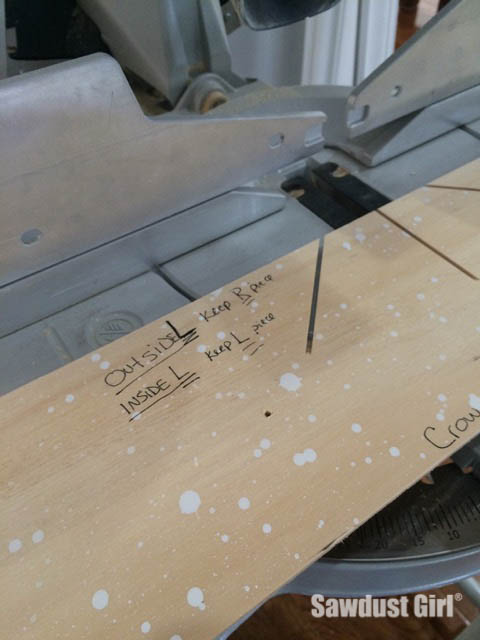
- Label the right side of the jig as shown in the photo below.
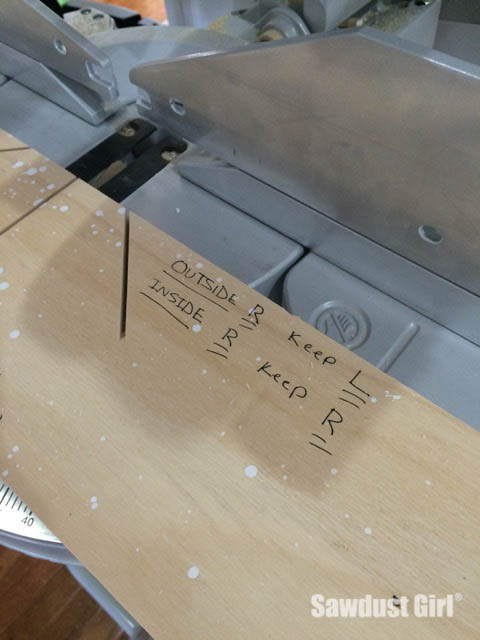
- Label the left side of the jig as shown in the photo below.
Cutting your Crown Molding using the Guide Jig
Now you have a little recessed area all the way across your saw that your crown molding nestles right into. The cutting guide jig holds your crown moulding exactly the right distance away from the fence, keeping it in the correct angle, while you make your cuts. The guide reminds you how to cut your crown molding depending on which corner (and which side of that corner) you are cutting. It gets very confusing so constant reminders are very helpful!
When cutting with this method — with the crown moulding UPSIDE DOWN, angled against the fence:
Outside Corners
- The left side of the crown piece will be the right side of the corner.
- The right side of the crown piece will be the left side of the corner.
Inside Corners
- The left side of the crown piece will be the left side of the corner.
- The right side of the crown piece will be the right side of the corner.
This confusing nature of the compound miter is why labeling “Keep R piece”, or “Keep L piece” is so important.

Additional Crown Molding Cutting Tips
- Whenever I cut crown molding, I try to err on the side of being too long on my initial cut. Shaving off a bit more is easier and less wasteful than starting over with a new piece of molding because what you ended up with was too short.
- Since when cutting, the crown molding is always upside down, put your measurement mark on the bottom of the crown. That way the mark is facing up when you go to cut it.
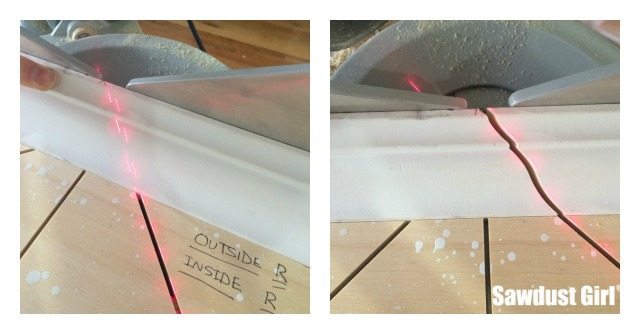
- Make sure you keep the crown pressed securely against the fence during cuts.( While also paying attention to keeping your hands away from the blade.)
- When making straight cuts (for places where the crown moulding terminates into a wall and you don’t need a fancy return), you can simply lay the crown molding flat against the fence or lay it down on top of the jig.
When to make a new Crown Molding Cutting Guide Jig
A wider crown molding will require the jig to be further away from the fence so the angled cuts won’t line up. If you use one jig for multiple sized crown moldings you’ll end up with lots of cuts into your jig board and it will end up looking quite a mess and chunks of board will start falling out.
If installing crown molding on the walls in a whole house as you’re most likely keeping the trim consistent. In this instance you’d be able to keep using the same jig and just have to make sure you attach it to your saw correclty each time you us it.
With cabinetry though, you may use multiple different moldings so you may make and keep multiple jigs.
- I like to make a new cutting guide jig when I start a new project using a different sized crown moulding.
- One could store each crown molding cutting guide jig along with a small sample of the crown molding used with it for quick selection on a future project.
- Or one could make a new jig each time a crown molding project is started and use the old jig simply for the cutting guide references.
In addition to using templates, I hope you find the method of using a gutting guide jig helps makes cutting crown molding much easier!

Great tutorial, but there is an error on the template. Your “Inside L” and “Inside R” should be switched. The way it’s written would represent the board and not the joint … although, some people do refer to it that way because they find it easier to think about the board as opposed to the joint. Assuming you want your template to be consistent, and refer to the joint; the left side of the template should read “Inside R Keep L Piece” and subsequently, the right side should read “Inside L Keep R”.
The crown moulding is cut upside down against the template. So saying, “Inside LEFT – Keep RIGHT piece” …when you turn the crown moulding right side up, the RIGHT piece becomes the left side of the joint.
Brilliant!
Love the tutorial, but I have to agree with Paula. With the crown molding upside down and the miter saw swung to the right, the piece on the right becomes the left inside corner piece.
If you are doing an inside or outside corner changes which piece of the cut you use.