How to Fix Gaps in Crown Molding with Spackle
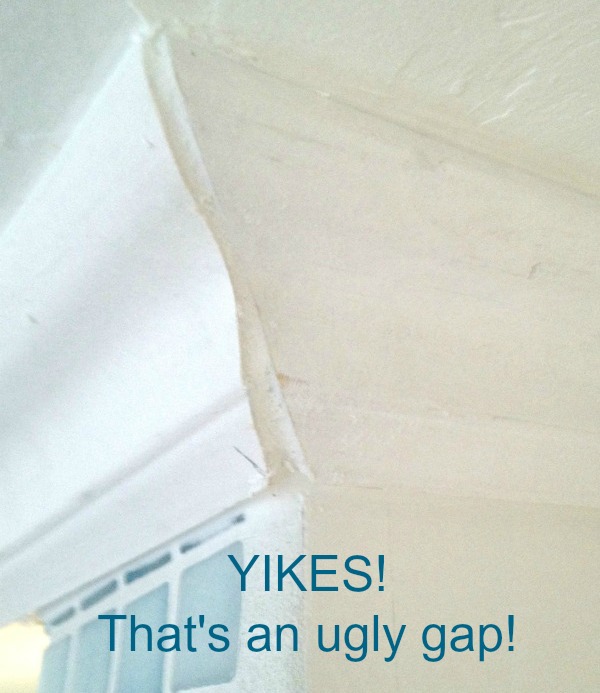
Getting perfect seams when installing crown molding can be a challenge. Walls and ceilings are frequently out of square, and there are vaulted ceilings to consider. Sometimes, even with my awesome crown molding templates, you may still end up with imperfect corners. Fortunately, it’s simple to fix gaps in crown molding using lightweight spackle!
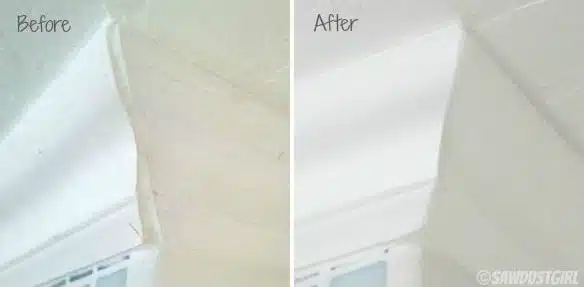
This technique is for painted moldings only. If you have wood molding that you intend to stain, this fix isn’t suitable. Gaps can occur, and during those times when your moldings don’t align perfectly, lightweight spackle is an effortless solution to fix gaps in crown molding.
Fix for larger gaps
Using lightweight spackle is a fantastic choice for small gaps. For larger gaps however, consider using caulk specifically designed for moldings. A bead of caulk in the gap will stabilize the molding. Don’t worry about trying for a cosmetic fix with the caulk, just fill the void and let it dry.
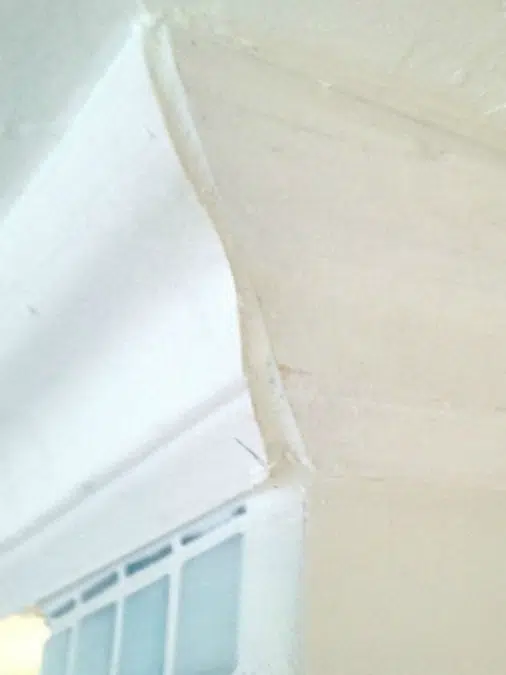
Fix for Smaller gaps
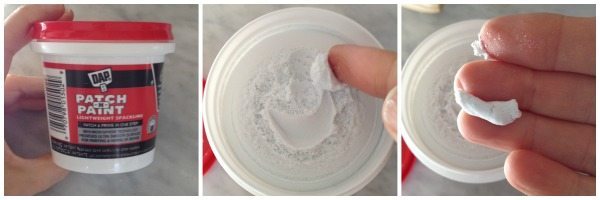
Now apply lightweight spackle. I like Dap’s Patch–n-Paint. It has the texture of a stiff meringue and seems like it will be too delicate to work, but this stuff is awesome! It’s moldable (OK it’s not modeling clay, but you can get it to conform to a molding profile pretty easily), and the edge can be feathered to blend really well. Also, it is sandable, but retains a bit of flexibility so it won’t crack and chip out over time, and it doesn’t shrink.
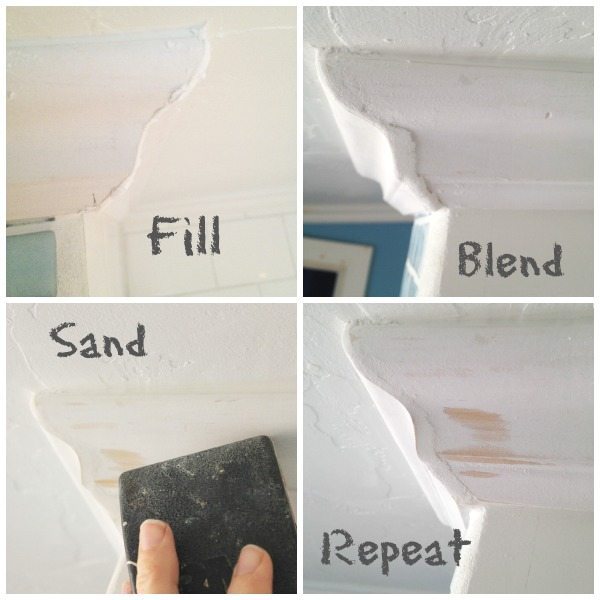
- I start by making a series of small balls or snakes that I press into the gap leaving the spackle proud. Then gently blend. Work quickly. As the spackle dries, it will begin to stick to your fingers and become less toolable. Don’t try for perfection. Just get the general shape and let dry.
- After the patch has dried, use a fine sandpaper to continue tooling and refining the patch.
- Repeat until you are happy with the look. If the spackle you are using needs to be primed, it is a good idea to prime between coats. That way you don’t re-imulsify the first coat as you add more. Dap’s Patch-n-Paint doesn’t need to be primed, Hallelujah for one less step!
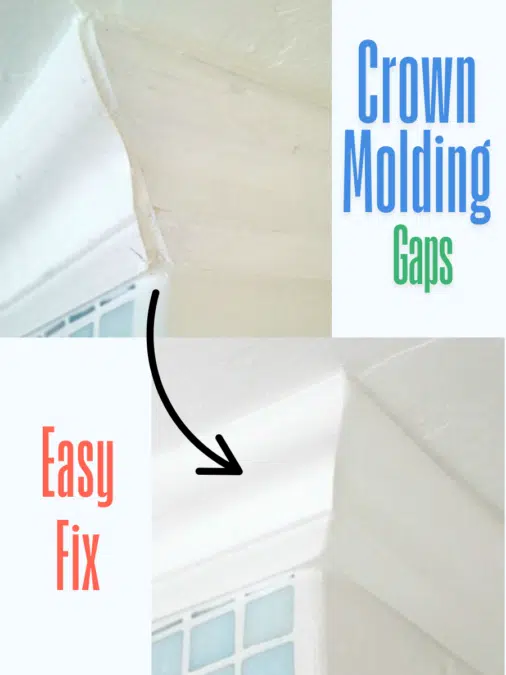
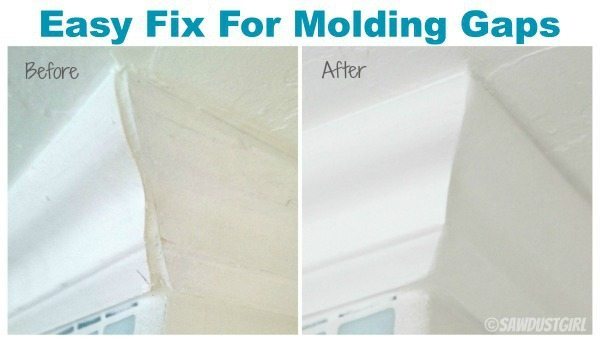
Once the crown molding is painted the gap will practically disappear! Will it be perfect? No –but someone would have to be on a ladder and look really closely to see any imperfection.

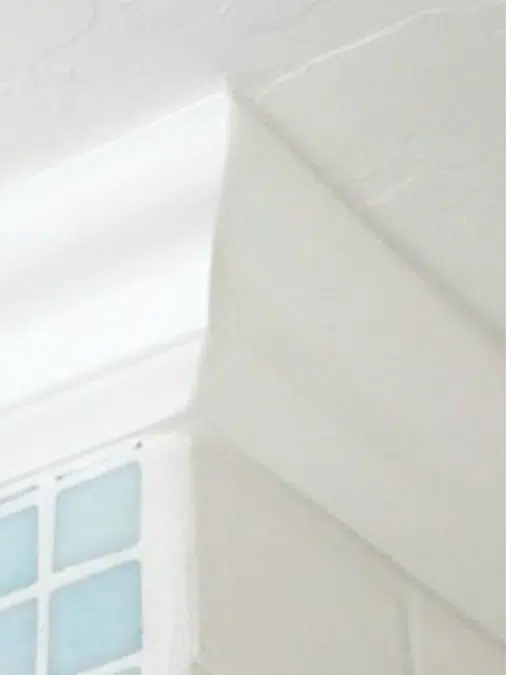
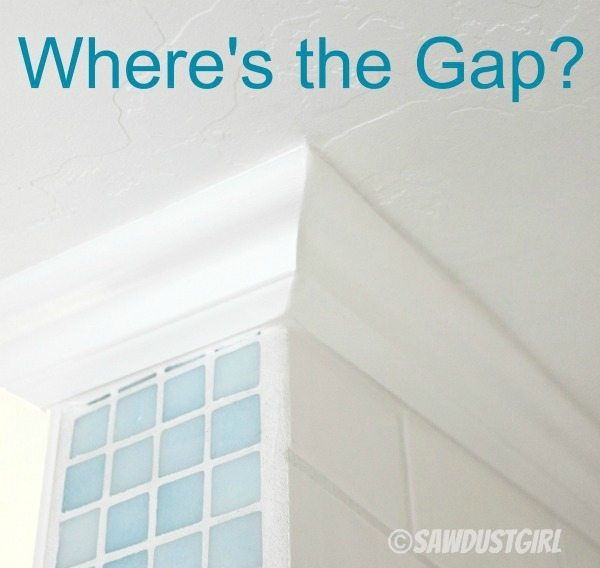
Now the bigger question to ask one’s self is, “Why is there such a big gap in the first place?” Whoever installed it must not have used my crown molding cutting guide!


Can I use the spackling on large gaps too? My old house has wonky ceilings that the molding just does not line up to in places leaving some pretty large spots. Like an inch wide in places.
Large gaps like that are better fixed with a hardening wood putty.
I’ve had good luck packing ugly inside corners with jb weld after it’s setup for a few minutes. Then I used drywall patch over that and sand. The jb weld keeps the joint from EVER opening up again. Drywall patch also makes the best nail filler in painted molding. You can set your nails, fill, lightly sand and prime in one day. NEVER prime over Alex latex caulking until at least 24hrs has passed! I learned that one the hard way.
How exactly do you send this? I bought the exact same product but when I try to send it after it has dried it just peels off, I’m not able to mold it at all.
Sand* not send
If it’s not sanding try an all purpose joint compound which I like alot more than dap anyway. I’ve never found something it doesn’t stick to, and it sands very easily.
The product may have changed since this post was written. I haven’t tried this trick in a while. I’d try a plain spackle (without the primer).
Use Crawford’s Vinyl Spackling. Amazon carries it.
Hey Julie,
Are you saying to caulk in the gap first and then use spackle? How much caulk if so, and why not use all spackle?
I’m on my first ever DIY moulding and I have gaps!!
Please help lol
Thank you x
Yes, caulk first. That will stabilize the joint. Then use spackle to make it look pretty. 🙂
That’s one awesome fix!!! Great job!