Large Desk Cabinet – Madison Avenue Collection
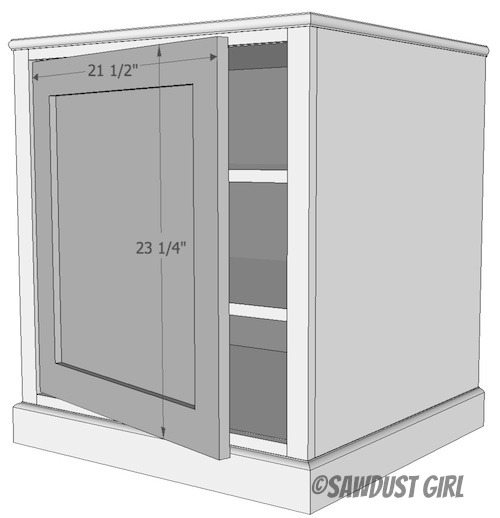
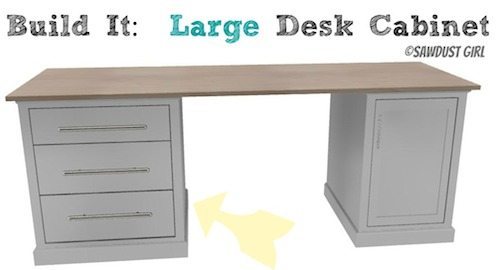
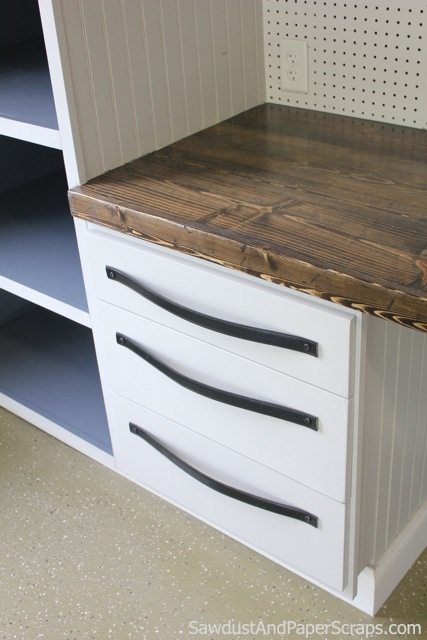
This large desk cabinet is one of the three simple pieces included in the Madison Avenue Collection. Both desk cabinets are 28 3/4″ tall, which is a good general height for a desk. Use an identical pair of base cabinets or use one of each, large and small desk cabinets, topped with a countertop, to create a stand alone desk. (Which is the configuration shown below.)
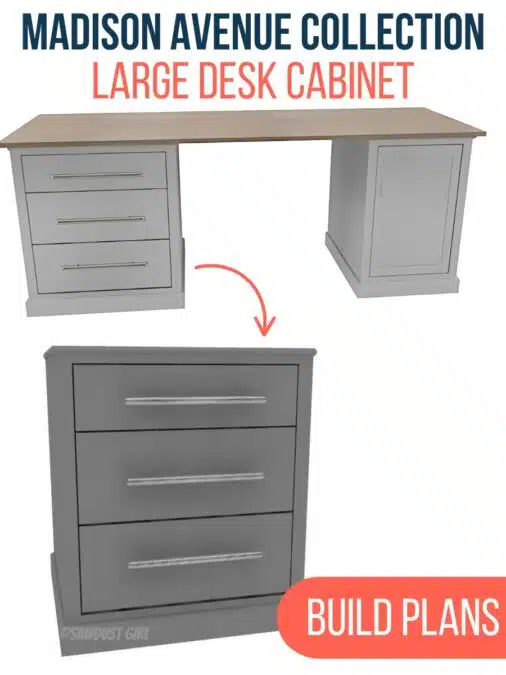
Build a Madison Avenue Large Desk Cabinet
Materials:
- 1×2 poplar (for painted cabinet) other hardwood (for stained cabinet)
- 3/4″ plywood (cabinet case and top)
- 1/2″ plywood (back panel)
- 1 1/4″ pocket screws (for 3/4″ plywood)
- 1″ pocket screws (for 1/2″ plywood)
- Pocket hole jig
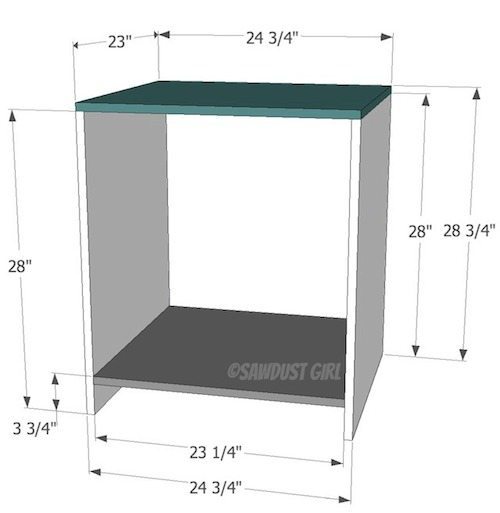
Step 1: Build Carcass
- Use 3/4″ plywood for the cabinet case.
- Use 1 1/4″ pocket screws with all screws on the inside of the case.
- Refer to how to build a cabinet using pocket hole screws for more details and help with this method if you are new to it.
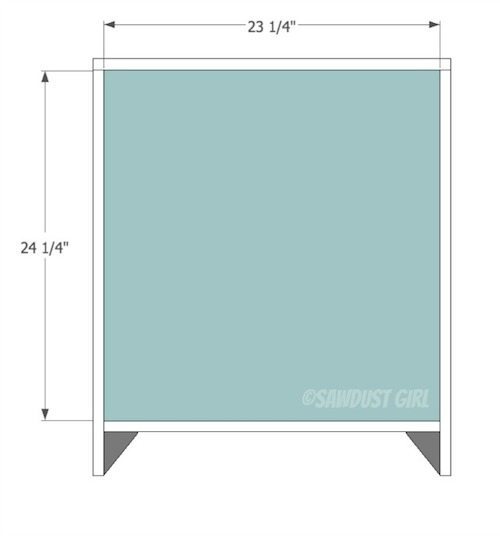
Step 2: Secure Cabinet Back
- 1/2″ plywood back panel added INSIDE the cabinet box
- Secure with 1″ pocket screws — holes can be on back or front (if you plan on the back of the cabinet being visible while in use)
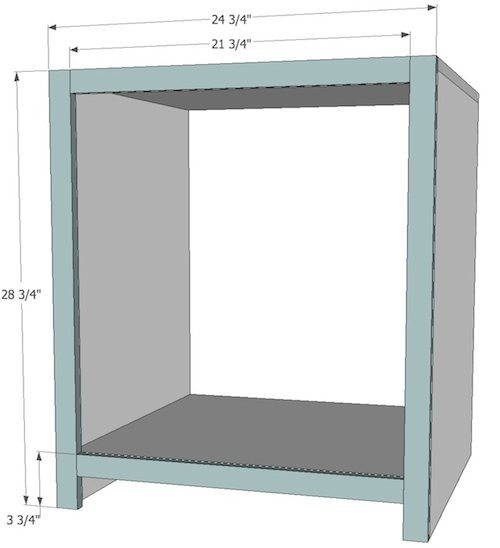
Step 3: Build and Attach Faceframe
- Use 1×2 hardwood for the faceframe
- Poplar (not truly a hardwood but good choice for painted furniture)
- Hardwood that matches your plywood for stained furniture
- Use 1 1/4″ pocket screws to build and attach.
- Refer to How to Build and attach a Faceframe tutorial for more details and help with this step if you need it.
Step 4: Build Drawers
- Use width and depth dimensions below to build drawers using my How to build a Drawer tutorial
- If you want to make a hanging file drawer here is a tutorial showing you how.
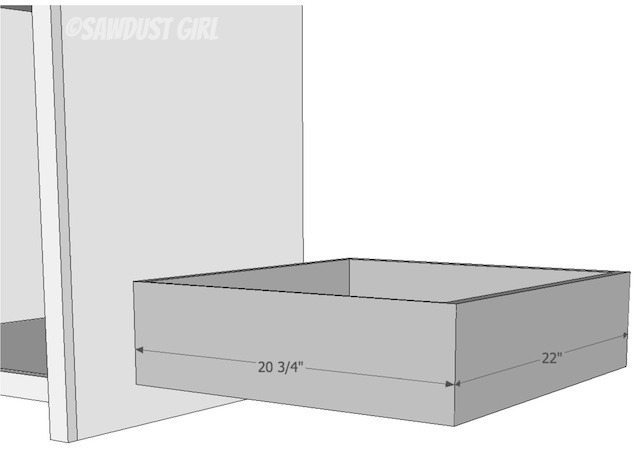
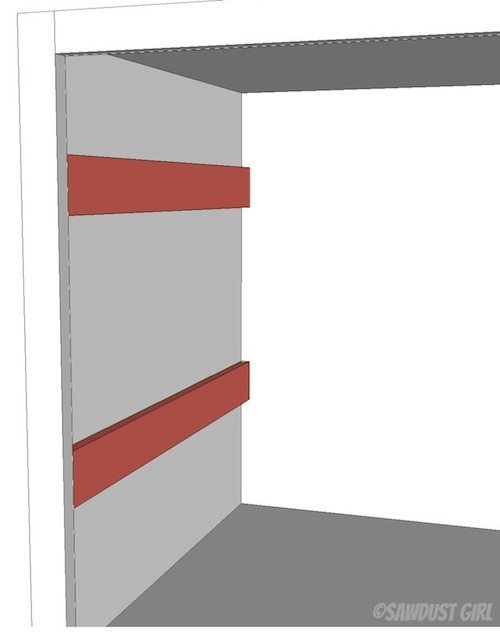
Step 5: Install Drawers
- Install 1/2″ cleats behind face frame where you plan to install drawer glides
- Use my How to install Drawers with Glides tutorial for more help
- You can install your drawers flush with the front of the face frame if you plan on adding overlay drawer fronts or behind the face frame for inset drawers.
- I now almost exclusively use Blum cabinet hardware which require different sizing and drawer prep than the 1/2″ side mount glides do.
Step 6: Build and Install Drawer fronts
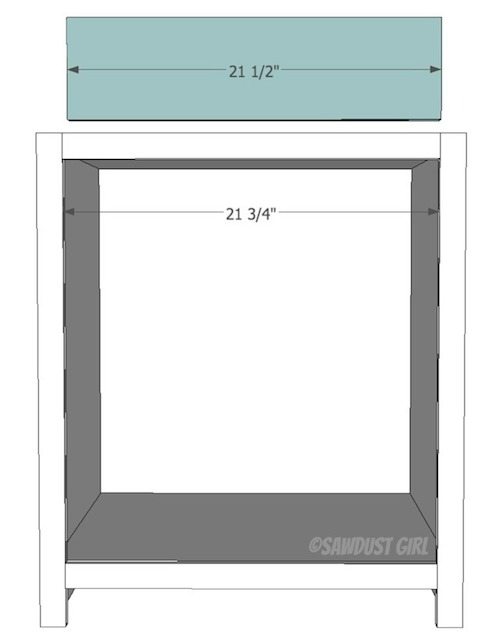
- If doing inset drawers, you’ll want to leave yourself about 1/8″ clearance on all sides
- If doing overlay, decide how far you want the drawer front to “lay over” your face frame. 1/2″ is common but you can do the full width of your face frame or anything in between.
- Refer to my tutorials for more details and help
- How to Build a Drawer Front
- How to Attach Drawer Fronts
Step 7: Add trim
- Use trim to cover raw plywood edges if you plan to stain. If painting, you can easily fill and paint plywood edges.
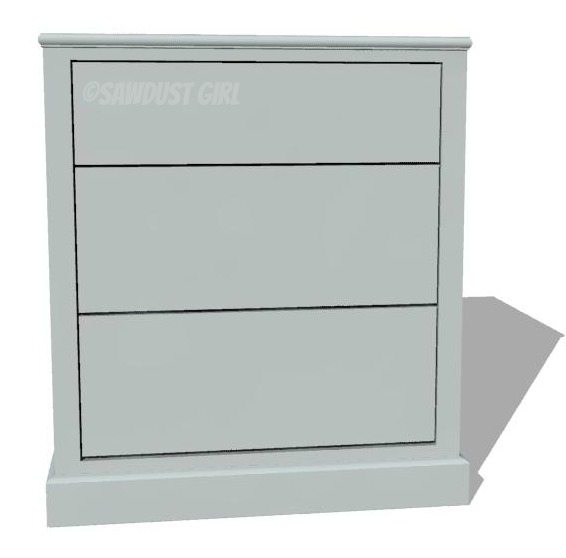
I used two cabinets this size with two large drawers in My IL House craft room. I did a recessed toekick rather than one applied to the front. If you want to do that too you can refer to my Cabinet and Built-in Building Basics tutorial.
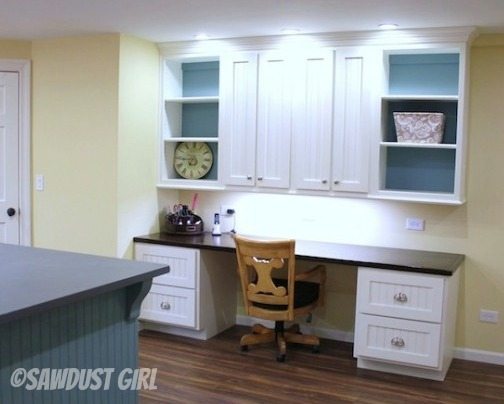

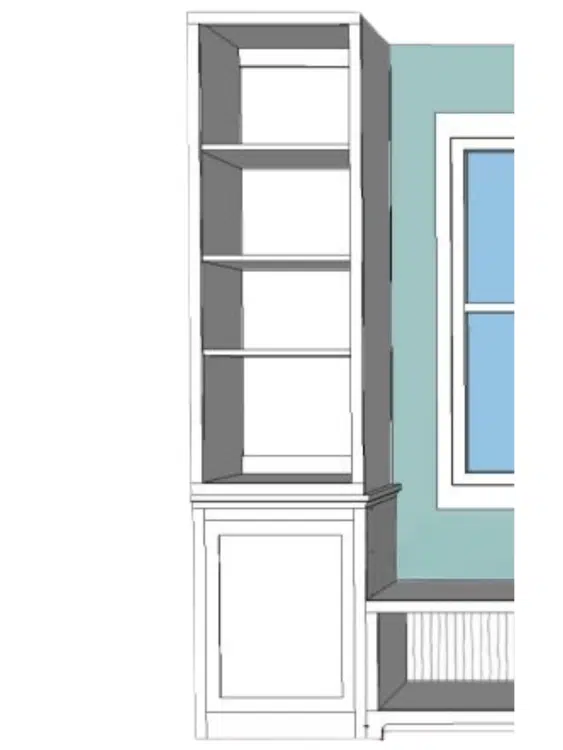
This desk shows one large desk cabinet and one small desk cabinet topped with a countertop (which I have many tutorials for) but you can use two identical cabinets if you prefer. That’s the great thing about building your own furniture – you can make it however you want! You might also want to check out the bookcase that fits on top of the large desk cabinet in the Madison Avenue Collection.


Very cute. I have a question for you. Which software are you using for your ilustrations and plans??? Thanks Sn regards from México.
Cool. I’ll build these someday. 🙂
Awesome! Loving the tutorials and the links to other possible ways to configure!