I wanted substantial shelves in my small hallway closet without visible cleats or brackets. These floating shelves are created by constructing 2×2 frames that are attached to the walls and then wrapped with wood.
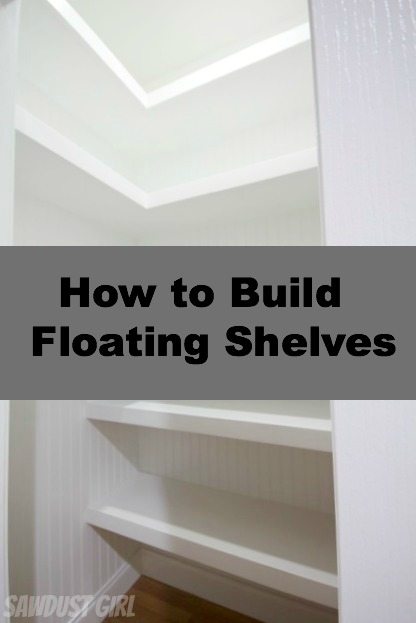
How to build corner floating shelves
Materials used:
- 2×2 lumber
- 1/2″ plywood (top of shelf)
- 1/4″ plywood (underside of shelf)
- 1/4″ beadboard for walls
- 1×3 poplar (for shelf face)
* I ripped my own 2×2 out of 2×4 and 2×6 lumber because I couldn’t find 2×2’s that were straight enough for my liking. If you don’t have a good table saw spend a lot of time picking out the straightest 2×2’s you can find. You’ll be glad you did.
1. Mark your studs on the wall
I marked my studs on all walls using a stud finder.
2. Attach 2×2 cleats to the studs on the wall
Attach 2×2 cleats to the wall using 3″ construction screws. My shelves are spaced about 16-18″ apart.
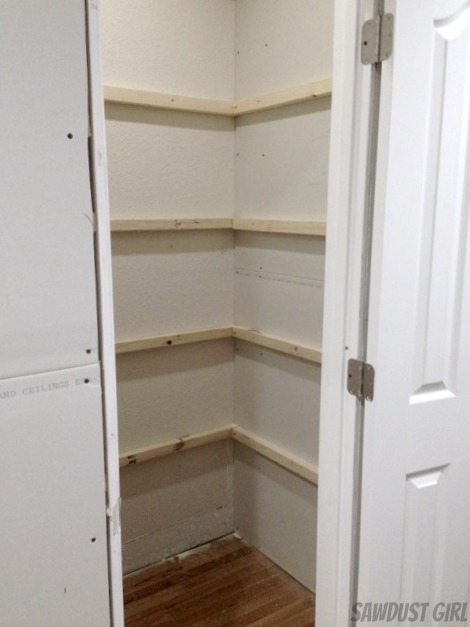
Next, I determined the depth of my shelves. The bottom two are deeper at 14″, and the rest are 12″ deep. I also left a space at the bottom on the left side where I could store my vacuum and other tall cleaning supplies.
3. Build shelf skeleton with more 2×2’s
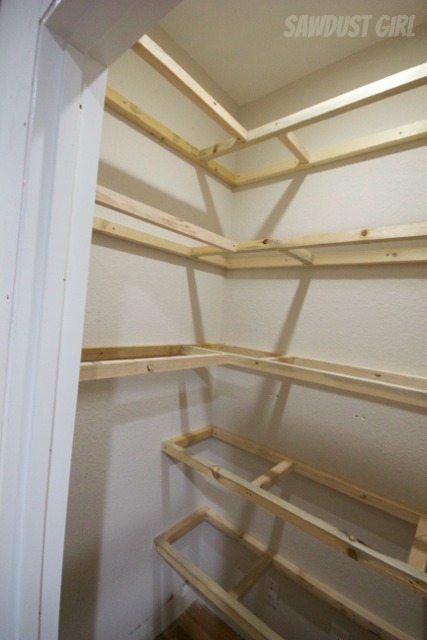
I used more 2×2’s to create the “skeleton” of the shelves. These I secured with 2 1/2″ wood screws, driven in at angles to secure them to the initial 2×2 cleats. I filled in the shelf skeleton with 2×2 support braces about every 18″.
I covered the walls with beadboard and it’s easier to paint the beadboard before it’s installed. If you aren’t adding beadboard skip ahead.
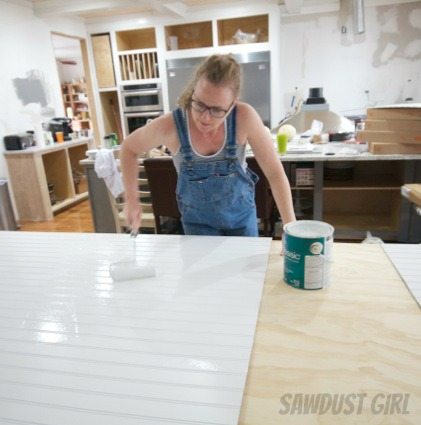
Then I cut my beadboard into strips to piece in between the 2×2 cleats.
*It would have been 100 times easier to cover the entire closet with beadboard BEFORE I started installing the shelves but I had a bunch of scraps cluttering up my workshop so I decided to make my life difficult and use them up to save some money. (And to be honest I didn’t think it would be quite as big of a pain as it ended up being piecing it together.) I would not do it that way again.
4. Cover 2×2 skeleton with plywood and hardwood
Next I cut 1/2″ plywood to size and nailed it on top of my braces. Each U-shaped shelf uses 3 pieces of plywood. I made the seems as tight as possible and added glue to the seem to keep it secure long-term.
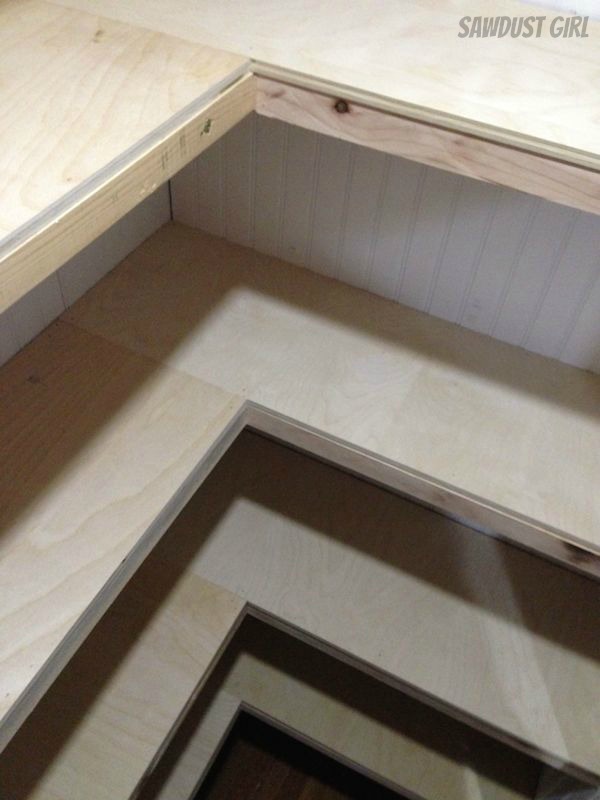
I used 1/4″ plywood on the bottom and nailed it to the 2×2’s. Not worrying too much about making the seams perfect. Wood putty and caulk are my best friends with a painted project.
I framed the front edge of the shelves with 1×3 poplar. Filled all the nail holes and sanded.
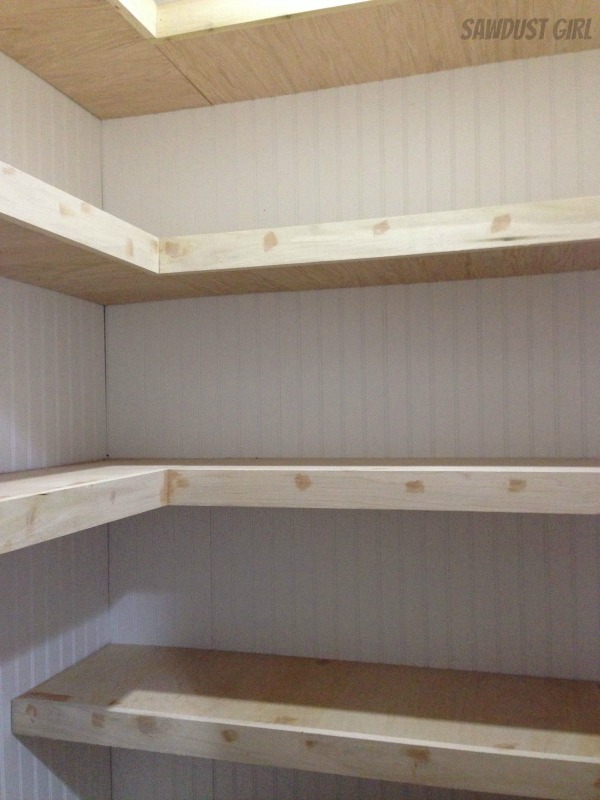
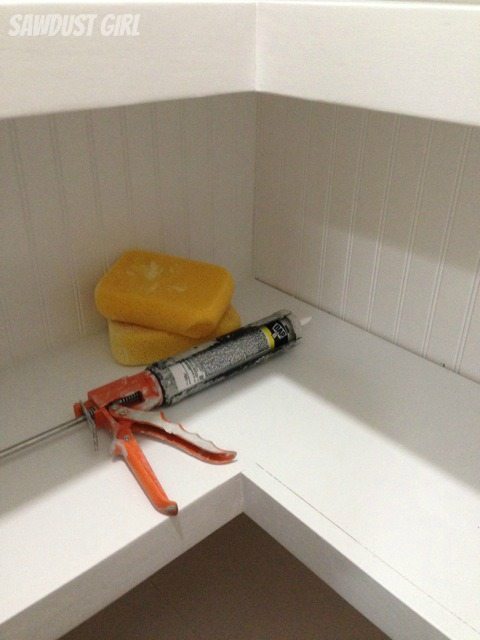
Then used lots and lots of caulk!
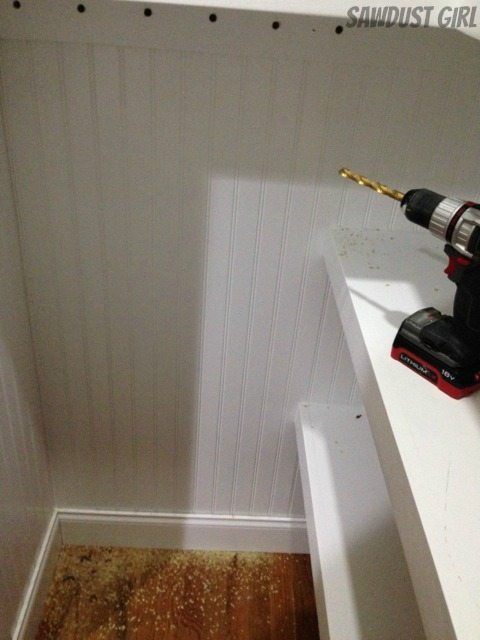
I added a 4″ wide strip of poplar on the left side to add pegs in case I need to hang anything.
Once everything is painted and caulked, it looks awesome and was worth every minute of the week and a half it took me to knock it out.

See Hall Closet Reveal pictures here!

kristin says
Too funny! Thanks for the show-how. They are beauties and besides Sandra–you never do anything half-ass!
Courtney says
Thank you for my morning fix of Sawdust (Girl)! I was actually lying in bed last night, thinking about your shelves and wondering why you didn’t put the beadboard up first! ;). What a way to save $20!
Janis says
Beautiful! I wish I had a utility closet like this.
Val says
Hi Sandra,
I just have to tell you how happy I am to have found your site! Your tutorials are well-written, funny, and to-the-point. These shelves look beautiful! Have a great day!
Val @ artsybuildinglady.blogspot.ca
Michelle says
Question…are you using the shelves for towels at all? I’m wondering if I could do this for my closet that holds everything including our bath towels etc. Looks so great, I’m very inspired
Josie says
I love them Sandra! Like Kristin said, you never do anything half-ass! hahahahahah
Mary R says
What a great tutorial…..thank you so much. Your work is fabulous and inspiring. I am definitely going to put these in my pantry.
Suzanne B says
Thank you. I had been looking to do some floating shelves in my bathroom but I was not crazy about some of the ways I was finding instructions on them.
Serena @ Thrift Diving says
Yep, I am going to do these in some part of my house! Thanks for the tutorial! 🙂
Serena @ Thrift Diving
kim massa says
thanks for the explanation/demonstration, this is staying in a file for late use 🙂
Cynthia@OrnamentalStyle says
I swear this is the most beautiful closet I’ve ever seen. I’m in the middle of a closet renovation myself but it’s not going to be nearly as beautiful. It will be functional though! It’s a small bedroom closet (used as my studio) so I took down the crappy, sticky wire shelves used for hanging clothes and am installing 1/2″ plywood shelves (stained walnut) in an L-shape (not enough room for a U-shape as the door opens into that third wall). 18″ shelves x 48″ along the back wall and 12″ shelves x 36″ along the side wall, supported by brackets fastened to the studs. Seven boards high! I hope it works! Boards are cut and stained, closet is emptied and holes patched. Today is painting the closet and hopefully tomorrow the shelves will go up. I’m inspired by your pegboard because I will have room for one. Sorry but I’m rambling! Some days are like that.
Amy says
Love it! What are the dimensions of your closet? I’ve been considering something like this. Love your site and projects!!! Thanks!
Colleen says
You are talented! I’m currently trying to re-do small entry way closet. Almost painted, but I got paint all over my floor.
Kim Lewis says
This is so awesome! Thank you for sharing your journey! It’s so inspiring and motivational!
Patrice Angiuli says
You make it look so easy! Beautifully done.
Dale says
How big of span can you go with floating shelves? Is 8 feet to big of span?
Sandra says
I would only do 8′ if the shelves were very shallow. Otherwise, look into metal supports that you secure to the studs. Rockler has them…they’ll make 8′ shelves very sturdy!
Drew says
QQ on the measurements. If you used a 2×2 plus 1/4 and 1/2 inch plywood, wouldn’t the total thickness of the shelves be 2 1/4 inches (based on an actual 2×2 thickness of 1 1/2 inches)? Did the 1×3 (2 1/2 inch actual size) hang over by 1/4 inch?
Drew says
Hi. These look great. Did the 1×3 facing exceed the total thickness of the shelves? The 2×2 (1 1/2 inch thick) plus the 1/2 and 1/4 inch plywood would be 1/4 inch less than the facing, right?
chris says
How much weight will they hold?
DonnaTN says
Beautiful job, but it SEEMS to me that the word you want, that you MEANT to use was “seams”, not “seems.”
?❤️?
Gorgeous pantry!!
Sandra says
Probably.
Mary says
Beautiful shelves. But on #2 you say “attach cleats”. What do you mean by cleats? What do they look like?
I want to do this but not sure how. If I nail or screw 3″ nail into 2″ strip, that means screw only penetrated 1″ into stud? Is this right? Appreciate you clarifying this for me.
Sandra says
The cleats are the 2x2s that you see in the photo under step #2. Dimensional lumber isn’t the actual size that the name states so 2x2s are only 1 1/2″ squares. You will sink the 3″ screws into the wood so you’ll grip more of the stud. With a screw in every stud, that will be a lot of strength.
Laura says
What kind of paint did you use on the shelves? Will it scratch?
Henry burnell says
I want to use this idea for a pantry that will have can goods and such. Are the shelves strong enough for that weight. Thank you.
Sandra says
I have canned goods on mine. The width and depth of your shelves will determine the strength.
Danny says
How much weight can each shelf hold. I love your work.
Jessica Katz says
Made mine following your instructions. First time building something without measurements I had to find on my own. Lol learning curve for sure.
Andy Tuzinski says
Are the 2×2’s that you rip 2×2 actual or 1 3/4 by 1 3/4?
Brittany says
Can you tell me what color white you used to paint the beadboard and the type of paint? Thank you
Geoff says
Thanks for the ideas and details! I redid my pantry using your plans, really happy with how it came out! https://imgur.com/a/cfQ3Z75
Sandra says
Looks awesome! Thanks for sharing.
Kassie Beach says
Love the shelves. I am in the middle of completing these in my pantry. What type of caulk did you use to fill the gaps? Also, do you need to add some sort of protective sealant for the paint to avoid scratches?Thank you.
Sandra says
I’m not married to any one type of caulk. I currently like DAP Alex Plus which is an Acrylic Latex Caulk Plus Silicone.
I use Sherwin Williams Pro Classic (water based) paint for cabinets and trim. It hardens really well. It’s still paint and can scratch but so can wood, metal, stone… There’s no product that will make your shelves not ever scratch.
Billy says
For joining the support pieces of the skeleton frame and the 2x2s not attached to the wall (most outward pieces), did you use pocket screw holes or drill in screws at angles via the sides?
Sandra says
I don’t remember. Probably either would work.
Aleana says
Thank you for the tutorial! Could I do these style shelves with 1×1’s instead? I’m trying to put as many shoes as I can fit and get as many shelves as possible! I was going to make them 24inch deep. Would 1×1 be strong enough? Was thinking 1/4 inch or 1/2 inch tops? :)) The shelves will be an L shape 67 x 47 x 96 tall.
Sandra says
67″ and 47″ are quite long spans and 24″ is very deep. I think in this instance I, personally would have a support at the junction.