Installing A Mirrored Pocket Door
I’m so excited to tell you that I’ve finished 2 (yes–TWO) projects this week! One is the mirrored pocket door that leads from Madison’s bedroom to the Jack and Jill bathroom. I love pocket doors. They don’t take up floor space and they don’t ever smack an unsuspecting occupant standing on the opposite side of said door.
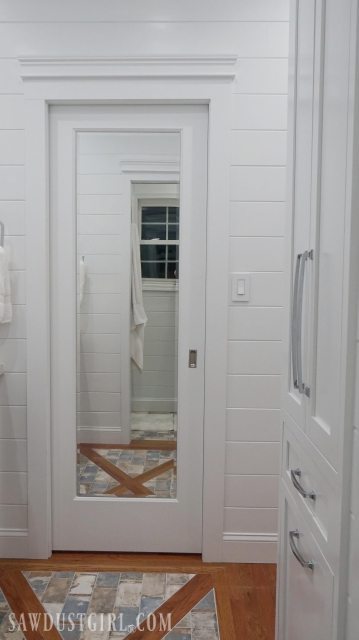
A mirrored pocket door is a double whammy, because you get a door AND a mirror in one!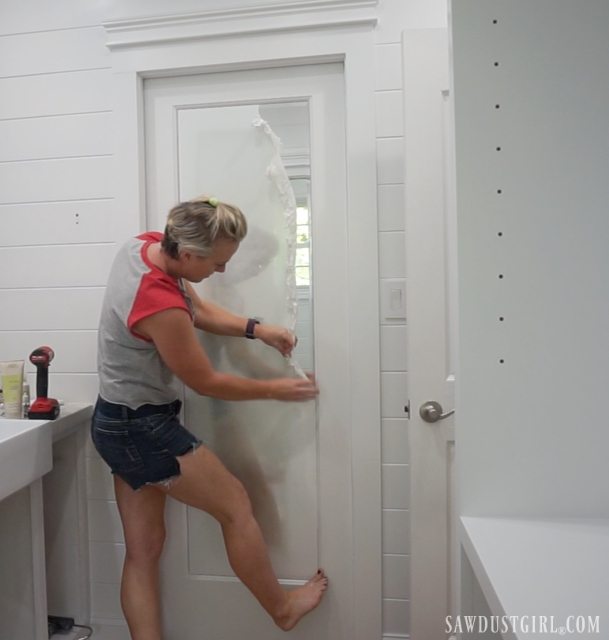
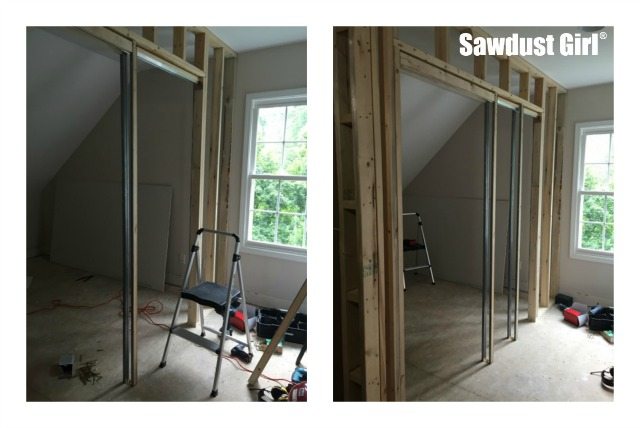
Pocket Door Framing
I installed in the pocket door frame (about a year ago) when I was framing the Jack and Jill bathroom. (But I’m not judging myself.) I would have made every door a pocket door if I could have. It wasn’t possible because of pipes and lack of wall space.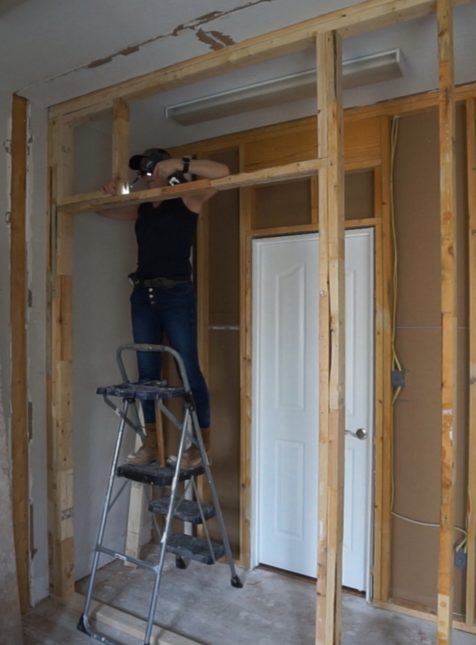 Pocket door tracks have to be twice as long as the door. Half of the track has to be enclosed in the wall so the door can slide out of the way. So using pocket doors requires sufficient IN wall space. You can’t just use them willy nilly, wherever you want. (But I wish.)
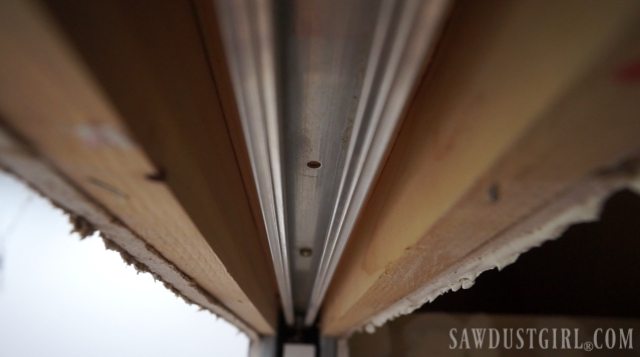
This particular door is in the entrance from Madison’s bedroom. It enters right next to the double vanity. I didn’t want the possibility of her door swinging into the room and smacking someone that may be brushing their teeth, or putting on mascara. 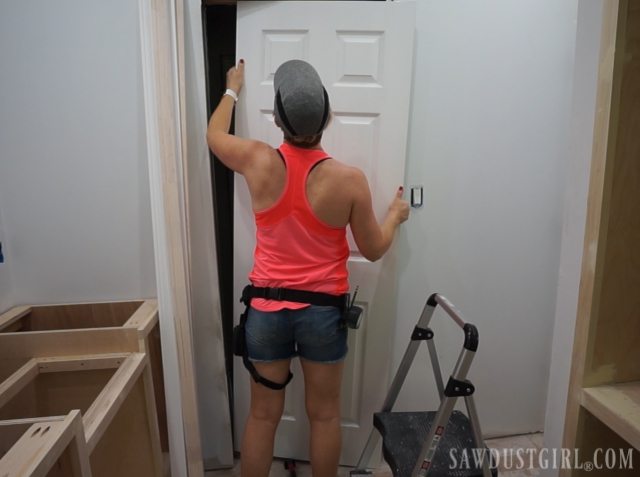
Mirrored Door
With these tracks, you can use any traditional door. You do have to frame the door opening for the height and width of the door you’re using. I could have used one of the doors I had removed from the old closets or bathroom. BUT I wanted a full length mirror in the bathroom and there’s no wall space for one. So I searched for a mirror door that I could use.
Have you ever noticed how difficult it is to find exactly what you want, when you’re looking for something specific? I finally found on one Lowe’s website. (Details at end of post)
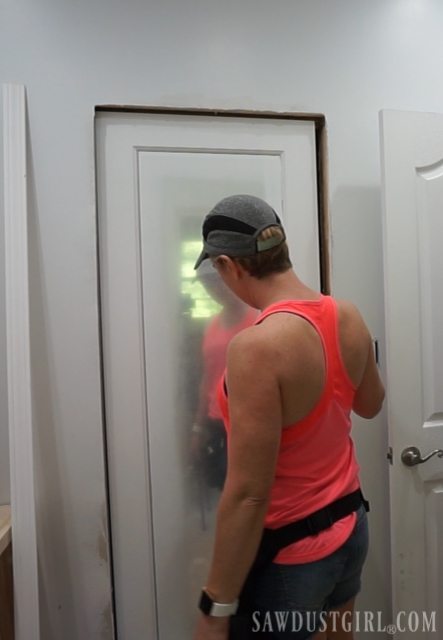
The mirror panel is square and the other doors in this house have arch details. I spent a lot of time thinking about if it was going to bug me that the door details were different. These are the things I lay in bed thinking about while I try not to think about things so I can finally fall asleep at 2 am.
I decided I was pretty sure it wouldn’t bug me and that I’d probably really like it once it was trimmed out and cleaned up.
Sometimes you come to a point where you can’t tell how you’ll like the finished product. But you have to make your best guess and move forward, one way or another.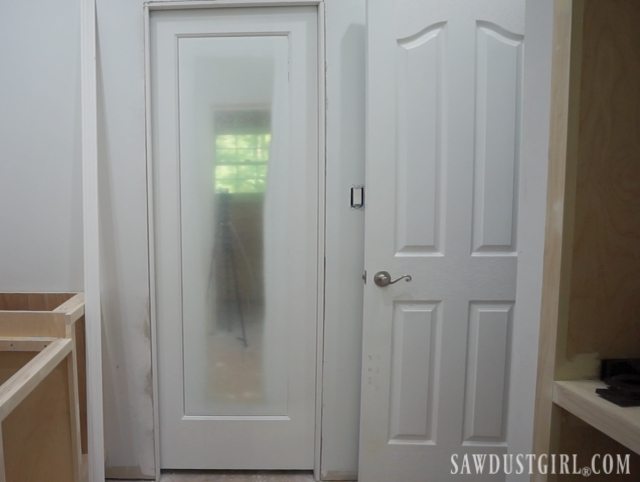
Trim, Planks and Paint
I moved forward and trimmed out the door.
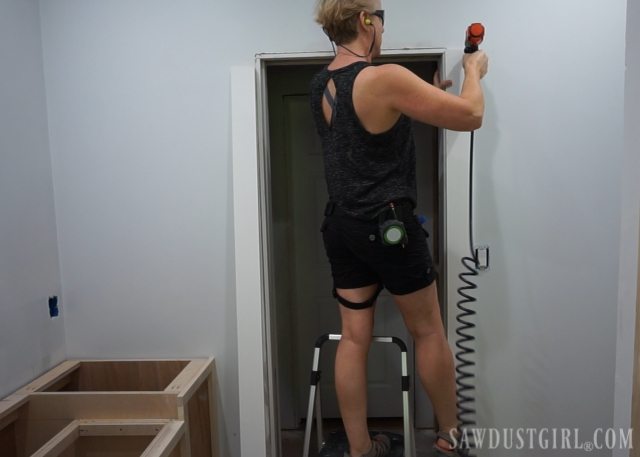
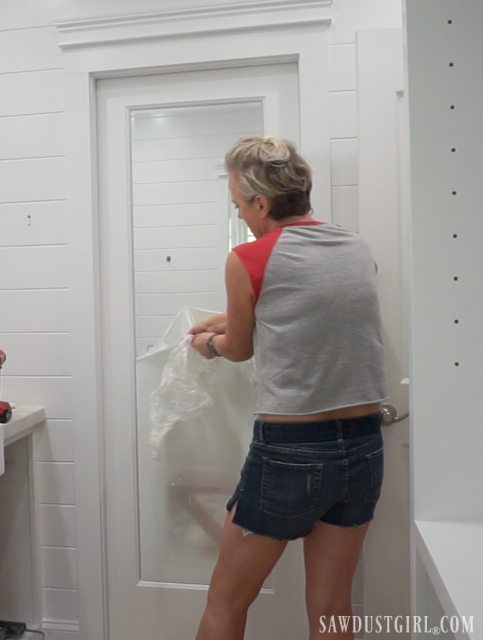
And planked my walls and painted everything! Then the exciting moment of pulling off the plastic!
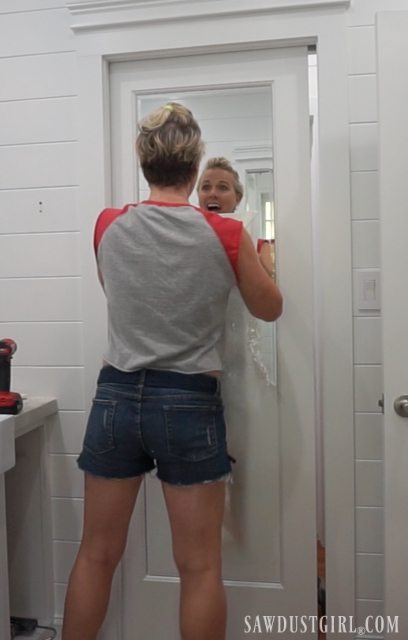
It was surprisingly difficult to pull that stuff off! But it sure did a good job of keeping the mirror protected while I sprayed it.
Recessed Door Pull
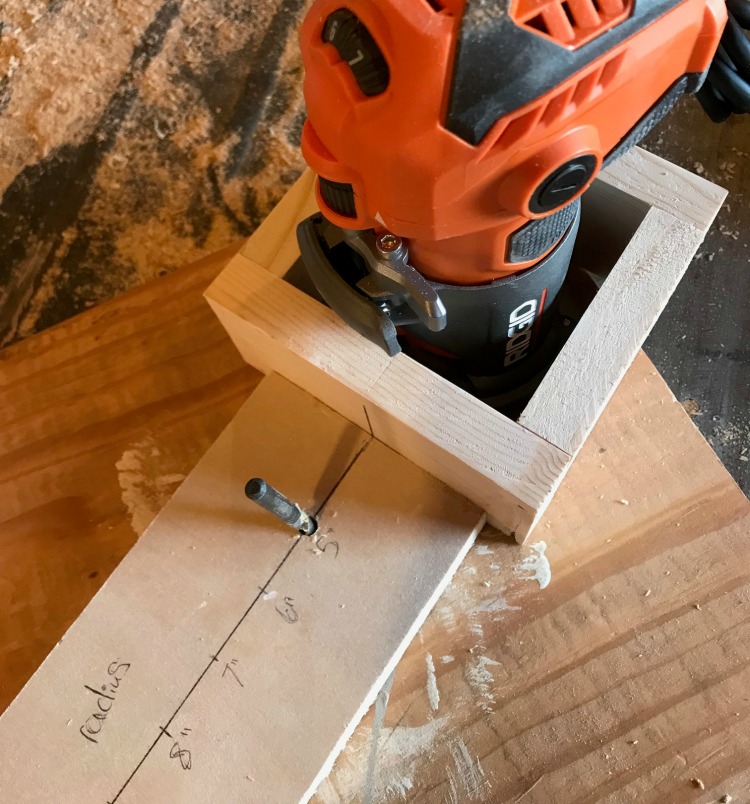
Lastly, I had to cut out a recess on both sides of the door for pulls. I drilled holes in the corners of area I need to remove thinking I’d use a palm router and clean out the rest. Drilling the small holes created more fine dust than I expected enlightening me to the fact that I was dealing with MDF.
So I went for a chisel instead of a router.
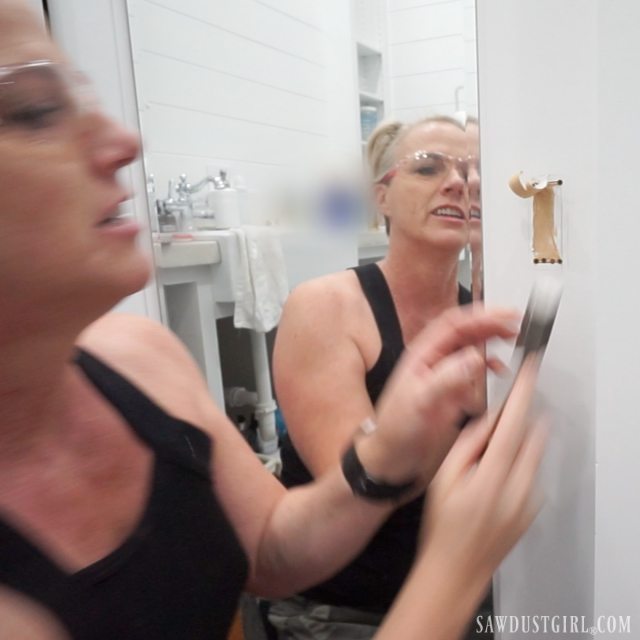
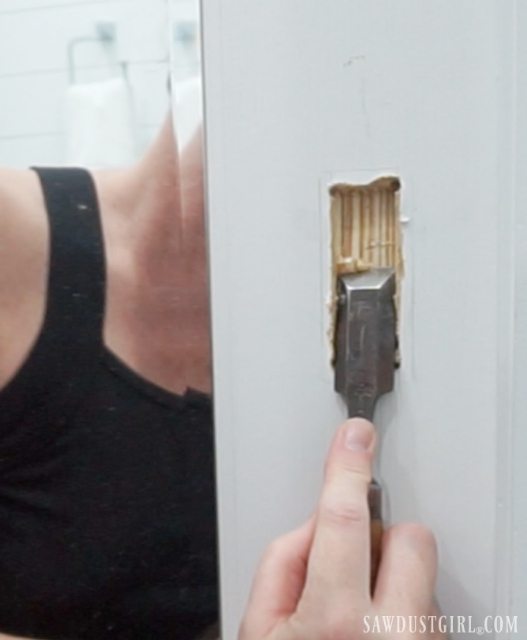
Chiseling leaves you with “chips” you can sweep up (as apposed to a blizzard of MDF dust the router would have created).
Plus, using the chisel was really satisfying. Therapeutic maybe. I need to use my hand tools more often. Slow down and smell the roses…
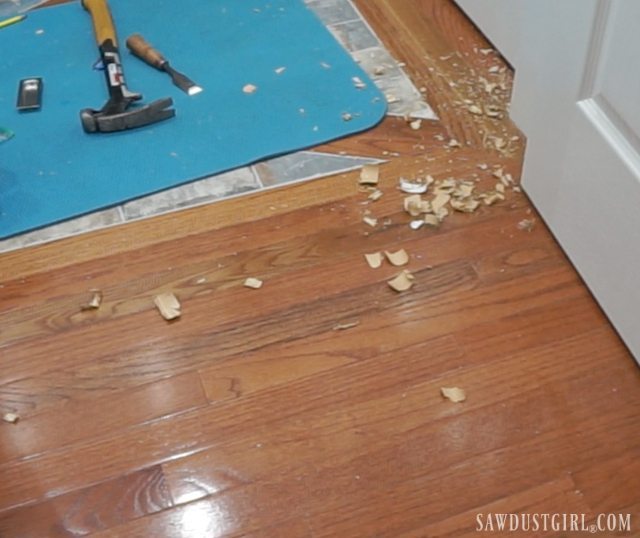
Then I installed the pulls and now we can open the door without touching the mirror. Boom, done!
Funny that this little detail is the thing that Madison most appreciates about all the projects I’ve been completing lately. I don’t think she’s at all impressed with the “in wall” toilet paper cabinet. Teenagers. Am I right? LOL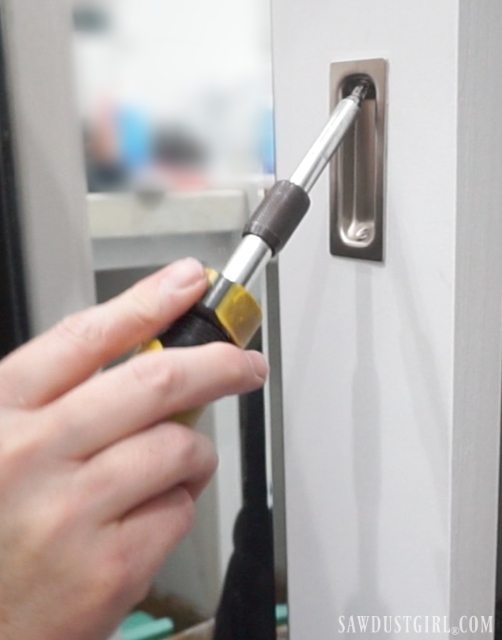
Now that it’s done, I love it. It’s a full length mirror that doesn’t take up any wall space. It reflects light and makes the bathroom feel more spacious. And the door slides into the wall so it IS more spacious. All good in every way.
So that’s one of my finished projects. You can see another one in this picture. The linen closet is done! So I’ll see you soon with more bathroom updates. Yahoo!
(I’m totally feeling less slumpy these days. Thank you for your encouragement and suggestions to take small bites out of big elephants — one at a time.)
The Door – what you don’t see from the website description
More detail on this mirrored door for those interested in purchasing one. The description on Lowe’s website doesn’t tell you a whole lot. I like it well enough to keep it. Also, I think it was the only mirrored door I could even find without special ordering one for $500. This Hollow Core Mirror Molded Composite Slab door was $188.
The border is pine covered with about 1/4″ MDF on each side. (Which I know because I had to chisel out for the door pulls.) The mirror is beveled and looks lovely from arms distance. But when you get close, you discover that the mirror is just glued to the front of the door. Paper towels will get caught on the corner and tear when you clean the mirror. If I had known this upfront, I still would have purchased it. But the photos are a bit deceiving. The mirror being recessed gives the impression that the mirror is framed. Like the edges of the border detail cover the mirrors edges. But

Hi there! Looks great! Would you mind sharing the baseboard & door trim you used? I am updating my bathroom & pocket door and I Love the look. Thanks!
I don’t know names for the trim I use. I go to a building supply store and buy what I like.
Interesting that you mention that the mirror is glued onto the door pocket door. I was thinking of ordering a slab door to use in a Johnson pocket door for my closet to bathroom transition. I was thinking it might be more cost effective to glue a mirror onto a single panel slab door. Sounds like what they did there, but I was not sure if it would allow for clearance into the recessed door frame. Amazing job! Looks beautiful!
Great job on the pocket door. You do good work. We are remodeling our master bath and want to install pocket doors. The one you used with a mirror would be perfect. You found that at Lowe’s? How long ago was that? Is it a 24×80 with 6 panels on the back side? Did you use a Jeld-Wen pocket door frame? I wonder how their brand compares with a Johnson pocket door frame. Sorry for all the questions. Just want to determine if it is an item I want to use. Many times I go to Lowe’s and there is no one there with the knowledge I need to make a decision.
No I used Johnson hardware for the frame. I have used those many times and I like how they install and function. The mirrored door is 6 panel on the back and it is from Lowe’s. It was difficult to find. I thought I had a link in that post. It was in 2017 that I purchased mine.