How to hide seams in Beadboard
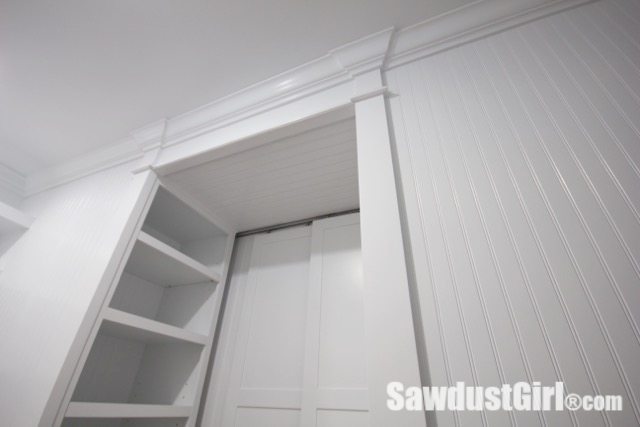
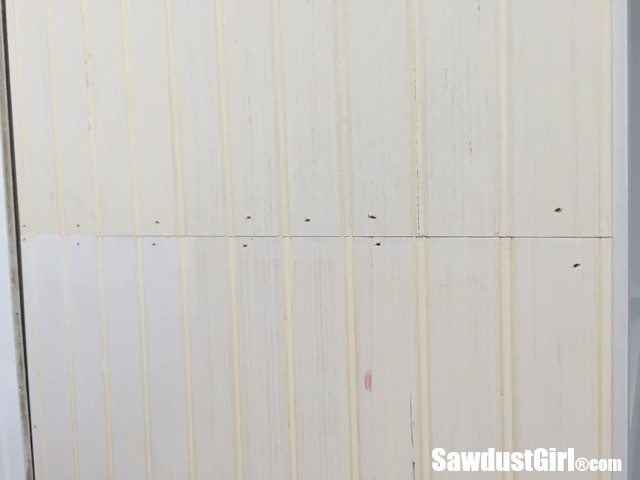
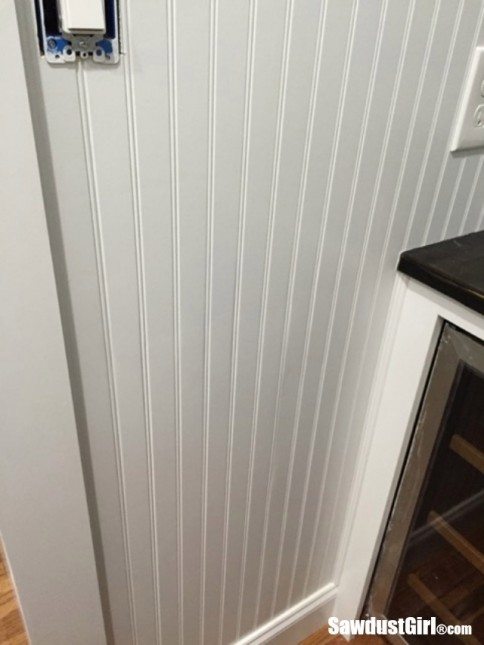
I often install beadboard to the sides of built-in cabinets in addition to using it as a decorative element on walls and ceilings. The most cost effective beadboard material I have found is 4×8 paneling sheets found at most home improvement stores. If 8′ isn’t tall enough, you have to install multiple pieces and the butt joints are pretty obvious. You can hide the seam with trim or some wood putty and elbow grease.
1. Select the Right Material
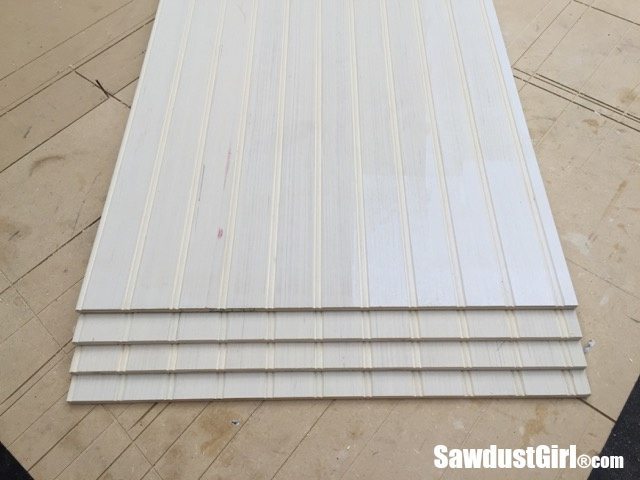
Beadboard paneling comes in 1/4″ thick MDF or plywood sheets. The size of the bead and width of the V-groove will often vary by material or even sheet to sheet of the same material. The most important thing to pay attention to is making sure the grooves and beads line up with each other when you stack them, end to end.
2. Attach beadboard firmly to surface
Make sure the beads and grooves line up as perfectly as you can get them before securing them. in addition to brad nails, I use caulk as adhesive. It may not be necessary to use adhesive on the entire panel, but apply it on the area where the seam is being created. The objective is to prevent future movement and cracking in the wood putty which would reveal the seam.
If applying to a wall, use adhesive on the whole sheet, adding nails where you have studs.

3. Apply wood putty
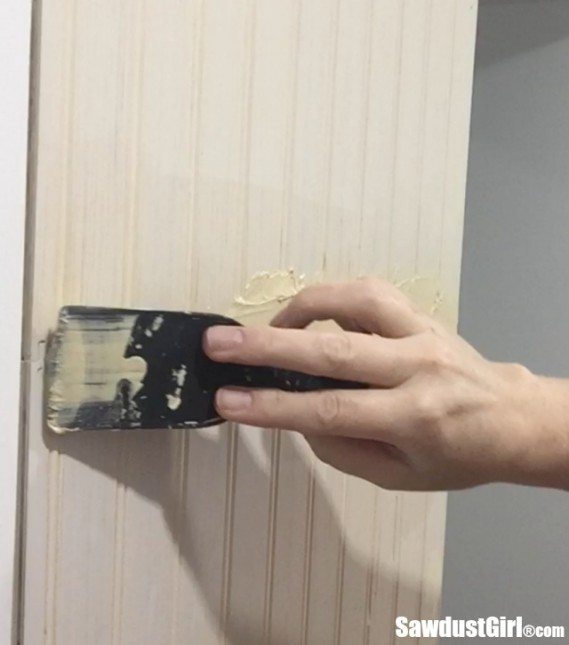
Apply your favorite wood putty generously, making sure to press it into the grooves and fill all the nail holes. In order to build up a strong patch over the seam, spread on an ample supply of wood putty. Then use a wide putty knife to feather it out, sreading a portion of putty both above and below the seam. Feathering it out and spreading the wood putty over a larger area will help hide the seam.
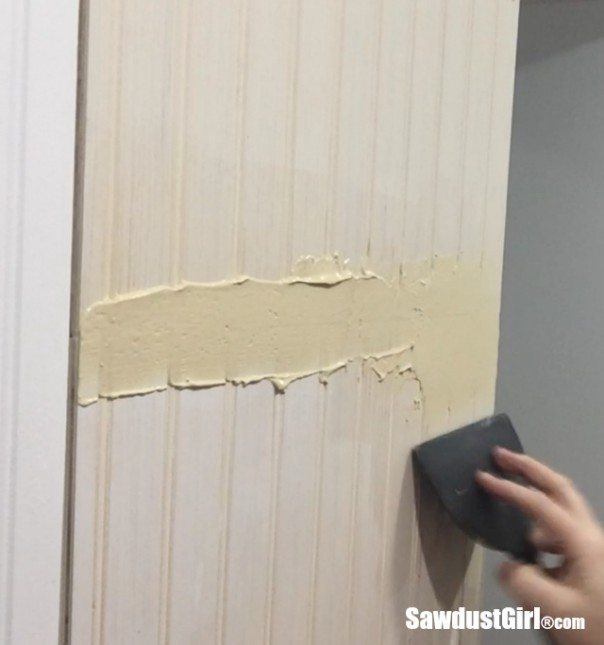
4. Clean wood putty out of grooves
Use the corner of a putty knife to scrape the putty out of the grooves. In some areas you may find that this action reveals the seam. If this happens, reapply putty in that area and take less out when scraping the groove. You may have to use your fingers to shape and round the wood putty over the beads.
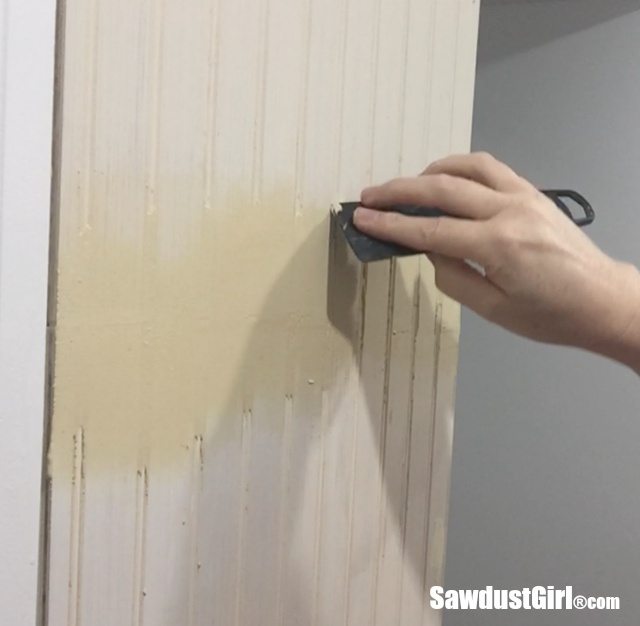
5. Sand face and grooves
Face
Wait for the putty to be completely dry before sanding. The flat face of the beadboard can be sanded with a fine grit sanding block or using an orbital sander. Either way, use gentle pressure and only take off a little at a time so you don’t remove too much putty and reveal the seam.
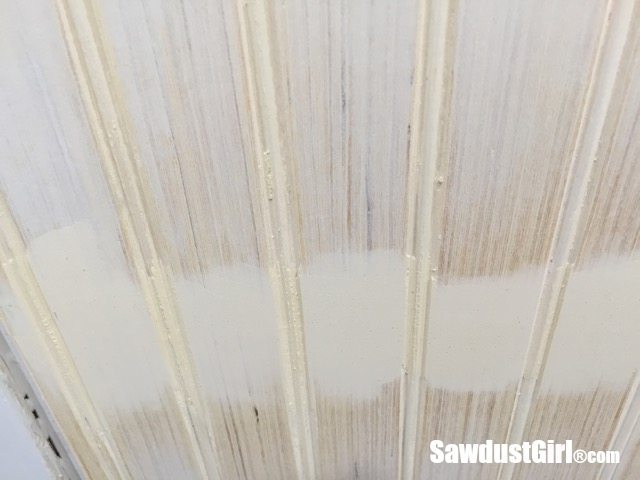
Beads and Grooves
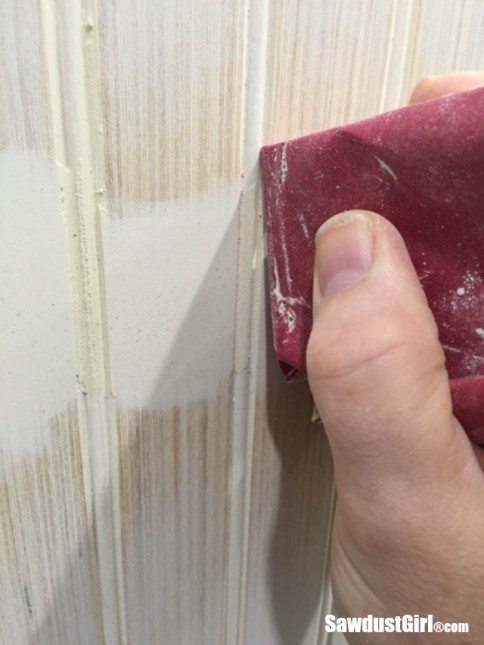
I like to wrap a putty knife is sandpaper to create a thin, stiff, and flat sanding block. (I start with 120 grit sandpaper followed by 220 grit.) Using a gentle up and down motion, sand all the beads and grooves. You’ll probably have to reposition the sandpaper frequently because there is such a small area of sandpaper surface being used.
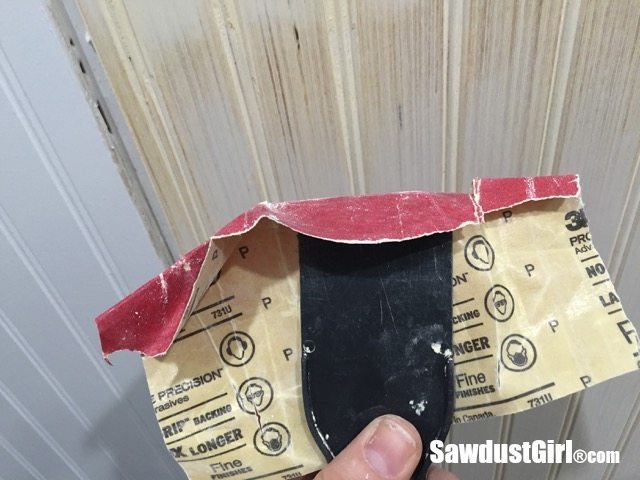
6. Decide if you can move forward or need to repeat a few steps
Once the whole seam is sanded smooth, look at it with a critical eye from multiple directions. Decide if it looks really good or needs another coat of wood putty. If it needs another coat, go back to step 3 and repeat.
7. Prime
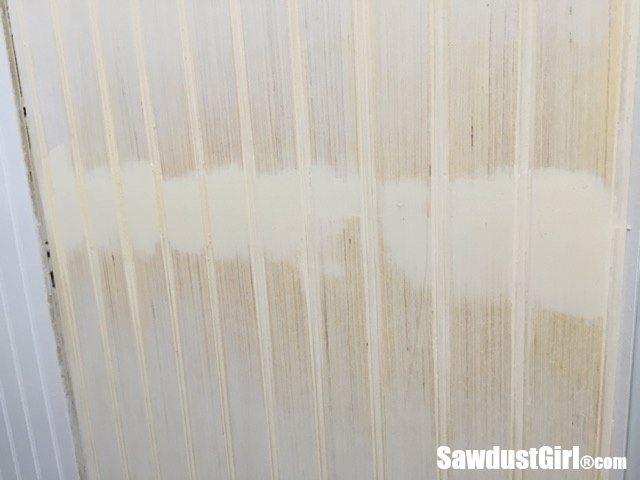
If it looks great, prime it. The primer will accentuate any and all imperfections. If any imperfections are revealed that you don’t want to live with, repeat the necessary steps to hide the seam to standards you can live with.
8. Paint
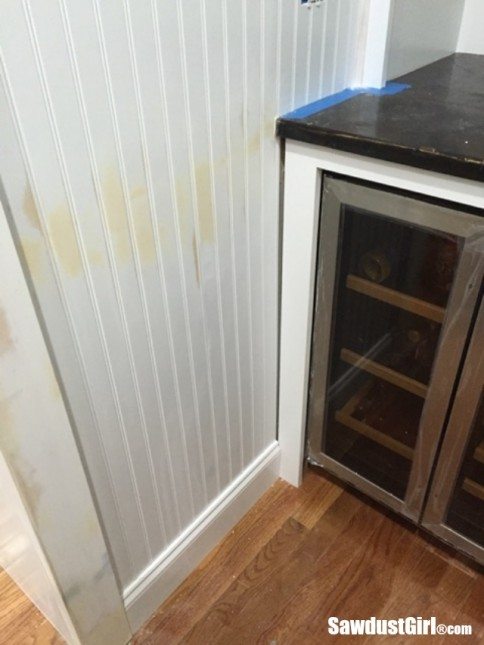
Once you decide the hidden seam looks great, go ahead and paint the beadboard.

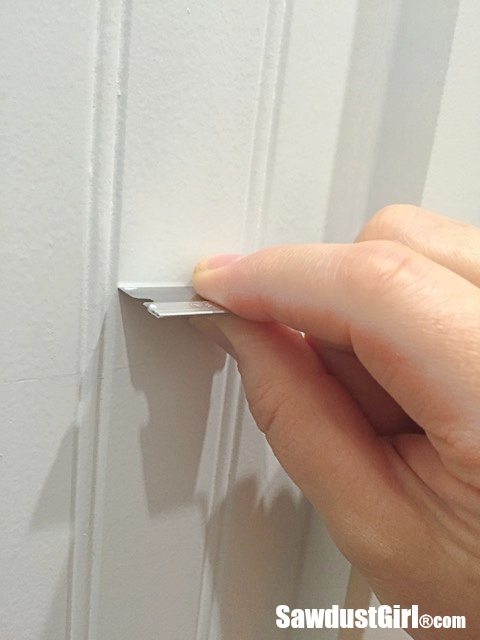
Tip: If after painting you see a visible hairline crack, scraping the paint with a one sided razor blade might do the trick. Hold the blade at close to a 90 degree angle and gently scrape across the crack/seam. If the first pass doesn’t do anything try again with a little more pressure. This trick only works with very small seams.
If you’re still not happy with the hidden seam, you can keep perfecting it until you’re happy with it.
