• Home
  • About
    • Personal Posts
  • Privacy
  • Shop
    • My Account
    • Checkout
    • Email
    • Facebook
    • Instagram
    • Pinterest
    • Twitter
    • YouTube
Sawdust Girl®

Sawdust Girl®

Renovation, cabinet building and woodworking plans and tutorials. Build like a Girl®

  • My Home
    • Clinton TN House
      • Clinton TN House in Progress
    • Maryville TN House
      • Maryville TN House Tour – Completed Rooms
      • Maryville TN House in Progress
        • Basement
        • Basement Storage Closet
        • Bedroom Office
        • Craft Room
        • Dining Room
        • Entry
        • Garage
        • Guest Bedroom
        • Hallway
        • Jack and Jill Bathroom
        • Kitchen
        • Kitchen Entry
        • Laundry Room
        • Library
        • Living Room
        • Loft
        • Madison’s Room
        • Master Bedroom
        • Master Closet
        • Pantry
        • Porch
        • Powder Room
        • Wes’ Office
    • Illinois House
    • Calderwood Cottage
  • My Workshop
    • Clinton Workshop
  • Build & Breakfast
  • Cabinet Making 101
    • Cabinets
    • Doors
    • Drawers
  • Projects and Plans
    • Countertops
    • Beds
    • Benches
    • Bookshelves
    • Desks
    • Gift Ideas
    • Holiday
      • Christmas
      • Halloween
    • Home Accessories
    • Kids
    • Kitchen Cabinets
    • Lockers
    • Nightstands
    • Organization accessories
    • Recipes
    • Sewing
    • Tables
    • Vanities
    • Wardrobes
    • Woodworking
      • Wood Finishing
    • Workshop
    • Workshop Storage and Organization
  • Remodeling 101
    • Baseboard and Trim
    • crown molding
    • Demolition
    • Door and Window Casings
    • Door Installation
    • Drywall
    • Electrical work
    • Flooring
    • Home Maintenance
    • Painting
    • Plumbing
    • Resources
    • Safety
    • Tile
    • Wall and Ceiling Treatments
  • The Sawdust Diaries
    • Andrea
    • Ava D.
    • Beckie F.
    • Cara C.
    • Courtney B
    • Fawn T.
    • Jenn D.
    • Kelly C.
    • Kristy K.
    • Lara T.
    • Malisa B.
    • Marnie D.
    • Robin C.
    • Val F.
  • Tools
    • Products
    • Tool Reviews & Overviews
    • Inspiration & Ideas

How to Apply Beadboard to Cabinets

All Posts, Cabinet Making 101, Cabinets, Remodeling 101

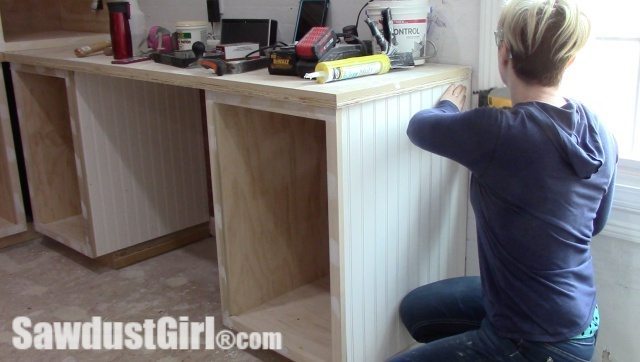
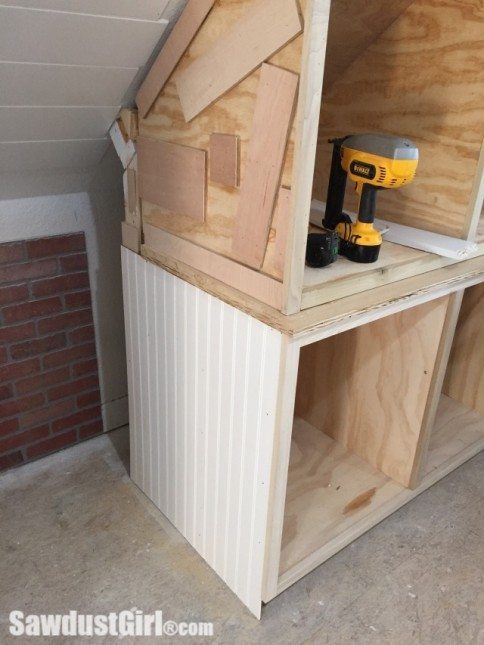
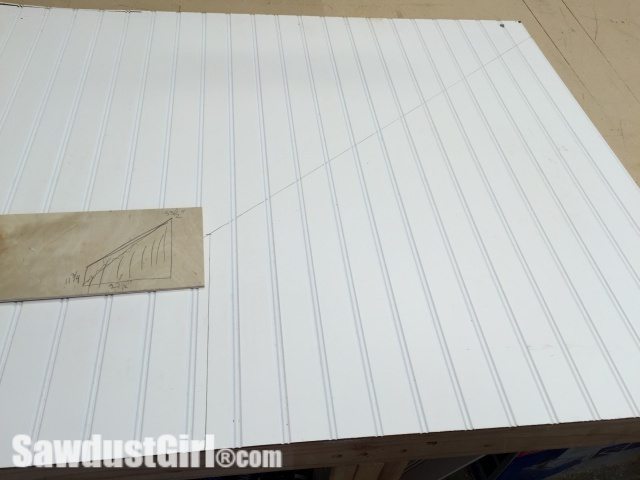
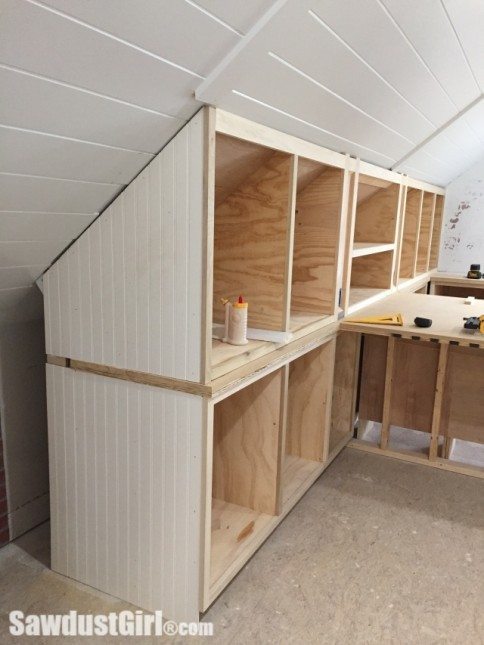
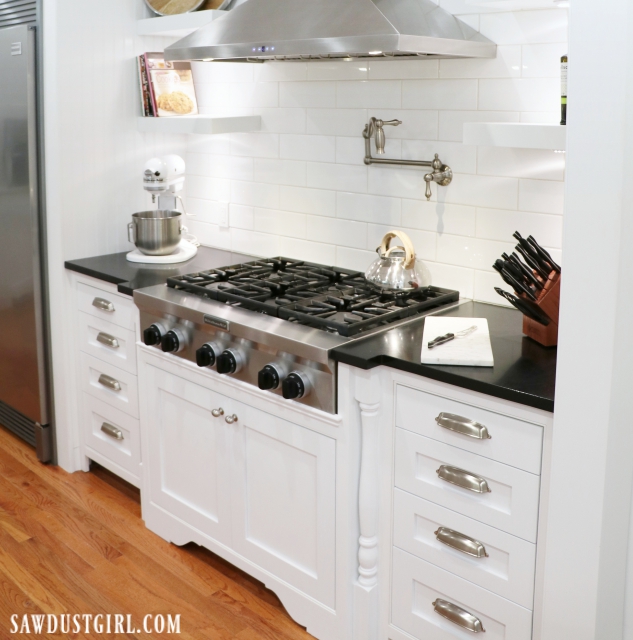
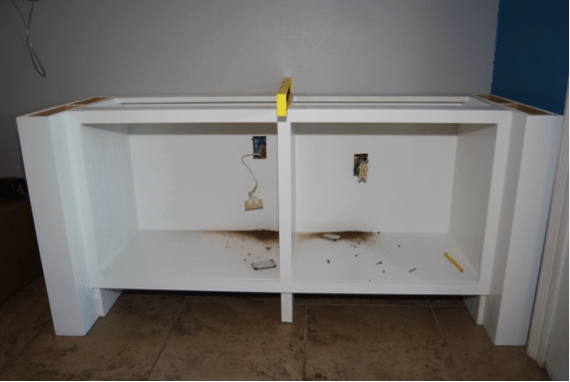
Applying Beadboard to the side of existing cabinets is an easy way to spice up a boring cabinet.  (Old or New)

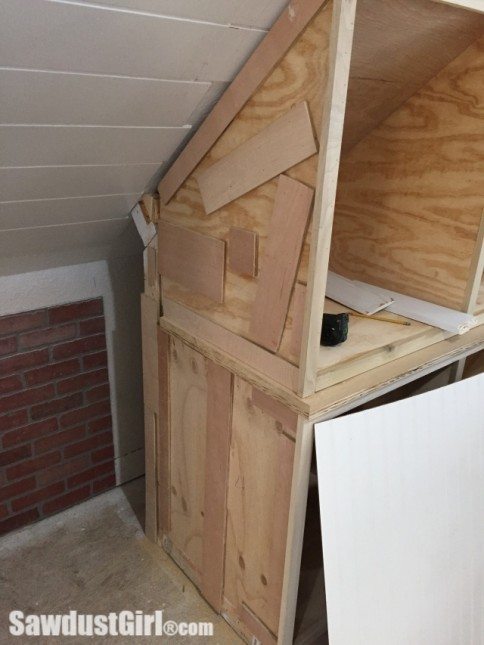
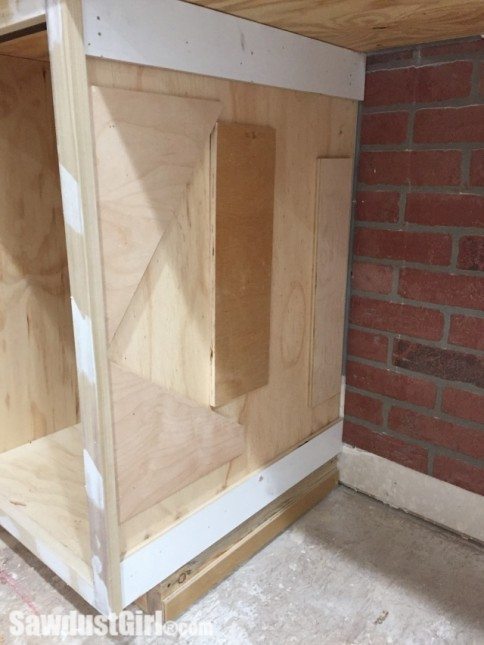
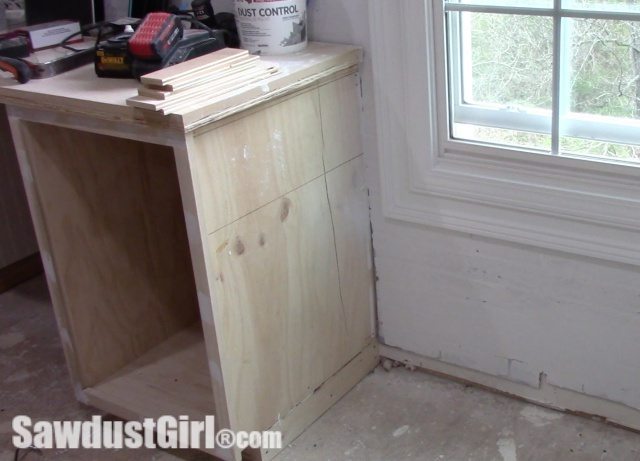
Often times, cabinets will have a 1/4″ or more “lip” on the side of the cabinet where the faceframe sticks out farther than the cabinet side.  Cabinets are built like this so there’s something to “take off” if the wall is not straight or the measurements were off by just a hair…the faceframe can be scribed, cut or sanded down to make the unit fit without having to rebuild the entire cabinet.

The end cabinet, in a run of cabinets, or a single cabinet will have this “lip” as well because cabinets are mass produced, all exactly same.  It keeps things easier for builder and the installer.  The lip looks fine if left as it is, but it provides the perfect opportunity to apply a piece of beadboard to JAZZ it up.

*I wouldn’t apply beadboard if the faceframe is flush with the cabinet side as you would see the edge of the beadboard — which, IMO, would translate as, “Afterthought”.


So, HOW to apply the beadboard?

Whether your cabinets are old or new, caulk as an adhesive will surely do!  (This sentence must be read out loud in Sing-Song voice!)  🙂

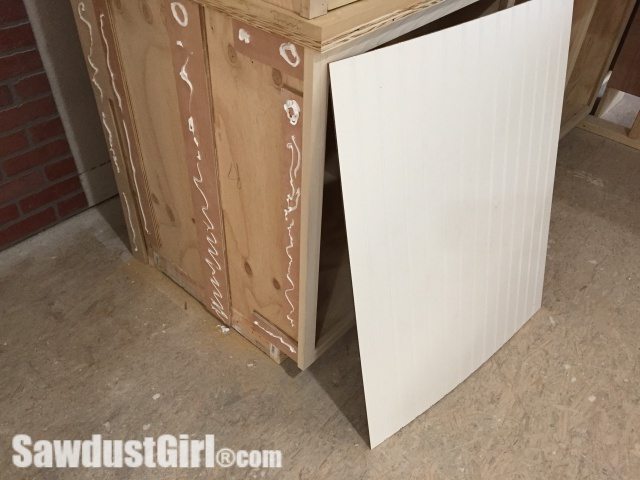
That’s right.  Caulk.  Regular old painters caulk will do, or whatever you have on hand.

The great thing about caulk is that it will adhere to any (clean and dry) surface, so if you have old cabinets that are coated with a glossy finish, or your cabinets are plastic/melamine…Caulk will stick to it!

Be generous with the caulk and then press your beadboard onto it.  You can use a little painters tape to keep it from sliding down or just stand there and hold it yourself for a minute.

It grabs fast and holds STRONG.  Just make sure you really press the beadboard INTO the caulk all over so the entire surface is “glued” down.

February 10, 2017 · 12 Comments

« Jack and Jill Bathroom Update – week 6
How to Remove Carpet – Painless Carpet Removal »

Comments

  1. Jan says

    February 10, 2012 at 7:33 am

    Great tutorial. Caulk is a handywoman’s friend, for sure and this is another reason why!! I love your cabinets!

    Reply
    • Sandra says

      February 10, 2012 at 9:46 pm

      It’s definitely my best friend. 🙂 Thanks Jan.

      Reply
  2. Jaime says

    February 10, 2012 at 7:34 am

    Sandra you have the nicest workbench space ever, complete with beadboard detail and that yummy stained counter space! You truly know how to increase the value of a home all the while making the spaces beautiful, I’d work there all day with you.

    Reply
    • Sandra says

      February 10, 2012 at 9:51 pm

      Thank you Jaime. You say the sweetest things! (Open invitation to come hang out.)

      Reply
  3. Emily @ On the V Side says

    February 10, 2012 at 9:02 am

    This is great – Thanks Sandra! I would love to add beadboard to the ends of my cabinets (the cabinets are nice solid wood, but the ends are that wood-ish veneer that I just hate) – my issue is that the lip on mine is rounded (similar to quarter round that you would use over trim/flooring). What would you recommend? Removing that lip completely, or would I need to remove it, install the beadboard, then reinstall the lip? OY so confusing.! 🙂

    Emily

    Reply
  4. Katy says

    February 10, 2012 at 9:59 am

    Yup! You can do this to the cabinet doors too, since they usually have a inset face as well. I had to use clamps for that, though.

    My problem was that the beadboard would soak up the mousiture from the constuction adhesive and wouldn’t lie flat, which is why I had to clamp them down! You don’t have this problem with caulk? It even did the “bowing” thing when I used LockTite.

    Reply
  5. Katy says

    February 10, 2012 at 10:00 am

    *moisture. sigh

    Reply
  6. Maureen says

    February 10, 2012 at 12:03 pm

    Sandra,

    You are so smart! And to think of the money I have spent on adhesives.

    Maureen

    Reply
  7. Lindsay says

    February 11, 2012 at 3:58 pm

    Sandra,
    Thanks for the tip on the caulk. I just scored some free cabinets and the outside of them is not so pretty. I was thinking to add some beadboard to them like these, this is perfect. And your workspace is AWESOME as always!

    Reply
  8. Patti says

    October 26, 2012 at 3:00 pm

    Sandra, this is a beautiful workshop – you did an amazing job! Could you tell me how you attached the shelves in the upper cabinets? I don’t see any pocket holes or pins, so I wondered what is supporting them.

    Reply
  9. Barbara says

    November 27, 2017 at 1:51 pm

    Hello SDG – great ideas for bead board I have an island I got at reuse that does not have the lip do I put a quarter round on the edge of that?The piece used to be surrounded by other pieces but I’m using it as an island.

    Reply
    • Sandra says

      November 27, 2017 at 3:08 pm

      You could definitely find a small trim piece to frame the beadboard. Quarter round might be pretty big but it might look nice. In situations like that, I gather up a few options and see what it looks like in the space.

      Reply

Leave a Reply Cancel reply

Your email address will not be published. Required fields are marked *

Categories

New Post email notification signup

You Subscribed!

Legal Stuff

Terms of Use

Privacy Policy

Disclosure

Recent Posts

  • White Wash Pine Wood Ceiling
  • Lodge and Life Update
  • How to Choose Which Track Saw to Buy in 2021
  • How to Choose a Paint Sprayer to Buy in 2021
  • How to Install a Smart Door Lock

Disclaimer:

Although it is my intention to provide accurate plans and clear instructions, not all plans have been tried and tested. Using plans or information found on SawdustGirl.com indicates that you agree with the Terms of Use policy and will accept full responsibility for the process and outcome of any project you attempt. All plans are for private use only. Plans and information published on SawdustGirl.com may not be reproduced, republished or distributed in any manner without written permission from Sandra Powell, Sawdust Girl. Actual projects built using Sawdust Girl plans may be published on your own site without instructions or "tutorial" as long as you provide a link to my original post with full post title or "SawdustGirl.com" as link title.

Copyright © 2022 · anchored theme by <a target="_blank"