Sliding Cabinet Doors Using Closet Track
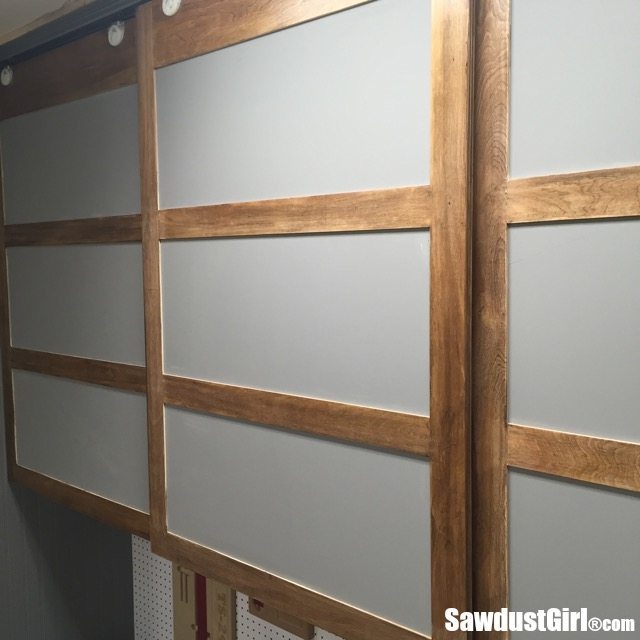
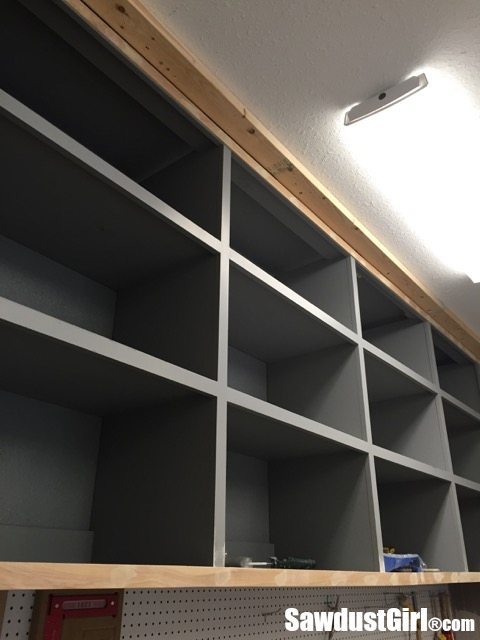
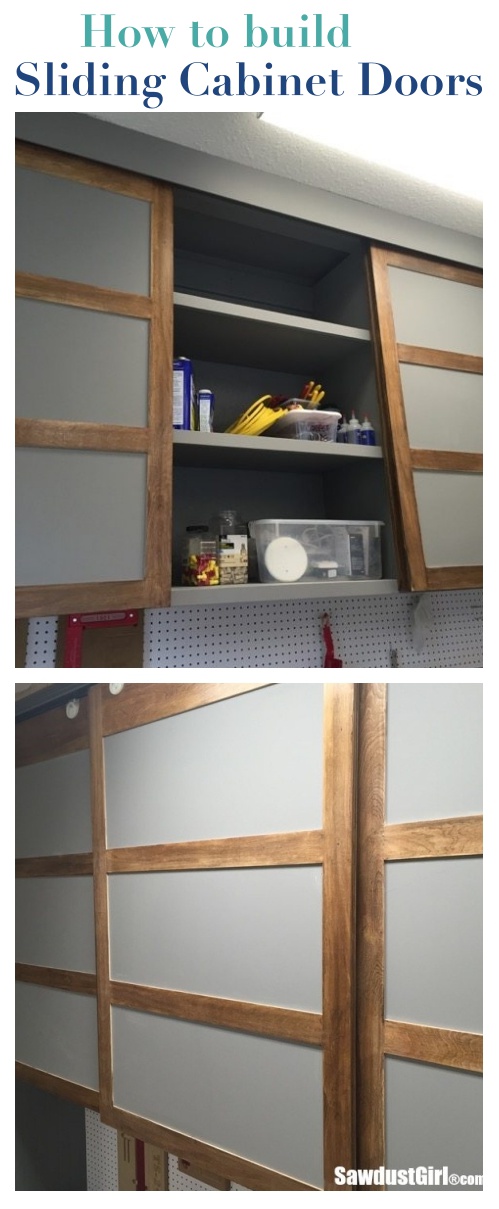
I’ve been wanting to cover the middle section of my workshop cabinets with sliding doors. I really don’t like how chaotic the visible storage looks. Other than the visual appeal, cabinet doors don’t serve any function besides keeping some dust out of the cabinet. They haven’t been a high priority on my mile long to-do list–until now. Since I’m finally investing some real thought, time and energy into revamping my shop, I finally built some sliding cabinet doors for my workshop.
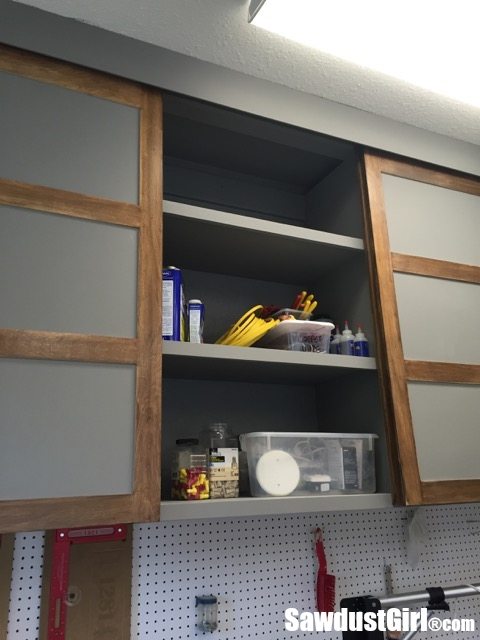
Choosing the Right Track for Sliding Doors
There are many different ways you could go about making sliding doors, and they all revolve around your track. You want to make sure you’re getting the best performance you can while taking into consideration cost and how easy you can actually construct the doors. At first, I played around with constructing my own DIY track, but the effort and end result just couldn’t stand up to the quality and ease that a premade track offered me.
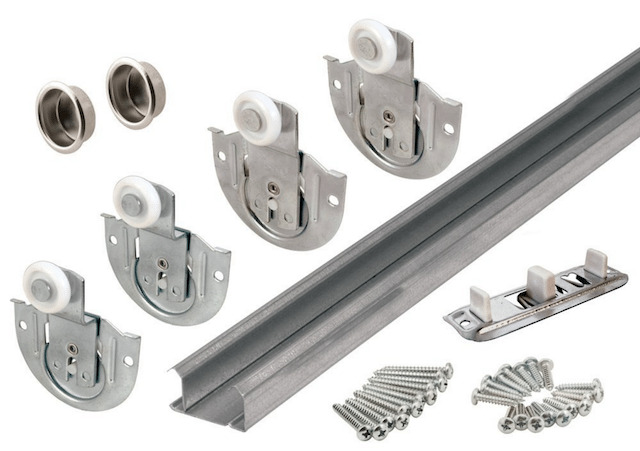
After experimenting a little with my DIY track, I ultimately decided to go with the simpler solution. In this case, I decided I would just be using a simple bypass closet door hardware kit to get the look and feel I wanted for my sliding cabinet doors.
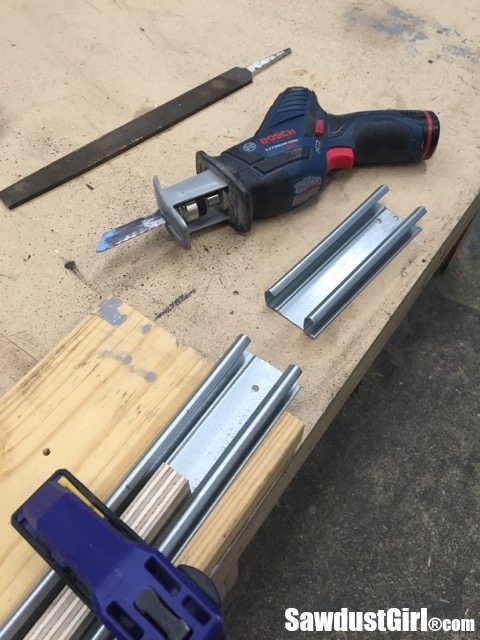
In addition, this option was pretty affordable compared to some of the other options I had seen on the market. I checked around before I ended up buying two of these 72″ hardware kits for $20 each. The only downside to them was that there wasn’t one track long enough to fit all the way across my cabinets, so I had to get two. I wanted the seam right in the middle, so I cut a bit off of each one with my reciprocating saw. (Hint: If you’re looking to stock up on some new/better tools, check out more of my tool reviews on the Reviews section of my blog if you’re interested in seeing what’s the best of the best!)
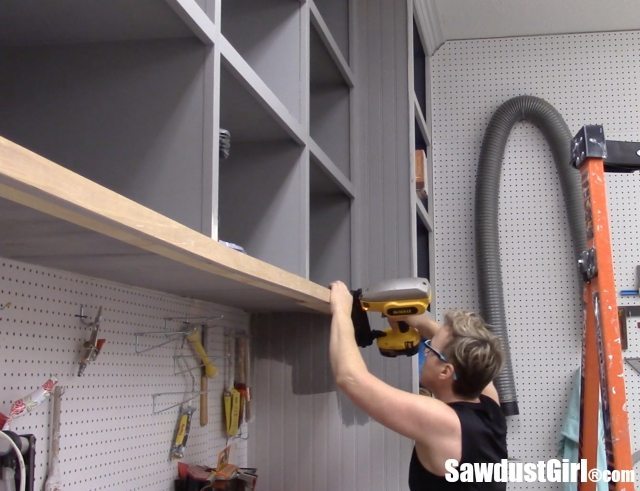
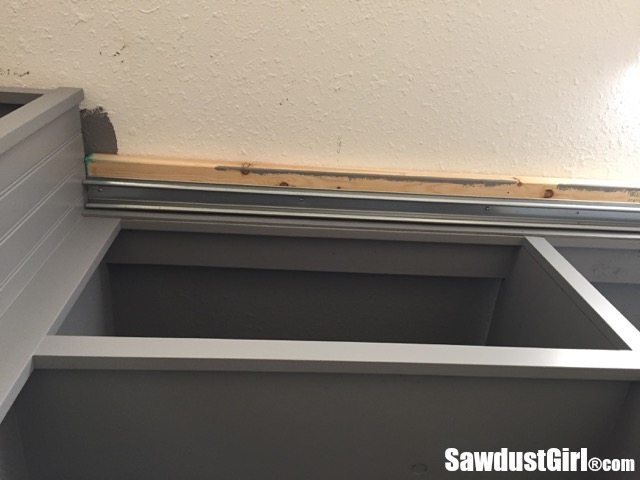
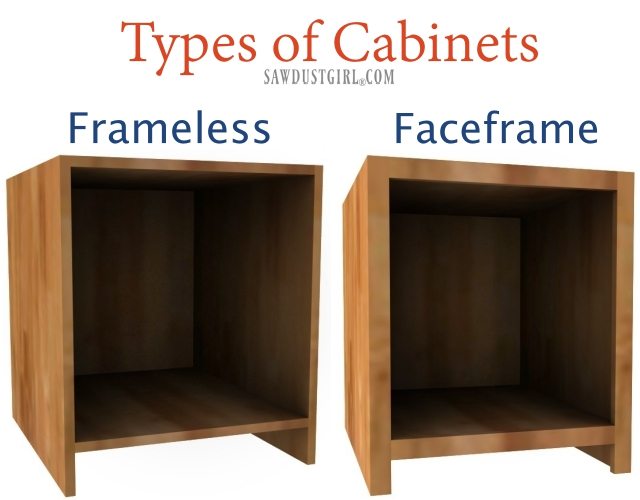
I didn’t want my doors rubbing against my cabinet faceframes so I attached a strip of 1/4″ plywood at the top and bottom rails. There was a joist right above the front edge of these upper cabinets, so I butted a 2×4 up right against the front of the cabinets and drove 3″ screws in at an angle in order to secure it to the joist. The 2×4 is there to give me something to mount the rail onto, as I didn’t want to rely on anchor screws. While you could skip this step, I like to make sure everything is secured and built as safely and professionally as possible. It’s usually better to take the extra time/go through the extra step rather than regret being so hasty later on. Trust me–it usually comes back to bite you!
Cutting the Door Panels
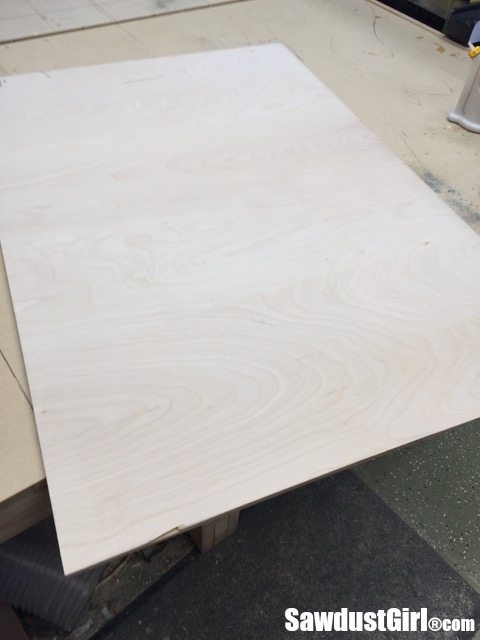
After installing the track, I determined the approximate height for the doors. I got four doors out of two sheets of 1/2″ plywood. While not the most fancy of woods, it is pretty cost effective–especially when I am just going to paint over it later for that smoother, clean finish!
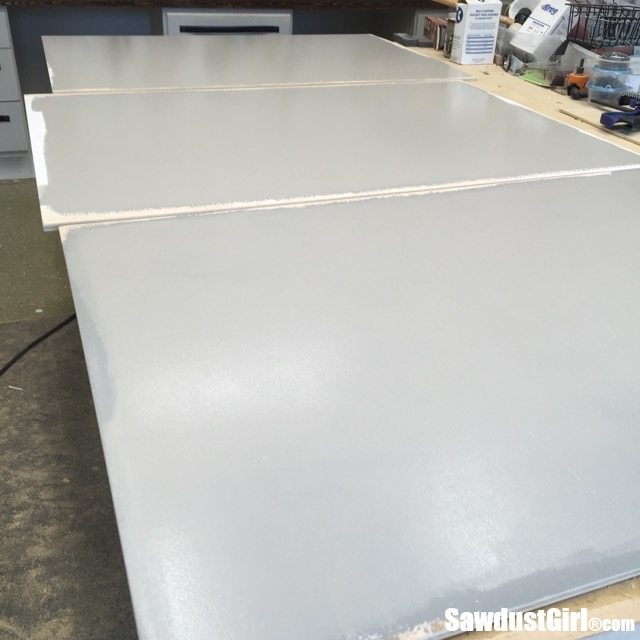
Most of my workshop cabinets are already painted grey, and I wanted to tie in some natural wood to give a break to the color. I decided to paint the “panel” portion of the doors grey and frame them in wood. However, it’s not just grey paint! It’s CHALKBOARD paint! I thought writing on the chalkboard would be a fun way to remind myself of what’s inside each cabinet, without having to stare at the mess inside.
Creating the Frame for the Sliding Cabinet Doors
To have that fun wooden accent, I decided to frame the panels with the 1/4″ plywood I had left over after cutting out my four door panels.
For my doors I needed to cut:
- several 1/4″ strips of plywood
- a ton of 2 1/2″ strips of plywood
- a few additional strips of 5″ for the top rails
I applied a couple coats of polyurethane before attaching them to the door panel since I’d already painted the panel. I just put them together and boom– done. Easy as pie! And let me tell you, it’s nice when something finally, actually goes according to plan.
If you want to follow my exact design, absolutely feel free! But don’t be afraid to play around with designs, patterns, and accents to really make your cabinets and doors your own!
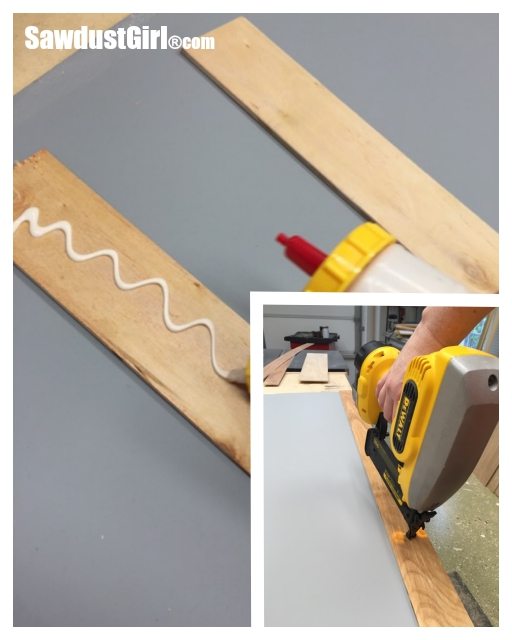
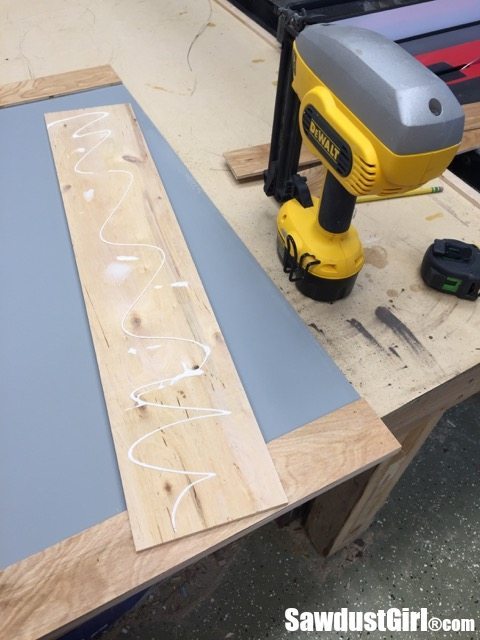
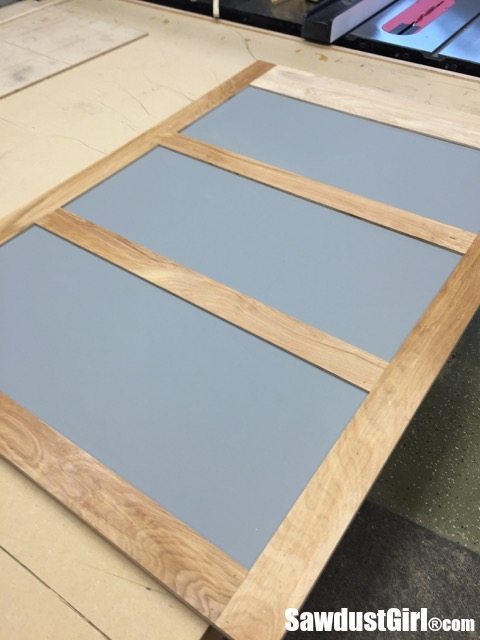
I used glue and my DeWalt cordless nailer to attach the strips to the panel, starting with the sides (stiles). Then, I attached the 5″ top rail. I made the top rail wider since the door rollers will be attached to the top of the doors and I’ll be hiding the rollers and…you’ll see, stick with me…I determined the space in between my “rails” and cut a scrap of wood to that length. Afterwards, I used that scrap to quickly space my rails on all four sliding doors without having to measure and mark each one.
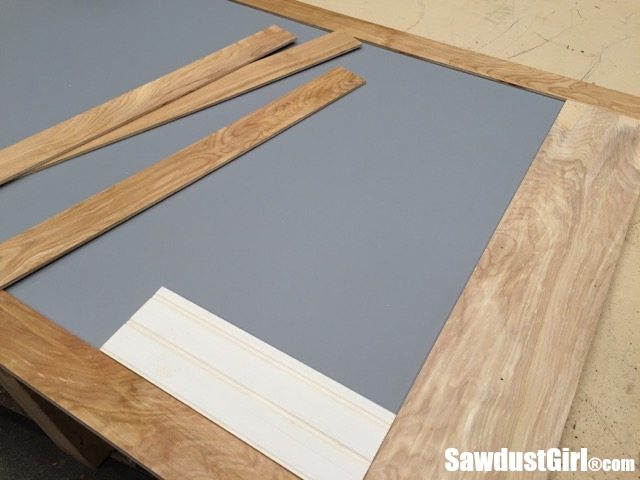
Done! That was easy and for my workshop — it’ll do! I know after a while I will probably want to change up the look and style, as what’s hot or not changes so quickly, but cabinet making is very much a creative process. When the creative vision strikes, you just have to follow it’s hand.
How to Sand and Finish the Sliding Cabinet Doors

Now, like I said before, cabinet making is a creative process. Sometimes, I like to use fancier or more traditional methods, but for my workshop, I was feeling a more rustic look to complete this project. I ultimately decided not to cover the edges with banding or edging. Instead, I just sanded them good and smooth.
Finally, I filled all my nail holes using my favorite wood putty. This stuff is awesome!
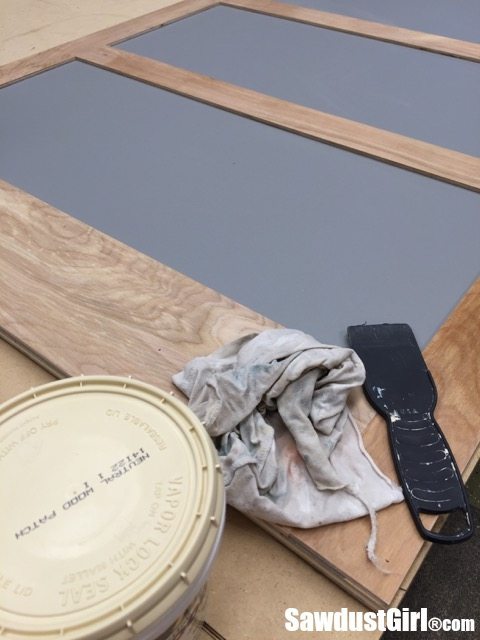
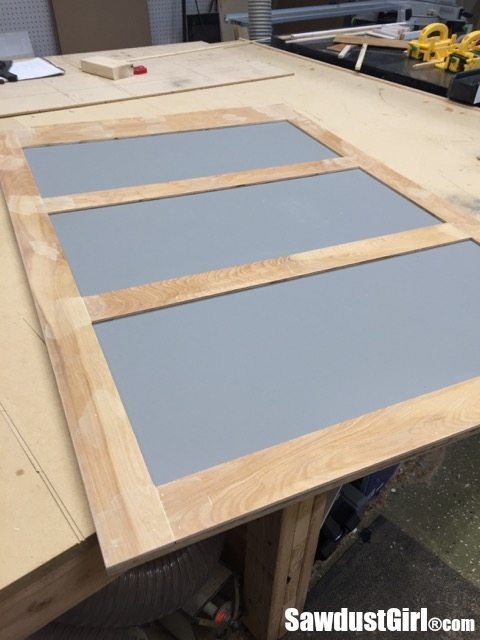
However, the wood patch was visible because I’d already polyurethaned the strips. I grabbed a rag and wiped on some gel stain to even out the color, carefully trying to wipe the wood and NOT the painted panels.
How to Install the Sliding Door Hardware
Ah, the final and most important step in the process–installing the actual hardware! As I said before, I ultimately decided on using a premade slide.
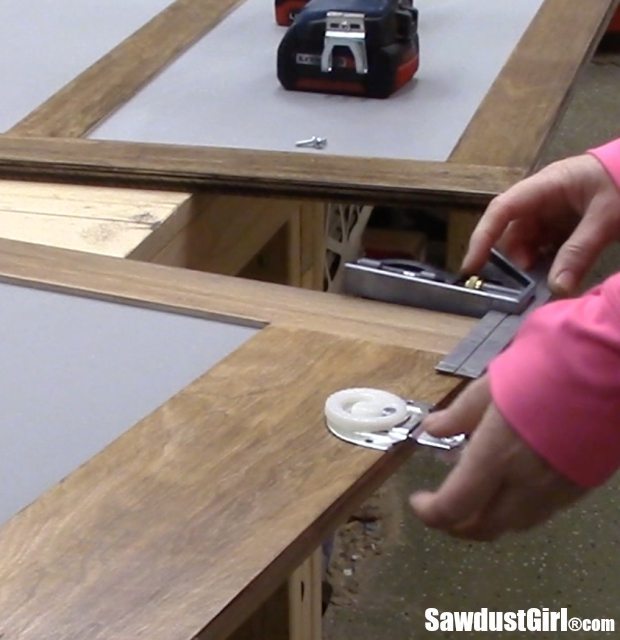
I used a combination square to quickly locate each roller 4″ from the door edge.
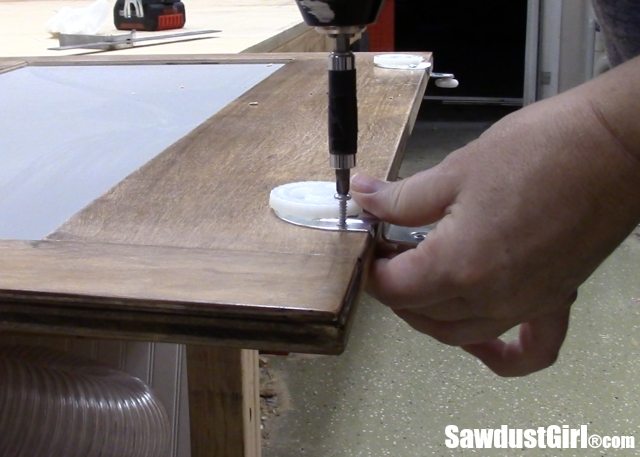
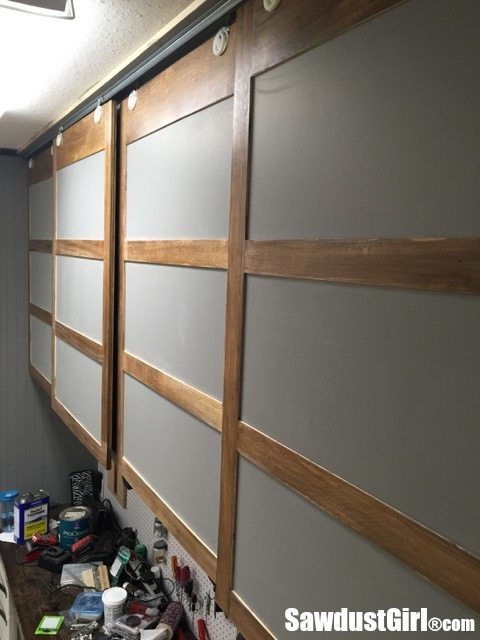
Then, I predrilled and secured each roller with #6 5/8″ wood screws. To install the rollers into the sliding door track, the door has to be tilted out slightly; the weight of the door keeps the rollers in the track.
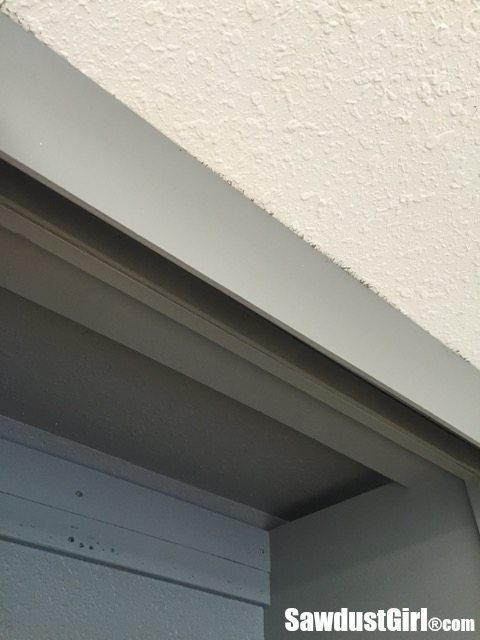
Lastly, hide the track and rollers by creating a cornice. I simply attached a strip of 1/4″ plywood to the front of the wood above the track.
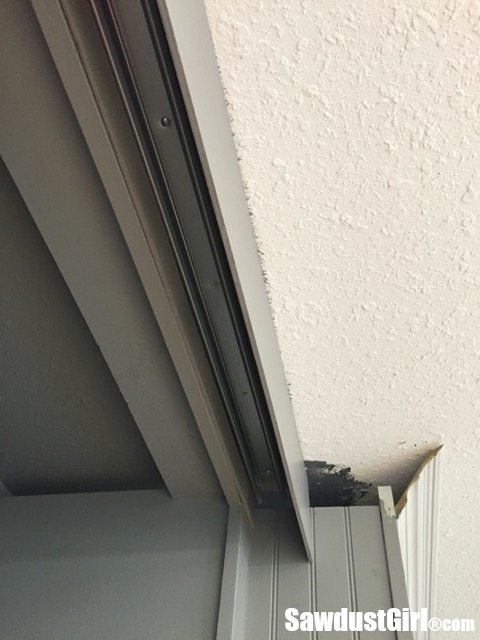
Here is an inside view of the cornice. Sadly, I had to remove some of my trim to install these sliding cabinet doors. I’ll have to install crown molding again at some point, though it’s not currently high up on my to-do list. On the bright side, I can show you guys more about how I install crown molding as I know it’s something a lot of people struggle with! Don’t be afraid to poke around at some of my other posts, I’ve got some pretty neat guides on crown molding installation!

My sliding door cabinets are finally done! And boy oh boy, do I like looking at these sliding doors so much more than the stuff IN the cabinets! Because I chose a simple, efficient track, they slide really smoothly on this closet door hardware so it’s easy to get to what I need when I need it.

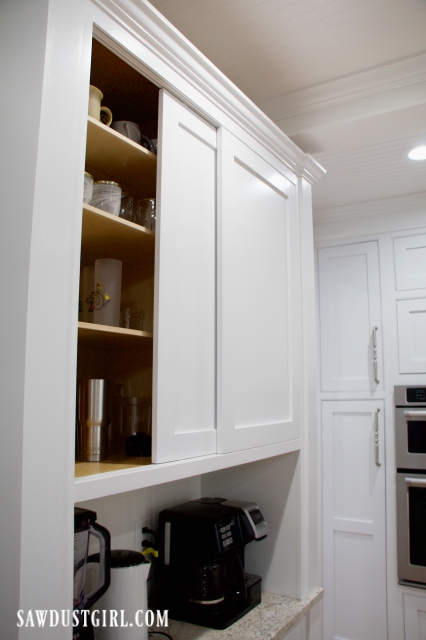
If you’re looking for a more refined sliding cabinet door, check out my tutorial for these sliding cabinet doors with an inset track and glides.
$9.99Add to cart
Great tips – thanks for sharing!
SDG,
Very glad I came across your website/post. Inspired me to finally clean up my garage as this was a perfect weekend project. All other ideas I had would have taken months to execute.
I have a home in a hurricane surge area so the house is elevated and the garage is at ground level with 14 ft cinder block walls. I had previously build three elevated shelves in the garage that were 21 feet long for Christmas and other holiday decoration storage but needed a nice way to cover up the cluttered look. This was perfect.
I gel-stained everything before attaching the 1/4 ply strips to the plywood doors (including the edges). I only needed to edge stain the edge of the door after attaching the 1/4″ strips. I also made extra strips for the header – and made a footer too. The footer keeps the doors from swinging around. It was simple to add – I nailed in a 2″x6″ board under the bottom shelf letting it stick out 3″ under the rolling doors. The extra 1/4″ strips were then brad-nailed at the bottom that overlap the bottom of the rolling doors. I cut/stained more 1/4″ ply to cover up the bottom of the 2″x6″ board. I used some small felt pads as spacers within the footer. I also used a water-based polyurethane to seal everything. It made for a very polished/finish look.
This is just what I was looking for. Hoping to convert a bunch of cheap open shelves in my fixer house. thank you!