Decorative Column and Crown Molding
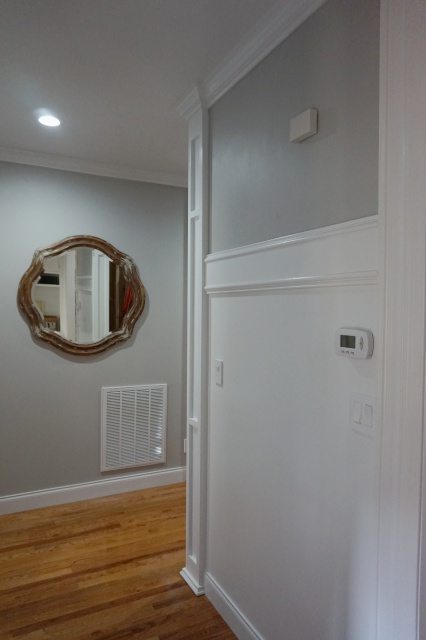
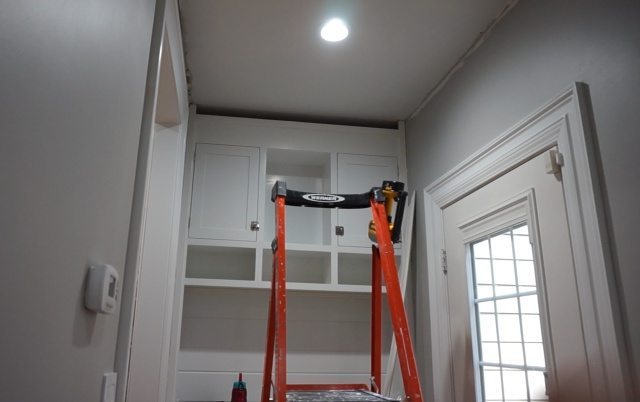
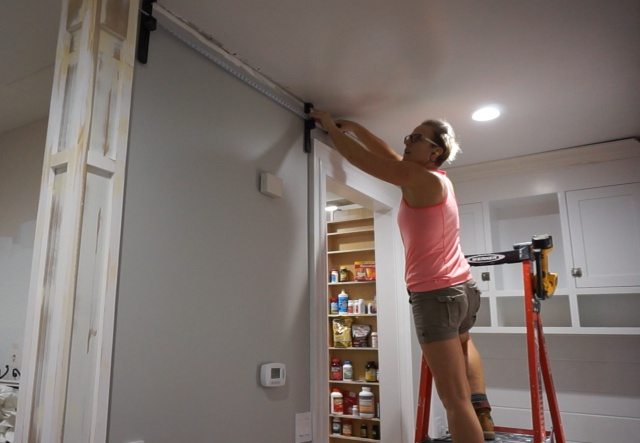
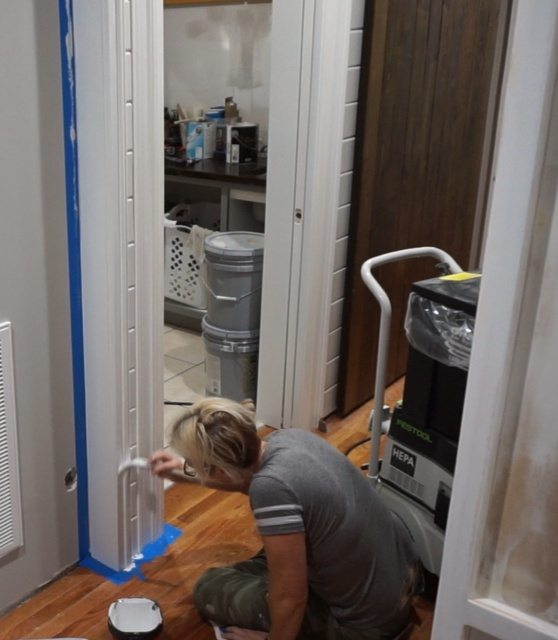
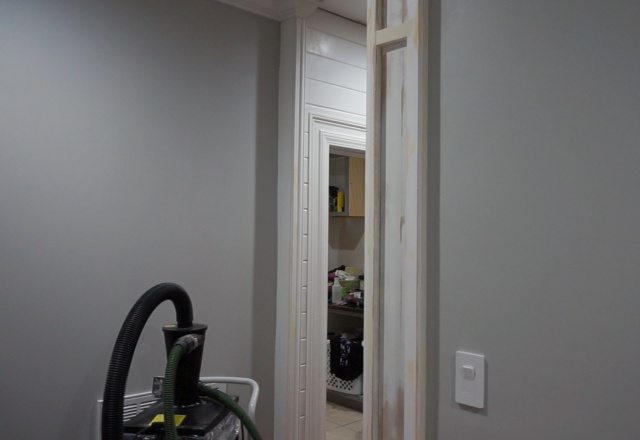
In this post, I’m building a decorative column trimmed with crown molding to create a natural end point for a wall that juts into a wide hallway, forming a nook-like area.
This post is sponsored by Metrie.
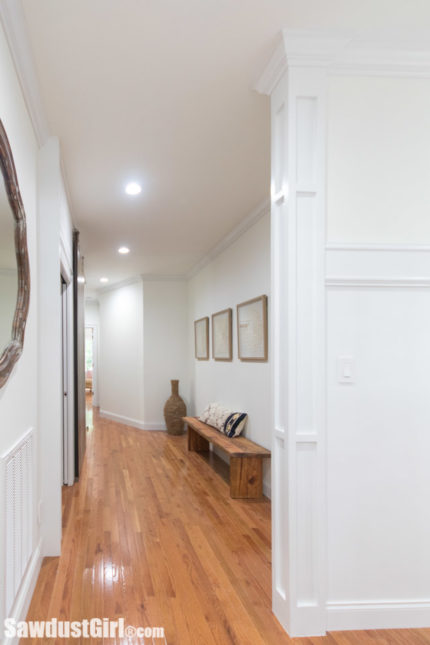
I’m using Metrie primed 1×6 (5½” MDF Flat Stock) and 1×2 (1½” Fingerjoint Pine Flat Stock) to build my decorative column.
These pieces come in 16′ lengths and I had them cut to 8′ so I could get them home. (9′ and 7′ would have been smarter but I wasn’t planning that far ahead.) I have 9′ ceilings so I had to make seams in all my 1×6 pieces. The best way to hide seams is with a scarf joint, where you cut the matching pieces of the seam with 45° bevels.
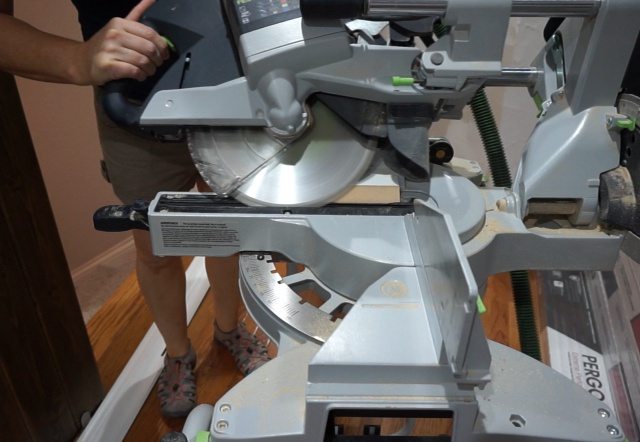
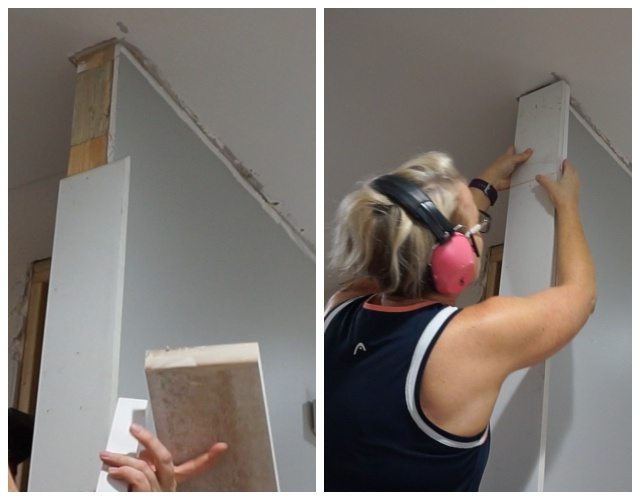
Build Decorative Column Structure
One side of the wall was unfinished—no drywall—so it’s about ½” thinner than a standard wall made of 2x4s with drywall on both sides. If you’re re-creating this C-shaped faux column you may have to adjust your materials to accommodate the thickness of your wall. I am also not applying 1x2s to the left side of the column because I intend to build built-ins in the nook and don’t want that added trim detail drawing focus on the overall “built-in wall”.
1. 1×6 Face and Sides
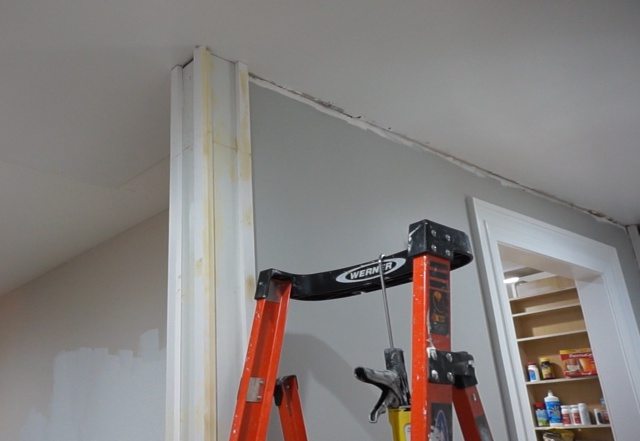
- Attach a 1×6 board directly to the end of the wall. Align it flush with the left side, which causes it to overhang 1½” on the right side.
- Install a second 1×6 on the left side of the column, overlapping the first board. The front edge of this side piece should be flush with the front face of the board you just installed.
- Then attach a third 1×6 to the right side of the column. It will sit behind the overhanging front board, which now only protrudes by ¾”, since both the front and side boards are ¾” thick.
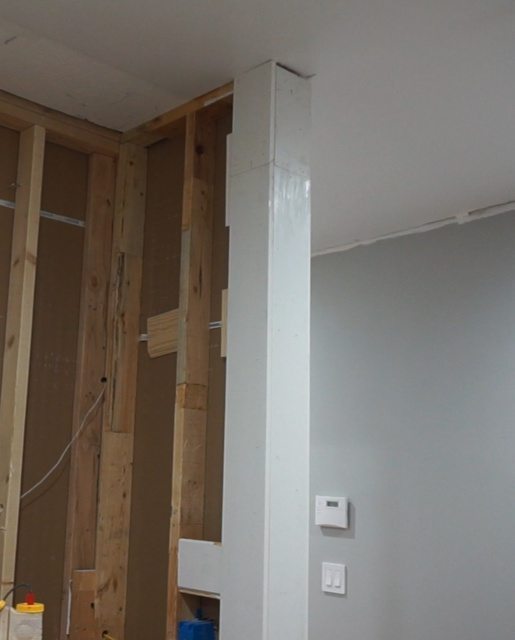
2. Frame with 1x2s
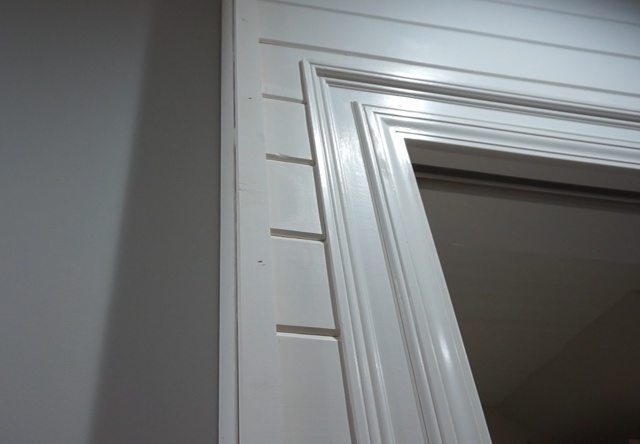
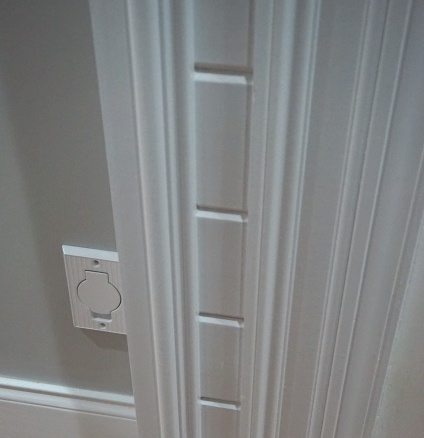
Now create a stepped column face by layering 1x2s over the 1x6s. These 1x2s add depth and visual weight to the column, creating a more finished, built-in look that complements the crown and base trim.
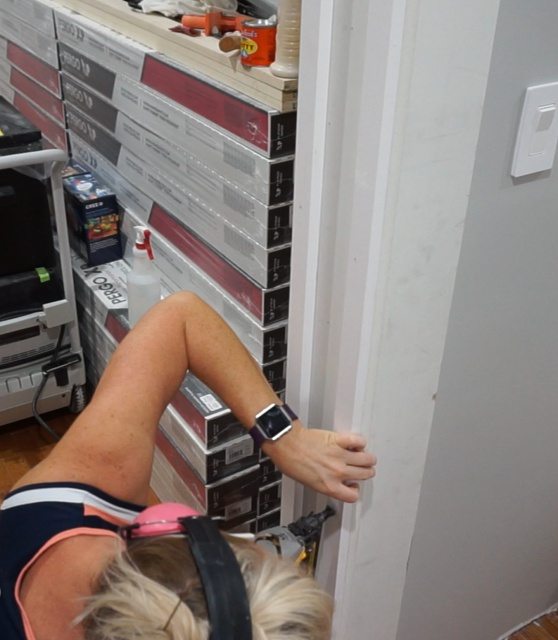
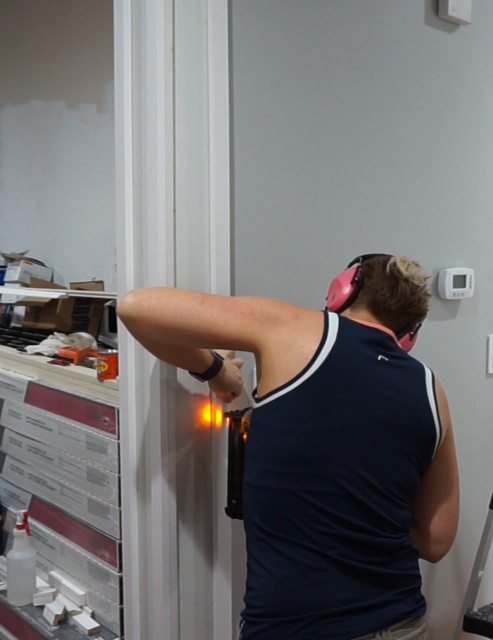
- Attach 1x2s flush with the outside edges of the front facing 1×6.
- Next attach another 1×2 to the outer right edge of the “right side” of the column.
- The left edge of the right side is now the same width as the 1×2 you just added to the right edge because it’s a ¾” thick 1×2 layered on top of a ¾” thick 1×6.
Here is a model of the column to detail the placement of the 1x2s.
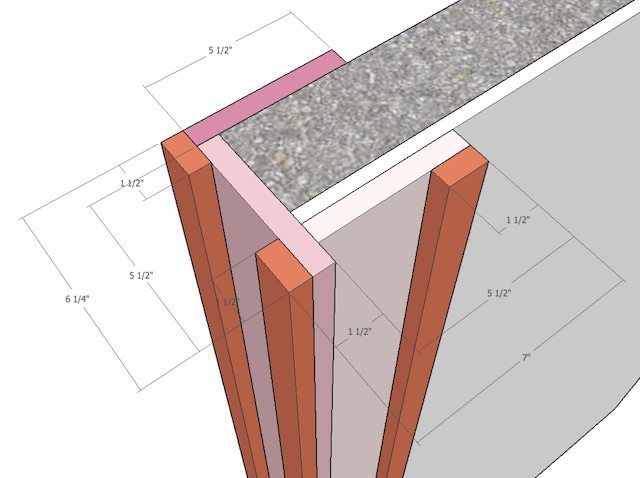
Once that seam is puttied and painted, the left edge will perfectly match the right edge .
3. Horizontal Blocking
Next, add 1×6 blocks to the top and bottom of the faux column. Position these based on the size of your crown and baseboard trim. You can let 1½” of the block show beyond the molding for a chunky look, or only a sliver—totally your call.
For an optional detail, you can break up the column visually by adding horizontal 1×2 blocks to create decorative sections.
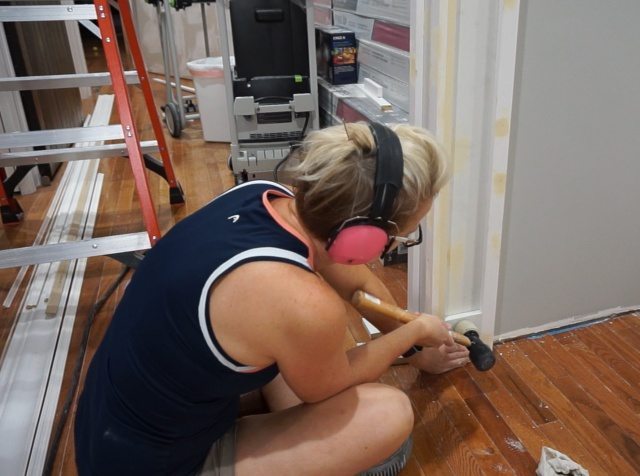
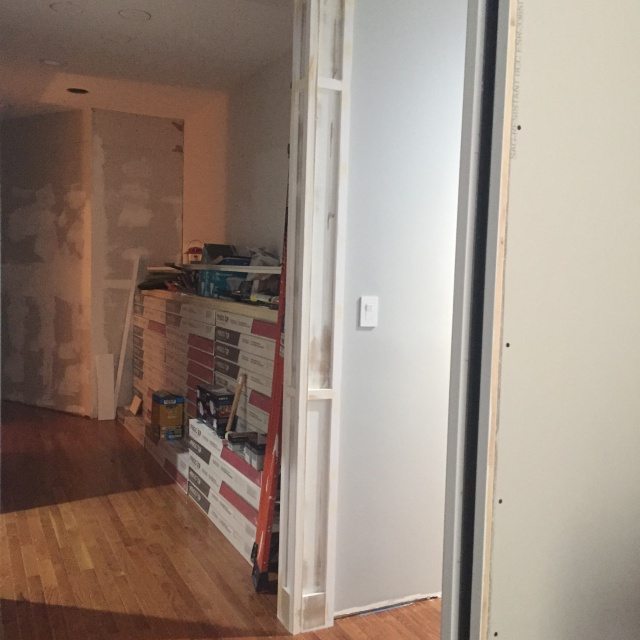
Trim
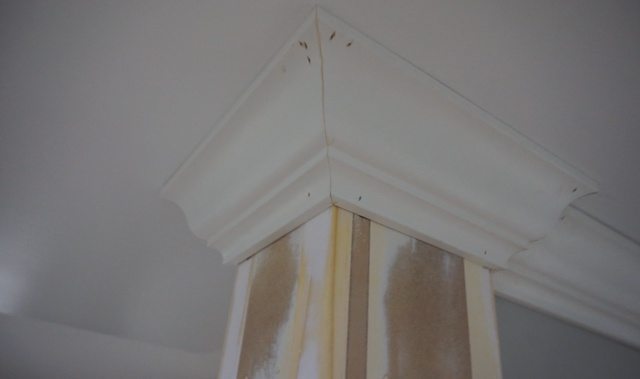
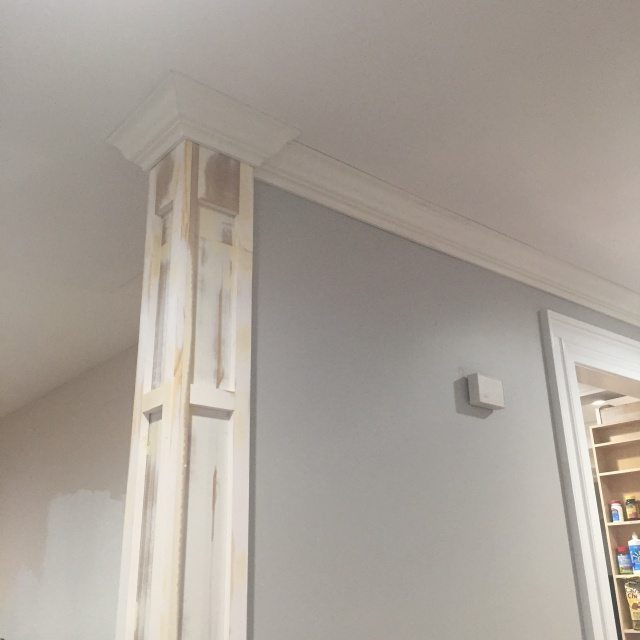
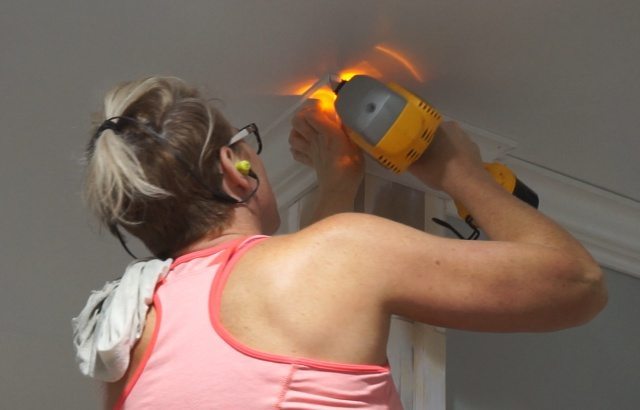
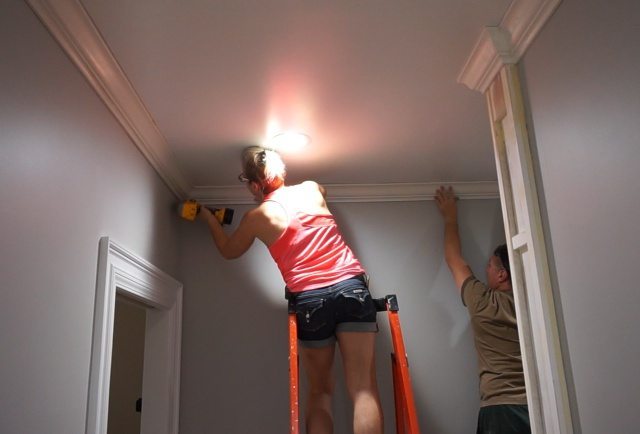
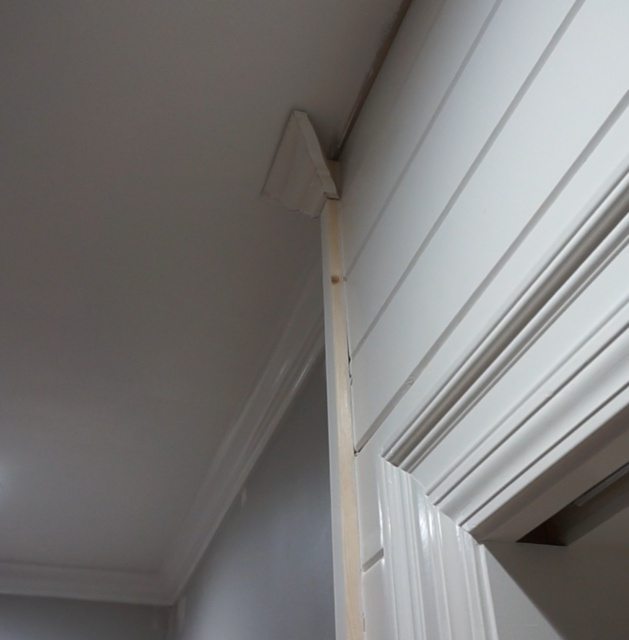
Trim out the top of the column with crown molding. I have included links to all my tutorials for installing crown molding at the end of this post for your convenience.
Crown Molding
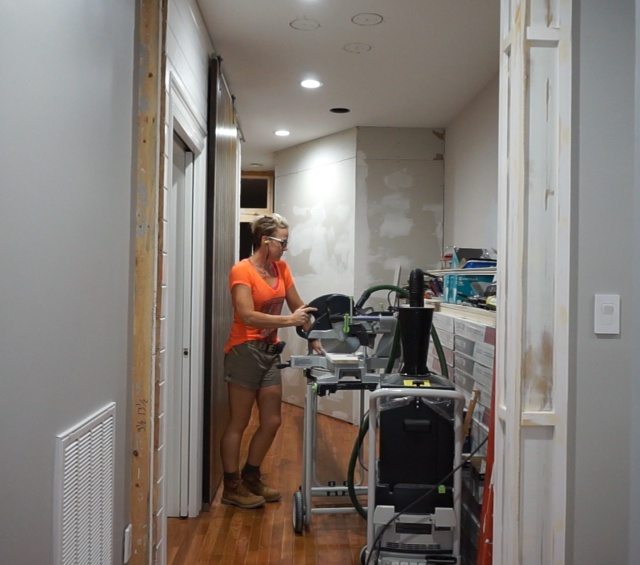
I’m using a shop-made crown molding jig I made specifically for the Metrie crown molding I’m using throughout the majority of this house.
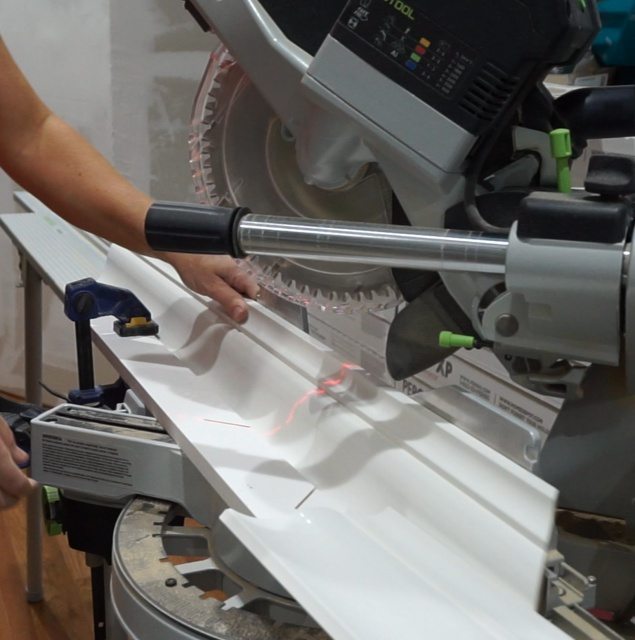
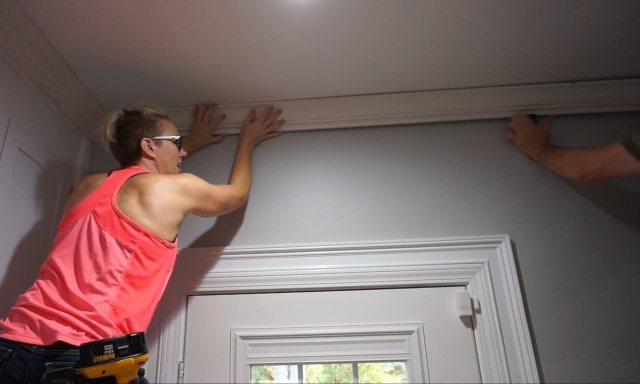
The longer pieces are difficult to measure for and install alone – a set of crown control clips from FastCap can make that a little easier.
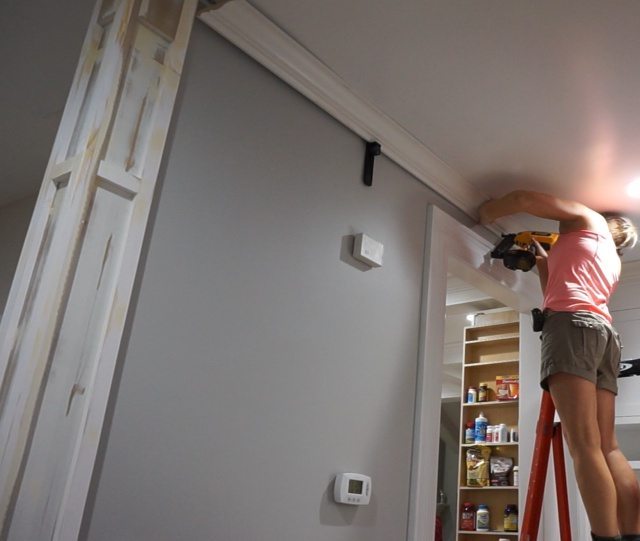
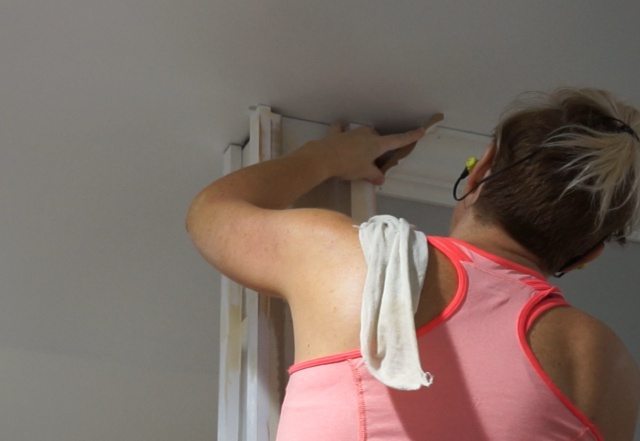
The trickiest cut is the small piece that transitions from the wall’s inside corner to the column’s outside corner. Those little bump-out details are tricky – and also what makes crown molding look really cool!
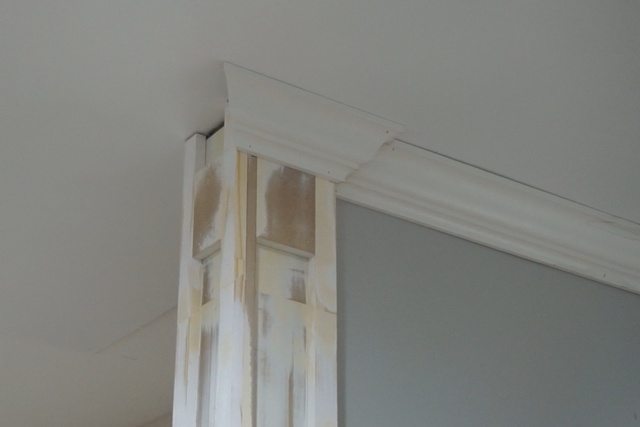
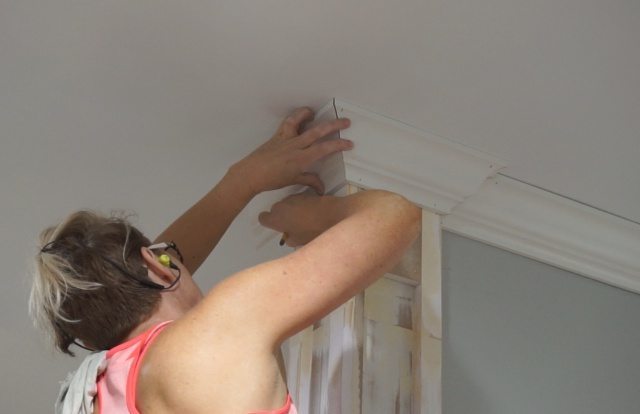
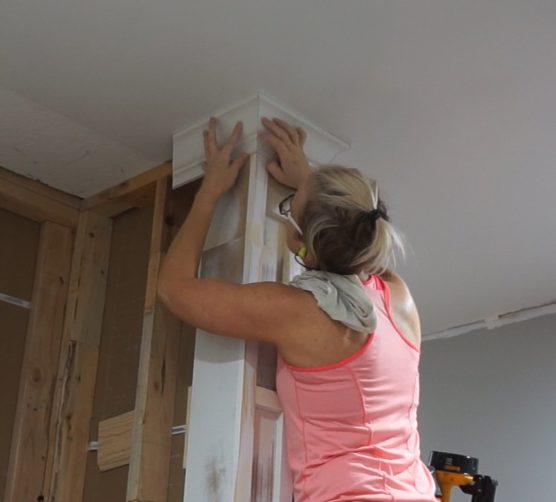
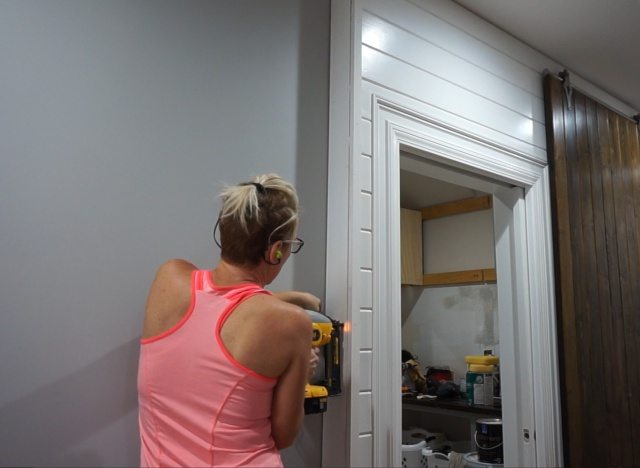
Tip: Do a test run of the crown that wraps the column by using small ga nails to temporarily hold each piece in place as you work your way around. This lets you make small adjustments to each cut – even re-cutting a piece completely if needed – until everything fits just right.
Once you’re happy with the fit, take the whole crown assembly down and reinstall it using CA glue on the joints so they don’t shift out of alignment when you nail them up. The little nail holes are super easy to fill and cover. Fixing crown molding gaps can be done, but it takes a lot more work than just getting it right during install.
Baseboard
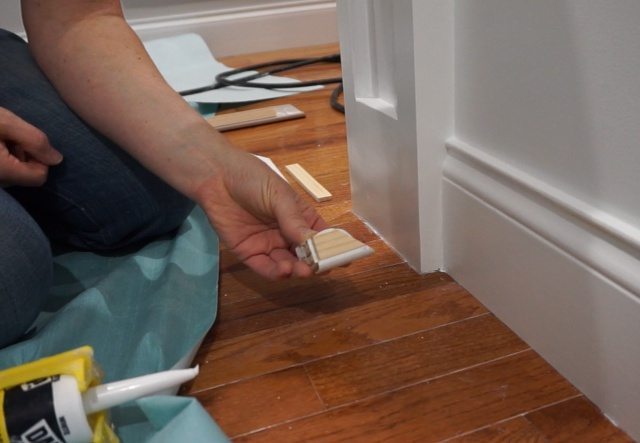
The baseboard runs into the side of the column, which acts like a plinth block to create a clean stopping point. For the column base, I added a simple, small-profile trim molding to give it a little decorative touch.

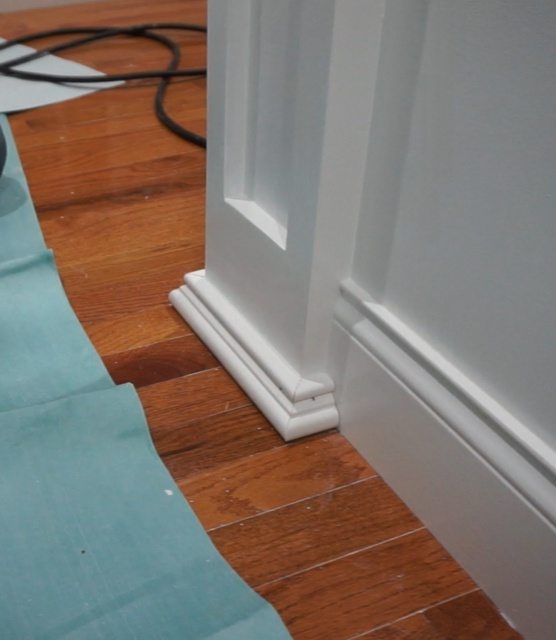
Once everything is filled and painted, this column makes a perfect finishing detail for the hallway. Next up: a decorative coat rail on the opposite wall, which mirrors this side but with the added touch of some fancy coat hooks. Check out that tutorial here.
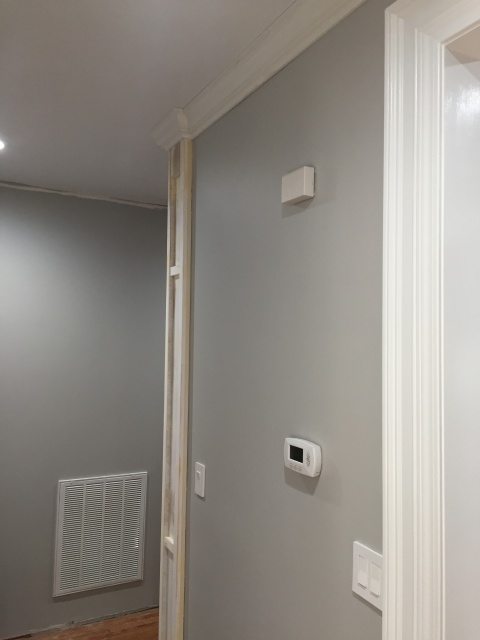

I like the look of the casing around what looks like a pantry or storage closet. I have 2-1/4′ builder grade casings in our home I would like to beef up. Would you share with me how you did this?