Two Toned DIY Console Table
*This diy console table plan was edited to add instructions with illustrations of how to attach a tabletop using screws with washers and an extra large hole!
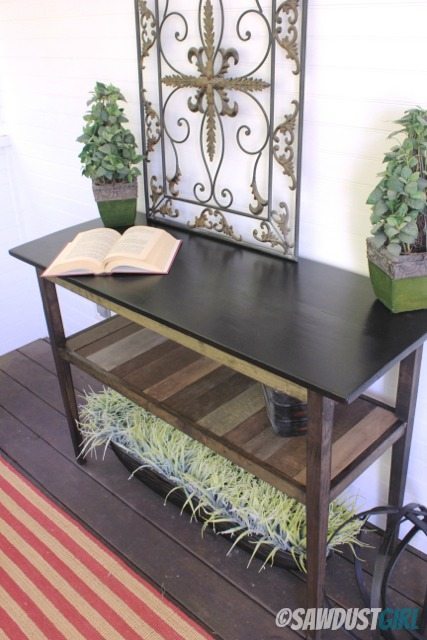
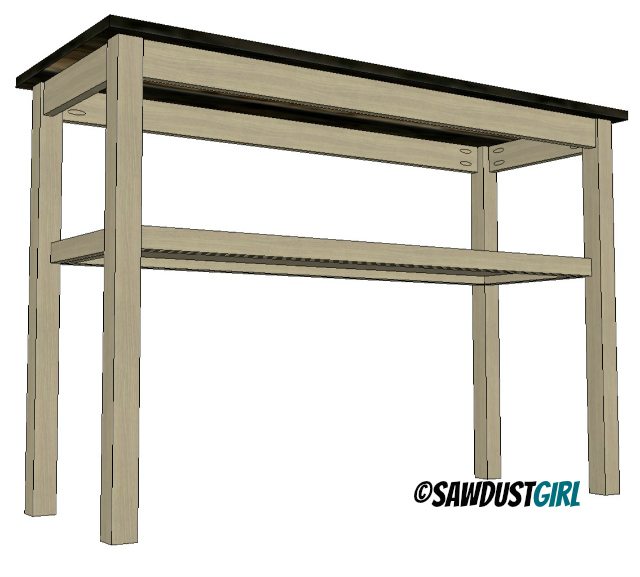
I built this console table using easy pocket hole screw construction in just a few hours. Then used a combination of paint and stain to create a beautiful, functional piece of furniture for around $50. It’s the perfect size and scale for my screened in porch. This post includes the free plans and instructions.
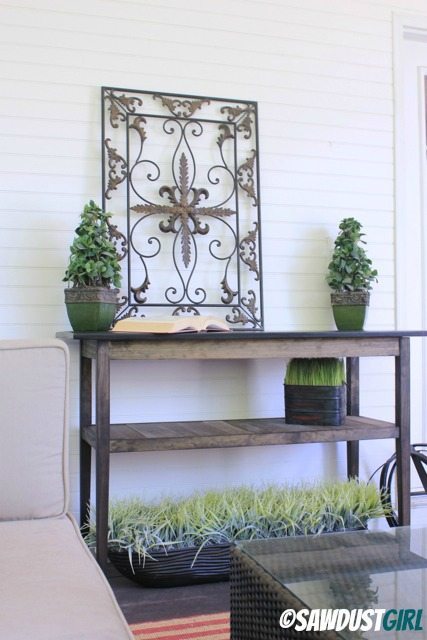
Build a diy Console Table
Materials needed:
- two 8′ 2″x2″ (cut into four 32″ pieces for the legs)
- two 6′ 1″x2″ (cut 12 1/2″ and 42 1/2″ out of each 6′ board)
- two 6′ 1″x3″ (cut 12 1/2″ and 42 1/2″ out of each 6′ board)
- one 8′ 1″x10″ (cut two 4′ sections and glue up together to make a wide top
- either 1/4″ sheet 3/4″ plywood OR scraps of 3/4″ plywood 12 1/2″ long at various widths to equal 42 1/2″
- wood glue
- 1 1/4″ pocket hole screws for 3/4″ material
- Kreg Pocket hole jig
Step 1
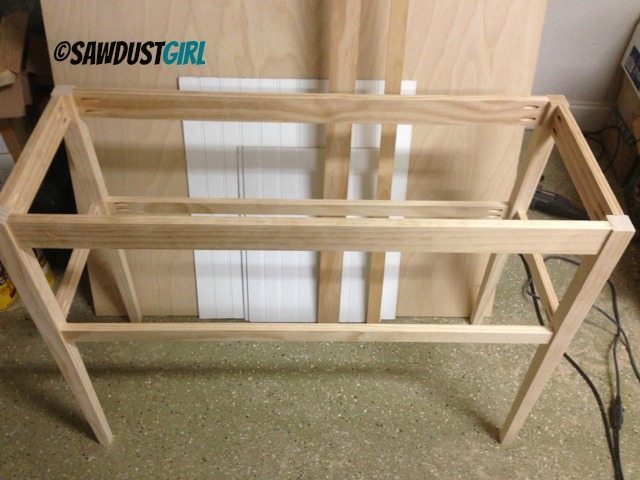
Use 1 1/4″ pocket screws to attach the upper and lower aprons to the leg pieces creating two legs.
- leave 1/4″ reveal on the outside of top apron
- I placed the lower apron 12″ from the top of the legs but you can adjust that to a height you want.
- lower apron is flush with the inside of legs.
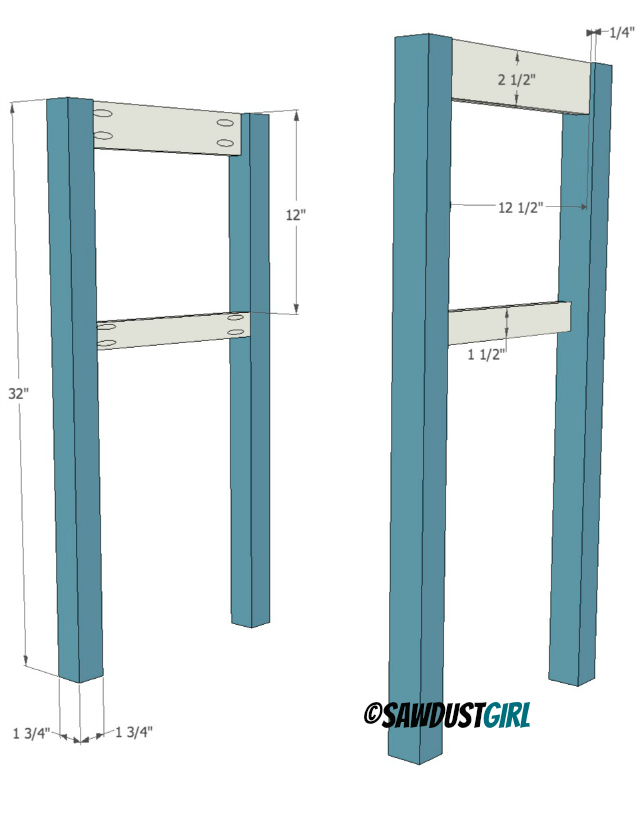
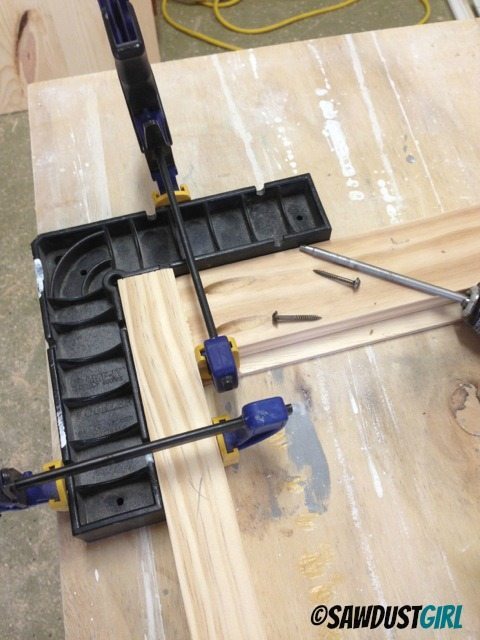
Tip: Use a corner clamp to make sure your pieces are square as you pocket screw them together.
Step 2
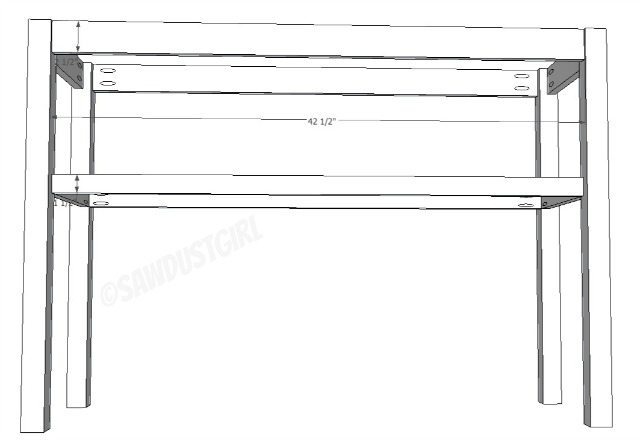
Use 1 1/4″ pocket screws to attach long upper and lower aprons to leg pairs.
- make sure to leave a similar 1/4″ reveal on the outside of the top apron
- make sure to attach lower apron flush with the inside of legs
Step 3
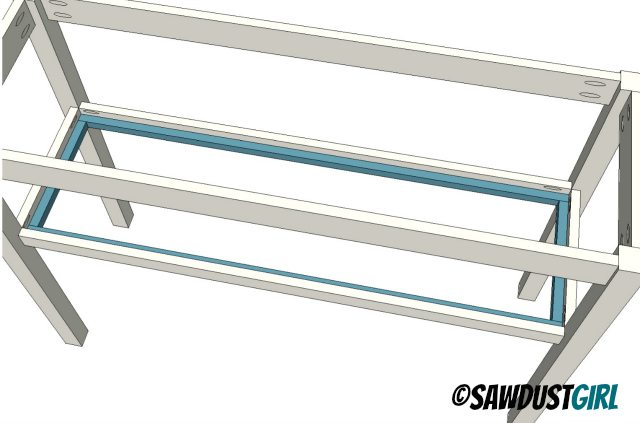
Attach cleats to the inside of lower apron to create a ridge to set shelf on.
- Attach with glue and clamps
- make sure to attach it so the height above the cleat matches the thickness of the wood you are using for your shelf
Step 4
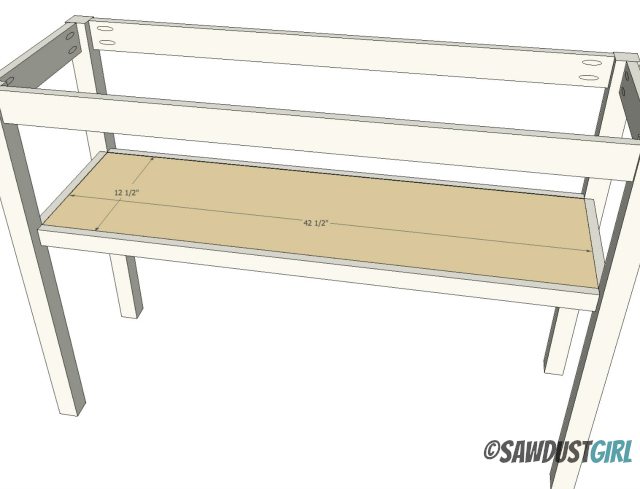
Attach lower shelf.
- Shelf option 1: solid shelf made of plywood or solid wood
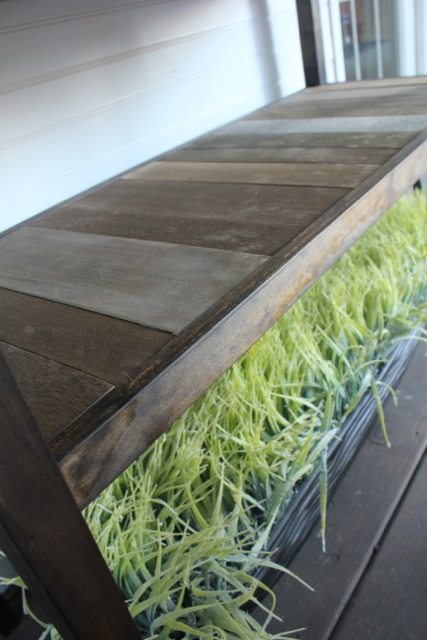
- Shelf option 2: strips of wood, painted or stained to add visual interest.
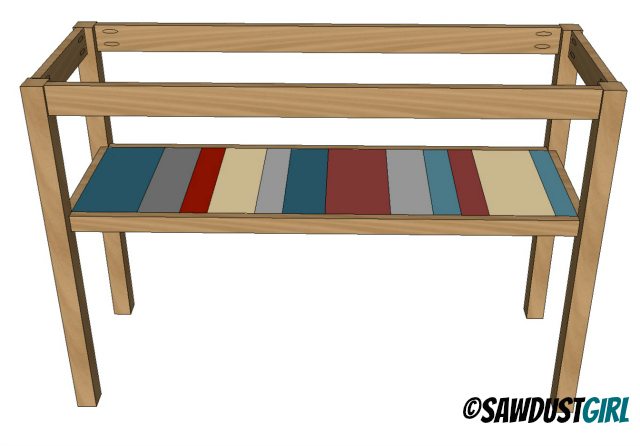
Step 5
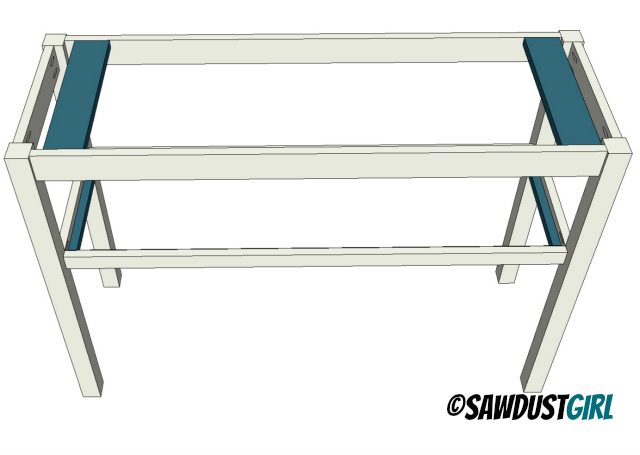
Attach cleats for tabletop
- use 1 1/4″ pocket screws to attach cleats to side apron ( this will give you something to easily screw the tabletop into).
Step 6
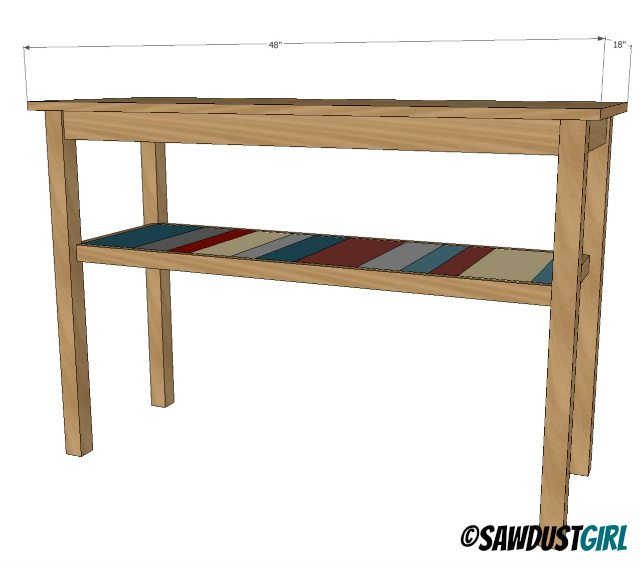
Build a tabletop.
- You could do some interesting things for a tabletop. Tile, thin planks, plywood, painted mdf…
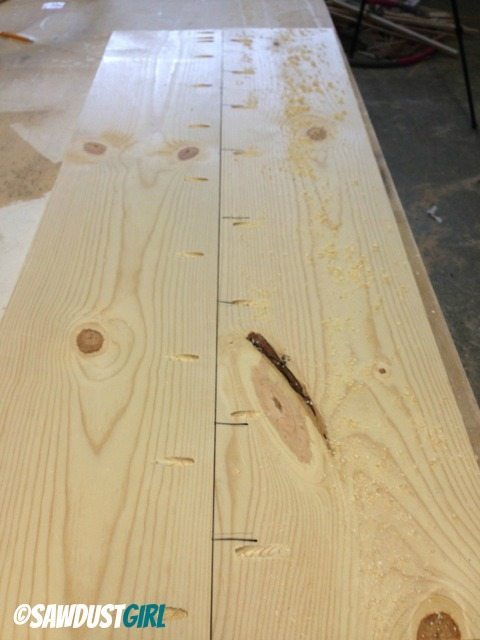
- I used one 8′ 1×10 cut in half lengthwise, screwed and glued together widthwise.
Step 7
Attach tabletop
- If you use a stable material like plywood or MDF, you don’t have to worry about wood movement.
- You can secure the tabletop by screwing up the cleats and into the top.
- Make sure your screws aren’t too long and don’t go THROUGh the top.
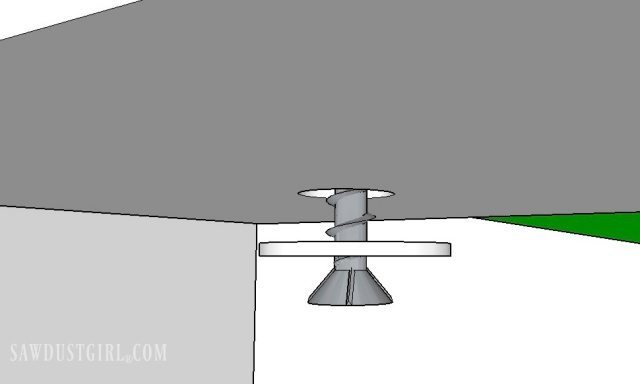
- If you use solid wood that is subject to movement (expansion and contraction) make sure to allow for that movement.
- Drill holes in the cleats that are larger in diameter than the screws you are using.
- Then use washers to prevent the screw from pulling through the hole.
- The extra space in that hole will allow the screw to move around with the wood when it decides to expand or contract.
You can then finish the table as desired. I painted my top black and stained the legs and lower shelf slats with a lighter stain. The pocket holes are visible from underneath. If that bothers you, you can plug or fill them. I don’t ever look under my table so they don’t bother me a bit.
I have lots of other table plans as well as many other woodworking plans and diy projects. Be sure to check them out!
check this out..make your life much more easier..just follow instructions and build
https://tinyurl.com/ya6tts98