Built-In Closet For Small Bedroom
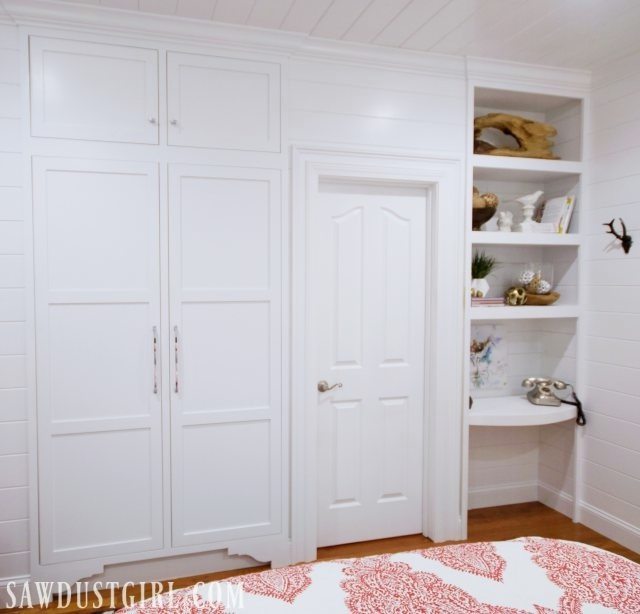
The tiny closet in the guest bedroom is FINISHED! I wanted to finish the entire Jack and Jill bathroom before Julie and I started working on Calderwood Cottage but it didn’t happen. The bathroom still needs drawers and doors but it’s usable.
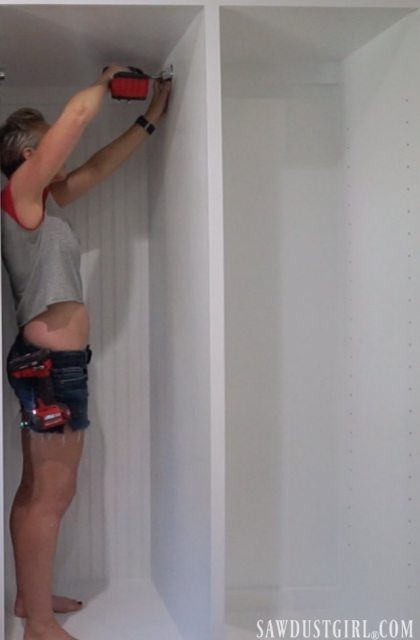
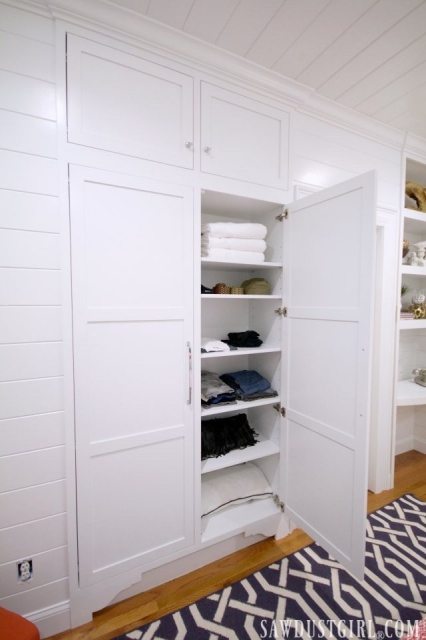
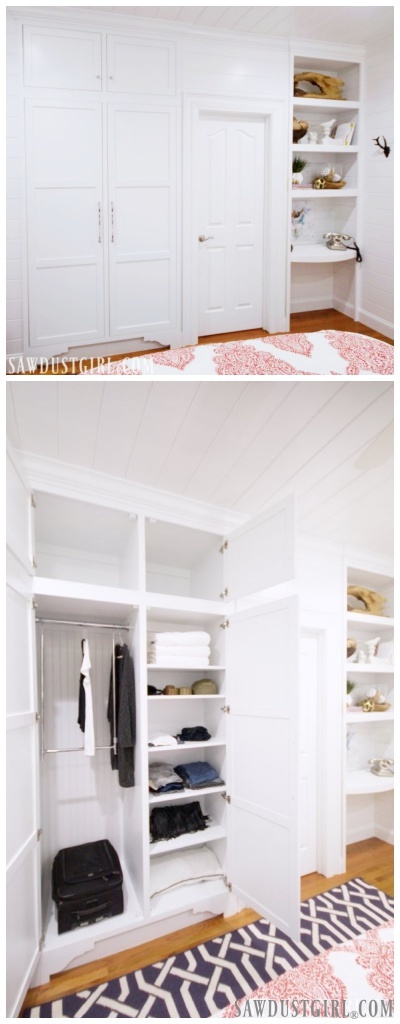
The tiny closet needed shelves and a hanging bar to become a functional closet. If you recall, the wardrobe cabinets are different depths. The left side of the closet is 26″ deep and the shelf side is about half that. The back side of the shelving closet is the linen closet in the bathroom. I drilled shelf pin holes and installed the hanging bar the night before Julie arrived.
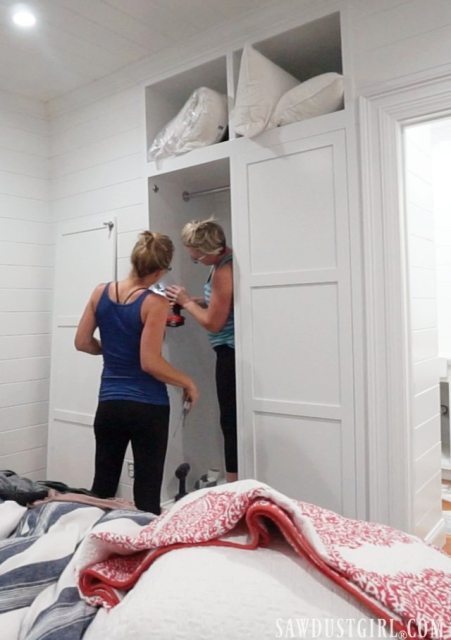
Then she had to help me install my CabinetNow doors. I had them all painted before she arrived but needed help installing the 6′ tall doors. They’re a tad heavy and much easier to install with a helper.
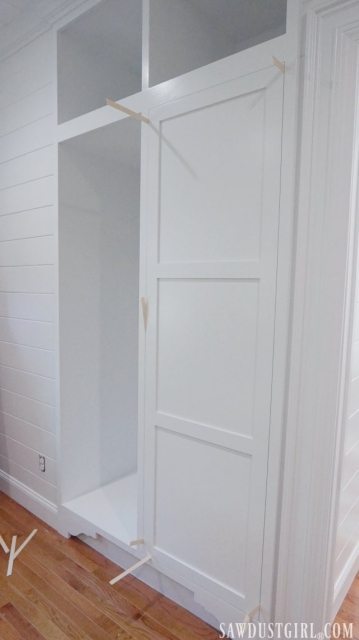
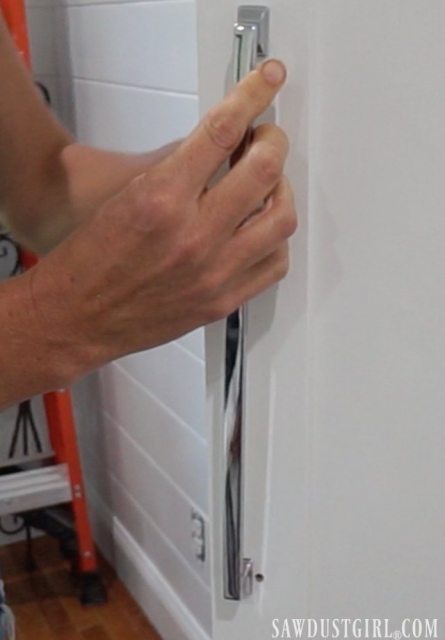
For hardware, we installed “Classic Edge” appliance pulls and rectangular knobs in polished chrome from Liberty Hardware.
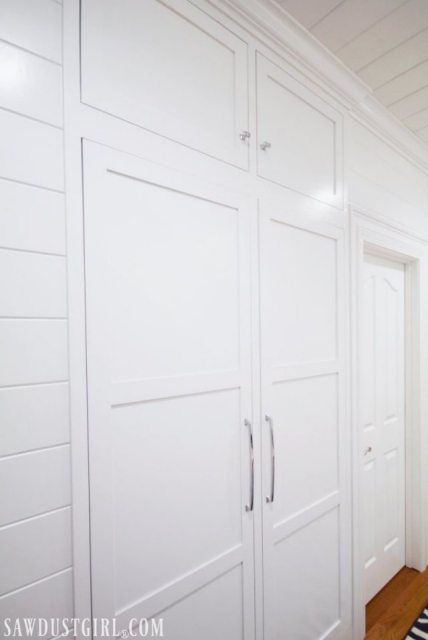
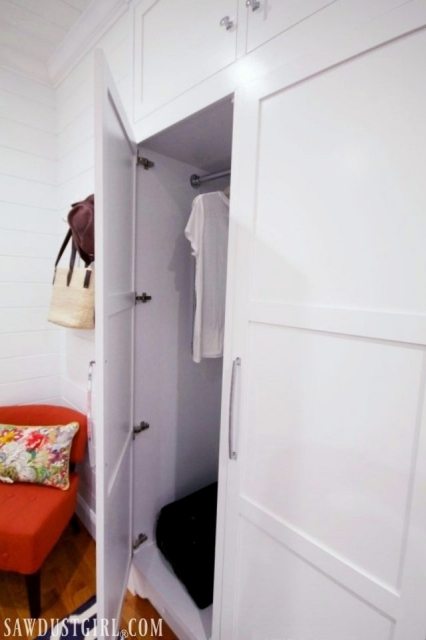
It’s a tiny closet but it’s more than enough closet space for a guest room. Now Julie has a place to store her clothes when she comes out to work on our flip house(s)! We’re starting with Calderwood. If we survive, we’ll talk about doing another one. LOL
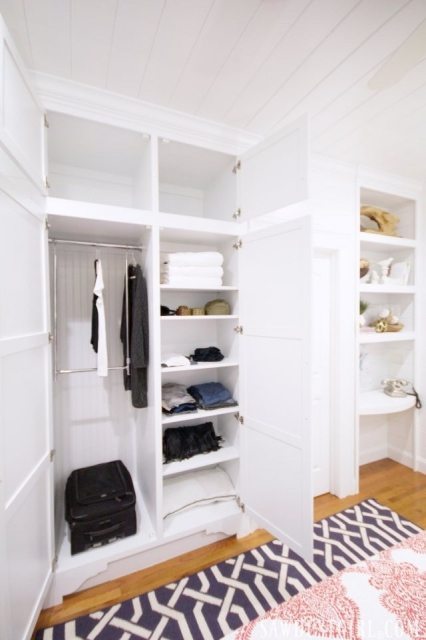

It’s not just Julie’s tiny closet that’s finished — the whole bedroom is done! This bedroom has a small nook where I built bookshelves and a curved desk like I built in the pretty bedroom. I can’t wait to show you the rest of the bedroom.
Special thanks to our sponsors Liberty Hardware and CabinetNow.
I love it! And I have to do that in my guest bedroom.
Gorgeous!
THanks!
Just beautiful! Very clean lines and I love the appliance pulls too. Just curious, what materials do you use for the shelves?
I used scrap wood from my shop. 3/4″ mdf and plywood.
Really looks nice! I enjoy watching the progression of your projects! Motivates me to keep at mine and finish them, especially the drawers!
Thank you. Drawers are time consuming because there are so many steps. Build the drawers. Install the drawers. Build the drawer fronts. Install the drawer fronts. Install pulls. Get everything lined up with each other… Not my favorite task! LOL
This looks great! I think that bed cover has caught my eye several times so can’t wait to see it!
Thanks Guerrina. That cover is from HomeGoods. I’ll be sharing more pics of the whole room tomorrow.