Router Bit Storage Drawer
While I continue to practice perfecting my polyurethane application on my Pantry Countertop (lots of time waiting for it to dry), I’m organizing my workshop. It needs it BAD! It’s been driving me almost literally nuts for months now. I pushed through getting the pantry built and the drawers and drawer fronts installed but now there’s nothing more to do but wait…so I’m busting out a major overhaul of my workshop.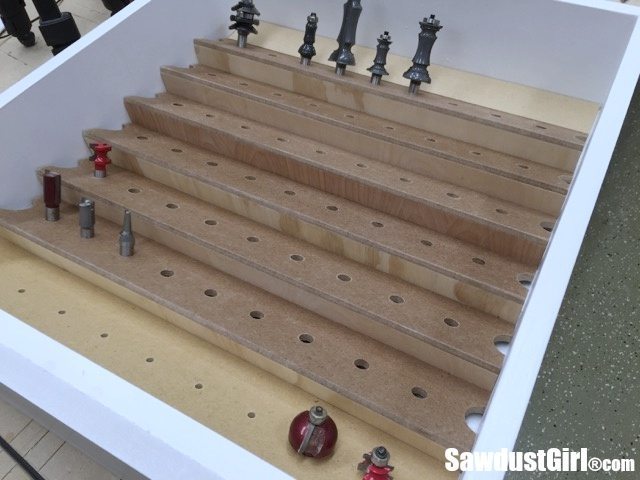
Router Bit Storage Drawer
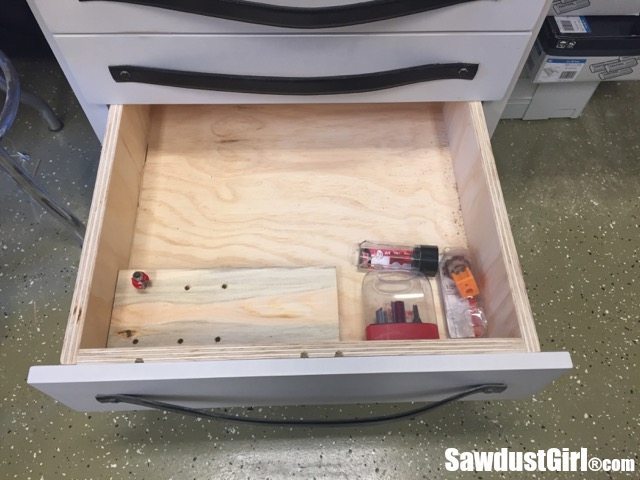
I kinda’ started trying to organize a few weeks ago as I started discovering loose and rusted router bits in various odd places. I found a drawer to designate to router storage and halfassed a block of wood with some randomly spaced holes I drilled for a bit I had just used and didn’t want to put back into the cracked plastic packaging I took it out of.
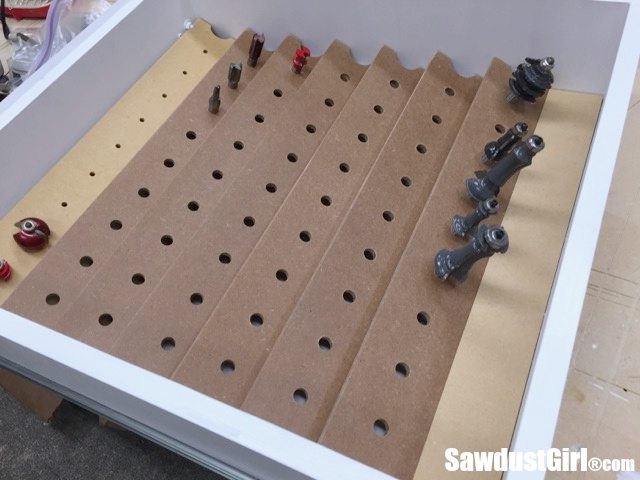
But NOW I’m taking this business seriously! ‘Cause I have time. I wanted somewhat modular storage, so I can change it up later without redoing the whole thing. So I decided to create storage “rows” that can be removed individually at any time — if ever needed. I can’t imagine why I might ever need to remove a row but the capability is there.
First, I cut 3″ strips of 1/4″ MDF to fit the width of my drawer.
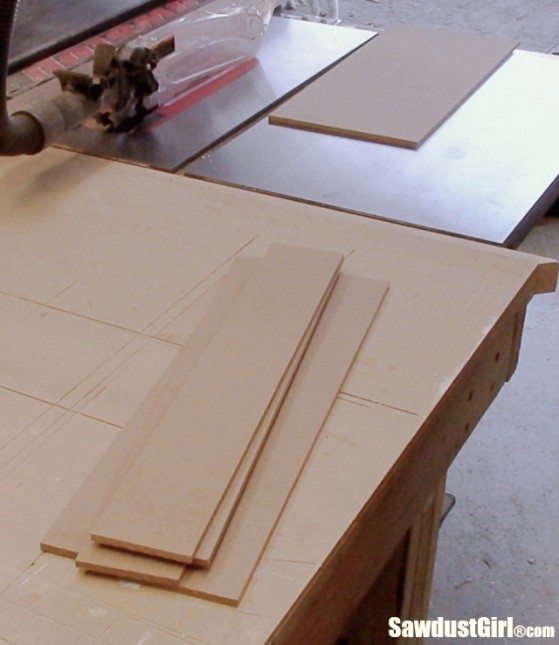
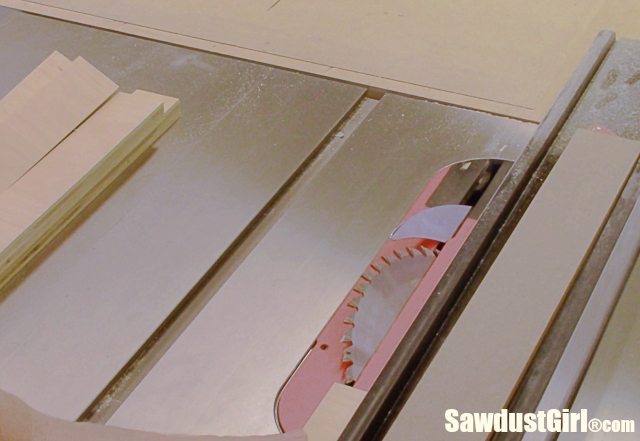
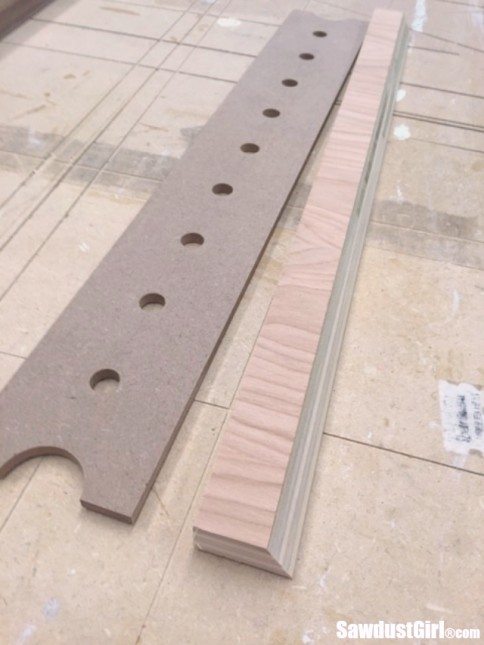
Then I cut 1 1/2″ strips of 3/4″ plywood and cut one end at an angle. My MicroJig GRR-Ripper is perfect for jobs like this.
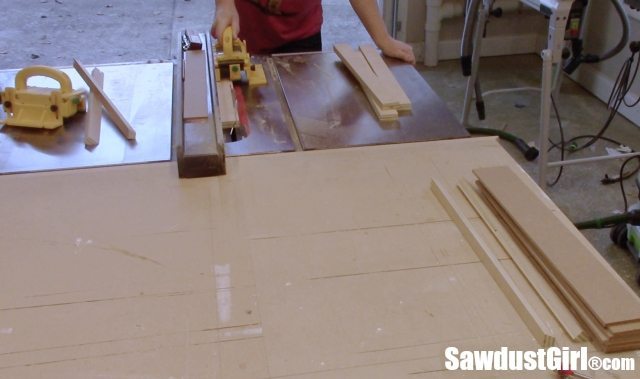
45º was too steep — 20º was perfect!
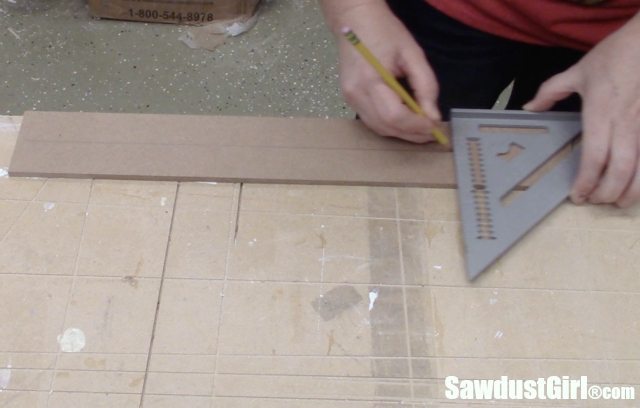
I marked the center of one 3″ MDF board with a speed square.
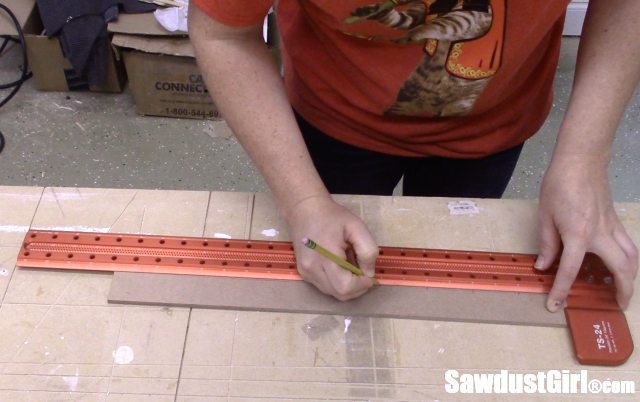
Then I used my long T square to mark every 2″ along the centerline.
I only marked one MDF strip because…carpet tape. Love that stuff! I stuck all of my MDF strips together so I could drill them all at the same time.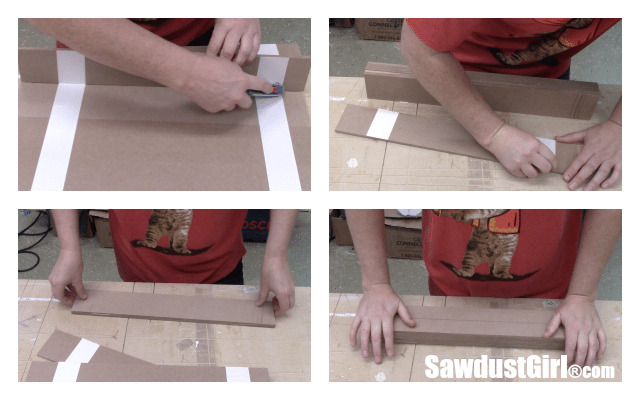
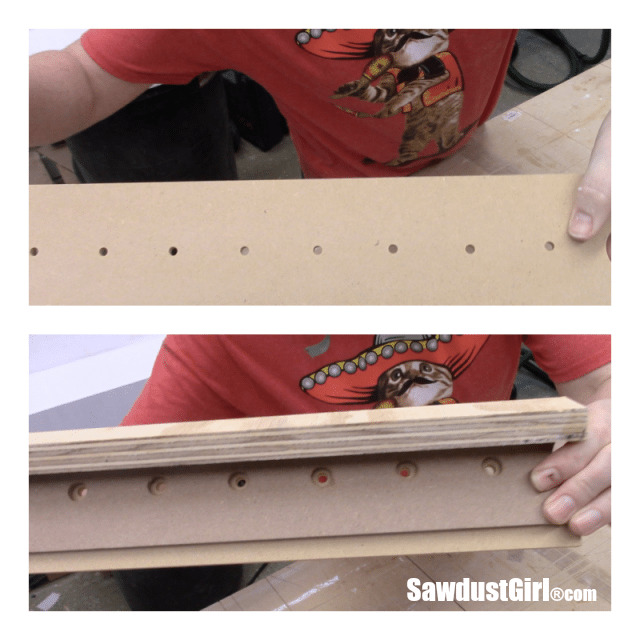
And then I used my drill press to drill through all the boards at once with a 1/2″ bit. Most of my router bits have a 1/2″ shank so most of my storage will have 1/2″ holes.
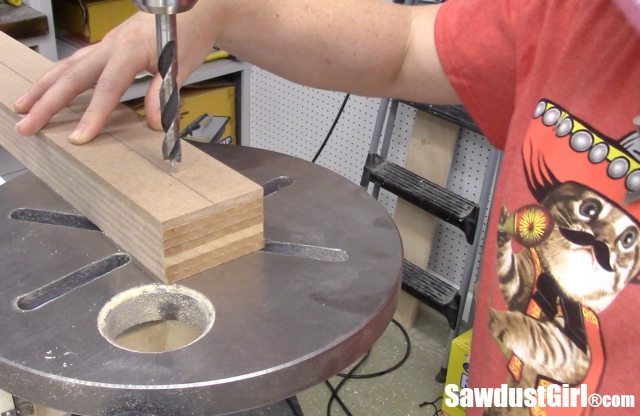
Of course you could do this with a manual drill.
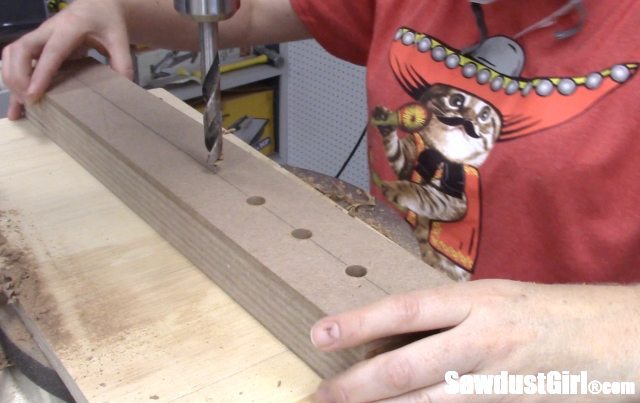
Then I switched to a forstner bit and drilled half a hole on each end. These are so my fingers can get in there to lift out one row if ever I decide I need to do that…turns out I needed to quite a lot during the process of setting them properly in place in the drawer.
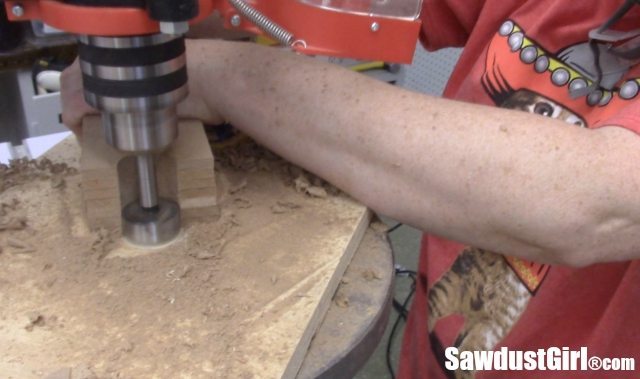
Next was possibly the most difficult task. Pulling the stack of boards apart. That carpet tape is STICKY! I had to use a 5 in 1 painters tool to pry them apart.
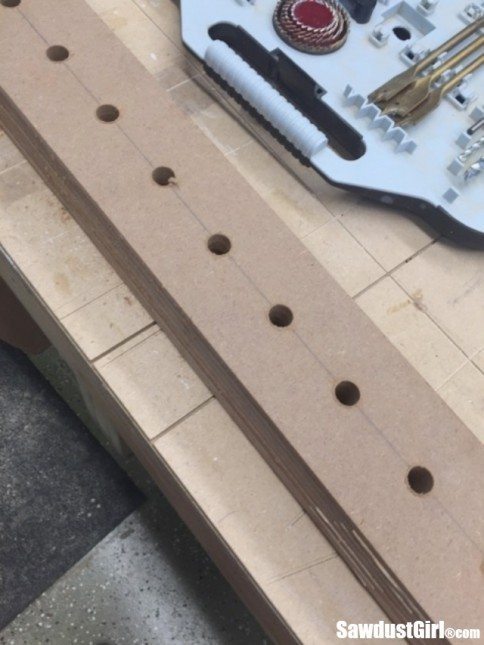
Then I sanded away the pencil mark and sanded all the boards extra smooth, cause sometimes the drill bit makes some sloppy burrs while cutting/tearing this mdf.

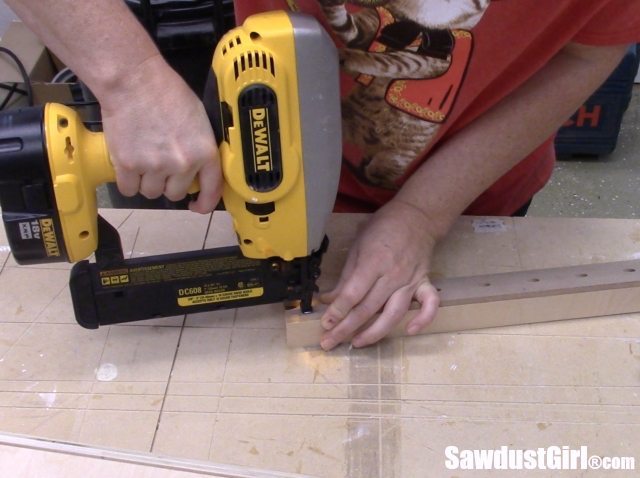
I used wood glue and nails to secure the MDF to the angled top of the plywood strip.
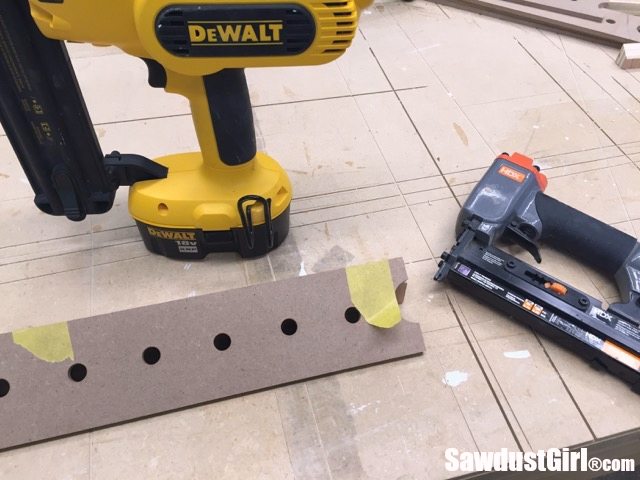
I used my 18ga battery powered nailer first but it was too bulky for this job so I switched to my 23 ga pneumatic nailer. That thing is great for so many things!
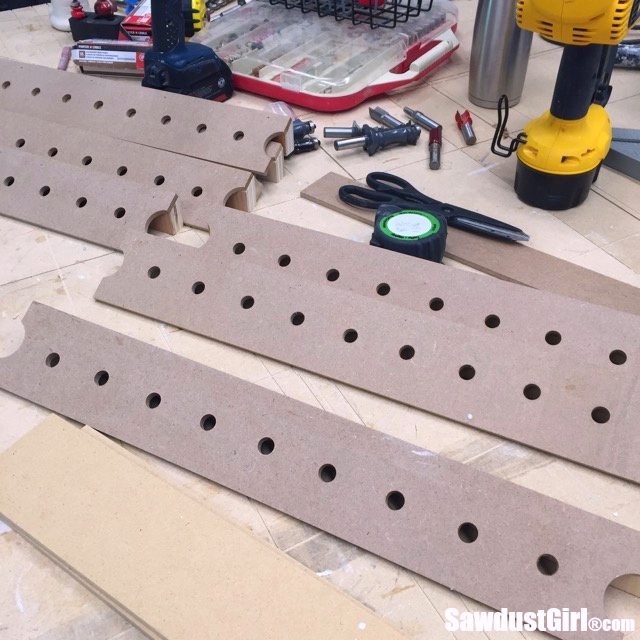
After I made all my of 1/2″ storage rows I wanted to add a few 1/4″ holes.
I used a new wider strip of MDF and some more carpet tape to trace the exact location of the holes on one of my prepared 1/2″ rows.
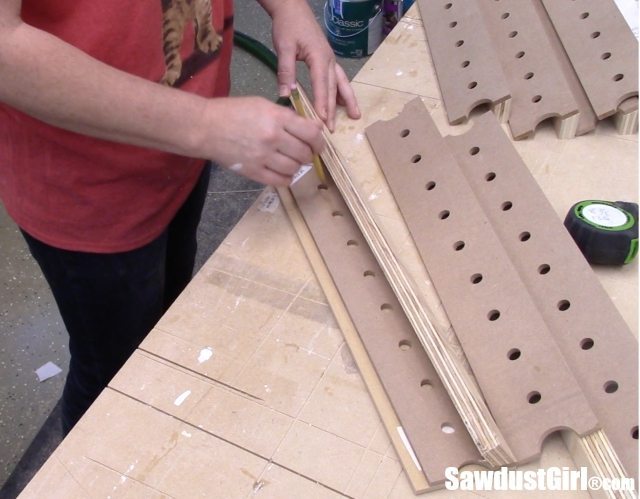
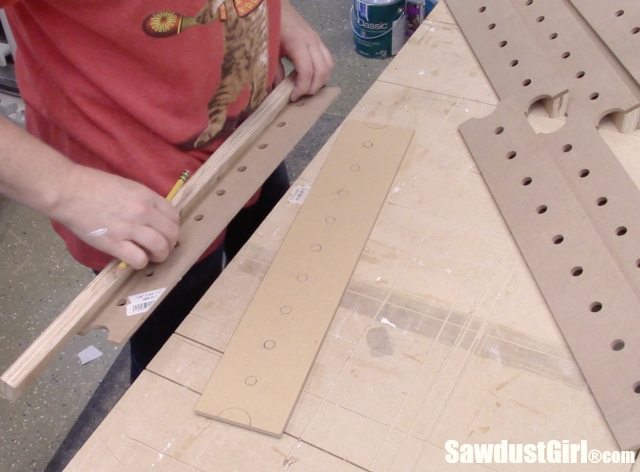
Then I marked a centerline through the traced holes to help guide me as I drilled 1/4″ holes.
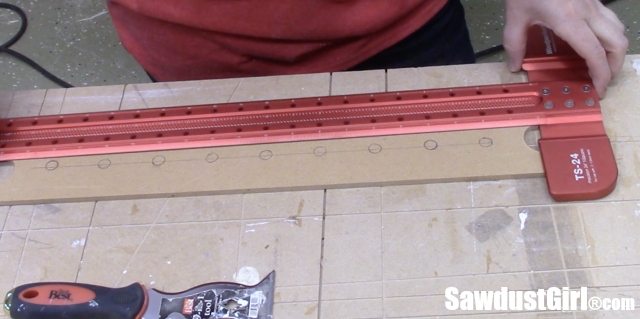
My forstner bit was still on the drill press so I started with those.
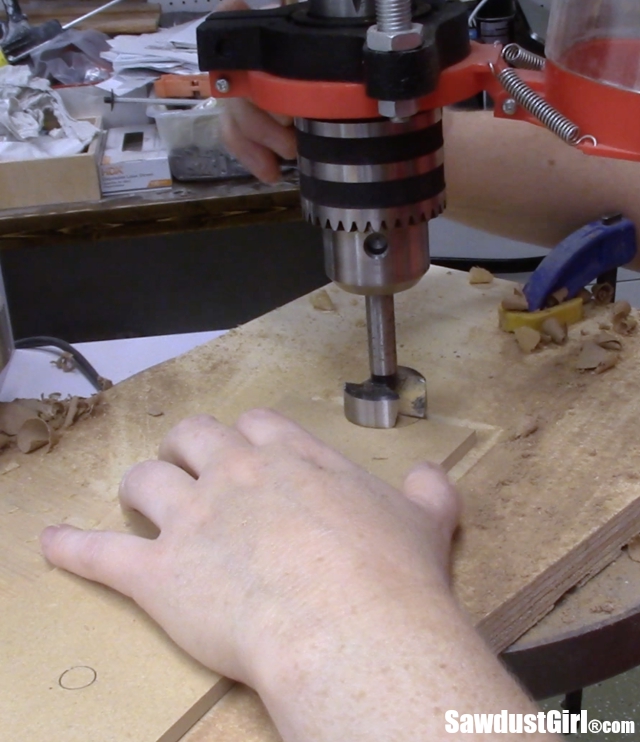
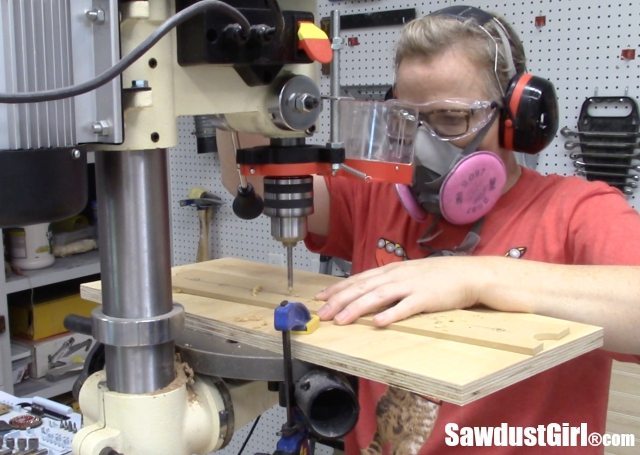
Then I drilled all the 1/4″ holes.
 My plan was to cut this piece, maybe in half, and set it on top of the 1/2″ strip so I could use just a few of the 1/4″ holes and still have access to the rest of the 1/2″ holes in that row.
 But it didn’t stay in place, height-wise, in the drawer so I ended up not cutting it and nailing it on top of the “Base” 1/2″ hole thingamajig.
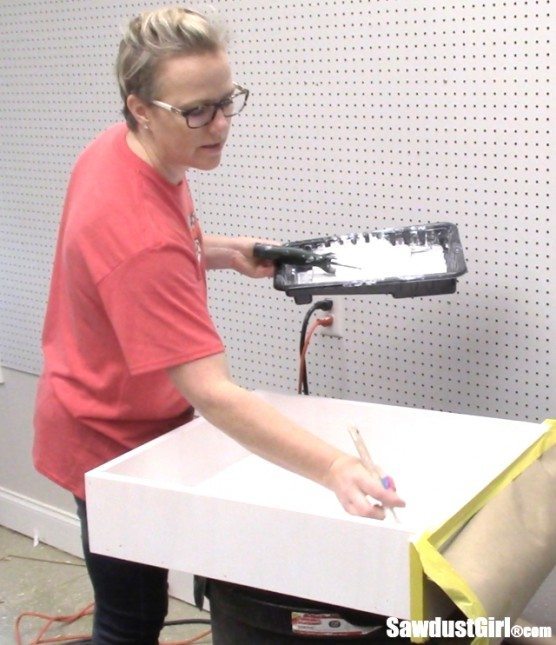
Also, because I had used crappy scraps of plywood with random holes in it (that I had torn out of the Master Closet) when I was building these drawers, I sanded, filled, primed, sanded and painted the drawer.
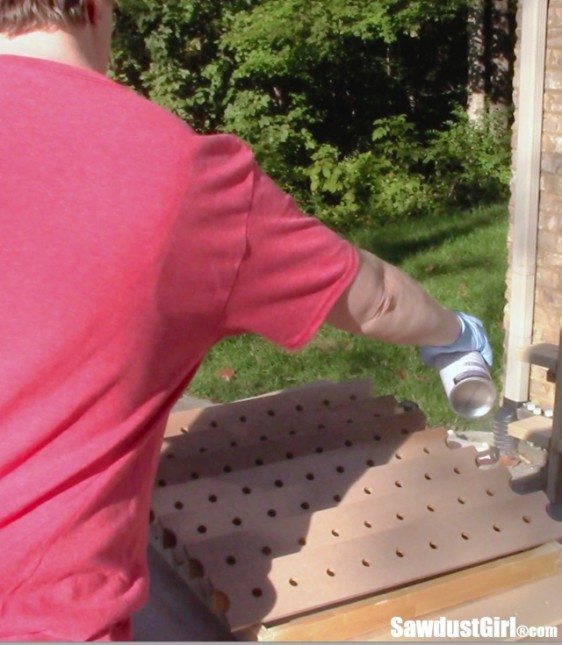
And then, not because it needed it but because I felt like it, I sprayed on some lacquer finish.
 That last row houses my BIG router bits so I needed a little extra space but I didn’t want all my rows from slipping and sliding around when I open and close the drawer. So I fitted a piece of MDF to fit snugly in that space and that worked perfectly.

So, as it turns out, I need a LOT less router bit storage than I thought –so dedicating an entire row to 1/4″ shank bits is no problemo!
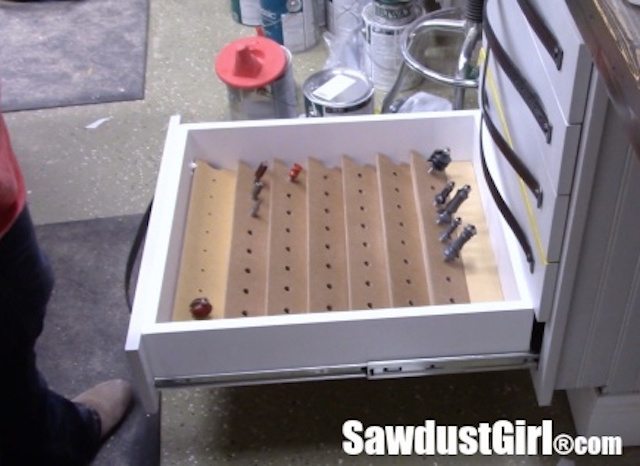
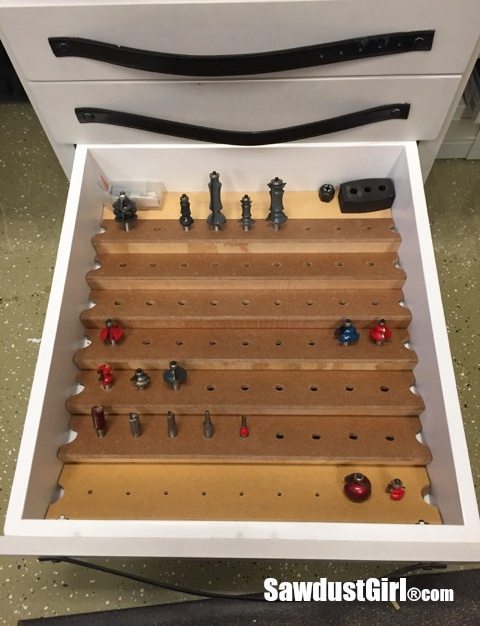
SO I have plenty of room to grow! 🙂 I haven’t even used those long bits yet but when I do, I’ll cut a small piece of each profile and glue it behind each bit on MDF piece that I placed on the drawer bottom behind that last row.
By the way, I love the video. Great job
I love how you wear a respirator for the dust but when you’re spraying, no respirator needed. Funny
Probably because I was outside spraying with the breeze drawing the overspray away from me.
Looking for you video installing the blum slides. I like this video but currently I am about to install the slides on our grandson’s dresser changing table. Please send link.
https://youtu.be/7uxSdTdwPA4?list=PLxbIbN3ppVccboYFNlp1zDbPMW1tE7hPn
Hi,
I am commenting on the wrong post but couldn’t make my browser to let me comment on the crown molding post. It was very helpful when I finished molding in my home. I wanted to do a keystone block on few of the doors, but am unable to come up with the cuts, angles. Do you think you could help with that and post something? Iam looking for a very simple trapezoid block in the center of crown molding ledge using 1×4 as the top ledge and the standar 31/2″ crown. Thanks.
OK, you got me beat on router bits! I think I only have 6. I’ve only used 2 round over bits so far.