pantry to display cabinet
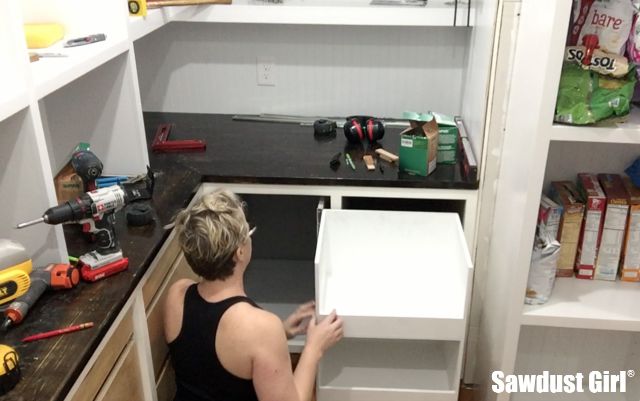
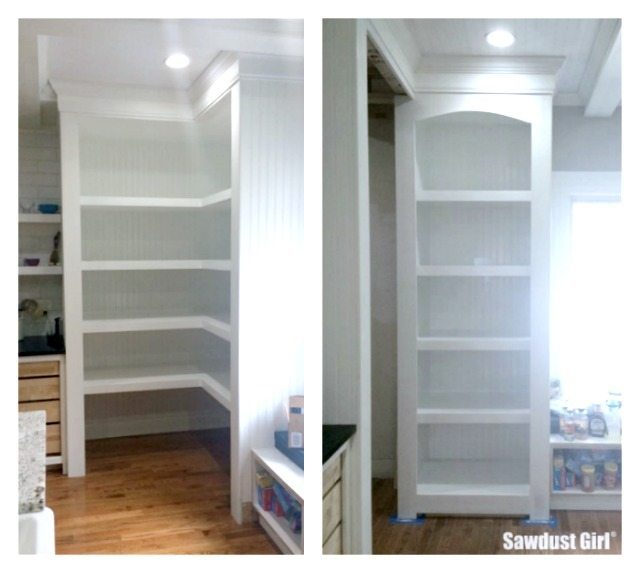 The pantry remodel is coming right along. I’ve got all kinds of awesomeness going on IN the new-new-new pantry and I took care of business on the part of the old-new-new pantry that I left in tact.
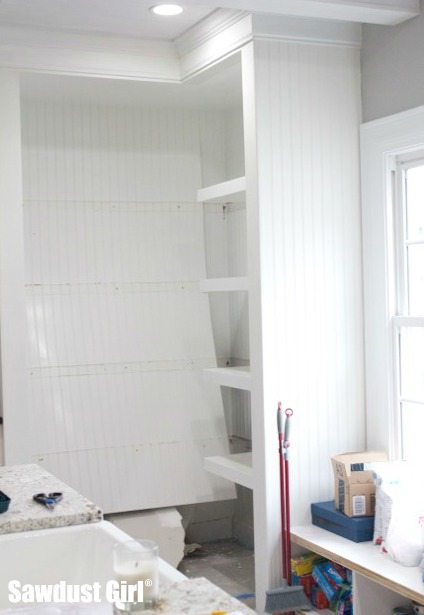
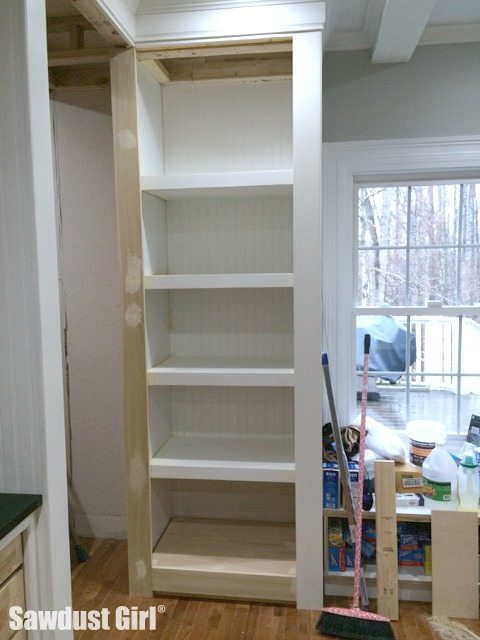
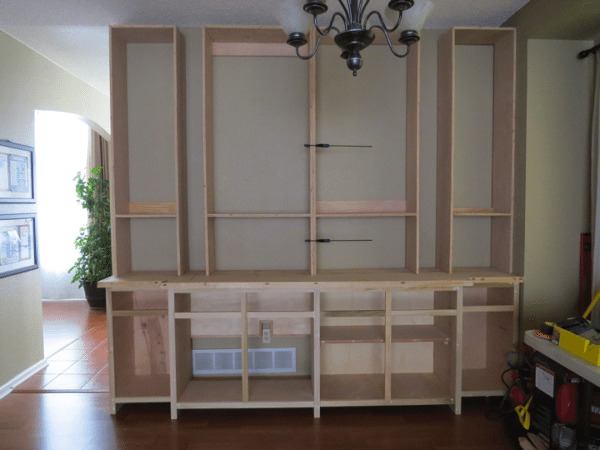
I had to add a left side to the cabinet first and then create a cabinet bottom. Before it was open on the bottom but now I plan on carrying the baseboard around it so I needed to raise the bottom to the proper height.
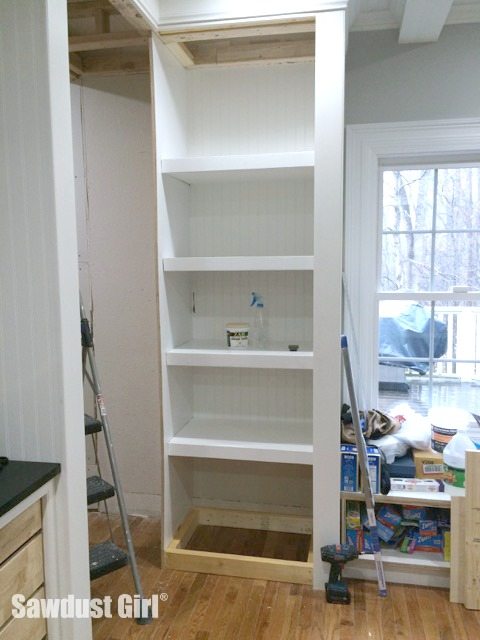
I cut the shelves as straight and evenly as I could during the Pantry Demo but there was a LOT of caulk and putty needed!
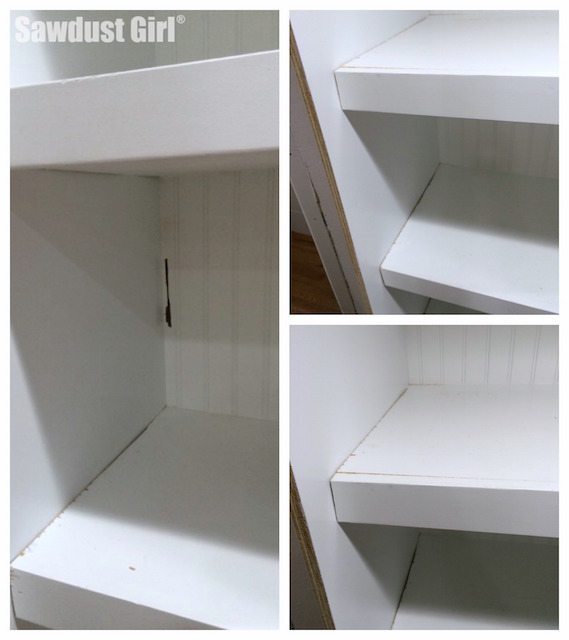
My new display cabinet needed a left faceframe stile as well. I used glue, nails and pocket holes to attach. (And then another layer of caulk on those shelves!)
Then I spent an entire day on the arch! I cut and installed exactly three arches.
Third time’s a charm.
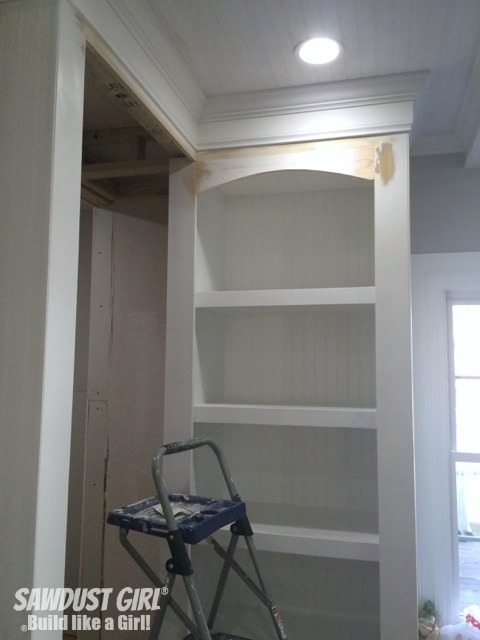
Wish I would have taken a picture of each one but I was too mad after I’d spent all the time cutting, sanding, installing only to stand back and hate it!
At first I was thinking I’d shape my arch like my decorative toekick design. But I didn’t like that.
Then I created a very deep arch. Cut. Sanded. Installed. Hated it!
I had a hint of a desire to do something a little tiny bit unexpected with my arch but it turns out I’m a “classic design” kind of gal when it comes to fixed elements and permanent structures. Finally I created a pleasing proportioned arch, installed it and my eyeballs are very happy with how it turned out.
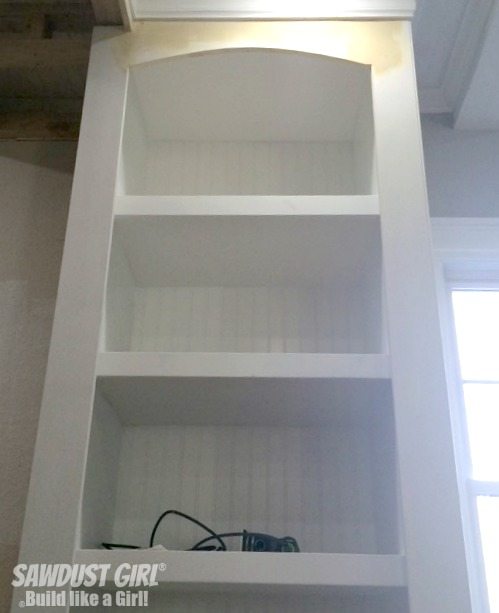
Each time I removed an arch and headed back down to my workshop I had a tinge of guilt about spending so much time on a detail that had nothing to do with the functionality of the cabinet. In past homes I have sacrificed some elements of the remodel that I wanted in favor of just getting it done as fast as possible because it’s SO difficult to live in a house while you remodel it.
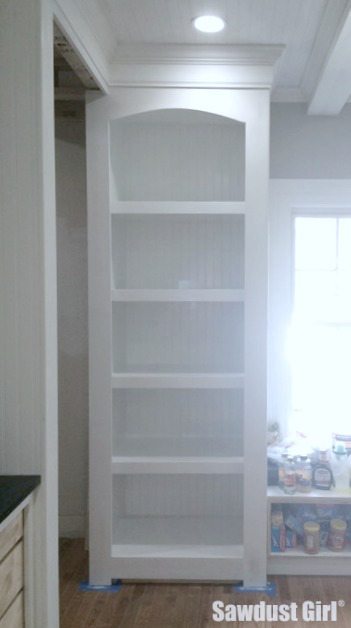
I don’t want to do that in this house. So I spent a whole day on one stinkin’ arch. ‘Cause I wanted a stinkin’ arch! And now it’s done and there’s no regret. Boom!
You are awesome!! you are very inspirational. I am just finishing my 2nd piece of furniture. Very satisfying. I always look forward to reading your blog. Thank you !
It turned out beautiful. So inspiring!
Love it! Happy Easter / Egg Day to you and yours. 🙂
The arch was the first thing I noticed in the photo! So it was worth it 😉
I always look at the pictures before I read anything. Whilst scrolling this post I said to myself – “What a perfect arch, I wonder how she did it?” I’d have a hard time with that one, especially getting both sides to match so perfectly. Glad to hear you shared it wasn’t a first time try. I feel much better now. 🙂