Paint Drying Rack for Cabinet Doors
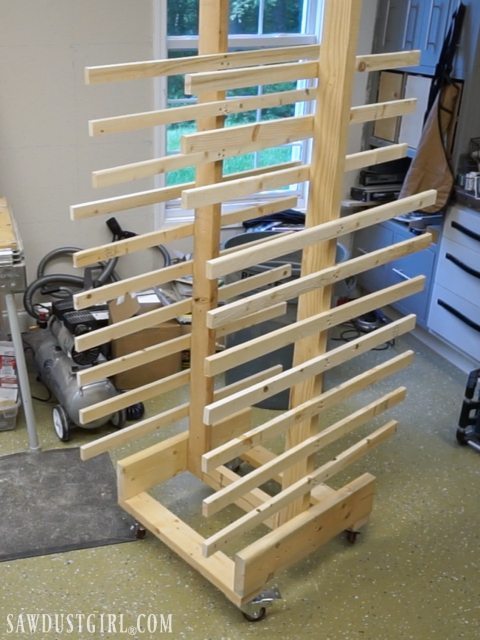
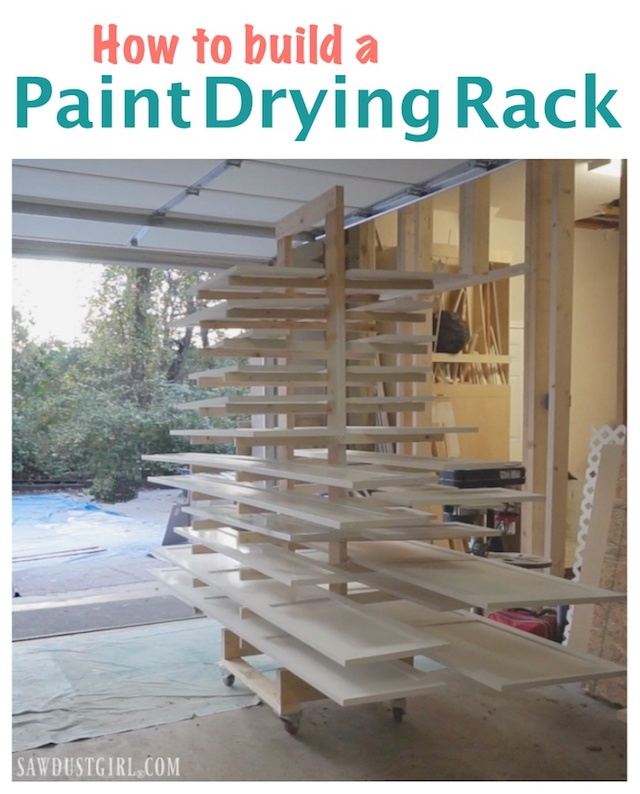
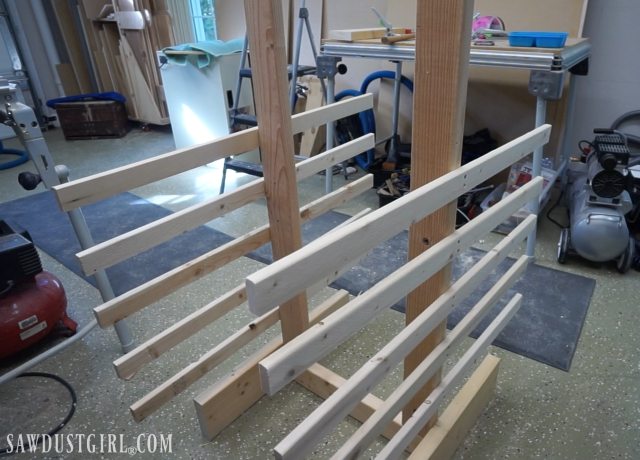
Last week I had to build a drying rack because I had 39 cabinet doors to paint. Since I’m in a bit of a rush to finish this house, I did not build these doors. They’re from CabinetNow.com. I did not outsource the painting though, so I had come up with a way to dry all these doors so I could paint in one batch. The drying rack project took
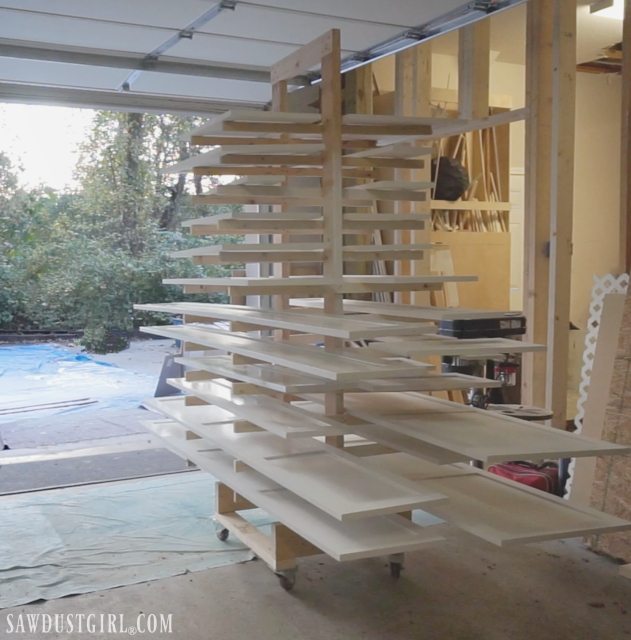
Table of Contents
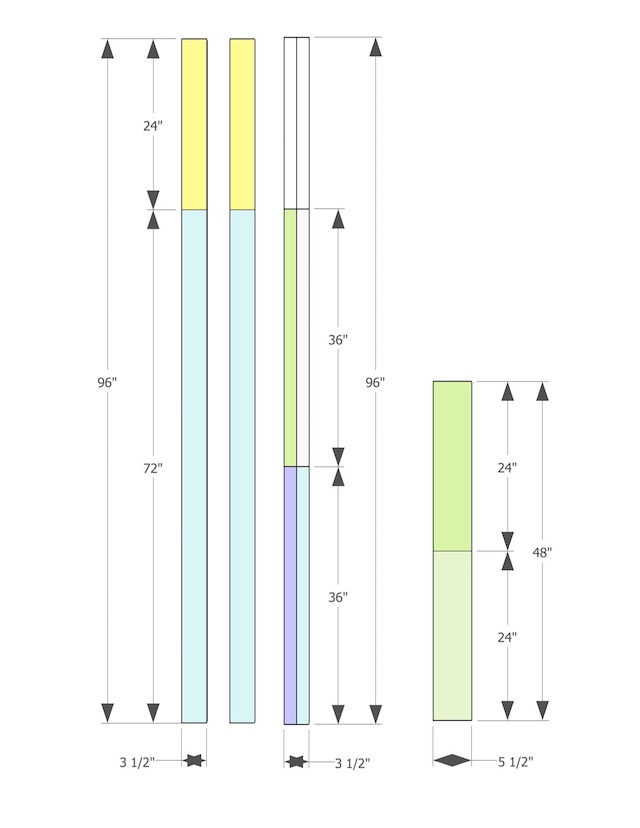
Materials Needed
- two 8′ 2×4
- cut each 2×4 into a 6′ and 2′ piece
- six 8′ 1×4
- cut each 1×4 into 3′ sections
- rip each piece of 1×4 into two 1½” wide stirps
- each 8′ 1×4 will give you FOUR 1×36″ strips
- two 2′ 2×6
- 1½” wood screws
- 2½” wood screws
1. Build Frame
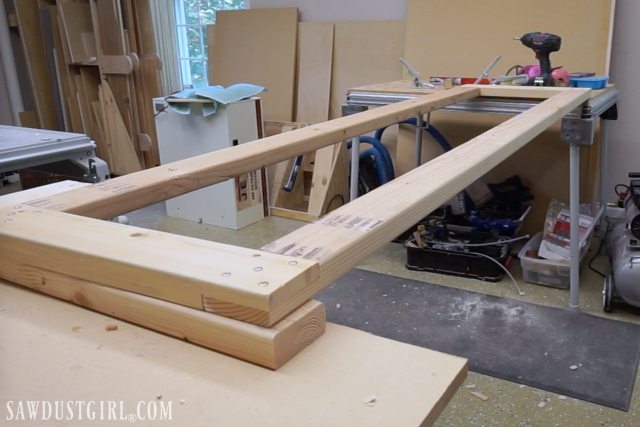
I notched out the ends of all my 2×4 pieces to create a slim profile. You don’t have to use half lap joints though. You could simply secure the 2′ 2×4 pieces on top of the 6′ pieces.
Notch ends
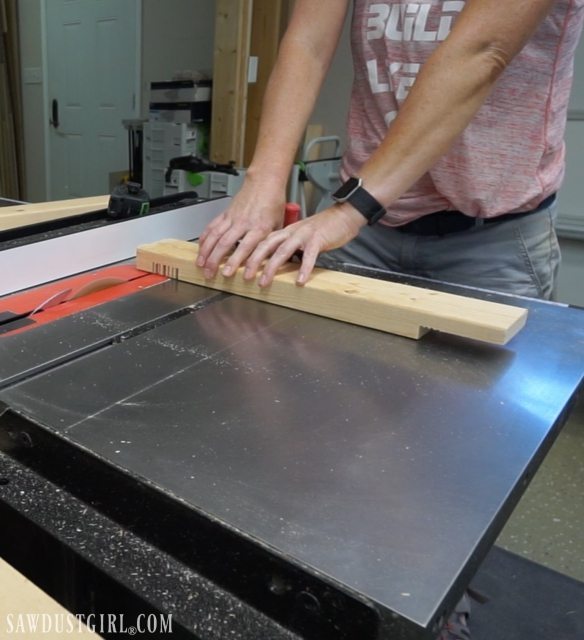
To notch out the ends of the short 2×4 pieces, I used my table saw. A miter gauge keeps the wood square to the blade. Set the fence at 3½”. Set the blade to cut halfway up into the 2×4. Then make a bunch of cuts, close together.
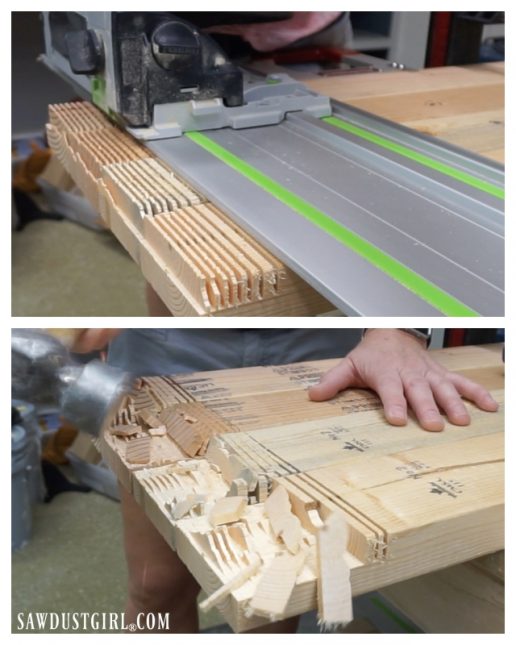
On the longer 6′ pieces, I used a track saw. If you don’t have a track saw, use a circular saw and rafter square.
- Set the blade to cut halfway through the thickness of the 2×4.
- Notch out 3½” off the ends of all the 2×4 (Since 2×4’s are actually only 3½” wide.)
- Break out the left over wood with a hammer.
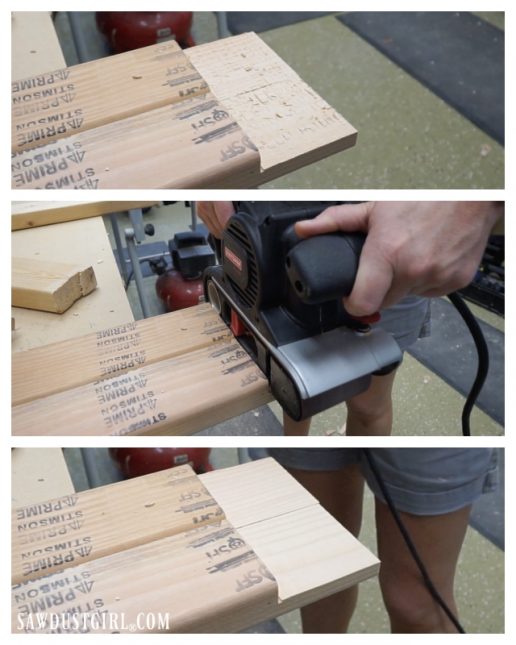
Clean up the surface with either a chisel…or a belt sander if you don’t actually own a sharp chisel like me. The belt sander made quick work of cleaning up the half lap joint surfaces.
Assemble Frame
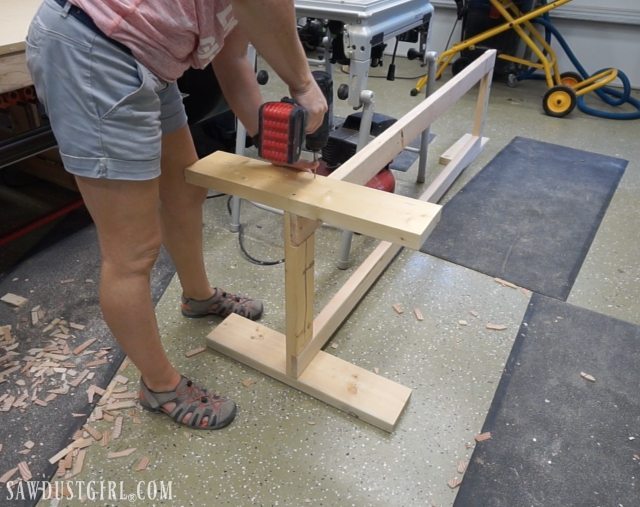
Now create a rectangular frame with the 2×4 pieces. I did not use any wood glue because I want to dismantle this after use. There’s no room in my shop for a giant paint drying rack to just sit around, waiting for the next big paint job.

Attach Base
I secured the 2×6 pieces with four 2½” screws on each side. The 2×6’s are flush with the bottom of the 2×4 frame.
2. Vertical Supports
Cut support arms
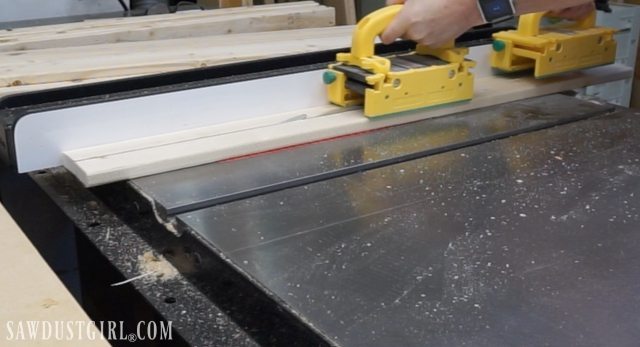
If you can find straight 1×2 furring strips, that would be the easiest material to use for the support arms. They are difficult to find without digging through the whole pile so I used 1x4s and ripped them down to 1½” wide strips after cutting them into 36″ lengths.
Attach support arms
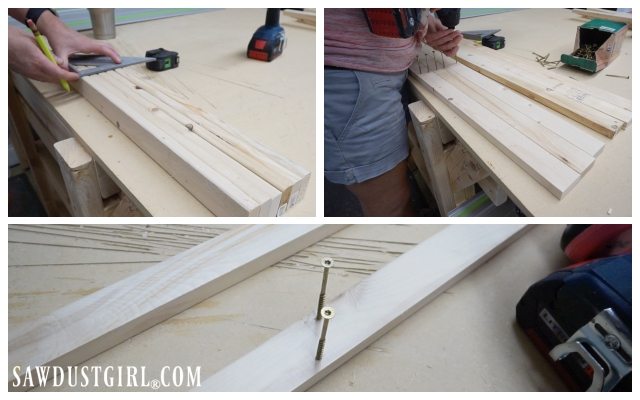
Its easier to start your screws on a flat surface, rather than when you’re trying to secure the 1x2s to the vertical frame.
- Mark the center of the 1×2 and start two 2½” screws in each one.
- Since the 1×2 is thin and narrow, offset your screws to give them more stability.
Spacing
- Determine how tall you want your drying compartments to be.
- Secure the lowest support arm first.
- Then, use a spacer block (cut to match your desired compartment height) to support the next arm while you attach it.
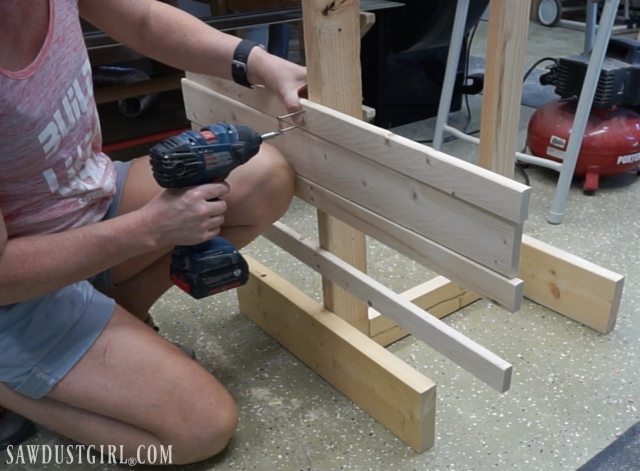
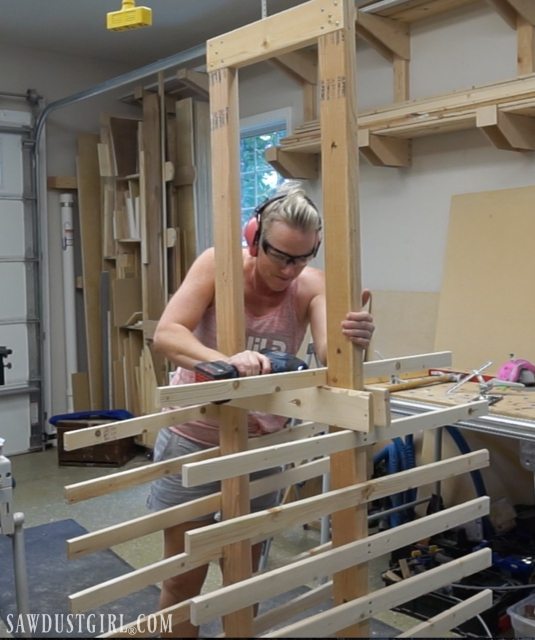
- Start on one side of the frame, using a couple of your spacer blocks to span the width and support the support arms while you secure them to the other side.
- To support narrower cabinet doors, you can install some of the support arms on the inside of the frame.
Install Casters
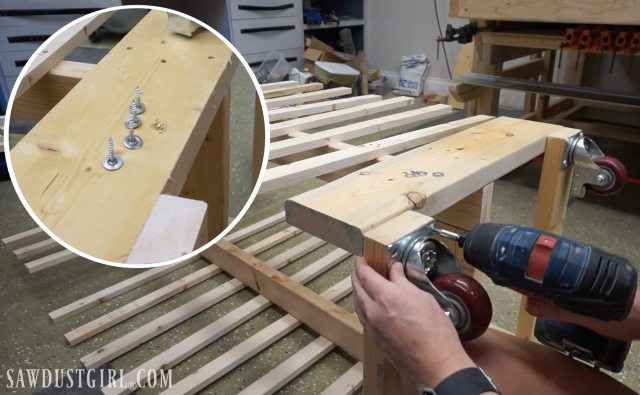
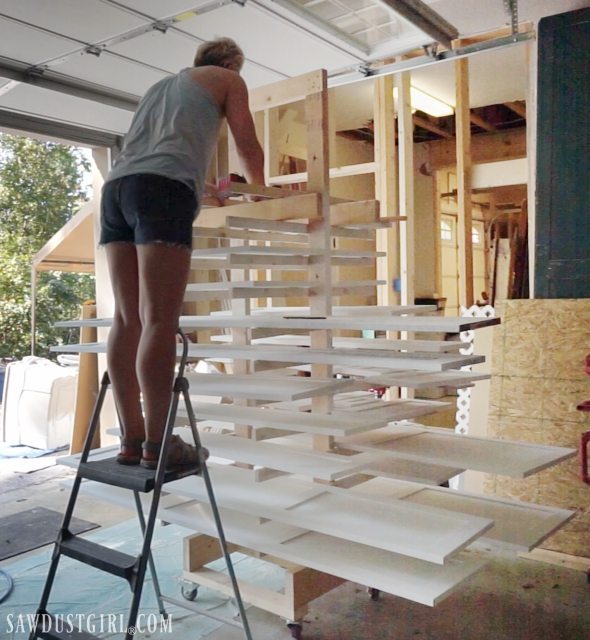
Locking swivel casters make it easy to load one side of the drying rack, then spin it around to access the other.
- First, install two 2×4 cross braces on the bottom of the frame base for stability.
- Attach casters to the cross braces.
Now let the painting begin!
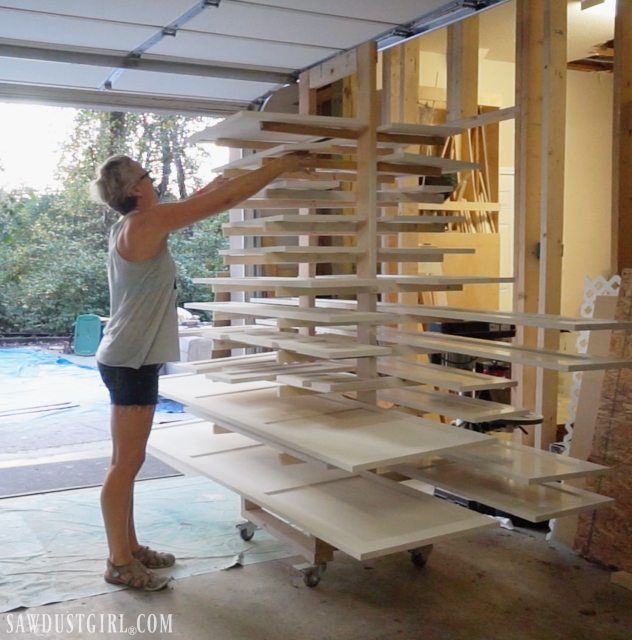
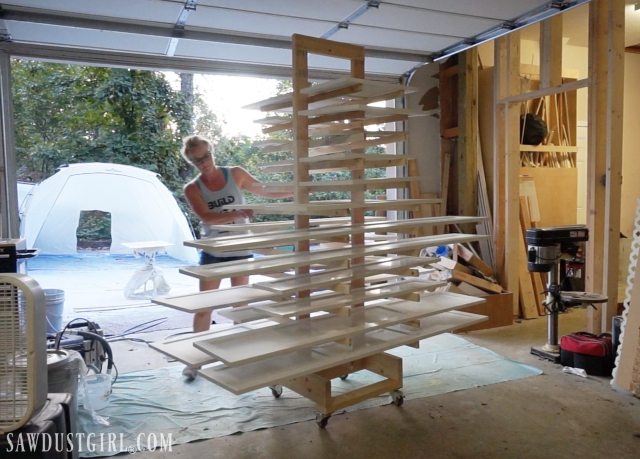
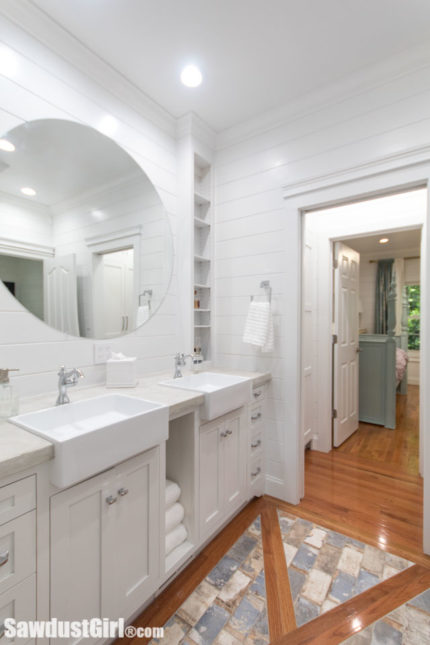
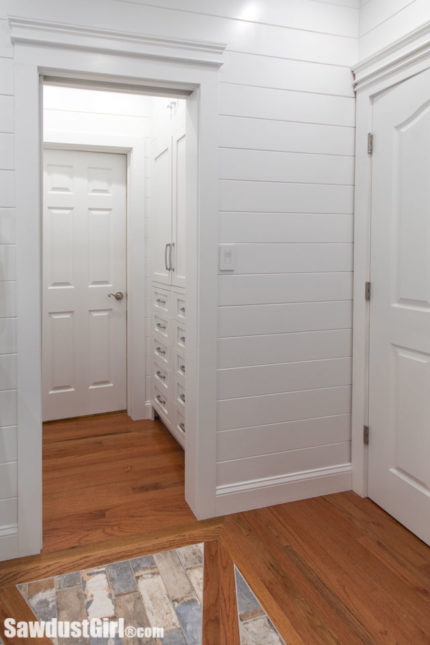
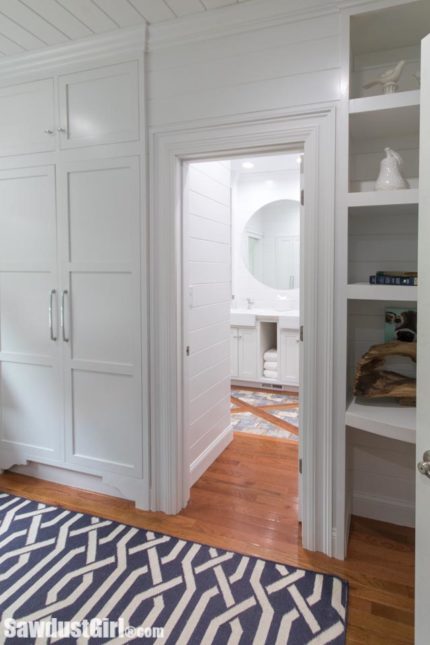
After spraying each door, I place it to dry on the paint drying rack for cabinet doors. Once one side is full, I spun the whole thing around and did the other side. Over and over…as I primed both sides of each door. Then painted each side of each door. Tons of work but totally worth it once the doors are installed in the guest wing closets and bathroom!
I may have to build one of these for my woodshop so that when I am in full production. I will have someplace to store stuff as I get pieces painted or otherwise finished.
Great job Sandra. I’ve built about 10 of these now as my cabinet painting business has grown. When I started I laid them out on tables, then I moved to a janky system I bought of eBay, but finally decided to build my own. It started off just like yours, but evolved ever so slightly to be pipes instead of slats and I cover them with easy-release painters tape to avoid any scuffing or sticking.