Layered door and window trim molding
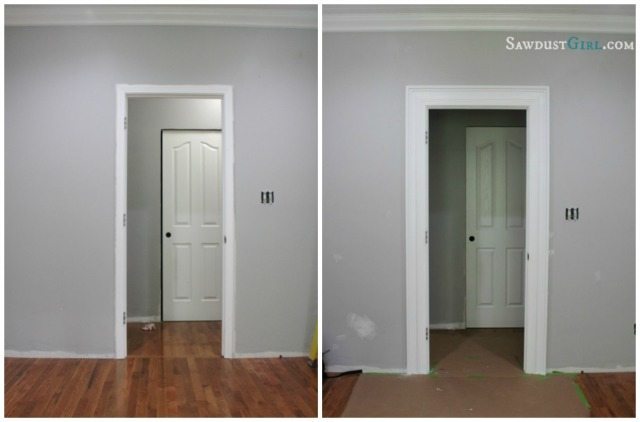
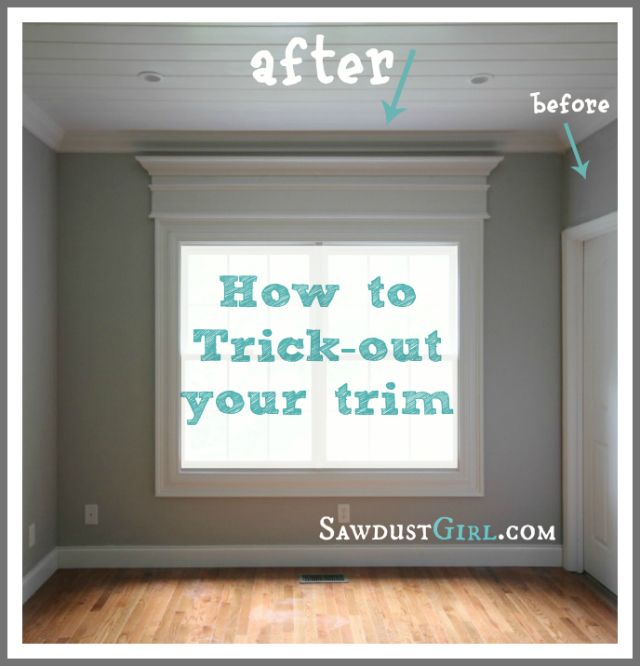
Want to upgrade your door and window casings without removing the existing trim? it’s easy to create custom casings by adding a second layer of trim – outside the existing one.
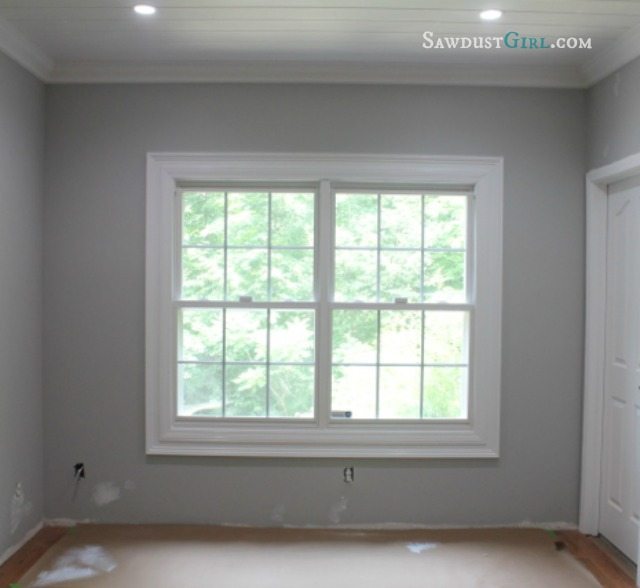
My Maryville, TN house had really narrow, basic casings on all the doors and windows. It’s a very big house and I didn’t want to have to remove ALL that trim in order to have more substantial casings. This method allowed me to create the bulky casings I prefer – without doing any demo.
I chose a molding that would work well with my existing trim. What I looked for:
- a molding that was slightly thicker than the outside edge of my existing trim.
- a rounded inside edge to coordinate with the rounded outside edge of the existing trim.
- at least 3/4″ (preferably more) thickness on the outside edge of the new molding. I tend to add railings, planking, and other wall treatments and I prefer to have them terminate into casings which creates a cleaner, professional, well thought out look.
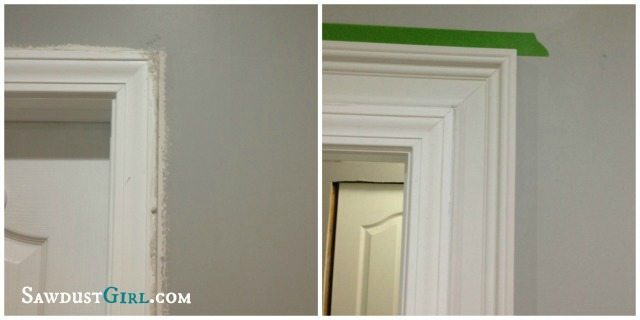
I installed the new trim with mitered corners just like the original casings were installed. Once painted, it looks like one big, bulky, expensive door casing.
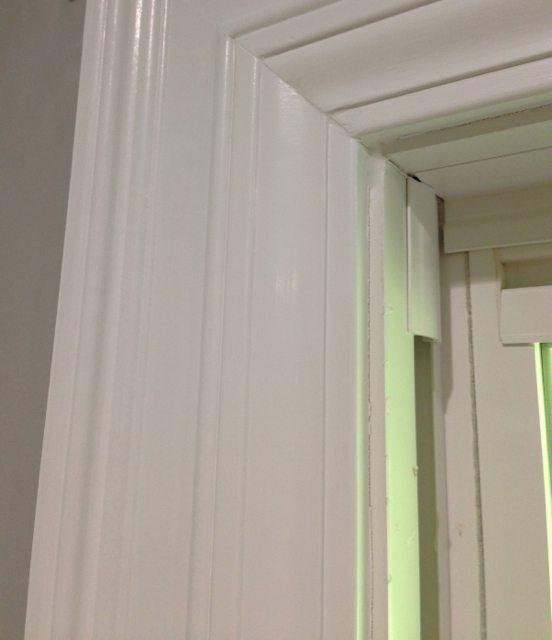
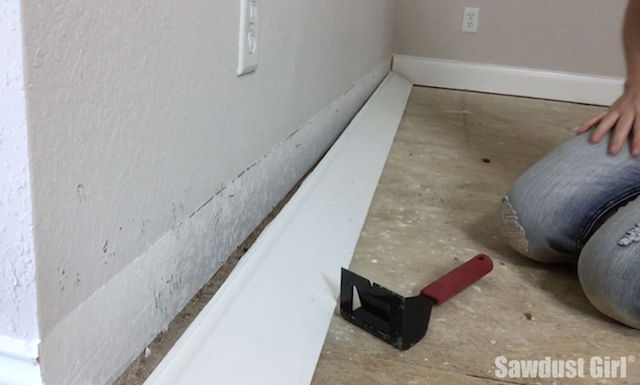
I did have to remove the baseboards because there wasn’t any way to work with those 3″ throwaways but the doors and window casings are perfectly satisfactory with the additional layer of trim.
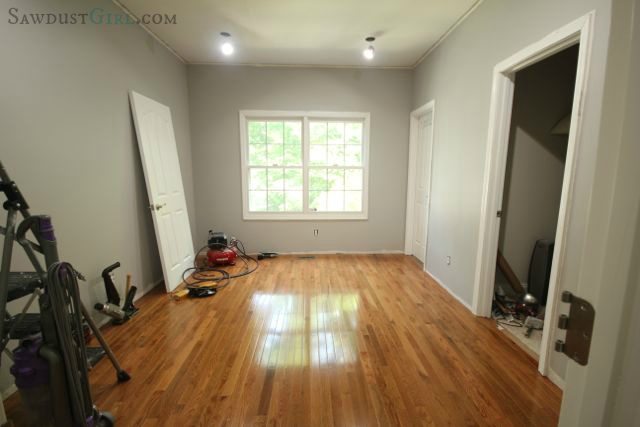



I dealt with that exact situation in a hallway. Check out this post where I show how I dealt with it. It’s not a tutorial but maybe you can get some ideas.
I relocated with my family about 2 years ago from an 1869 Victorian home with this style of trim into an early 2000’s traditional home. To say it is lacking character is an understatement. I would love to add some of this character, however, I am getting stuck in the corners. The doors are so close to the walls and almost touch in the hallways. Ugh. Can I still add trim and just thin it out or what advise would you have? Thanks so much. Looks beautiful. Great job.
I have no idea what the name was.