How To Install Vertical Drawers In Existing Cabinets
My workshop organization efforts continue as I add some vertical storage drawers to the existing cabinets I built 4 years ago. I needed somewhere to put tools away as I unpacked boxes so I quickly built the open shelve cabinets. Though not terribly convenient for organizing small items, they were better than nothing.
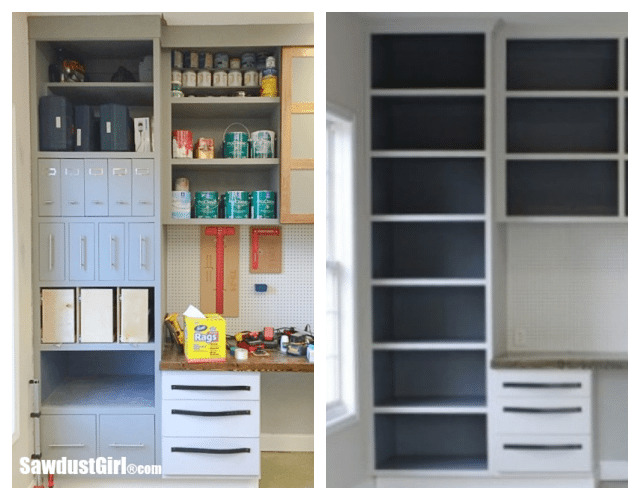
I don’t like moving 15 boxes of screws and nails around before I find the right size or hunting for a specific roll or tape, etc. I like to see all my choices at once. I almost always prefer drawers over shelves for storage. When storing a ton of small items, narrow “pantry style” drawers are the best. I call them, vertical storage drawers. They are narrow so nothing is stored behind anything else. You can see everything in the drawer, all at once, at quick glance, without moving anything out of the way first. Before building any drawers, you have to figure out how much space you have in your cabinet. Then decide what you want to store IN your drawers and come up with the best configuration. I built each drawer specifically for the items I wanted to store in them. You can really customize everything when you build it yourself.
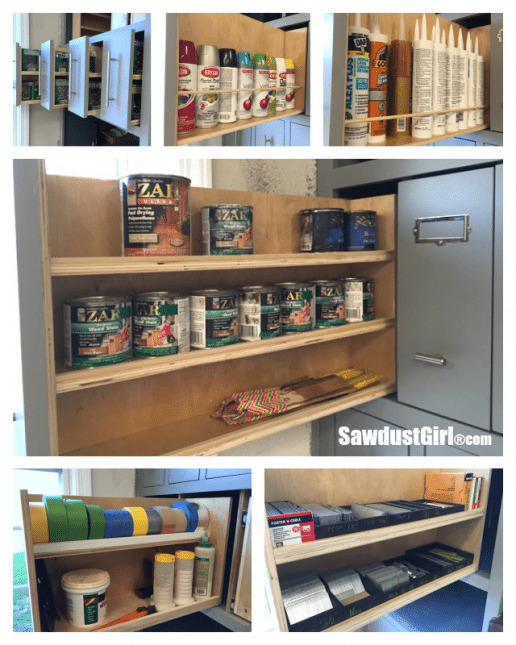
Vertical Storage Drawers
I have a whole tutorial for building vertical drawers with all the details for each and every drawer I built for my personal workshop. Check that out for details. This post focuses on how to install drawers vertically. Specifically, putting a pair of drawer slides one a single side of a cabinet drawer. Rather than installing one on each side of a drawer.
Install slides on drawers
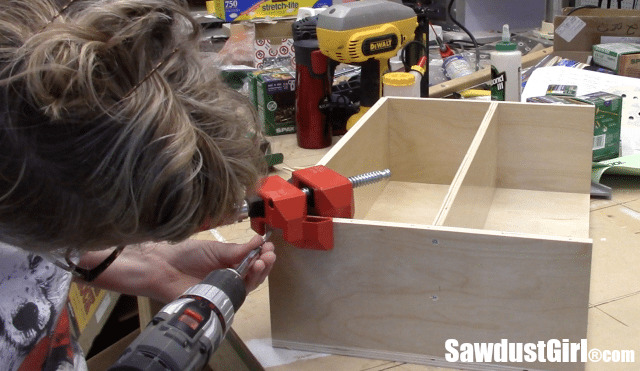
After building each drawer, I installed the drawer slides. First, make sure you know which side of the drawer is the bottom and which end is the front.Then install your drawer slides accordingly.
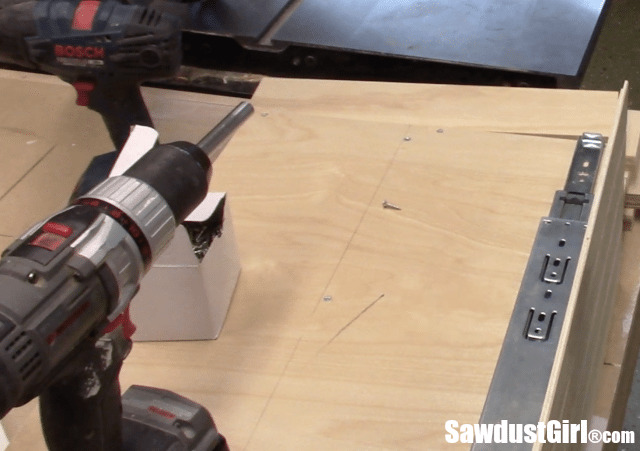
I installed the bottom slides flush with the bottom of my drawers using a scrap of wood to make sure it was flush.
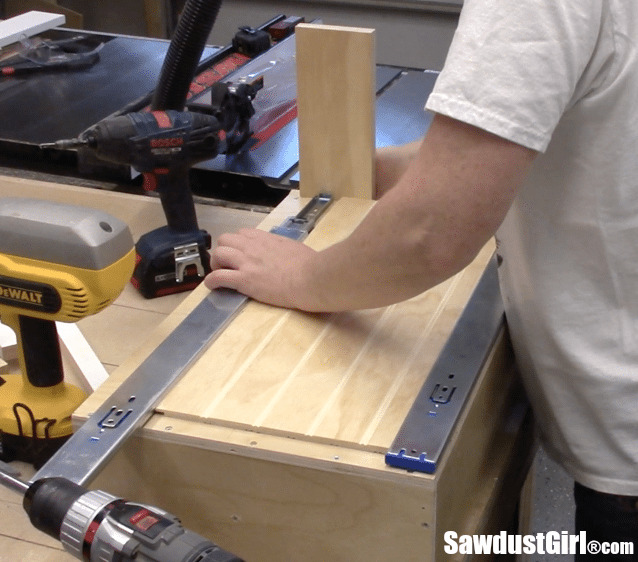
Using a spacer between slides is a great way to ensure the drawer slides are installed in the same place on both the drawer and the cabinet. A block of wood keeps the slide flush with the front of the drawer.
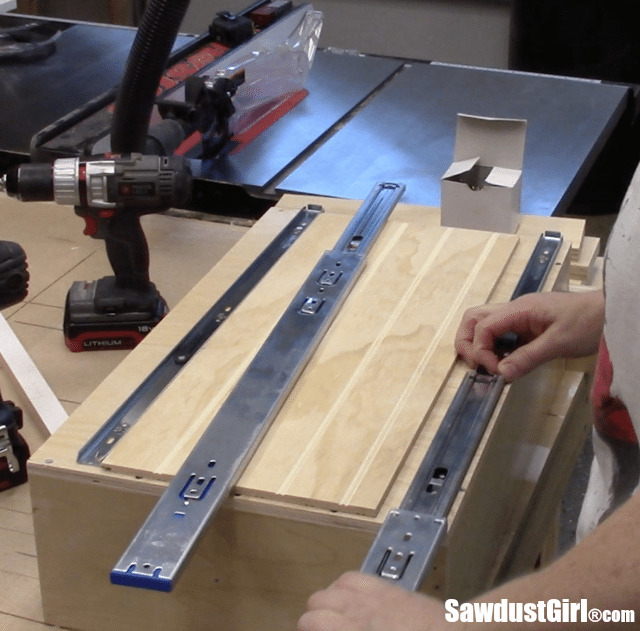
After installing the slides on the drawer parts, you can disconnect the cabinet part of the slides so you can attach them to your dividers.
Install drawer slides on cabinet dividers
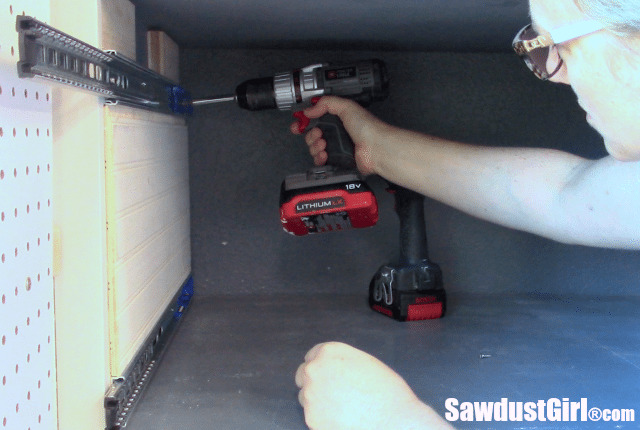
For the first vertical drawer, I blocked out behind the faceframe and added the slide directly to that. I used the same spacer board to install the cabinet part of my drawer slides. So they’d match up to my drawers without having to measure and mark for each one.)
I had to add dividers to my cabinet opening for the rest of my drawers. I drilled pocket holes in the top and bottom of every divider/cleat. There won’t be enough room inside the cabinet to install the drawer slides after the dividers are in. So I installed the drawer slides to the dividers first.
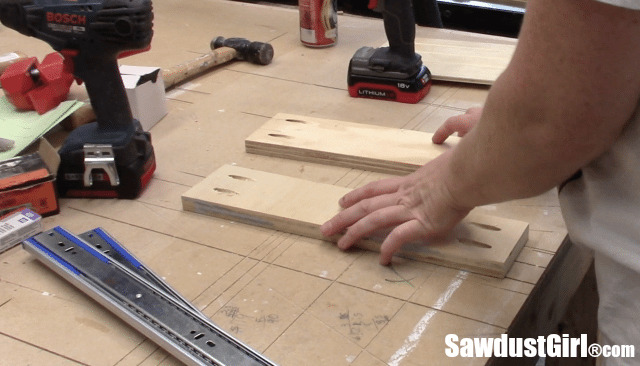
*It is important to install the drawer slides on the opposite side as the pocket holes!

After flipping the cleats over so the pocket holes are facing the table, I installed the bottom drawer slide first at a set position. Then I used the spacer to install the top slide.
With the drawer slides on, I installed the dividers. I started with the left divider to give myself as much room as possible for the first couple dividers.
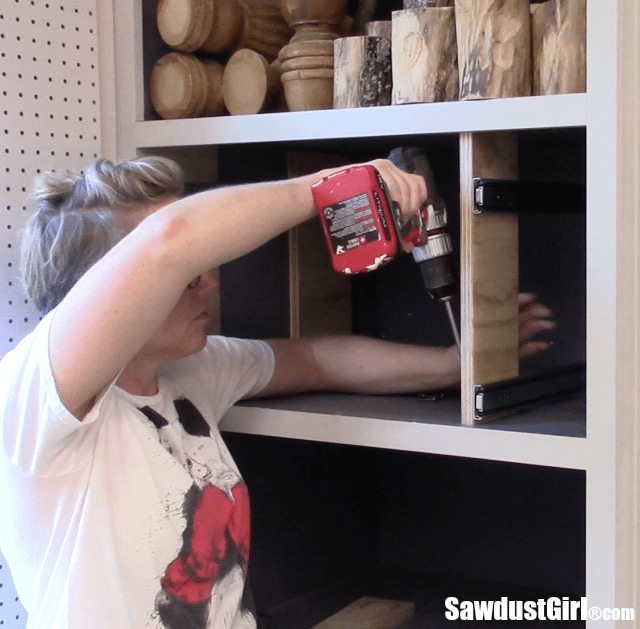
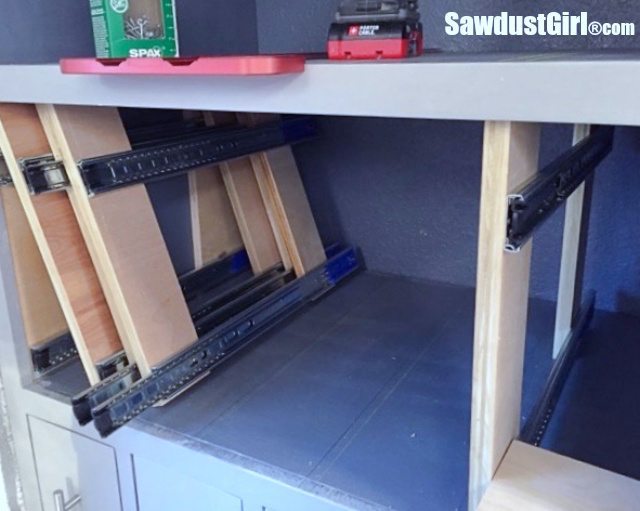
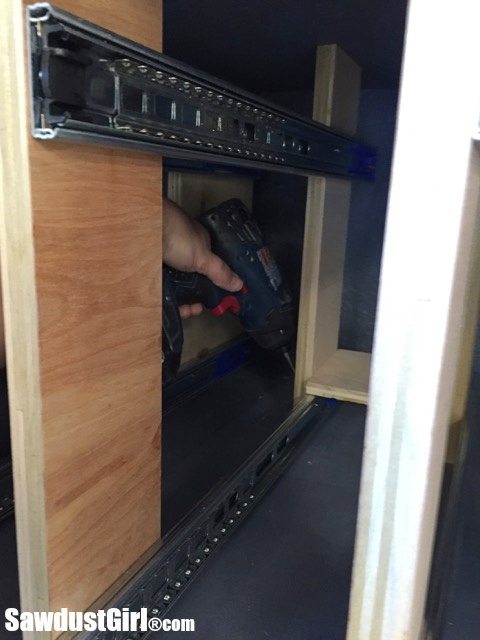
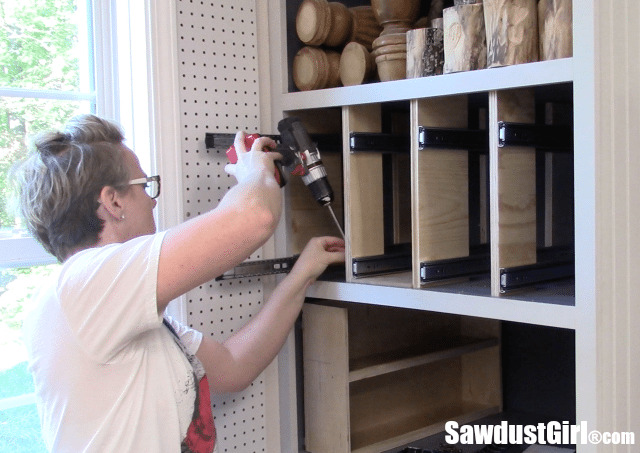
The consecutive dividers got more tight, awkward and uncomfortable.But I got it done.
Add Vertical Storage Drawers to Existing Cabinets
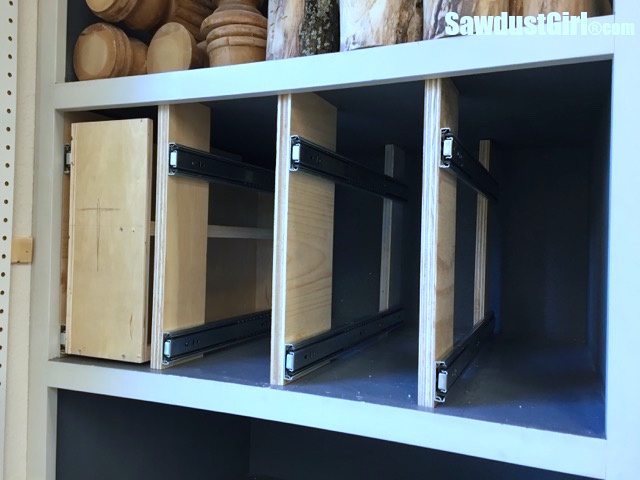
At this point the drawers slide right into the cabinet and the organization can begin!

Check out all the details on each of the 5 vertical storage drawers I built and installed!
Ever have one of those ah ha! moments? That was my thought when I was looking for a way to hide/relocate my cube storage trays off the wall and saw your article. Going to get some hardware tomorrow! Now I have to get a shirt that says “build like a girl!”
Yeah. Glad to help. Rock that Build like a Girl t-shirt!
Great Ideas you have. Thanks for all the great suggestions you have. I now know exactly how to design my new new cabinets in the garage using vertical slides.