DIY Circle Cutting Router Jig
Hey, it’s Shara here from Woodshop Diaries. Happy New Year! With it being the start of a new year, I know that organization is top priority and money is probably a little tight (or is that just me?). So, the last thing you want to do is go out and buy another fancy, expensive jig to help you make cool stuff in the shop, right?
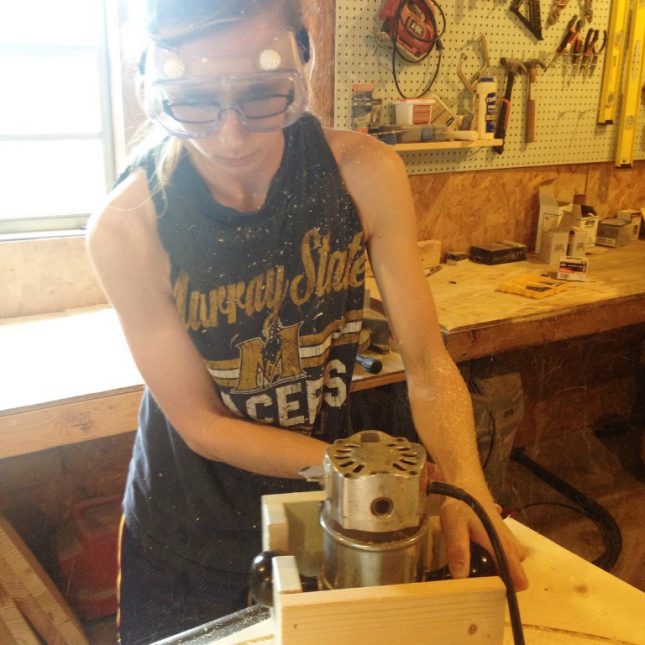
So, this month, Sandra’s Mentorship Squad is showing you how to make some really awesome (and cheap!) homemade woodworking jigs! And I’m kicking us off with the homemade circle jig. I made mine to work with a router, but you could also modify it to fit a jig saw if you wanted. Here I am in my super cool safety goggles putting my jig to work. Don’t laugh.
Materials List
You will need:
- Router or jig saw you want to use your jig with
- 1×3 scraps (or a 1x3x8 board)
- Wood Glue
- 1 1/4″ wood screws
- Nail Gun (optional)
- Drill
- Miter Saw
- Measuring Tape
Step 1: Build a Router “Box”
Now, I know that routers are not all the same size. As much as I want to make this a “one size fits all” tutorial, you will have to do a little math of your own based on your particular router. First, measure the diameter of the protective plate on your router. Side note: the jig in the picture above is for my old router, but the tutorial will show my new router.
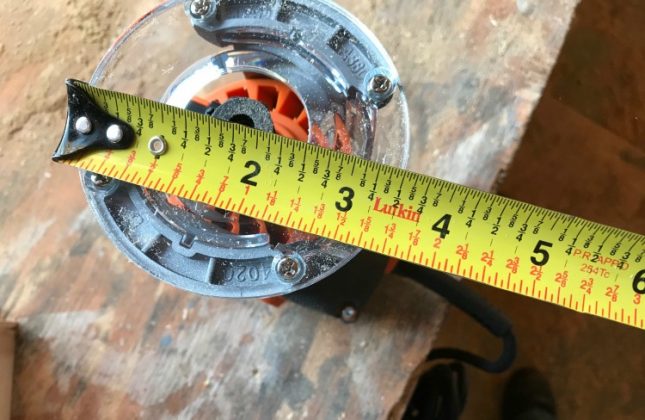
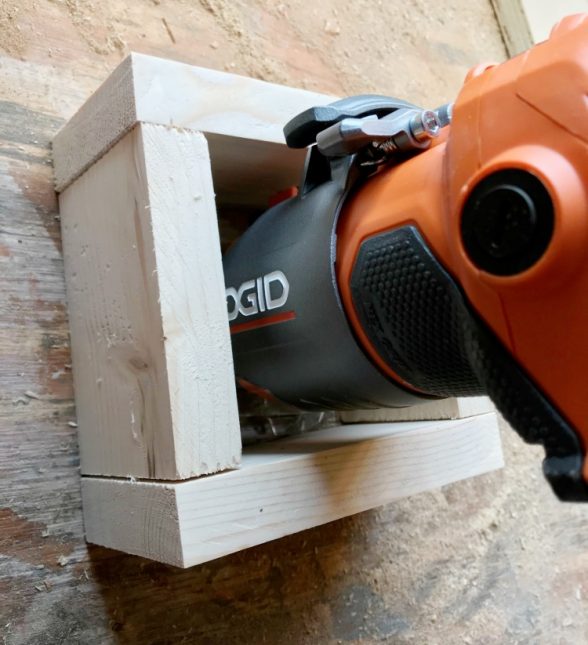
Cut two pieces of 1×3 this length. Then, add 1 1/2″ to that length and cut two more that size. This should form a box that fits perfectly around your router plate. Test the fit, but don’t attach it yet.
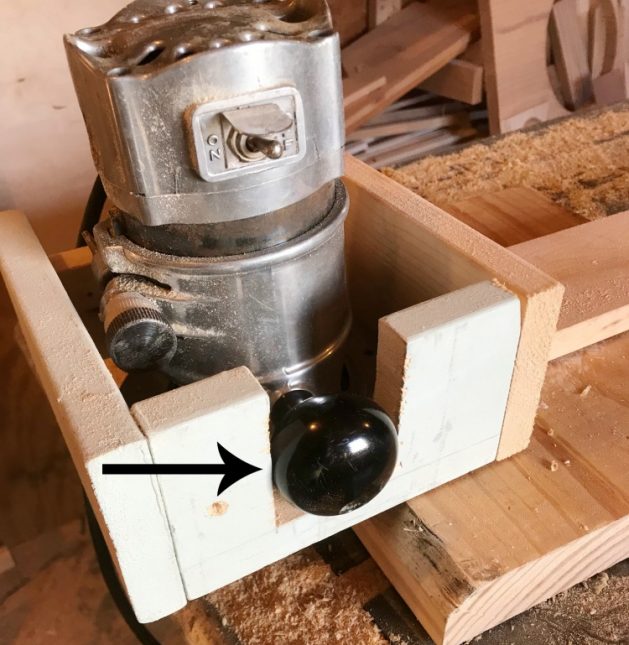
If you have a router with the knobs on the side, mark where they hit the boards and use a jig saw to cut notches. I had to do this for my old router.
Step 2: Attach the “Box” to the “Arm”
Use a scrap piece of 1x material–I used plywood, but you could also use 1×3 or 1×4 material–as your jig “arm.” Cut it to be about half of the maximum diameter you think you will cut your circles. For example, if you think you’ll never cut a circle larger than 36″ diameter, then make this arm piece about 18″ long.
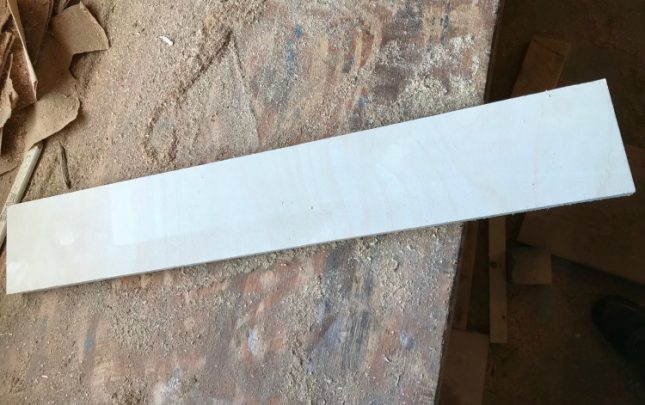
Mark the center of one end of the arm and the center of one of your pieces of your box. Glue and screw them together with 1 1/4″ wood screws making sure to line up the center lines like shown.
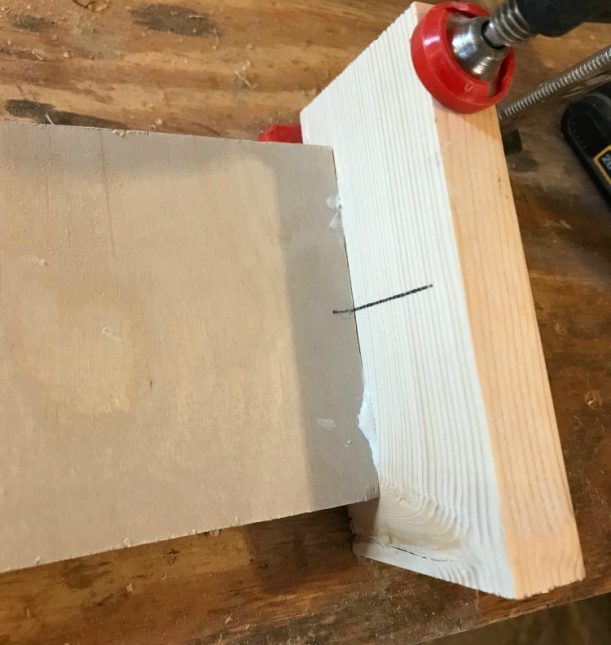
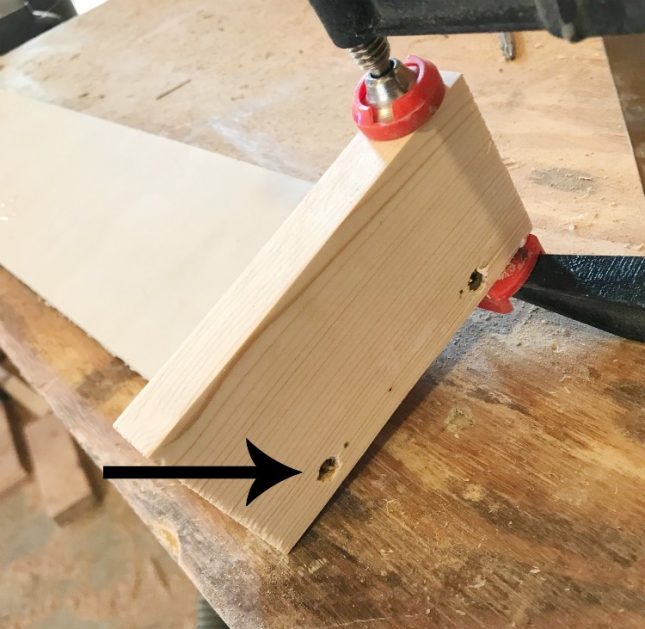
Ignore the clamp here. I didn’t predrill (don’t be like me) so my wood split, and I had to glue it back. So, take my word for it–predrill these holes!
Now, glue and either screw or use a nail gun to attach the rest of the box together like shown.
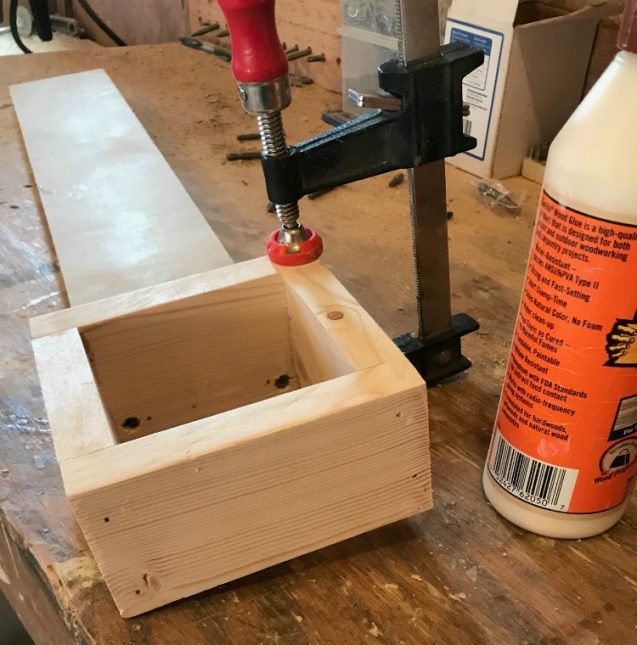
Double check that your router will fit into the box. Adjust as necessary if it doesn’t fit.
Step 3: Mark Your Arm
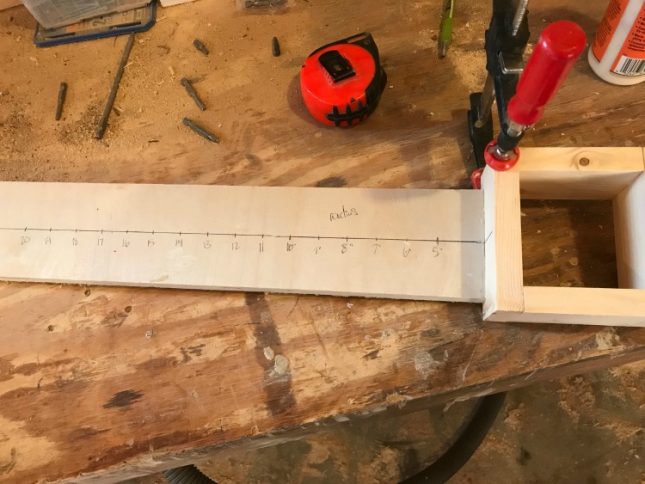
This step is optional, but helpful. You can locate and mark tick marks for specific size circles if you wish. Keep in mind, these marks are for radius measurements.
Take half of the diameter of the router plate and add 3/4″. Now, for every inch you measure from the outside of the box, add this to it and that’s your approximate radius. Keep in mind that that measures from the center of the router bit, so you’d have to account for the bit size when you get ready to cut.
When you get ready to use the jig, insert a straight bit (I recommend a 1/4″ straight bit) in the router and use a drill bit to drill into the arm where you want your circle radius to be. Drill through the arm and drill into–but not through–the piece you are cutting. Now the jig can pivot around the drill bit to cut the circle.
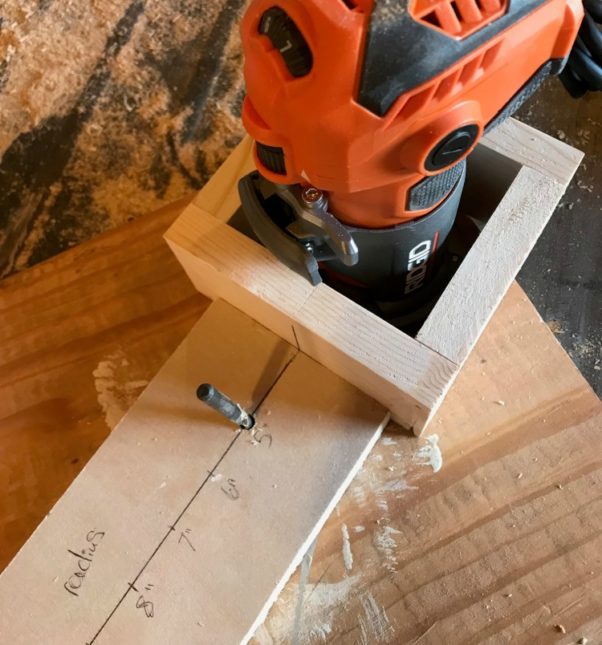
Here is an example using my old router and homemade circle jig. See how the router just pivots around the bit to make the circle?
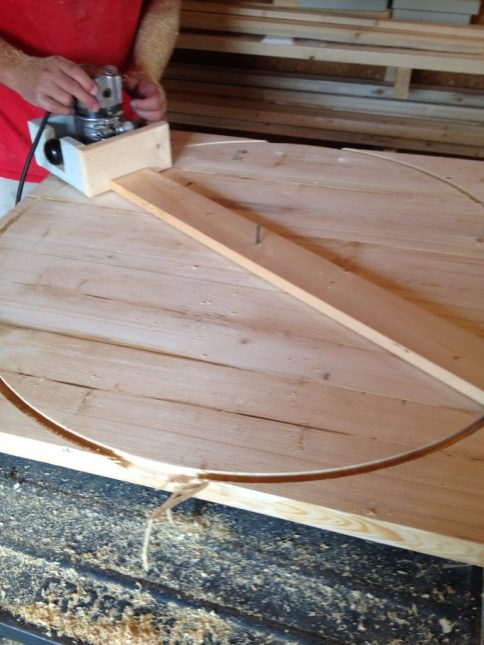
If you are cutting thick material, I recommend making a few passes, and adjusting the router bit to cut more material each time.
I’ve used this type of homemade circle jig on several projects, and it’s worked great! And, since it’s made from scraps, it’s practically free!
You can check out how I used it on my DIY large personalized wall clock, DIY personalized lazy susans, and DIY round coffee table.

Until next time, happy building!

Cool idea, using the box to hold the router–simple, easy-to-use, method.
Thanks Terry!
this was an interesting tutorial honestly..but your life can be much more easier with teds woodworking plan you can build anything you want out of wood..an amazing 16000 wood to work with just great.
check it out https://tinyurl.com/ya6tts98
great idea!
Such a great tutorial Shara! I can think of so many ways to use big wooden circles now I know how to make them – thankyou! xx
Brilliant idea, thank you!