Doors, Drawers, and Drawer Fronts – Day 10
Adding doors, drawers, drawer fronts and decorative hardware to my kitchen entry hutch is an exciting step. It almost finishes the hutch portion of this one day makeover — which is all I initially intended to do, and why I thought this makeover could be completed in one day. Ha. There’s still much to do elsewhere in the entry hallway but the hutch is looking good!
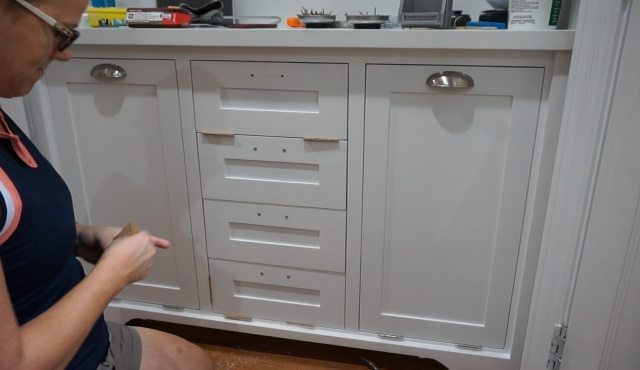
Doors, Drawers, and Drawer Fronts
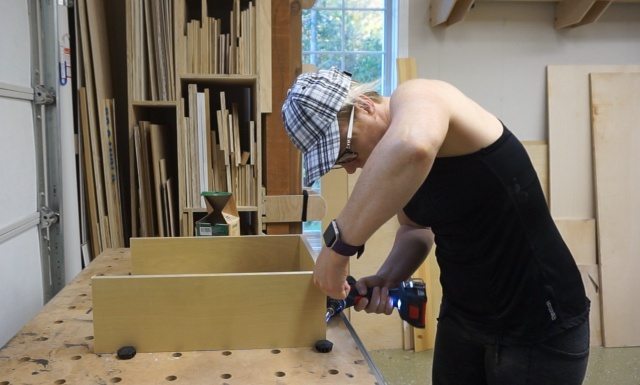
I built four drawers for the center section of the hutch quickly. I used prefinished drawer material. I keep plenty on hand in my vertical lumber storage cart so it stores straight and doesn’t warp. Pocket hole screws made for quick construction which is super important by day 10 of a ONE day makeover.
I didn’t want to take time drive all the way to the building supply store where I buy (higher end) drawer glides so I ran to the local home improvement store and bought the only under mount glides they offered. These inexpensive glides are easy-ish to install but offer zero adjustability without moving the screws with which you have installed them.
I have a jig that helps install these drawer runners when you install them for overlay drawers (where the drawer closes flush with the cabinet faceframe and the drawer front lays on top of the faceframe). I’m doing inset drawers so I tried to jury rig the installation guide jig. That didn’t work so I just used my laser level to make sure the glides level and in the same location on both sides of my cabinet.
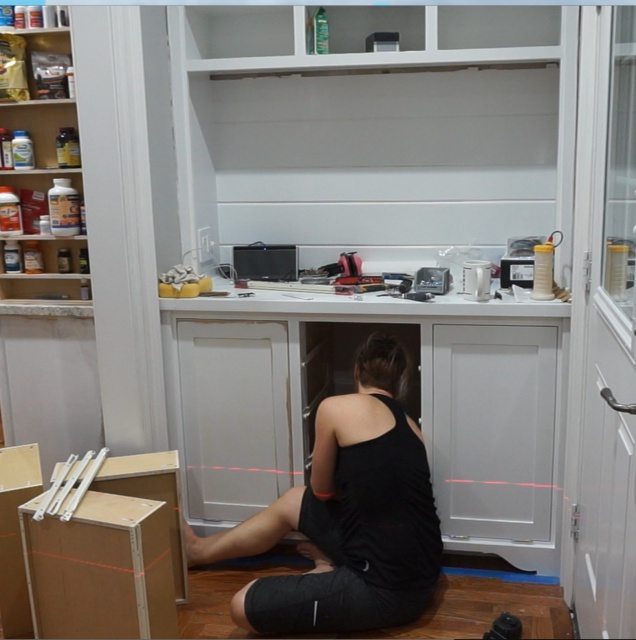
I usually use blocks of wood that my glides can sit on but I didn’t want to take the time to cut blocks of wood. I think I’m resigned to the idea that these drawers are going to suck a little bit no matter what because of the hardware I’m using.
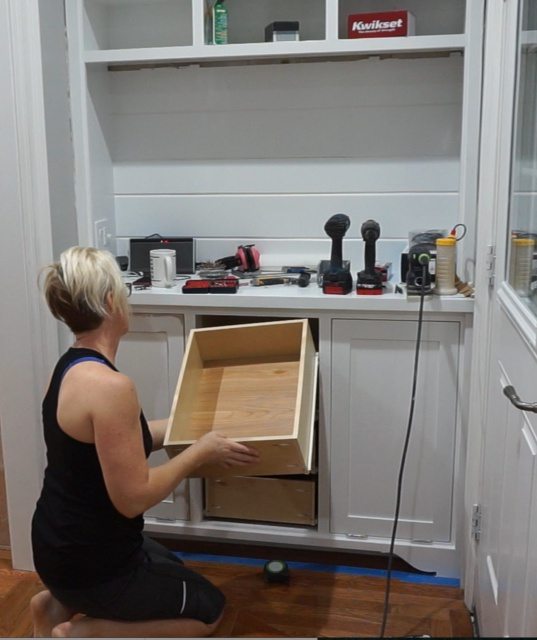
I secured the drawer parts of the runners to the drawers and slide the drawers into place.
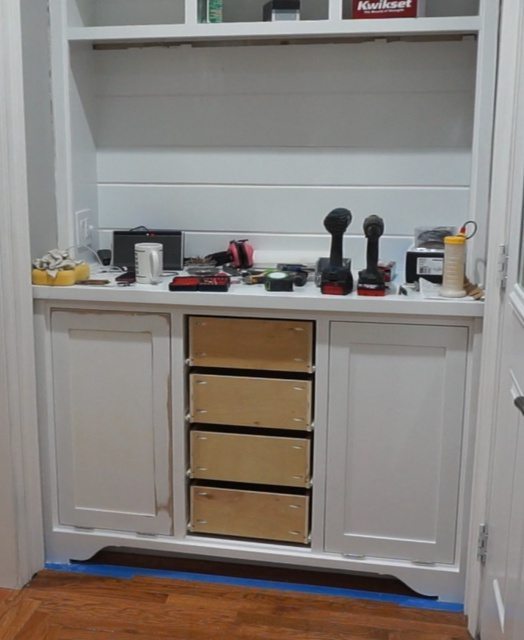
They fit.
Since I’m saving time, and the quick and easy doors on my tilt-out cabinets worked fine I’m using that method again. I consider these “cheaters” and I don’t know why I’m ok doing them this way. Maybe because consistency really important to me. And when I think about why I consider them “cheaters” I don’t know I am such a “proper way to build doors/drawer fronts” snob. They will be painted, they will look like any other door/drawer front. If you hit the corner of MDF it will crush the fibers and look bad and is hard to fix — so I’ll just make a note not to bash the corner of any of my doors/drawer fronts!
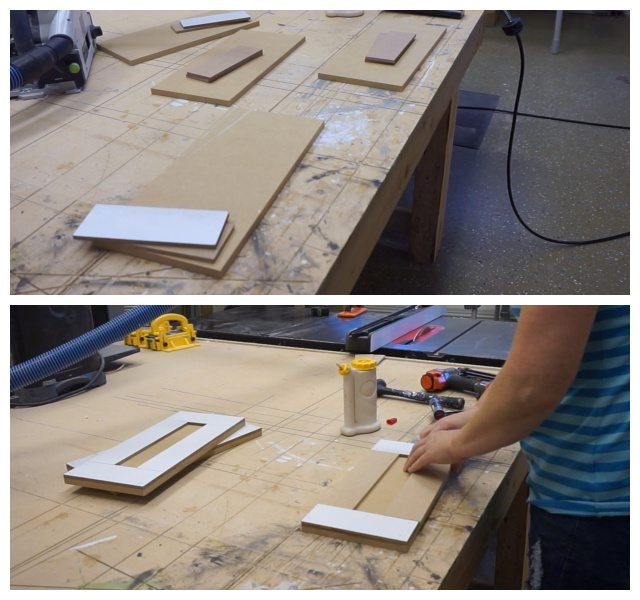
Because I’m in a hurry I use glue AND nails on these puppies.
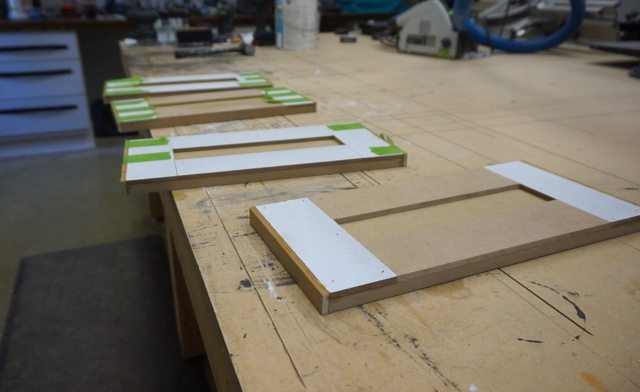
I test fit my drawer fronts on my drawers and somehow I build them about 3/4″ shy on the width. It happens. I glue a strip of wood to the outsides of each drawer front to make up for my mistake.
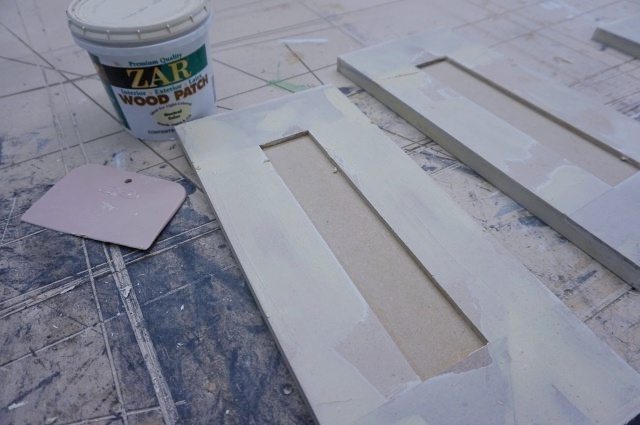
I putty the heck out of this batch because I have nail holes and lots of seams to hide.
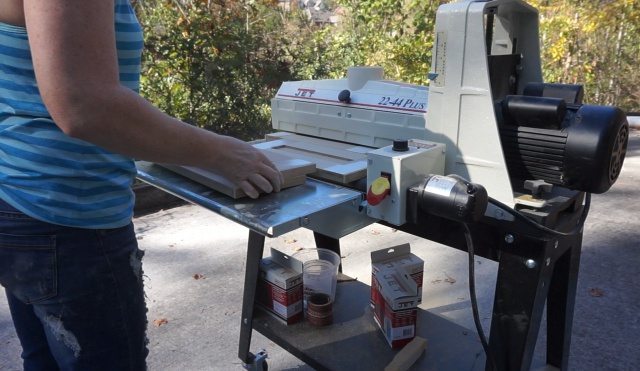
My drum sander is awesome for cleaning up doors/drawer fronts and making sure they are sanded flat. When I use an orbital sander I tend to focus on the seams and create depressions in those areas. Painted them all by hand…
Install the drawer pulls on these side doors first and keep that height setting on my drilling guide so the top drawer pull is in line with the two outer doors.
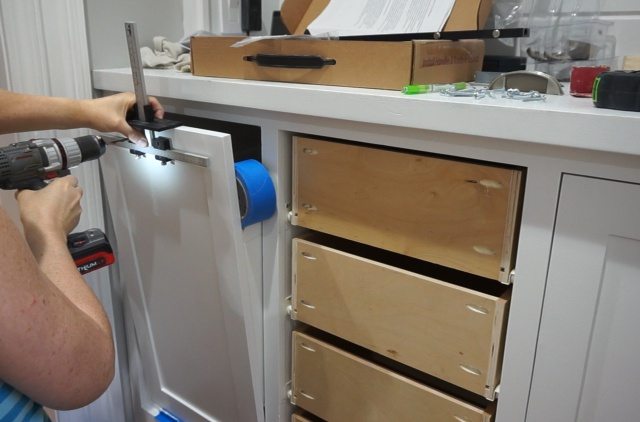
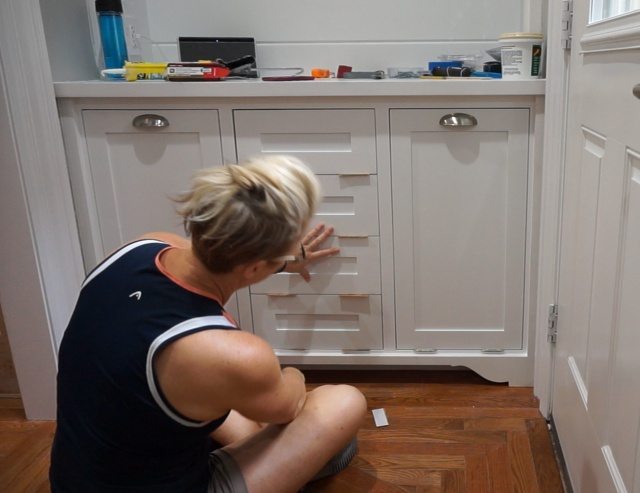
I test fit the drawers again and they fit so I prime and paint them before the install. While the paint dries, I install the drawer pulls on the tilt-out cabinets using my awesome, very expensive but so worth it, hardware drilling jig. I used simple cup pulls purchased at my local hardware store. I test fit my drawer fronts one last time before I drill all the holes for the pulls. Looks good!
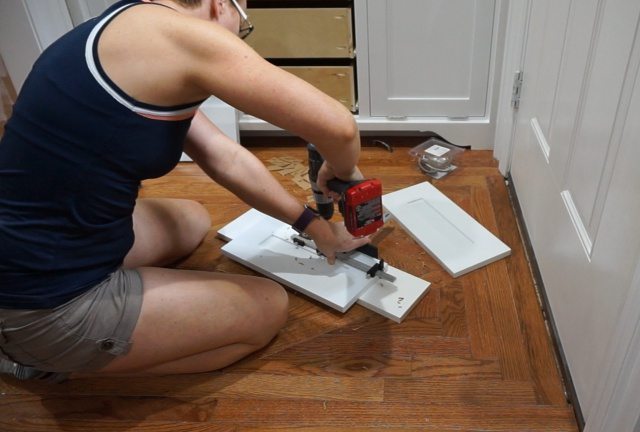
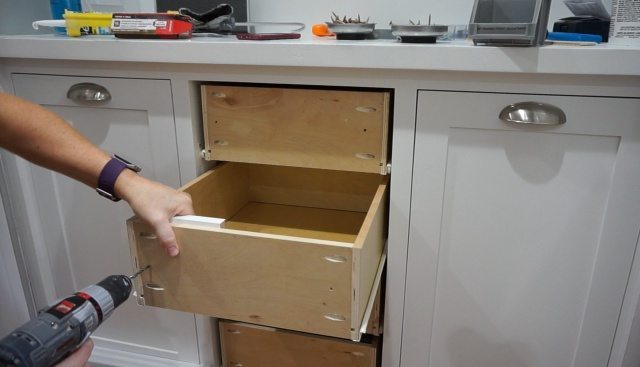
I drilled the holes for the cup pulls in the drawer fronts and then drill holes in the sides of the drawers for “drawer front adjustment screws”. I have a very thorough tutorial and video on installing drawer fronts with this method if you’re interested. Or this one or this one if you want a different way…

Once I get the drawer fronts spaced perfectly and secured to the drawers, I re-paint before installing drawer pulls. Getting them to look even remotely decent was a SUPER DUPER PITA because of the cheapish drawer runners I used. I had to move screws A LOT!
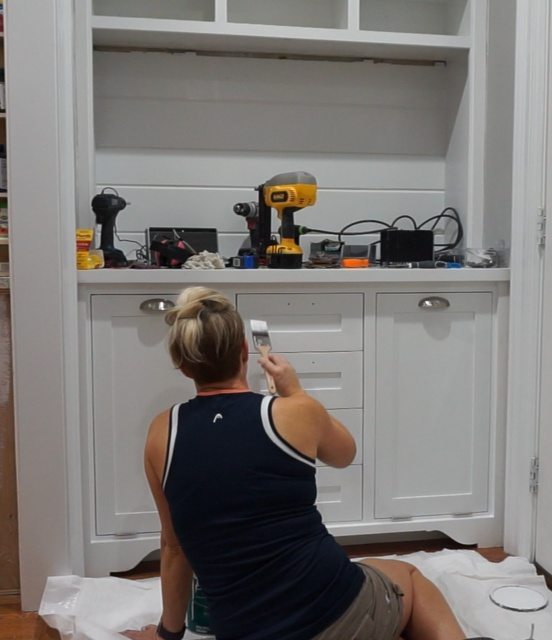
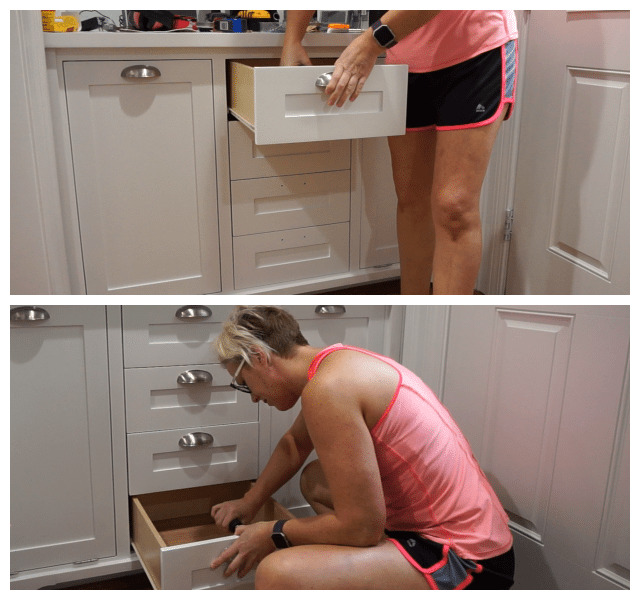
Once the paint dried I installed the pulls.
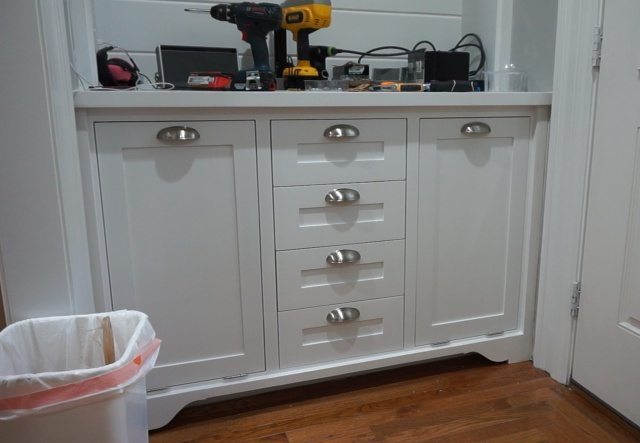
Hey, look at that garbage can! Hopefully that distracts you from the imperfectness of the inset drawer fronts. I can’t even look at the picture because my hands want to get in there and keep messing with it!!! Maybe if I just trim a bit off the left side and bottom of that last drawer front…
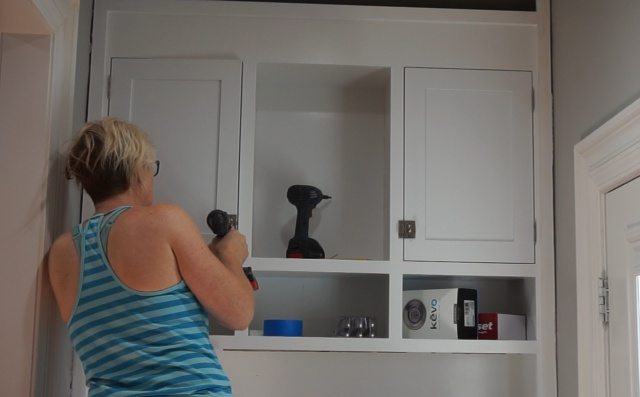
Moving on to the doors. Built and painted with the batch of drawer fronts. I use the same hinges as I did on the tilt-out cabinet doors below to maintain consistency within this piece. The kitchen (and everywhere else in the house) has invisible hinges but this piece is like a piece of furniture. It doesn’t have to match exactly! The latches I used as pulls are from DLawlessHardware.
Oh yeah! It’s really starting to begin to look like it’s coming together now, on day 10!
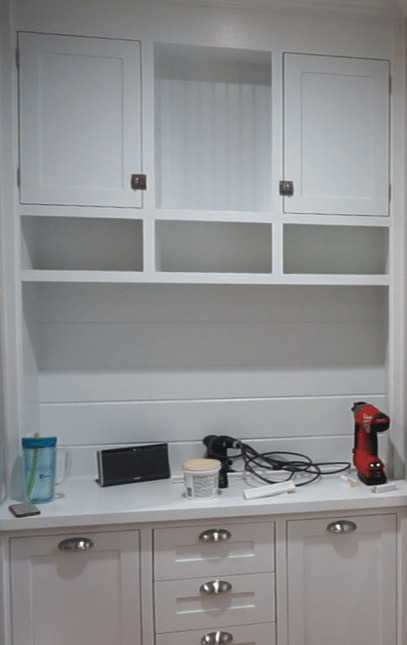
There’s still so much more to do…I’m tired but not defeated!

Continue on the journey or start over at day 1 and catch up.


I’d like to do fast drawer fronts like this in my bonus room – do you get swelling from the glue? What kind of glue do you use?
Never had issues with swelling from wood glue. I use Titebond 3 for almost everything.
That looks fantastic! I’d be thrilled if anything I did came out that well! This is the most fun 1 day project ever!
AWESOME JOB…!!!!
Show me how to install European hinges please? let me know the ones to by and the specs to install them please
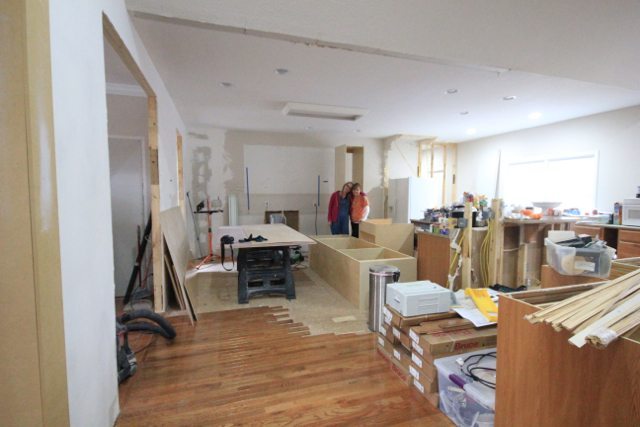
Cabinet is looking really good. I like the last picture. I have been in that same condition at the end of the day … number “xx” of a one or two day job. In the end the finished project though makes me forget the number of days that I actually spend and look at the quality of the finished job.
It’s true, when you finally get to the end and you love what you’ve done, it doesn’t matter how long it took to get there. LOL Thanks!