Calderwood Cottage Demo Days – part 4
In my last Calderwood Cottage update, I showed you all the termite damage we found. We ended up removing the wood floors and subfloors on half of the house. We never intended on having to deal with this level of repair. But we’re into it now. So we figured out what we needed to do fix it. Before we started this remodel we bought a trailer so we could haul everything which would never fit in my truck. But holy moly, driving a trailer full of 16′ long 2x12s to the house was scary AF!
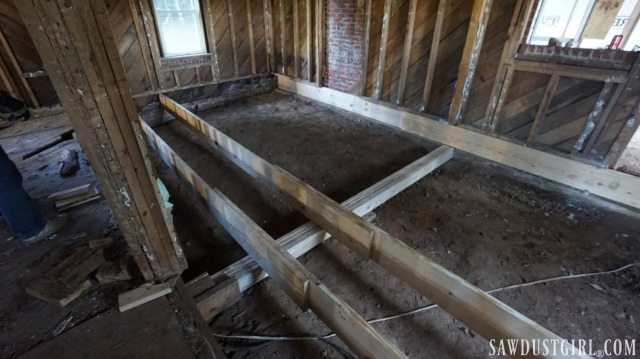
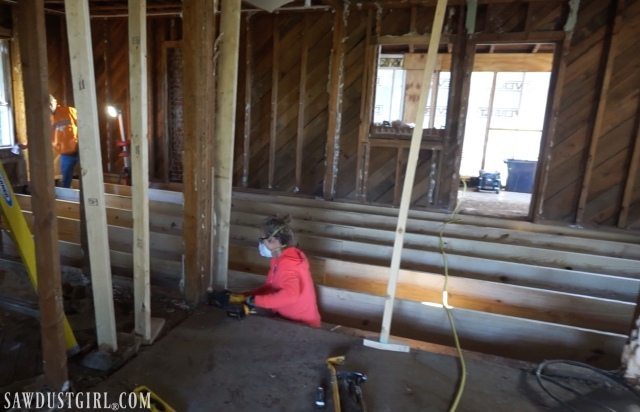
Then we removed a lot more stinky termite poopy wood.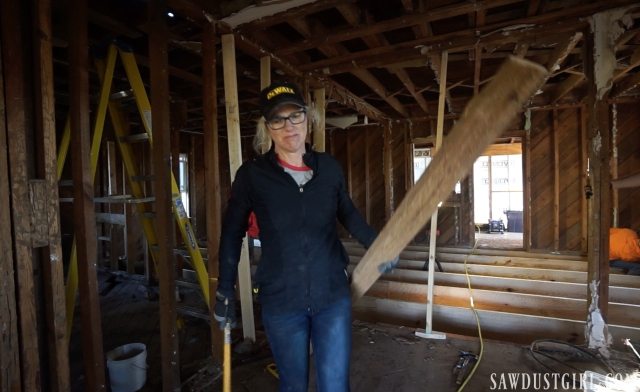
We reframed a portion of one of the remaining walls. I insisted on building a temporary support wall in front of the wall we were cutting out. Julie and I weren’t always on the same page but we each occasionally let each other have our way. Whether it made sense or not. My support wall was completely useless but at the time I felt like the whole house was going to crash down on top of us. The roofline changes and there isn’t any weight on the wall we were working on. Julie said as much a couple times. But I insisted on building my temporary wall. So we did. Then a few days later when I was up in the attic space I finally got it. The fact that there was no weight sitting on my temporary, completely useless wall. But Julie helped me build it and put it in place and then take it down and apart again. ‘Cause that’s what sisters do.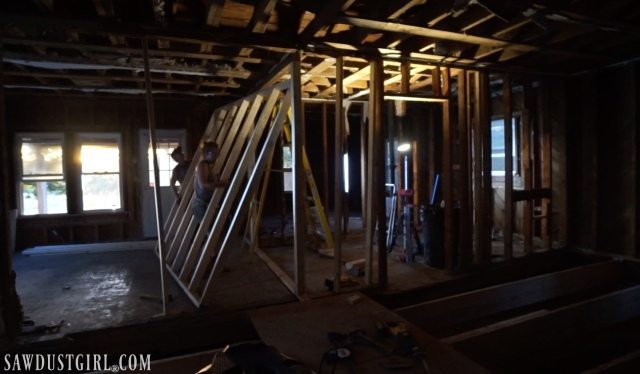
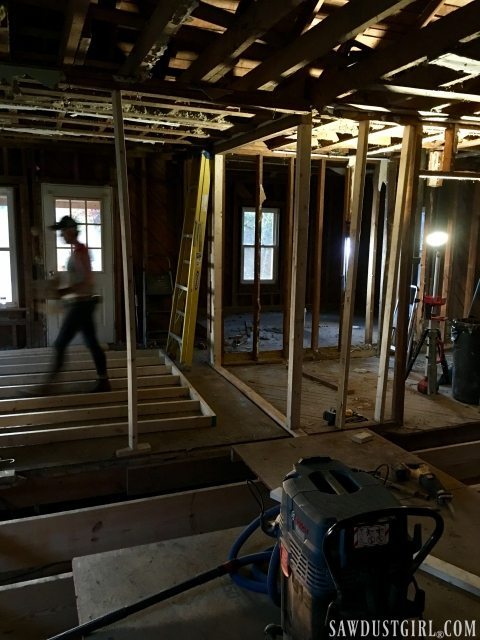
Our next big task was to put in a engineered beam to support the roof so we could take out the ceiling!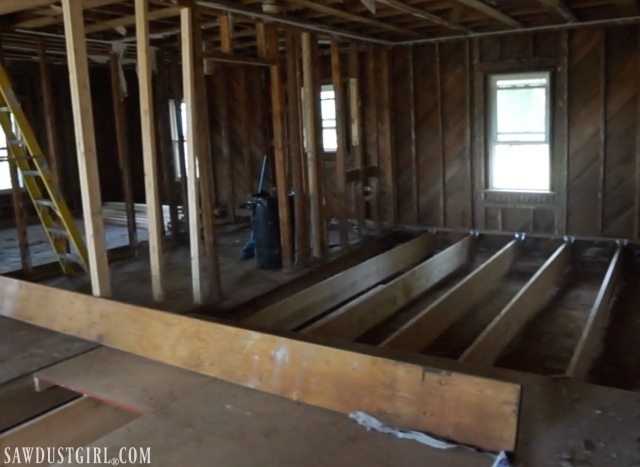
The beam was not as heavy as what we were prepared for. There were four of us there, gearing up for some heavy lifting. I think I was looking for tools, Julie was up in the attic and Wes hoisted the beam up to the attic space all by himself. Sometimes he get’s impatient to “just get things done”.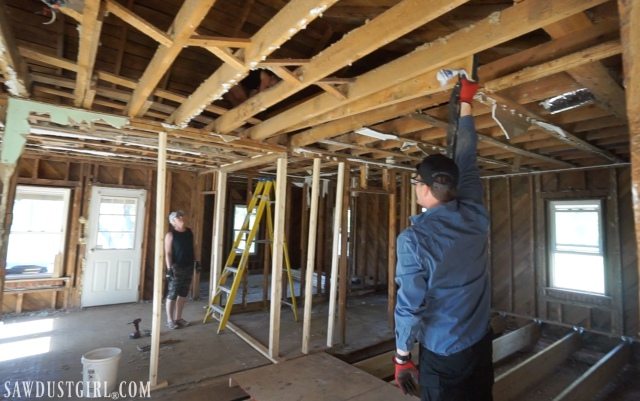
Wes, Julie and I were able to fix the lam beam into place. Boom!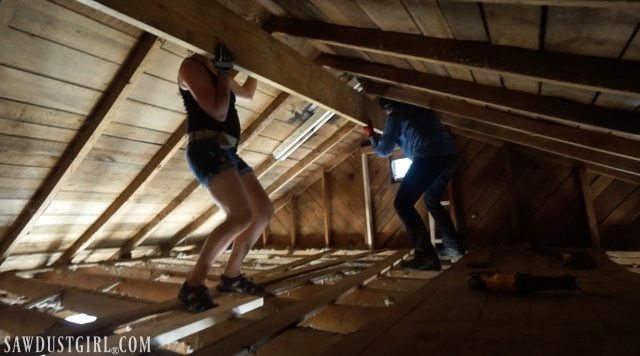
You know why we put that lam beam in place, don’t you? Because we are not wasting all this lovely space on an attic!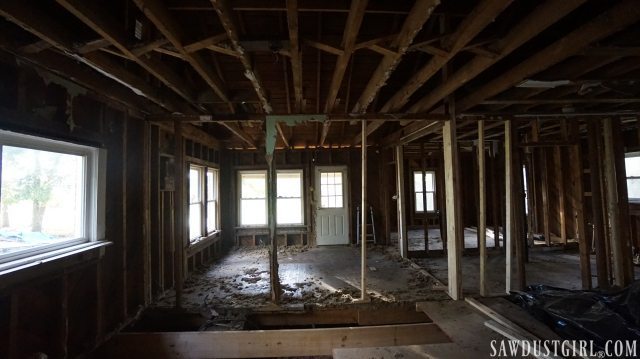
I have absolutely 0 pictures of the removal of the ceiling joists. Man did it open up the space though!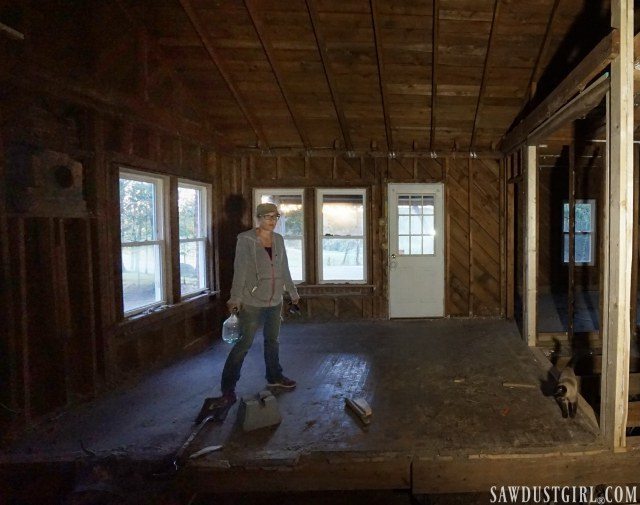
We’re only opening the ceiling up in the kitchen and living room. 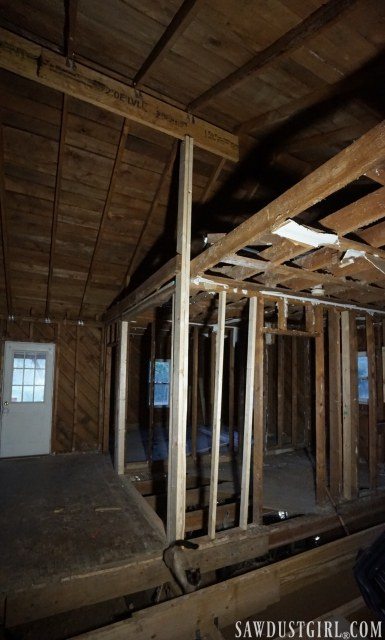
The other half of the attic we’re using as loft space. That’s the plan anyway.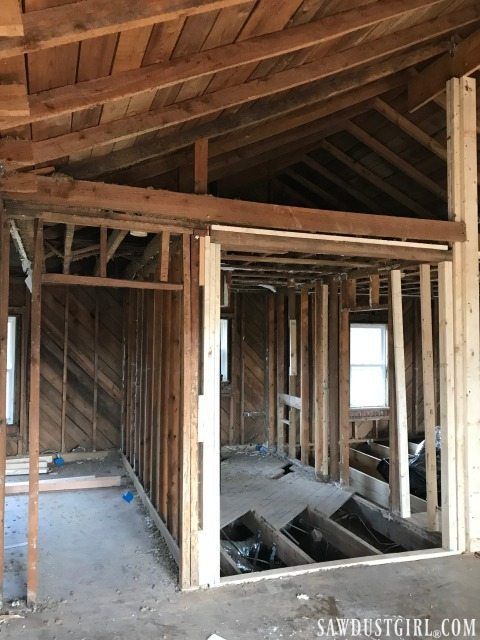
We replaced the wall we had to remove in order to replace all the floor joists.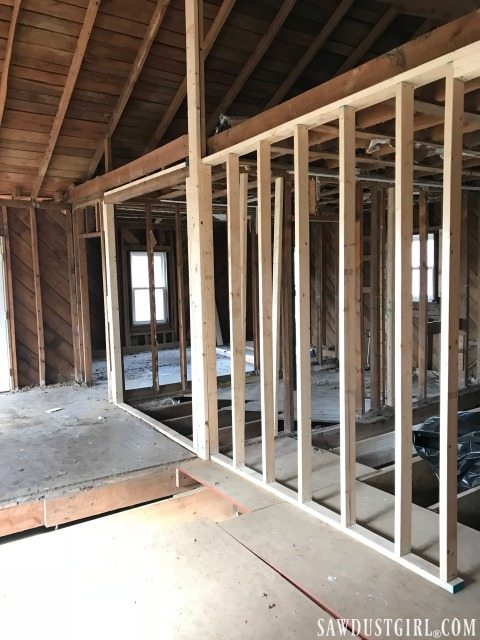
We still have to tear out the subfloor in the center section and reframe some walls. We’re reconfiguring the space from a 2 bedroom 1 bath to a 3 bedroom 2 bath.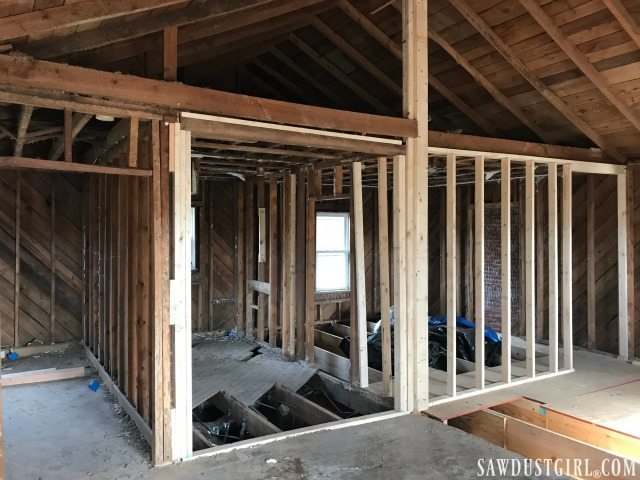
We’ll have to do that next time. For now we’re just buttoning down.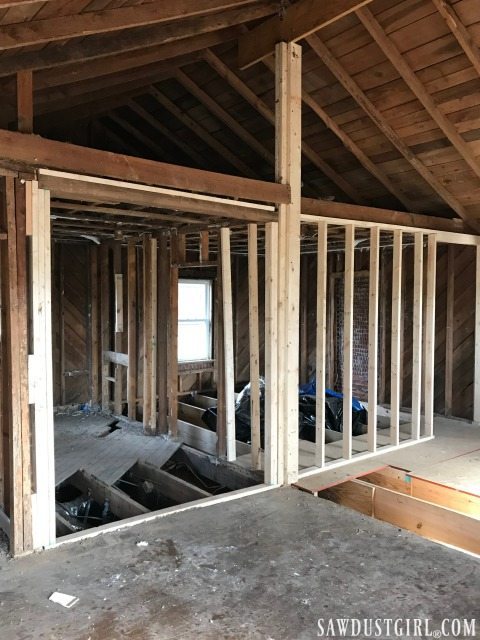
We still had to rebuild the wall on the back of the house. We had torn it out because the termites thought it was delicious too. While we were at it, we moved the back door because we have a plan…but I’ll tell you more about that next time!
Read next post, Part 5 or catch up on Calderwood Cottage Demo Days: part 1, part 2, part 3


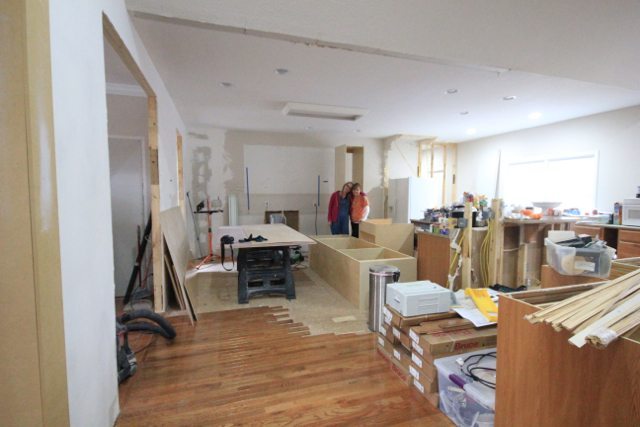

It would have been easier to build a new house, I think. LOL We’re bulking out that beam so the collar ties won’t be seen.
So much better! Feels 100,000 times better (maybe that’s because a lot of the gross stuff is gone now too).
It’s working for me…
How are you going to handle the collar ties. I could not tell from the photos. Given you have not started to rebuild the high ceiling, I am looking forward to the way you tie the two eaves together. The two of you are really sort of rebuilding from the ground up.
WOW! I didn’t realize how much better it would be with the ceiling opened up!