November House Update
The last two weeks have been all about drywall. Getting the basement ready for a LOT of drywall work. Wes and I continued sorting through our belongings and took a couple more truckloads to the donation center. We also made one trip to the dump. The belongings we kept where shoved into a corner of the basement so we could attempt to protect it from overspray and dust.
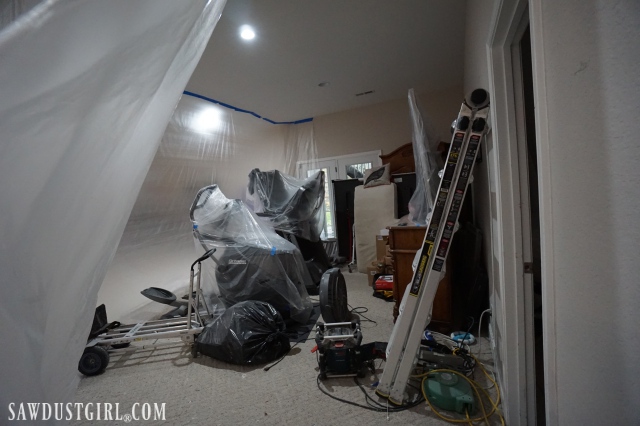
Bucket pushed our start day back a couple different times but he finally got here and things started looking more homey.
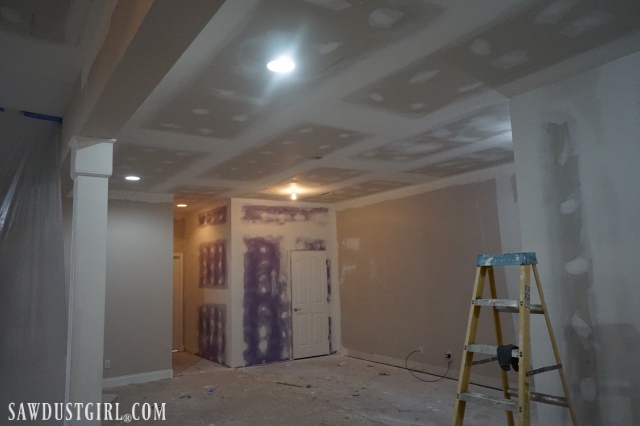
It’s amazing what a difference the drywall makes, even though it’s not painted yet.
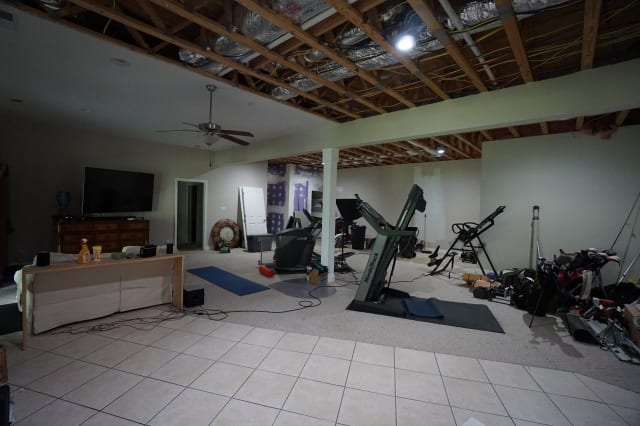
He used PUPRLE XP on the whole wet bar wall as well as in the whole bedroom closet.
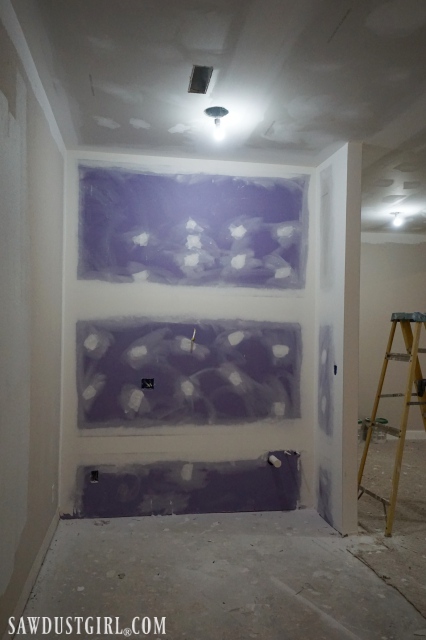
This is the closet that got flooded with sewer water twice.
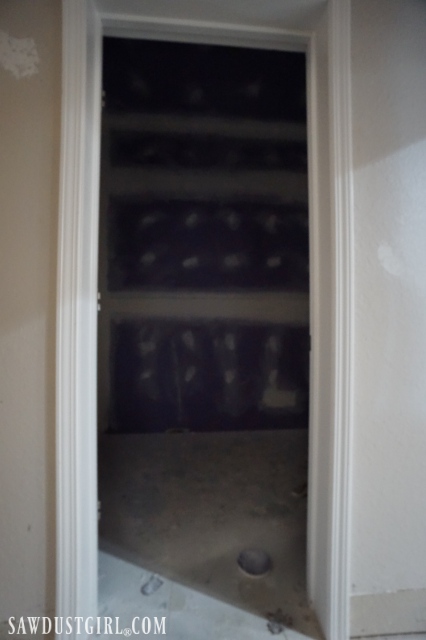
The Sewer Saga being the reason I tore a wall and part of the ceiling in the bedroom down. Then built a new wall for the plumber to run a new drain line from the powder room which had been flooding the basement closet.
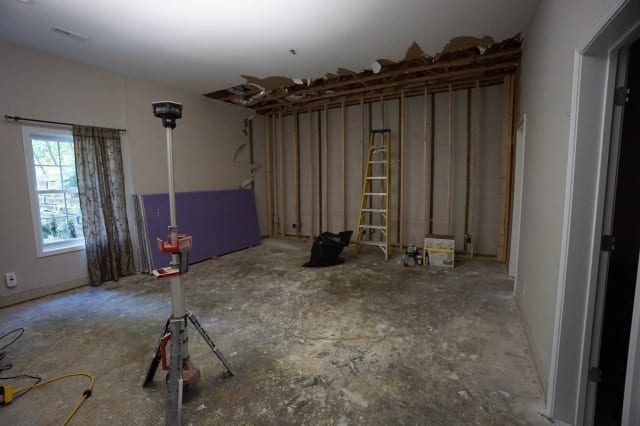
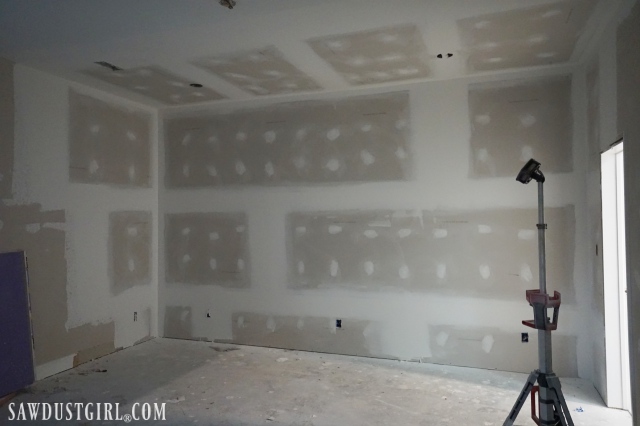
The bedroom ceiling and wall are now re-drywalled. WITH LIGHTS and a three way switch! I had my electrician install some lights before the drywaller came. This huge room was previously light by the ceiling fan only. Not adequate and no way to turn on that light if entering from the bathroom. Since I had to do drywall work anyway, I had lights and another switch installed. So as soon as I paint and replace flooring, this room will be “better than new”!
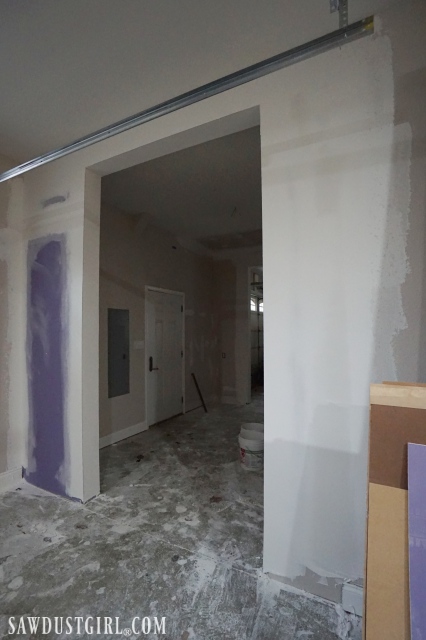
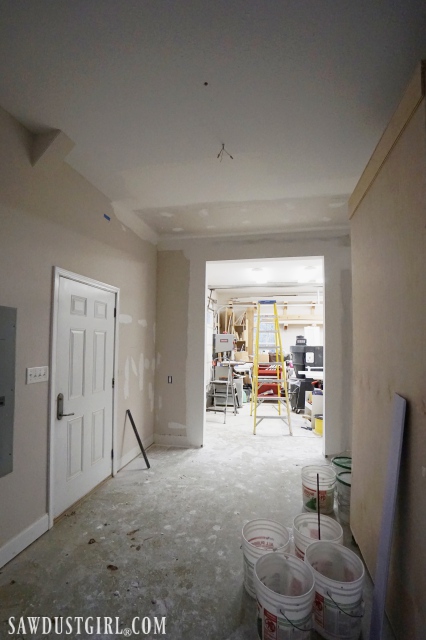
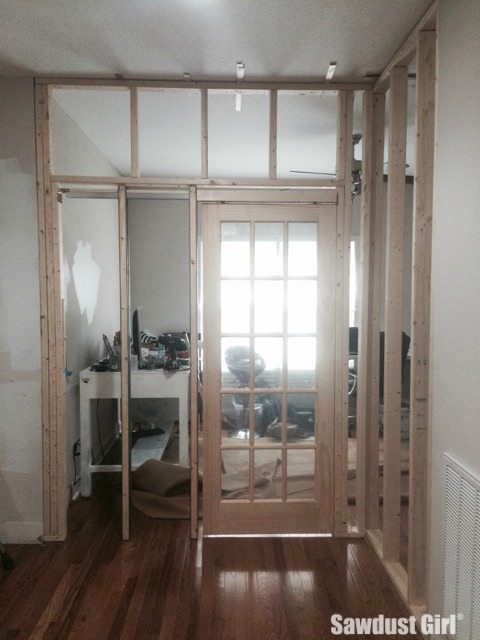
In addition to the basement living space, I had drywall work done in the garage area too. This is a doorway where I changed the framing but never drywalled.
AND the ceiling that I had to tear out because my master bathtub was leaking on it. (It really did pour when the “sewer issues” decided to start raining.)
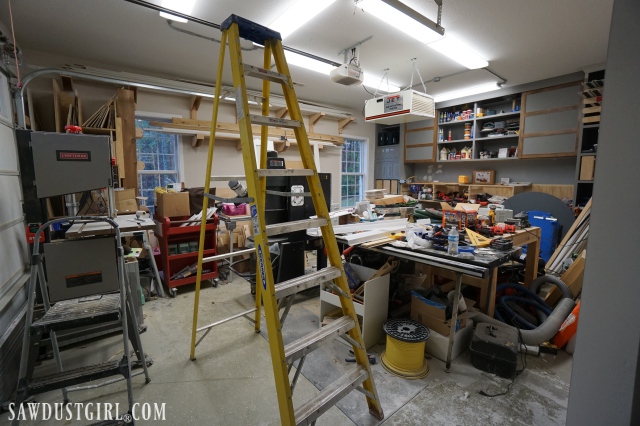
My workshop is in complete disarray because everything from the adjacent room has been shoved in here for the drywall repair. It’s ok though. I don’t mind scootching through a narrow passageway to find things that I need for a few days. BECAUSE things are happening!
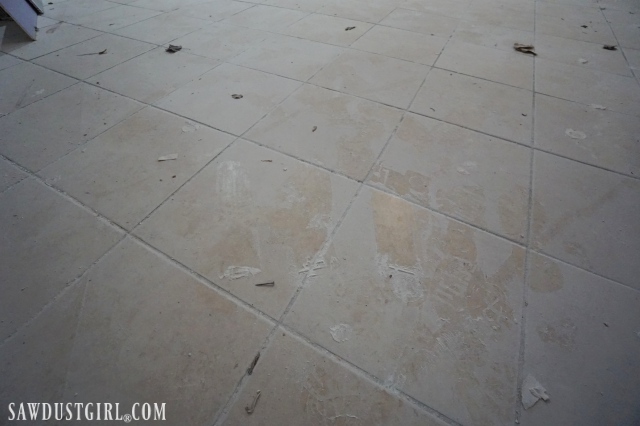
Bucket Ed does not do “dust free drywall sanding”. He hates dragging it around while he’s on the scaffolding. I understand that frustration though I don’t think it’s wise to breath the dust. I’m not going to tell him how to do his job though. Did you see the picture I posted on social? Pick your battles. (Some people you just want to avoid battling altogether.)
Anyway, the whole basement looks like this.
On the main floor, I did a couple minor drywall patches/repairs myself, while Bucket works downstairs. I intended to just have Bucket do ALL the needed drywall repairs while he was here. But then I remembered how messy he likes to work and decided to handle these few little areas myself. First, the hallway behind the kitchen that leads to the master bedroom, loft and basement. I built this little wall extension back when I did the Side Entrance makeover but I never put drywall on the back side. Now it’s done.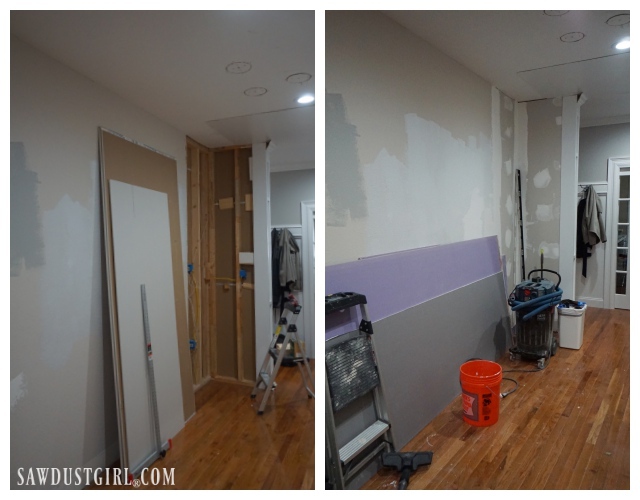
And THIS is the corner closet that I built, and then tore out when I decided to redo the pantry. I had glued beadboard onto the closet walls behind floating shelves. I installed 1/4″ drywall over the top of the ugly damaged stuff.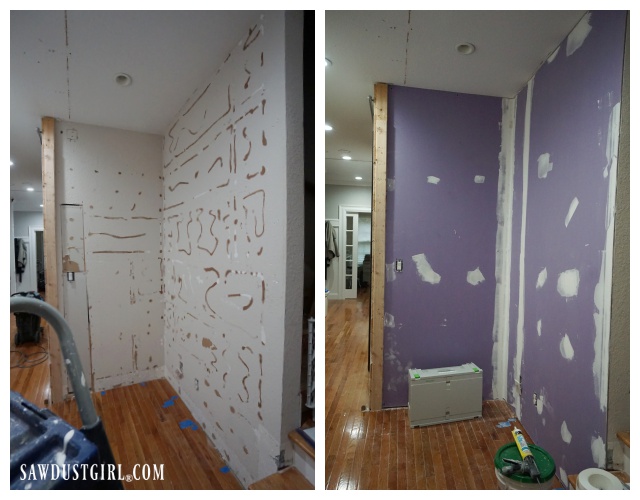 In case you’ve ever wondered what you’d be dealing with if you ever removed paneling that had been glued onto the walls, this is it!
I’m not sure if this looks like two weeks worth of work but that’s mainly what I’ve been working on. I did also add some wainscot in the basement bathroom while I was waiting for Bucket. It’s not done yet though so I’ll save that for another day. I was just making progress where I could while I waited.
Just one more day and then I’ll get to prime and paint the whole basement! After cleaning up all that dust, of course.

When I painted the living room ceiling I bought two tall A-frame ladders and a metal walkboard. When I painted the ceilings in the basement (10′), I just used an extension pole on my airless sprayer.