DIY Wood Drawer Runners
I made wood drawer runners to install the 28 tiny drawers I built to hold all the tiny little parts, pieces and tools I have accumulated over the years. Each drawer is has a dado on the outside for the wood runners and I also cut dados on the inside for separators so these drawers will be ultra organized!
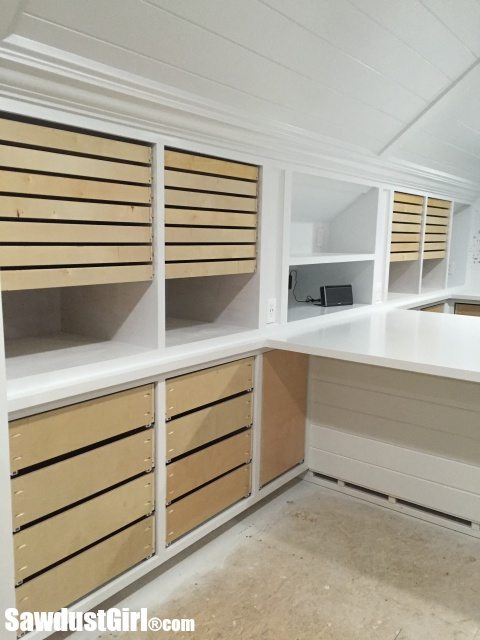
I find crafting small projects to be very therapeutic so I’ll be extremely happy to have a space to create. I’m also having fun creating the space in which I will create! Mostly. Building drawers and drawers and then even more drawers had me feeling coo coo crazy a few times but I’m still here!
Cutting Dado for Wood Drawer Runners
I wanted to use wood drawer runners because it is a very economical solution when you need 28 pairs of drawer glides for 28 tiny drawers. Also, I want to be able to easily pull these drawers right out of the cabinet. Then I can set the drawer full of colored buttons next to me as I create some buttony craft.
I want to take my time selecting just the right size and color of the embellishment of my choice.
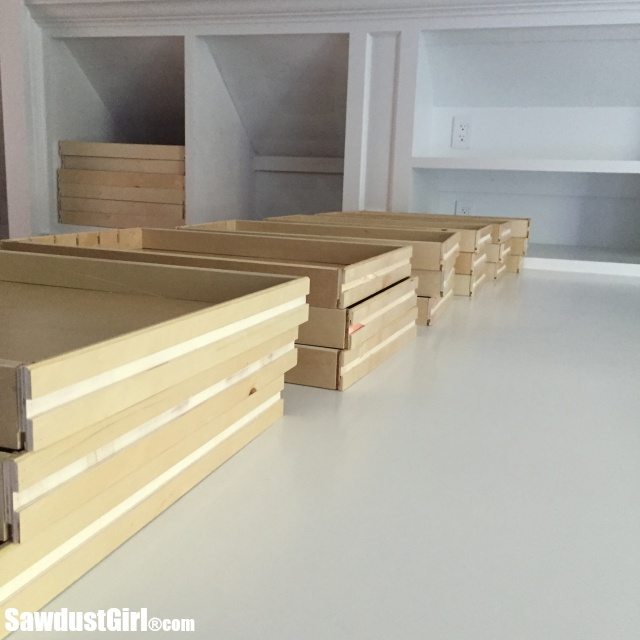
In order to mount the drawers on the wood drawer runners, I cut a dado into the sides of all my drawers. One could simply slide the drawers into place on top of wood runners. However, dados make sure the drawer is properly aligned each time it is closed. This will be especially important when I install my drawer fronts.
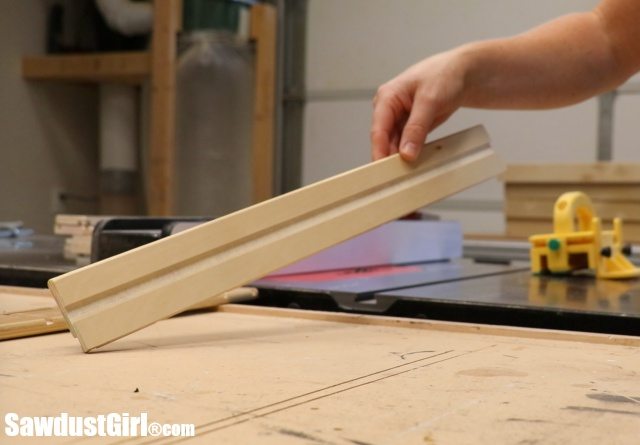
The dado is 1/2″ wide and about 3/16″ deep, cut right in the center of my drawer sides. I used a 1/2″ dado stack on my table saw to cut these dados. It’s definitely easiest to cut these before assembling the drawer.
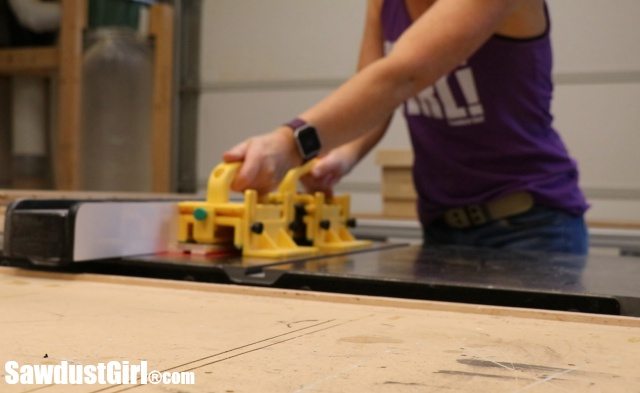
I used the GRR-Ripper push blocks to safely apply downward pressure while pushing the material through the cut.
These dados (obviously) go on the outside of the drawer sides. The inside is where the drawer bottom groove is cut.
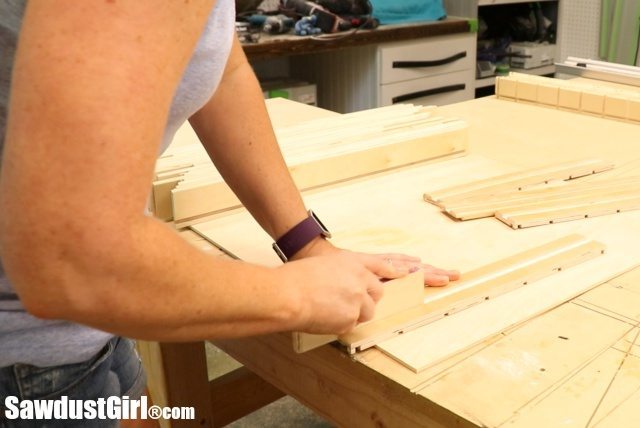
I sanded each groove smooth with a sanding block I made out of a scrap of 1/2″ plywood, spray adhesive and sandpaper.
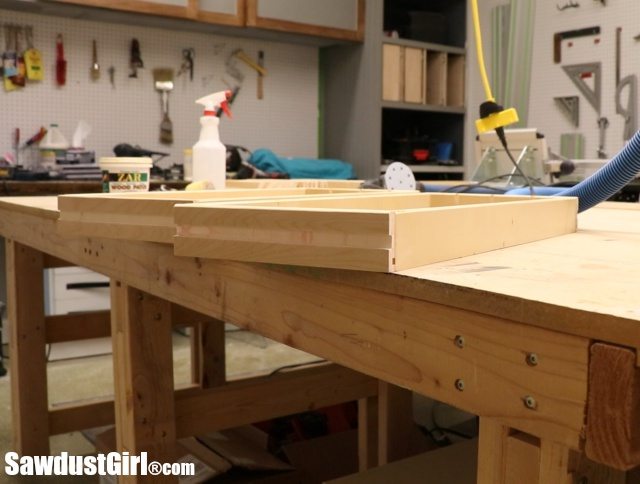
I assembled these drawers with a locking rabbet drawer joint that I shared with you in my last post. These drawers are only 2 1/4″ tall and this method ended up being the fasted method of building so many drawers. It was a lot of repetitious cutting and sanding but with that many drawers, repetition can’t be avoided.
Wood Drawer Runners
The wood drawer runners are made out of a couple 8′ pieces of 1×4 poplar. I first planed them down to slightly less than 1/2″. Then I ripped them into -1/2″ wide strips. I want the runners to be ever so slightly smaller than the dado to make sure they glide freely.
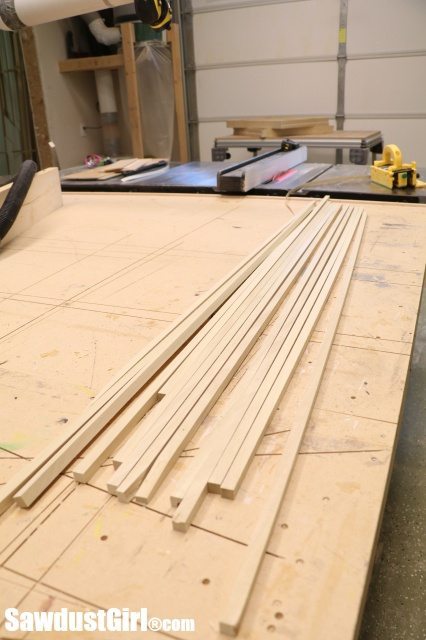
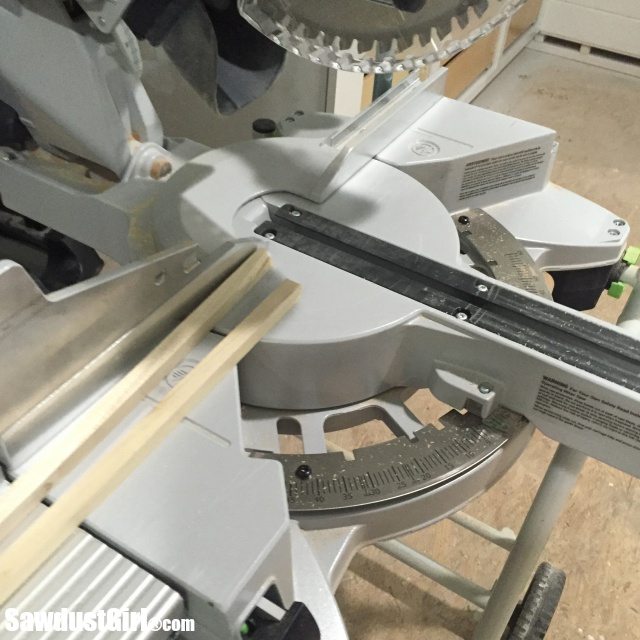
I took the 8′ long strips up to the studio and four pairs of runners for each drawer size I had built.
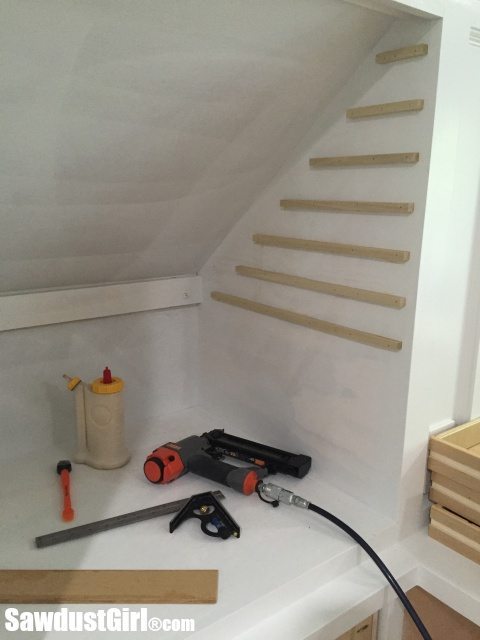
These drawers are for the angled cabinets so every drawer is a different depth. I used a laser level to make sure I installed the top runner in all four cabinets on the same plane.
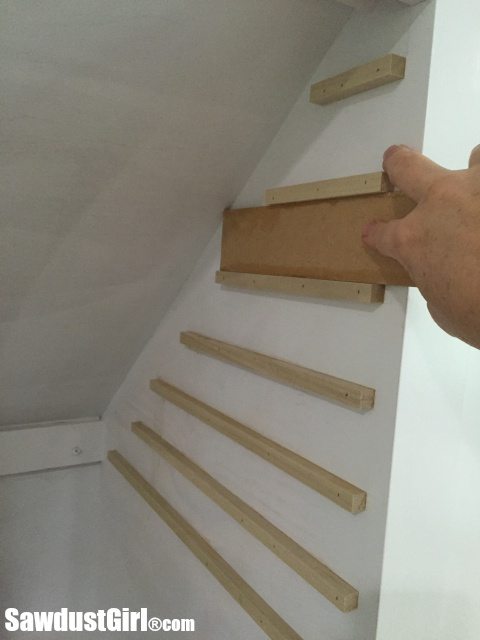
Use a spacer between runners to ensure they are all installed the same distance apart. The wood drawer runners are set back 3/4″ from the front of the cabinet so the drawer front will be inset. I used wood glue and 18 ga nails to secure the runners to the cabinet.
I lightly sanded the wood drawer runners, wiped them with paste wax and then slid the drawers into place!
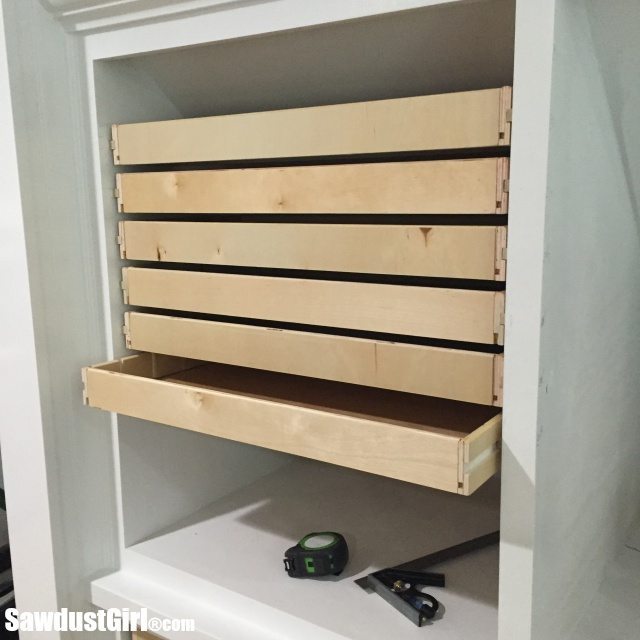
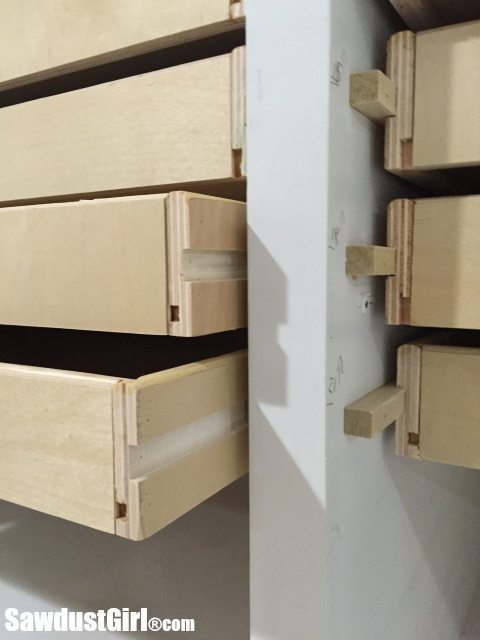
I added a little was to the dado on the drawers as well. Just because. They slid freely without any wax on either part but I thought, “why not” and went ahead and wax them both anyway. The runners are slightly smaller than the dado so there is a tiny bit of wiggle room so they shouldn’t get hung up.
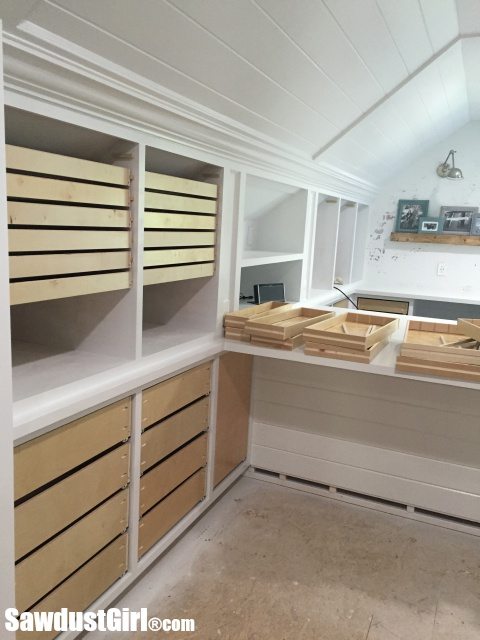
After the first row of wood drawer runners were up the rest went really fast. I went cabinet by cabinet and installed the rest.
Next up: drawer fronts
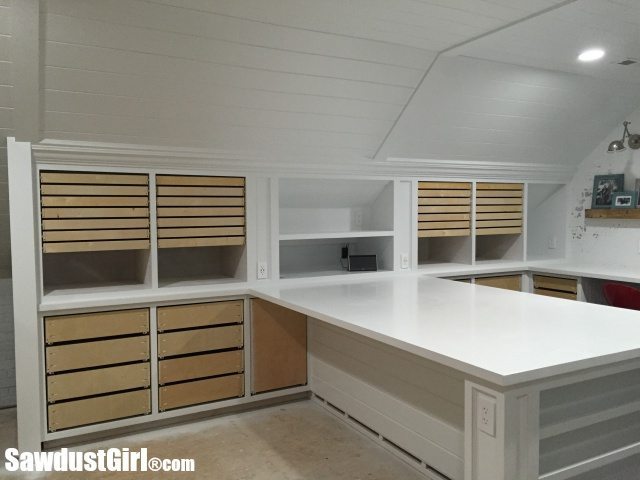
They will be white. Of course! My goal is to have this room be a neutral background for the creativity that will happen IN IT. So I don’t want too much going on. I already have my faux brick wall, reclaimed wood picture ledge, and my chippy painted barn door. The rest of the room is going to be very monochromatic. For the most part. I think. It’s not set in stone.
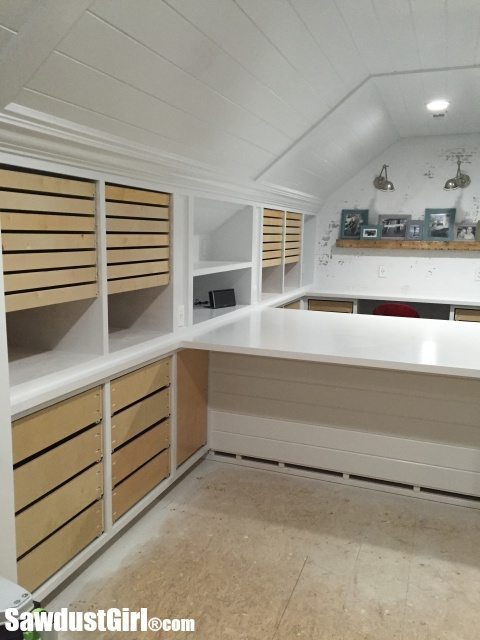
I decide things as the room comes together because every phase that gets finished changes how the whole room looks and feels so it’s best not to try to plan out every detail from the beginning.

Thank you, for the inspiration. My crafting is more of a mixed bag. I sew and papercraft, so lots of notions. Having a space to put everything would be amazing. Do you have any suggestions for a Barrister’s bookcase?
Your space looks awesome!
Briwax
What type of paste wax did you use on your runners? Great job and thanks for sharing!
The fronts act as stops inward, but won’t prevent the shelves from being pulled out. I’m trying to figure out how I want to handle that bit in a mahogany humidor cabinet with 22 drawers and wooden slides. Poking around for idea on something simple.