Studio drawers and drawers and drawers
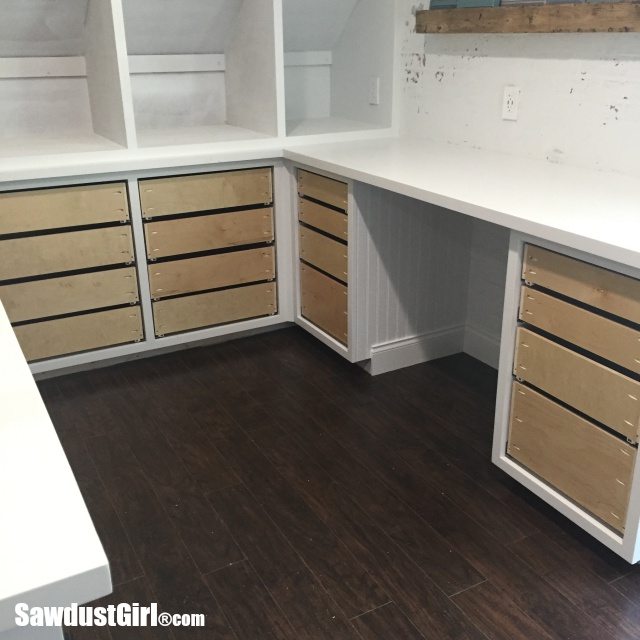
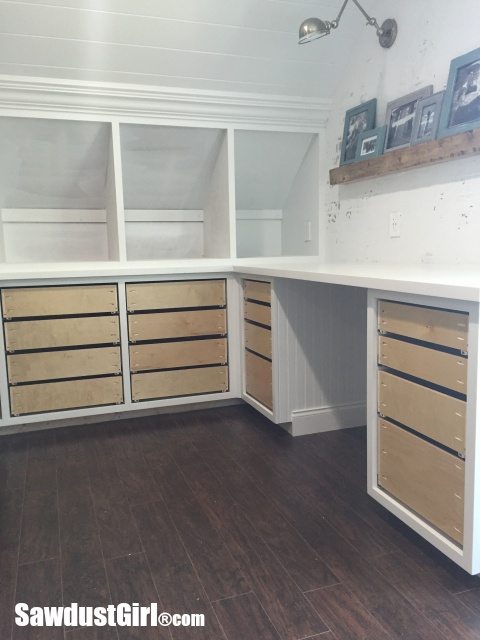 Time for a studio update! I’ve been building and installing drawers for weeks now (it feels like). I’ve shared many drawer building tutorials with you already so this post is simply an update on my studio. It now has lots and lots of drawers. Seriously. I showed you the first 8 in my last post when I shared a few drawer material and hardware tips. It’s taken me this long to install 8 more.
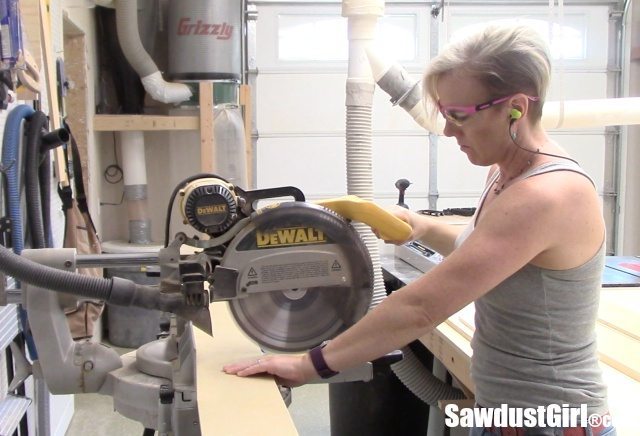
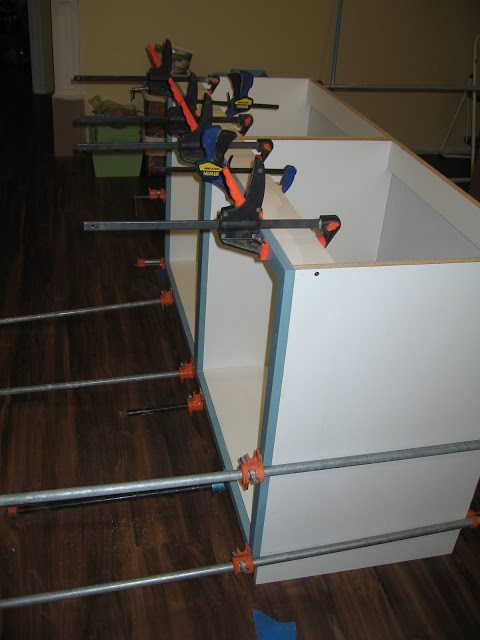
I cut all my drawer side material and then assembled three sides of a bunch of drawers.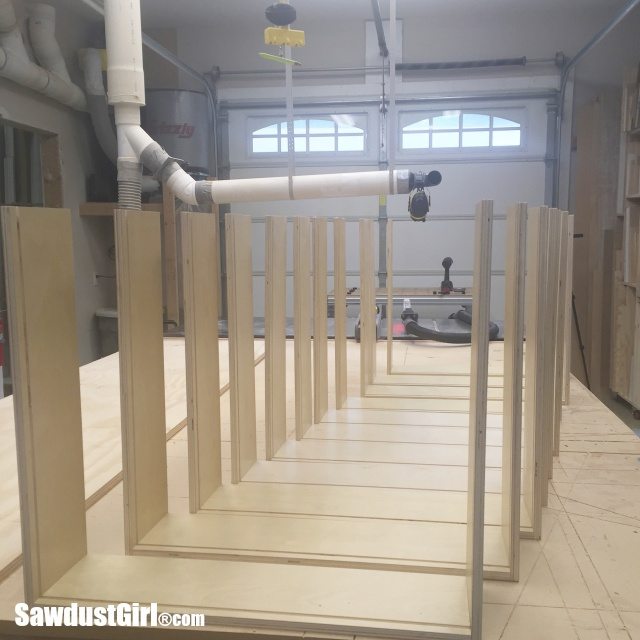
Then I cut all the bottom pieces and finished off all those drawers. 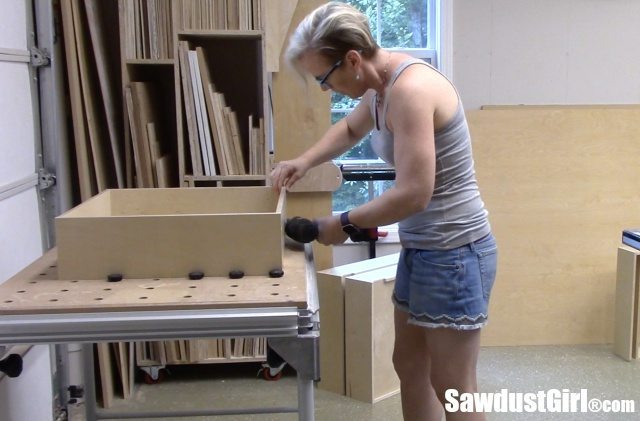
I have four cabinets that are exactly the same and I’m putting four drawers in each one so installing the drawer glides is easy. I cut spacers out of wood scraps and install the top glide first and then work my way down. I can use the same spacers in all four cabinets. That speeds up the process a bit because I don’t have to measure and cut new spacers for every cabinet. But installation is still tedious and tiring. Leaning into the cabinet to secure the back end of the glides is uncomfortable.
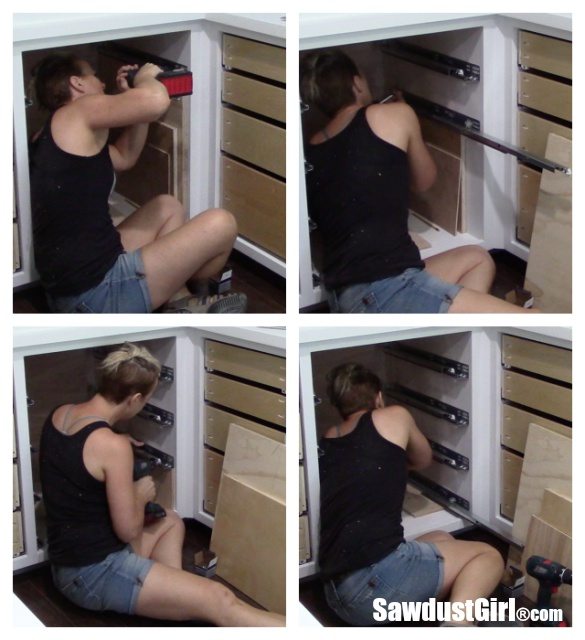
I install the glides in the cabinet, then attach the locking mechanisms and then slide the drawer into place. (Blum hardware I talked about in last post)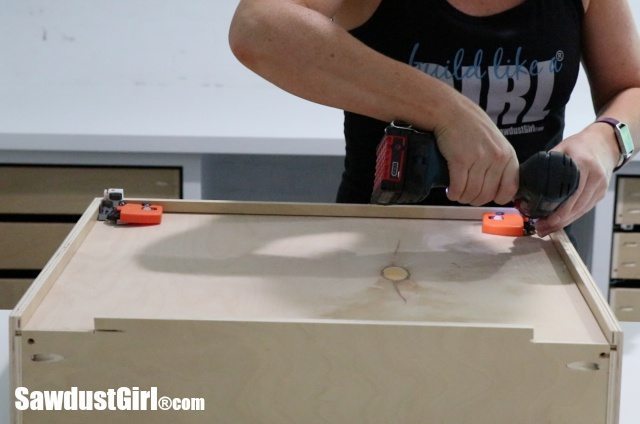
Finish one cabinet and then start again in the next cabinet.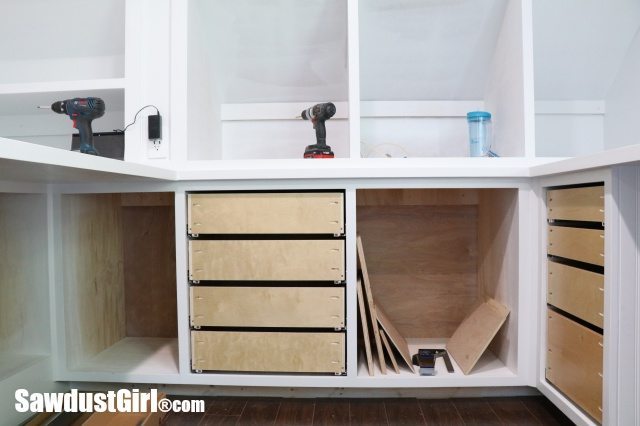
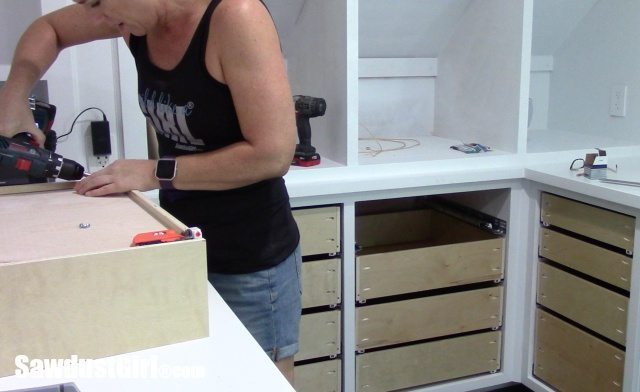
It’s nice when everything goes smoothly. Periodically I get a drawer where one of the locking mechanisms doesn’t want to catch and then I have to figure out why and fix it.
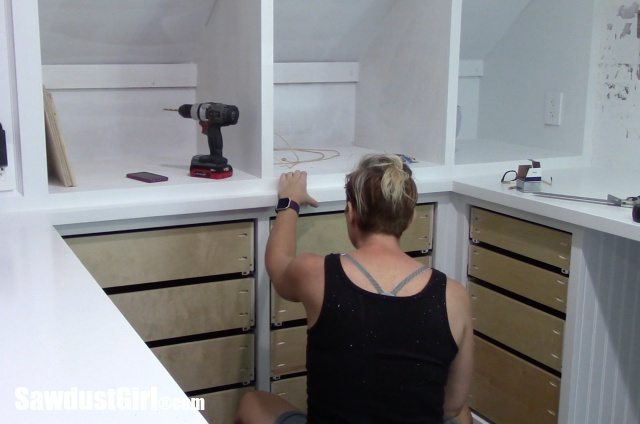
Getting all the drawers in place isn’t even terribly gratifying because I know I still have two major steps before the drawers are complete; build and paint all the drawer fronts– then install them and the drawer pulls. These steps are equally time consuming and tedious because of the precision required for inset drawers.
I almost decided to just do overlay in my studio because — it’s a studio. It won’t be scrutinized like a kitchen would. And it would be so much easier!
Since I’m the designer AND the builder, I have to make sure I’m fairly weighing the desired design against the time/work it will take to create that design. Sometimes the “I don’t want to have to work that hard” side of me shouts so loudly that I can’t hear what the designer side of me is saying. That is the point that I have to take a step back and do something else until the negative emotional connection to that project has faded.
I’m committed to making cabinets with inset drawers and doors in this house so I’m not going to wimp out on my studio. So I have some more work to do!
You always inspire me, and you make it look so easy (but like DIY shows, it never gets done in the amount of time it takes to watch, or READ, how it’s done). You and Ana White are my two favs– women who can actually build and inspire other women to build. Love your YouTube channel too… I just went through your drawer slides tutorials as I’m planning to build my own bathroom vanity–it’s a weird set up and the dimensions are strange (old house). Thank you so much! Your ideas on spacers are genius and really take the mystery out of installing the drawers =)
Wow your really doing a awesome job on your craft room..!! I sure hope you still fill like creating once it’s completed..!!
Great job..!! Can’t wait to see the finished product..!!!
I hope so too. The desire to create always returns. Just takes little vacations periodically. 🙂
Beautiful! Your work is impeccable. I’m afraid my impatience gets the better of me most times. I need to step back more and hurry less. You are an inspiration.?
Thanks. Sometimes my patience gets the better of me too. That’s usually when I start making lots and lots of mistakes. Then I KNOW it’s time to step back. LOL
So jealous of the space you’re going to end up with! The fact that you execute your vision in such a way is really inspiring. Wish I had the space to do something like this at my house!
Thanks Lori. It’s rewarding to see a plan come to fruition, even if I change the plan along the way. LOL
Wow, you really make this project look easy. I’m sure it’s a lot of work and the drawers are amazing. Can’t wait to see the finished fronts!
Thank you and me too (I can’t wait to see it done). I wish I could close my eyes and then re-open them and BOOM. Done! Isn’t that the dream? LOL