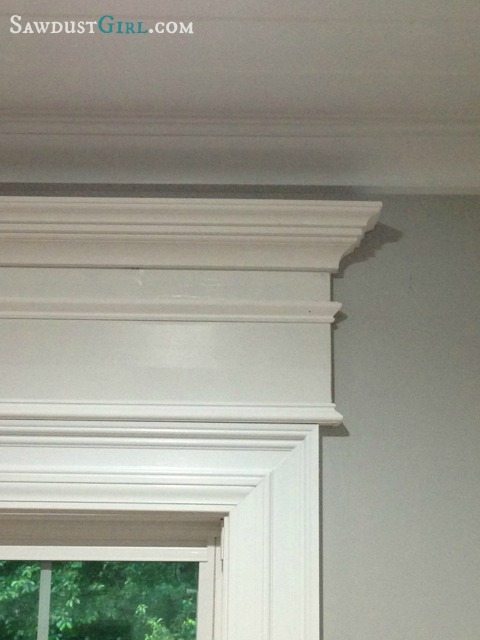
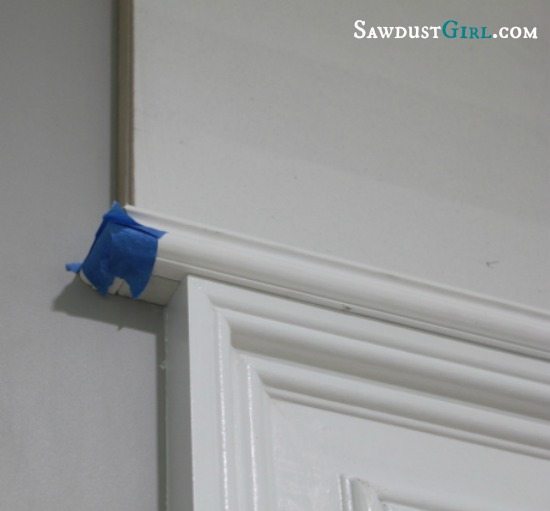
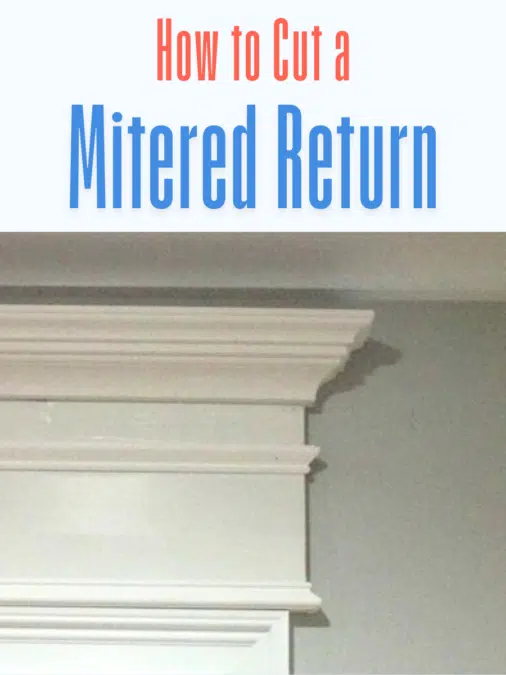
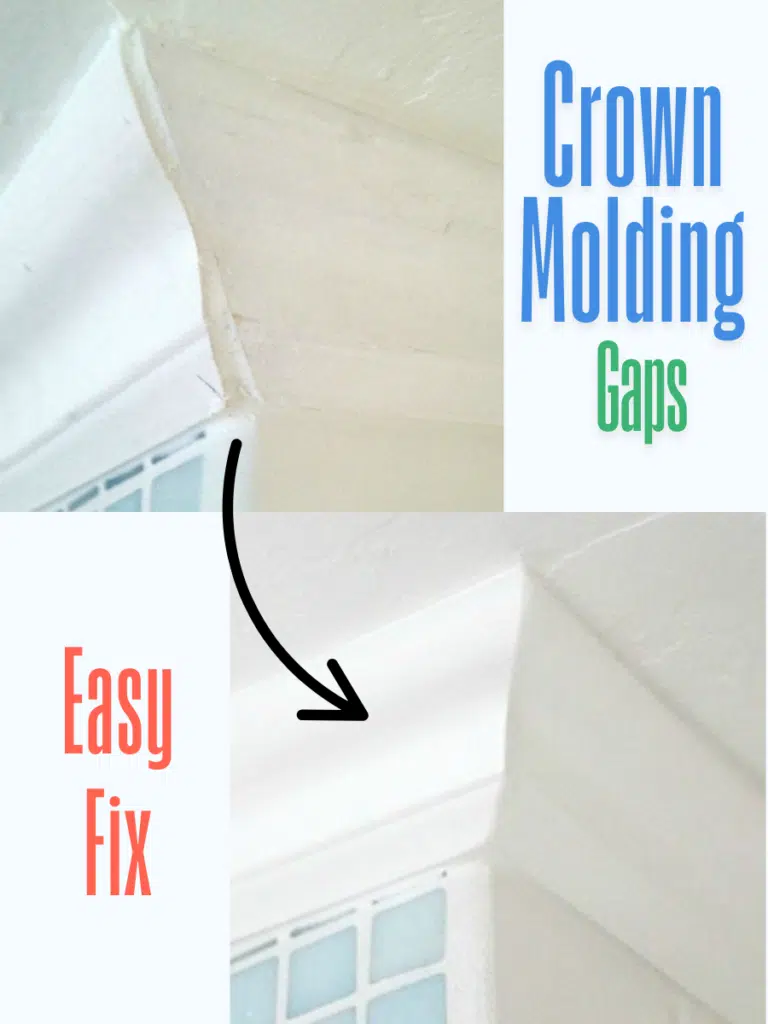
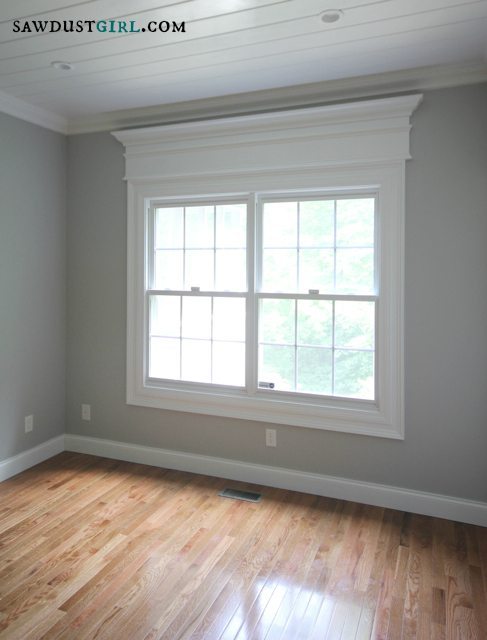
When installing decorative trim molding in a spot where you can see the end like I did in my door and window trim for my office, it’s best not to leave a cut end showing. It looks finished and professional if you do a mitered “outside corner” so the trim turns a corner on itself. That end is called a “return”.
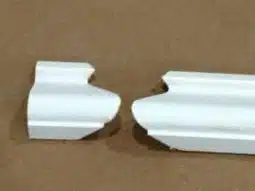
The end of the trim you are installing has a beveled cut. The return piece is beveled to meet that piece and then end is cut straight to sit against the wall.
Getting that tiny piece of molding cut to just the right length is always a pain and you will most likely have to try several times before you get it right resulting in some wasted molding. You can’t safely trim down a tiny piece of wood so you need to start over each time.
Here’s how I do it:
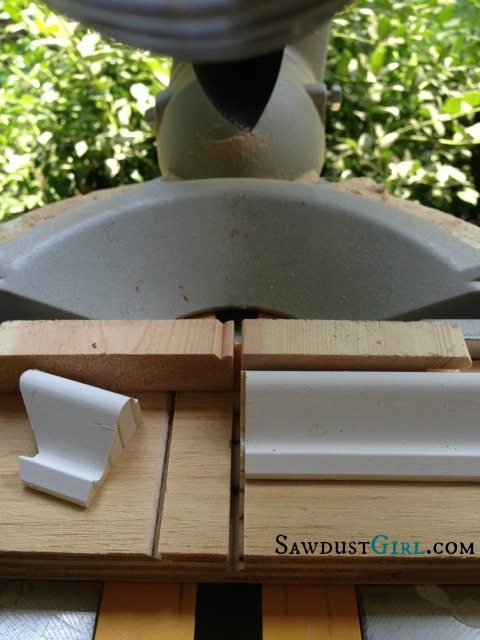
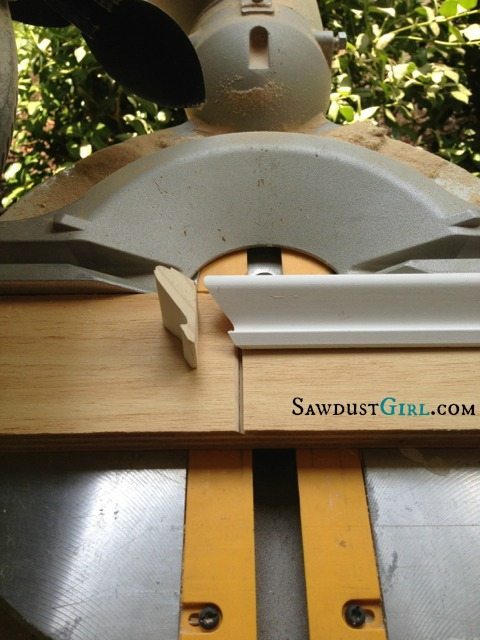
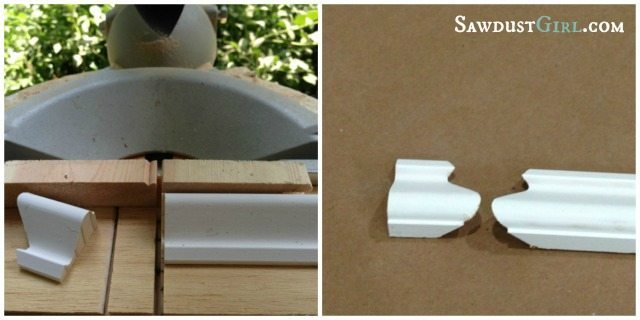
- I use a scrap of wood on the bottom and against the fence so my little pieces don’t fall into the cracks and get caught by the saw blade throwing them all over the place and often breaking them in the process.
- I lay my molding flat so I’m cutting a bevel, not a miter.
- I bevel the end and then cut the tiny piece to length.
- I’m wrapping this piece around a 3/4″ piece of wood so it’s not super tiny. If I were ending the trim on top of the wood instead of wrapping around it, I would have made the straight cut directly at the end of the bevel. That is when it’s the trickiest.
If your saw only bevels in one direction, you’ll have to flip your trim and cut it with the top against the fence for one side and the bottom against the fence for the other side.
When installing these tiny pieces, I like to use glue and painters tape. Once the glue is dry you can shoot in an 18 gauge nail if you want to. Sometimes nails cause the tiny “return” pieces to break and if you don’t glue first the force of the nail can cause the piece to shift messing up your perfect mitered joint.
It is tedious but so worth the effort because it looks really cool!
Meg @ Nutmeg Place says
These pieces are my nemesis! I’m not going to mention I have a few projects missing these bits because I can’t bring myself to fight with it just yet. 🙂
kathy says
I would LOVE to see a video on this (hint, hint) 🙂
Jo @ Let's Face the Music says
I must keep this tutorial for the time when I get up the gumption to add trim and molding to our place. It is desperate but other projects trump this nicety. I know I’ll return to your info again and again. Thanks for taking time to explain it. Jo @ Let’s Face the Music
jb @BuildingMoxie says
often times the difference between a job done right and one done … well. I was amazed when working in the field how many times I saw a return just faked or none at all … from pros. #flatlazy. An important post and thanks getting it up Sandra.
Anne@DesignDreams by Anne says
Thanks! I am still totally confused by which way to flip the saw blade for the different cuts I need. Lots & lots of waste going on in my realm!!
Dane says
It’s hard to visualize sometimes. I keep my pieces vertical against the fence—I’ve found I get less chipping on the fine mitered edge which is important if you’re dealing with prepainted (sprayed) trim. Then I push my blade out to the right at 45° for all the angle cuts. Trim right side up for one side of the returns and upside down for the other side. On each piece, just bring the blade back to 0° and cut once. I’m just no good with bevel cuts so this works better for me.
Colleen says
What do you use to trim out window and door casings and baseboards- MDF or wood? If wood, do you use a certain type of wood for places that get more abuse, like baseboards and windowsills?
Sandra says
I have some of both. I choose based on the profile and size that I want not based on the material. How well they hold up depends on the abuse. I don’t have a preference.
Kastons says
¿Where can I buy this types of Moldings?
Thank you.
Jerry Derstine says
Enjoy watching your work. I’m adding corner column to the living room and liked your blog on that. Instead of glue and tape. Get yourself some CA glue and activator instead of wood glue and blue tape. I learned about it on YouTube channel “finished carpentry” 10 seconds and your mitered returns are tight and hard, no need for brad nail that might split the trim. Keep up the great work.
David J Jones says
18 guage is too large for a small piece of trim. Try using a 23 guage pin nailer to secure the pieces together while the glue dries.
Sandra says
A lot of people don’t have a 23 ga nailer and tape alone works perfectly fine for holding the pieces while the glue dries. Once the glue sets up, I prefer not to nail through the return to hold it in place.
Rick says
Sandra, you can use “Collins Miter Clamps” to hold the small end pieces together with authority. They will stay where the clamps hold them and you can adjust them if they’re not perfect. Amazon sells them. Fill small holes with putty or spackle.
Dane says
Which is why I don’t nail them. I’ve yet to have a glued return fall off. Knock on wood.
Beverly Brown says
I would love to see a tutorial on how you did the trim around the doors that looks built up
Sandra says
You can see how I did that in this post: https://sawdustgirl.com/how-to-trick-out-your-trim-molding-in-5-easy-steps/