Courtney’s Living Room Built-ins – Part 6
Continuing with Courtney’s Fireplace Wall Built-ins … if you missed some of here story, you can catch up here:Part 1, Part 2, Part 3, Part 4, Part 5
Right when I got to Belize, Sandra sent me the annotated photo below. I felt sick, realizing I would have to rip 6 pieces of nailed, caulked, and painted wood off the face of the mantel to fix it. She assured me that we could add to the design, not take the wood off, and everything would be all right.
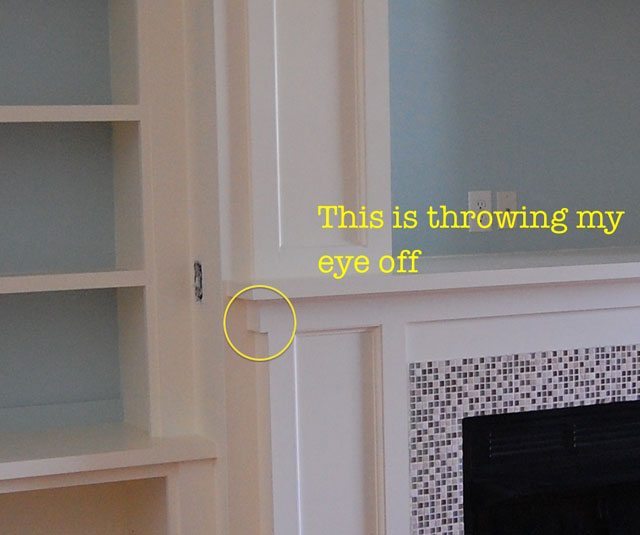
Fast forward three weeks–she and I both came to the realization that the wood would have to come off. I finally gathered up the pry bar and hammer and went to work. Well, it was nothing! Easy! Three weeks of project insomnia for naught.
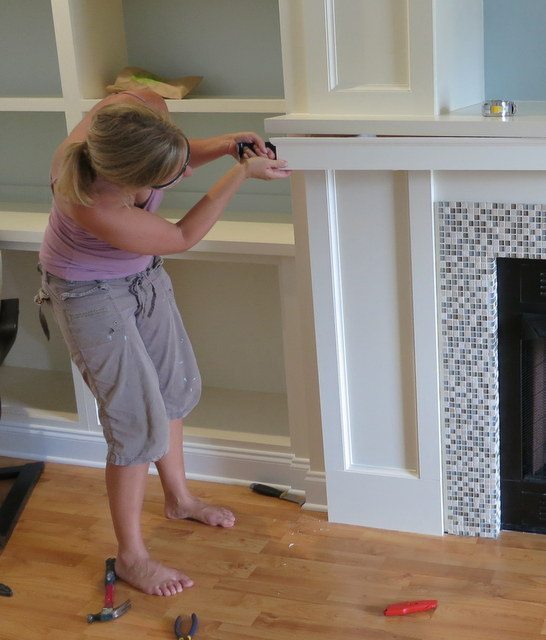
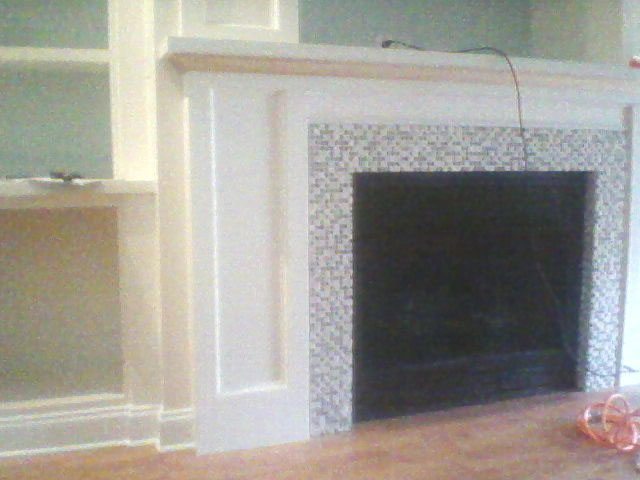
One great thing about working with Sandra is having a DIY friend to share things with. I don’t want any of my real-life friends seeing my shelves until they’re finished. But I can send Sandra a picture of something with a painted piece, a primed piece, a bare-wood piece, and unfilled nail holes and know that *she* can see beyond to the final product. Case in point, I *finally* got the fireplace mantel molding figured out and am loving it! So my first thought was, “I gotta share this with Sandra!” Because she understands.
I texted her this grainy picture with the message: “loving it! relief!”
A new day! I woke up this morning optimistic and ready to work! I first had to read the instructions for the (borrowed) table saw and (new) router table/router. That took two hours. Then, I cut and routed all the wood I needed for my doors. All before noon!
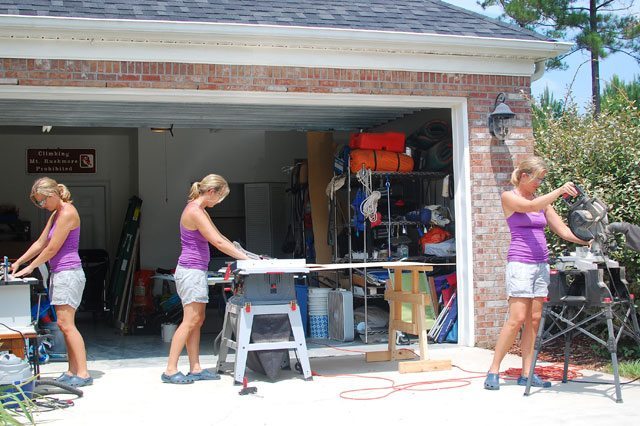
After a lunch break, I busted out my new Beadlock tenon system, and discovered I was woefully short on tenon stock. I only ordered 36” (that sounded like enough) but needed 96”! And the online source was out of stock. Luckily, Sandra has some that she’s going to drop in the mail for me. I then switched to researching hinges. Three hours later, I still don’t know what hinges I’m going to use or how I’m going to install them. Hinges are much much more complicated than I could have imagined.
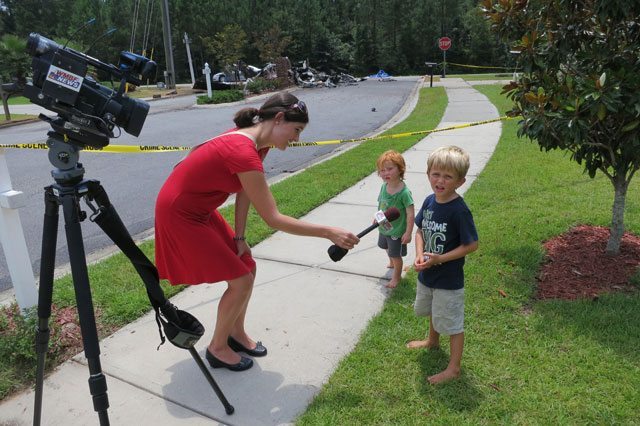
Progress on my project was delayed for a few days because A PLANE CRASHED IN FRONT OF MY HOUSE! That’s right, while I was working in the garage, a 4-seater plane hit a power line and crashed less than 50 feet from my front door. I’ll keep this post strictly project-related and say that, of all the things I thought might destroy my shelves (water damage, fire, etc.) I didn’t put “plane crash” near the top of the list. I’m so grateful that no people on the ground were hurt nor any personal property damaged. But there was a lot of drama, tears, excitement, and neighbors gathering in our yard. So between the power outage and talking with neighbors, I didn’t get much work on the doors done.
Okay, back to my regularly-scheduled project updates. A while back, I didn’t exactly understand how overlay door hinges worked, and I convinced Sandra and myself that my cabinets didn’t leave enough room between the face frame and the opening for overlaid doors (in retrospect, I was totally wrong). We changed the plans to inset doors, and now I’m scared to trim my doors to fit the openings! I’m afraid that I’ll cut too much off and then how do I recover from that? I’ve been delaying, and so the first thing I did this morning was put a fresh coat of paint on the mantel, cabinet tops, and face frames.
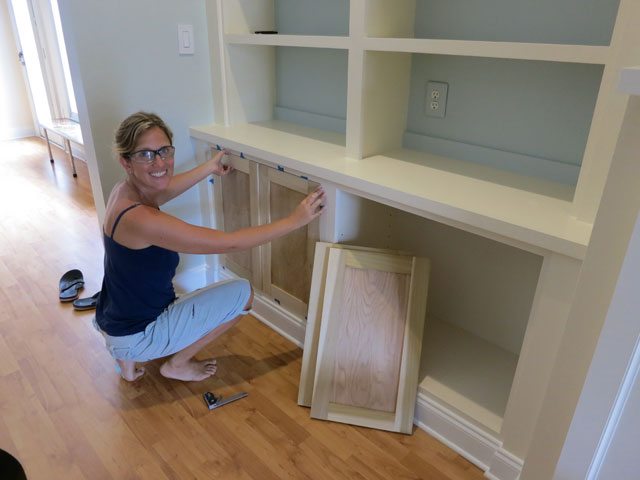
Thankfully, trimming the doors down went pretty smoothly, but I won’t be confident until the hinges are attached and the doors are on the cabinets! I also cut the MDF for the cabinet shelves. Today called for sanding and priming everything. I sanded, primed, sanded, primed, and painted the cabinet shelves. I only painted the top and front of the shelves, but let’s keep that secret between us–I don’t think the bottom will be visible once installed. Then I sanded, primed, and sanded the doors. That’s a lot of work for not much visible progress!

My husband and I went knob shopping together. He has a great eye for design and I didn’t want to make an expensive wrong decision–there are so many knobs out there! We went to a store that had hundreds of knobs on display. I wanted to get a knob that was reminiscent of the sea somehow, but not too gimmicky or a novelty knob. We ended up taking home a sea urchin shell knob, one that looks kind of like a shell (but isn’t), and a faceted dome knob to test out the looks of them with the cabinets. The winner was the dome knob; unfortunately it’s a special order and won’t get sent to us for about 3 weeks! AND I still need to order hinges.
I’m really close to being done. But then again, I’m not!!!
Read Courtney’s REVEAL!
Hi Sawdust Girl, I so love your work and what you do with your clients. In fact I drool over them! I wish you could visit Melbourne Australia and you could set up shop down here. I have a whole house to renovate and some I’d love to learn all the skills you provide your clients. Please keep up the great inspirational work.
Respectfully,
Ronnie