Building a Wine Storage Cabinet
This wine storage cabinet took me much longer to build than I expected. But that’s kinda the story of my life… It has a couple complicated components and I made them even more complicated by absolutely having to route a decorative profile onto my stemware dividers.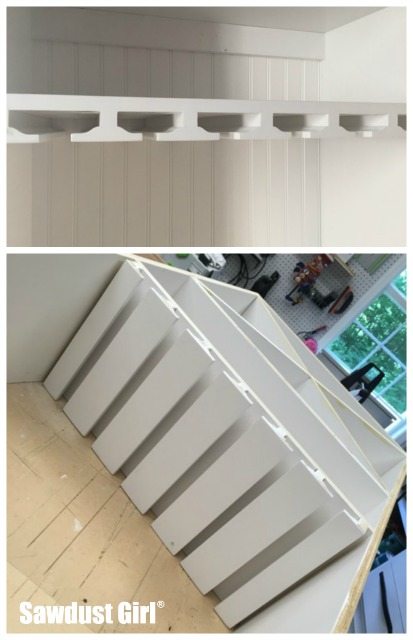
Wine Storage Cabinet
Sooo, after I got that together I finally started building my cabinet. Then I took it apart and started over because I decided I wanted different proportions.
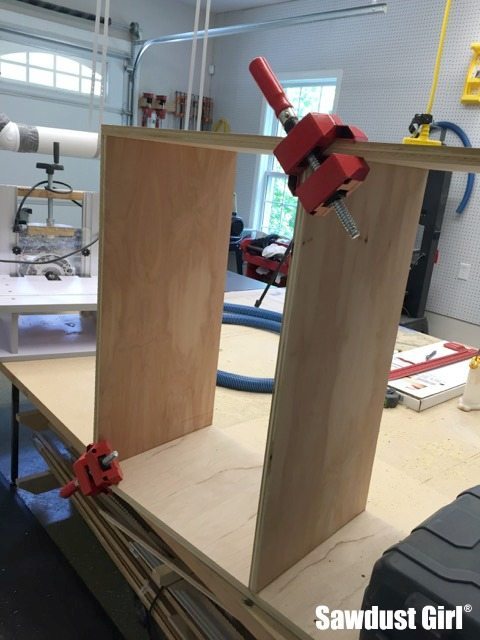
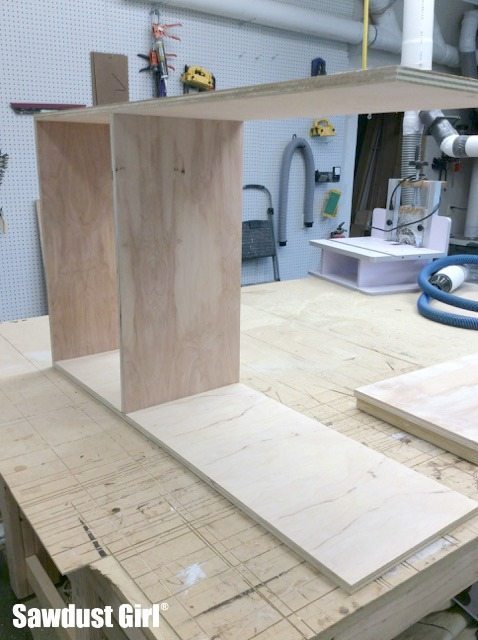
So then I built it again!
Then I got to use that router table to create my decorative profile. It’s not a big factor in the big picture but I wanted my stemware storage to be a little …extra special.
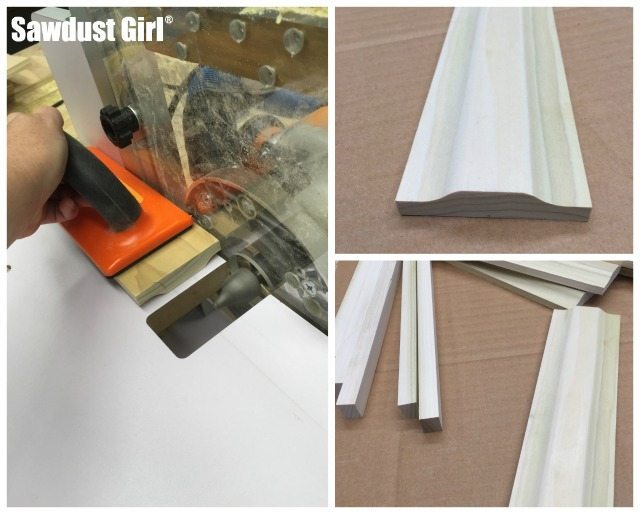
I glued and nailed a spine in the center of each divider.
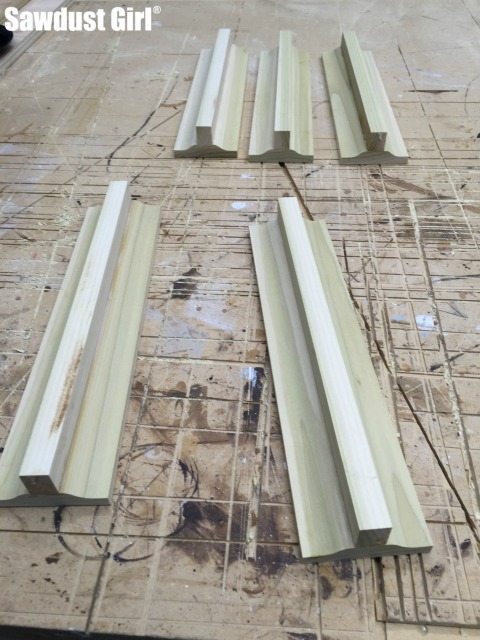
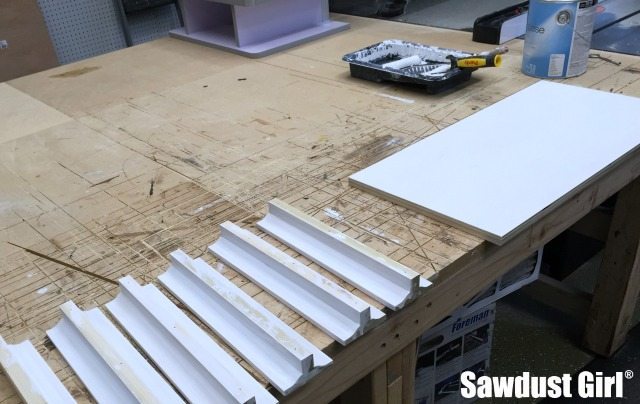
Then I primed and painted them as well as the shelf they would be attached to because it would have been nearly impossible to paint all that after assembly.
When it came time to attach the spine and divider “thingys” to the shelf, I had a conundrum. It was going to be really difficult to keep each piece lined up while I flipped the shelf over so I could nail or screw the spine to the shelf. Can you picture that? So I decided to route some dados into the shelf. Routing dados into a board that had been recently painted wasn’t awesome. The paint was dry but not cured so I couldn’t get a clean cut no matter what speed I ran the router on. But I made it work. I glued the “thingys” into the dados and then flipped the whole thing over and added screws. I had this fear of all the delicate wine glasses shattering because gravity helped my thingys fall out of the dados. No chance of that happening now!
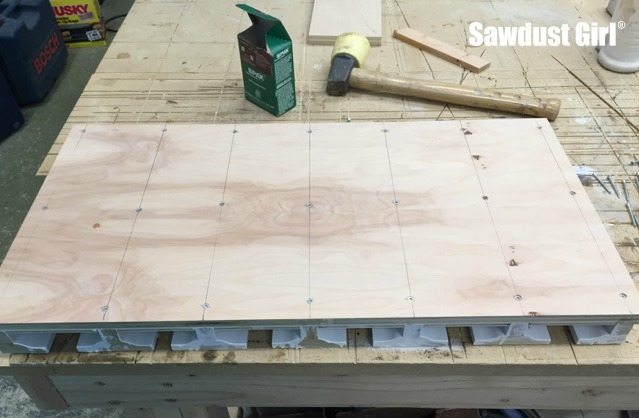
Stemware shelf complete, I set it aside and focused on the wine bottle storage. I wanted a grid where each bottle would have it’s own special shelf…because I have to make everything as complicated as imaginably possible.
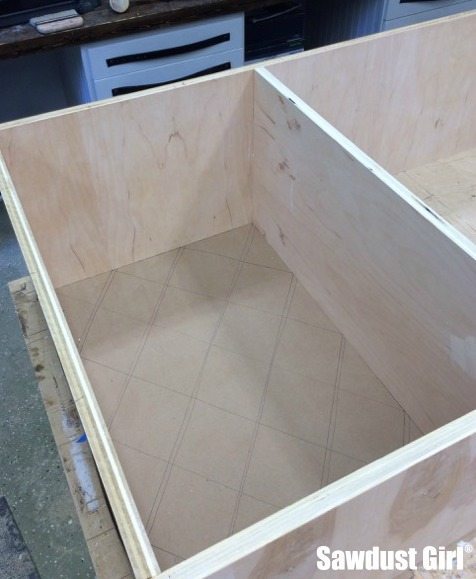
BUT, I couldn’t swing it. I needed to cut each board with a different angle on each side, one at 40º and one at 60º. I tried using my track saw but I didn’t feel I could be precise enough to make it perfect and my table saw only goes to 48º. I just couldn’t get that damn 60º!
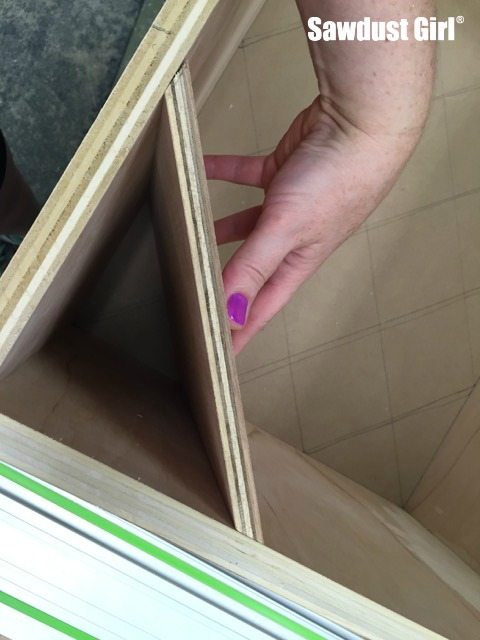
I tried pushing one board through vertically with the saw set on the 40 which would have been a perfect set up if I wanted to create a jig to make that a safe setup but I didn’t feel like spending another day building something so I could build something! You know what I mean?
So I went with one big X instead. Done!
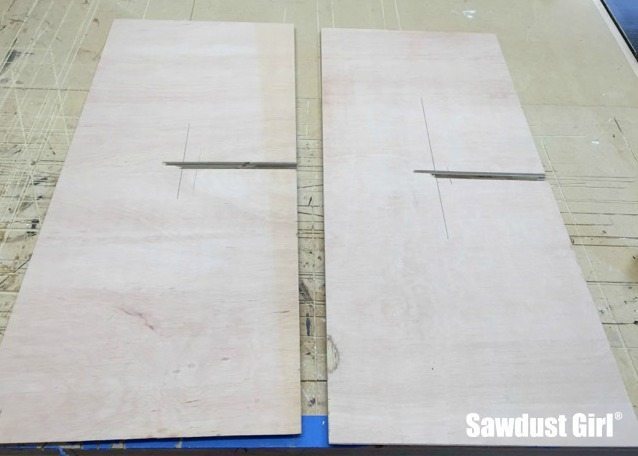
Primed and painted everything.
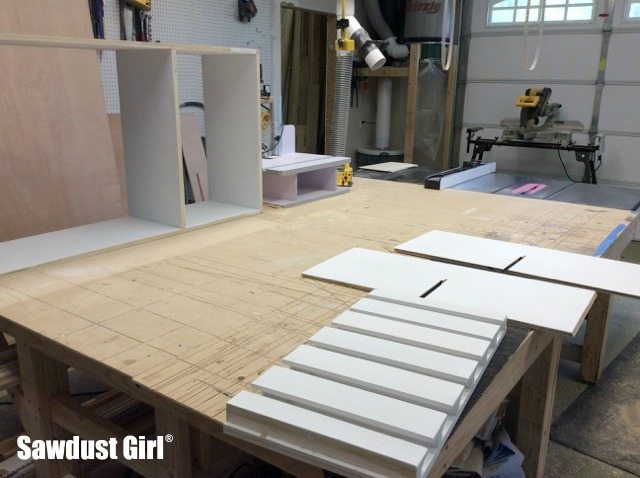
Screwed everything together and Voila!
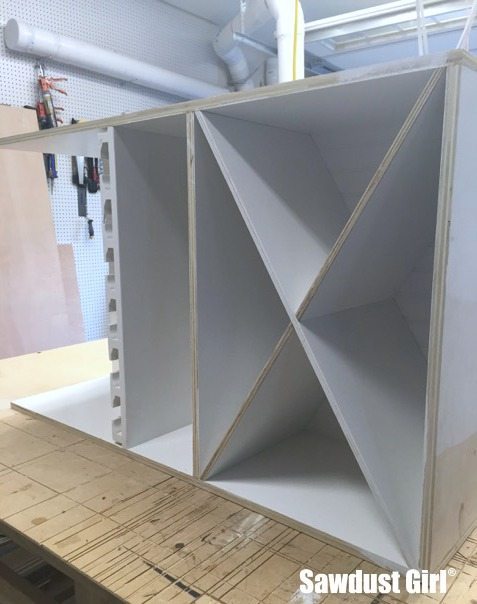
Wes help me get the cabinet into the pantry which we didn’t manage without scuffing up the new countertop. No biggie. It’s a distressed countertop.
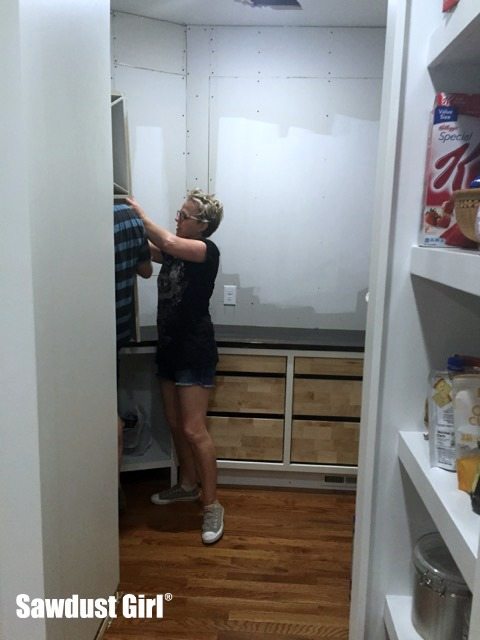
I used a Magic Eraser and it took off the paint at least! Those things are just … Magic!
So yeah, now I just need to build one more, small cabinet to put on top of this one and then put on a faceframe and build the rest of the pantry which I anticipate will go really quickly since I just tackled the most complicated of all the cabinets. I think. I haven’t really planned out the rest of the pantry so who knows!
Read part 2- Installing the Wine Storage Cabinet
Love your site and videos! What router bit did you use for the stemware rack? I’ve got a nice collection of router bits, but don’t recognize what you are using. Thx, Kathleen
What are those amazing red right angle clamps?
I have GOT to get me some of those.
Those are Bessey angle clamps. My newest find and they are awesome!
Regarding the 60* angle: couldn’t you flip the ply and cut the 30* complementary angle?
I would have to flip it vertically and build a jig to allow me to safely push that through the sawblade. I gave it a try without a jig but it was too precarious and not that accurate (because I couldn’t hold it level and the front tip of the boards kept dipping and hitting the blade cover thing so I needed to make a zero clearance…). It was just going to take too much time for the detail it was adding.