• Home
  • About
    • Personal Posts
  • Privacy
  • Shop
    • My Account
    • Checkout
    • Email
    • Facebook
    • Instagram
    • Pinterest
    • Twitter
    • YouTube
Sawdust Girl®

Sawdust Girl®

Renovation, cabinet building and woodworking plans and tutorials. Build like a Girl®

  • My Home
    • Clinton TN House
      • Clinton TN House in Progress
    • Maryville TN House
      • Maryville TN House Tour – Completed Rooms
      • Maryville TN House in Progress
        • Basement
        • Basement Storage Closet
        • Bedroom Office
        • Craft Room
        • Dining Room
        • Entry
        • Garage
        • Guest Bedroom
        • Hallway
        • Jack and Jill Bathroom
        • Kitchen
        • Kitchen Entry
        • Laundry Room
        • Library
        • Living Room
        • Loft
        • Madison’s Room
        • Master Bedroom
        • Master Closet
        • Pantry
        • Porch
        • Powder Room
        • Wes’ Office
    • Illinois House
    • Calderwood Cottage
  • My Workshop
    • Clinton Workshop
  • Build & Breakfast
  • Cabinet Making 101
    • Cabinets
    • Doors
    • Drawers
  • Projects and Plans
    • Countertops
    • Beds
    • Benches
    • Bookshelves
    • Desks
    • Gift Ideas
    • Holiday
      • Christmas
      • Halloween
    • Home Accessories
    • Kids
    • Kitchen Cabinets
    • Lockers
    • Nightstands
    • Organization accessories
    • Recipes
    • Sewing
    • Tables
    • Vanities
    • Wardrobes
    • Woodworking
      • Wood Finishing
    • Workshop
    • Workshop Storage and Organization
  • Remodeling 101
    • Baseboard and Trim
    • crown molding
    • Demolition
    • Door and Window Casings
    • Door Installation
    • Drywall
    • Electrical work
    • Flooring
    • Home Maintenance
    • Painting
    • Plumbing
    • Resources
    • Safety
    • Tile
    • Wall and Ceiling Treatments
  • The Sawdust Diaries
    • Andrea
    • Ava D.
    • Beckie F.
    • Cara C.
    • Courtney B
    • Fawn T.
    • Jenn D.
    • Kelly C.
    • Kristy K.
    • Lara T.
    • Malisa B.
    • Marnie D.
    • Robin C.
    • Val F.
  • Tools
    • Products
    • Tool Reviews & Overviews
    • Inspiration & Ideas

Installing a Wine Storage Cabinet -part 2
All Posts, Cabinet Making 101, Cabinets, Pantry, Tennessee House

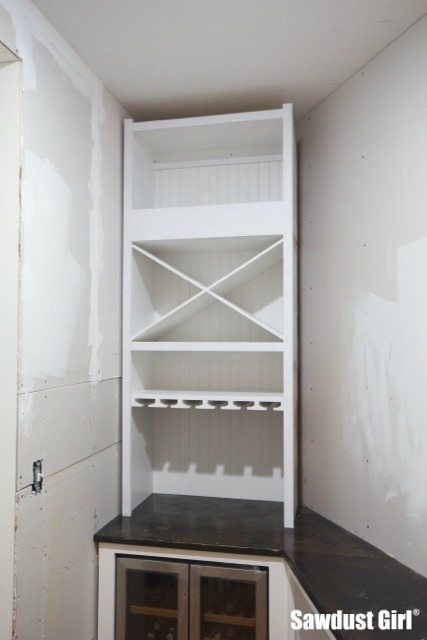
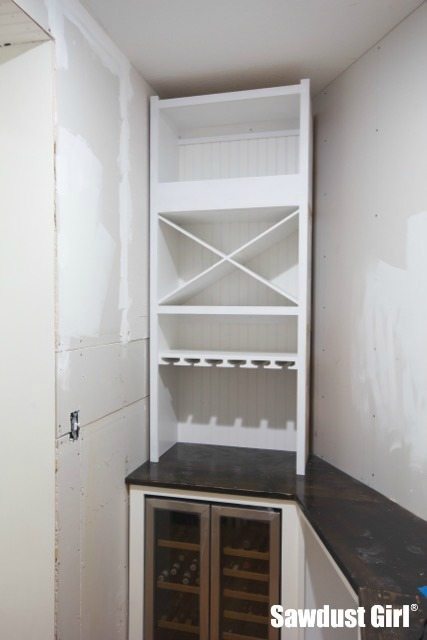
Installing a built-in wine storage cabinet I finished the wine storage cabinet yesterday! The Wine Storage Cabinet is made up of two separate cabinets. In part 1 , I built the lower section.  The next task was to build the small cabinet that sits on top of the first one.  Then add the faceframe.Wine storage cabinet - part 2.
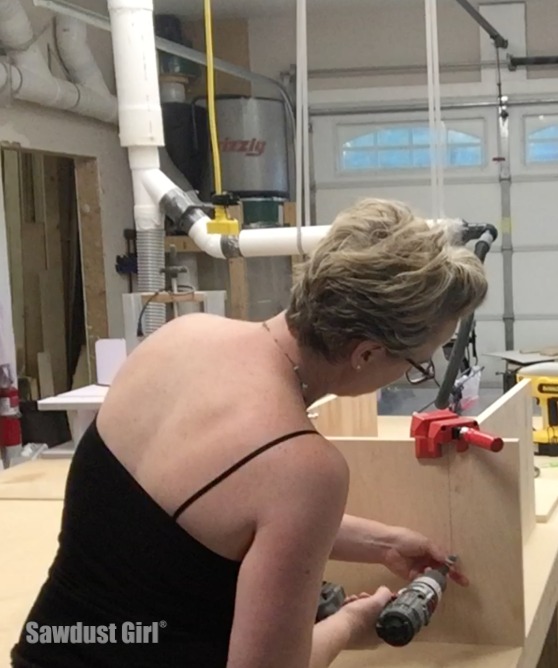
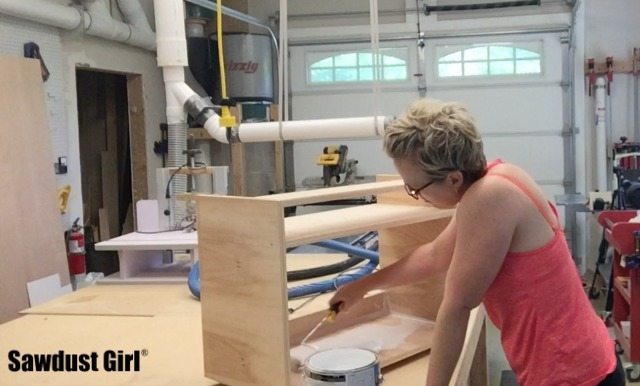
I painted both cabinets before I took them upstairs into the pantry.Wine storage cabinet - part 2.
Then finally got the sucker installed.
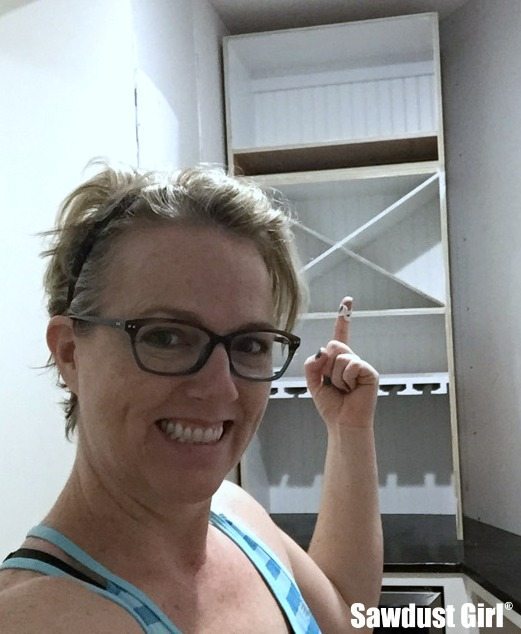
Wine storage cabinet - part 2.

I had to stand on the countertop a lot during the process and every time I was up that high, I could smell the sticky, stinky stale air coming out of the holes in the ceiling.  There is another level above this one so it’s not attic space but it’s space between floors and it seemed hot and stinky.
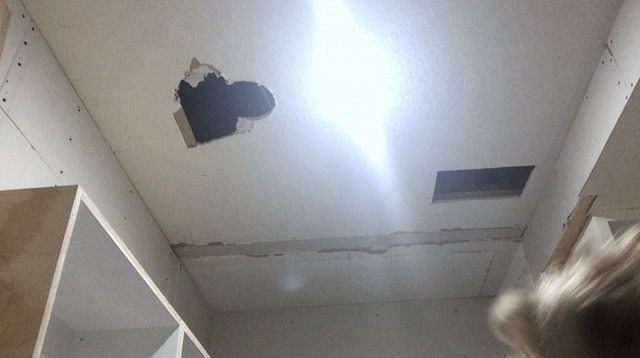
Ceiling holes

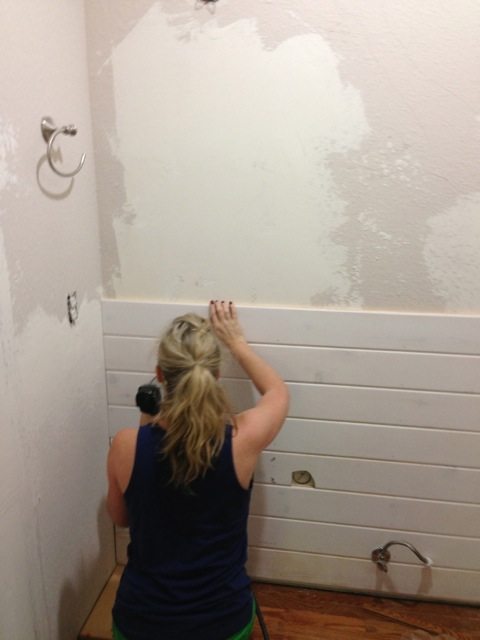
So I paused work on the cabinetry and took time to FINALLY patch the two holes in the ceiling from moving the light and some other electrical work that had to be moved.
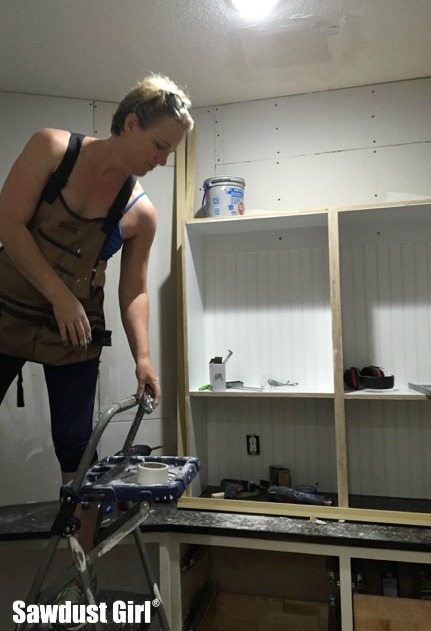
Wine storage cabinet - part 2.

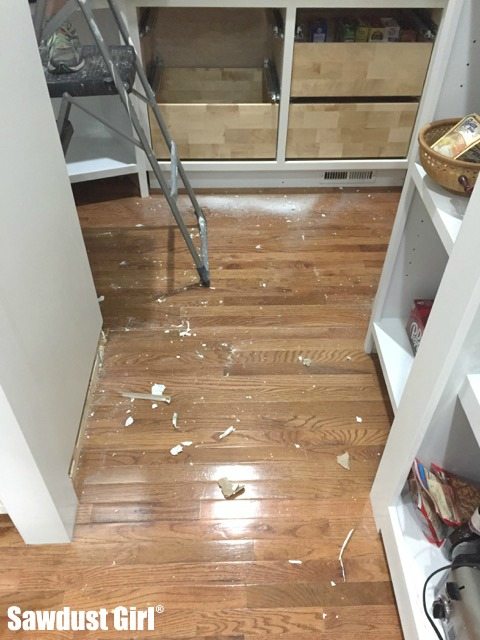
And talk about a MESS!

Wine storage cabinet - part 2.

I even managed to drop a blob of joint compound onto the pile of faceframe material I had stacked in the corner.
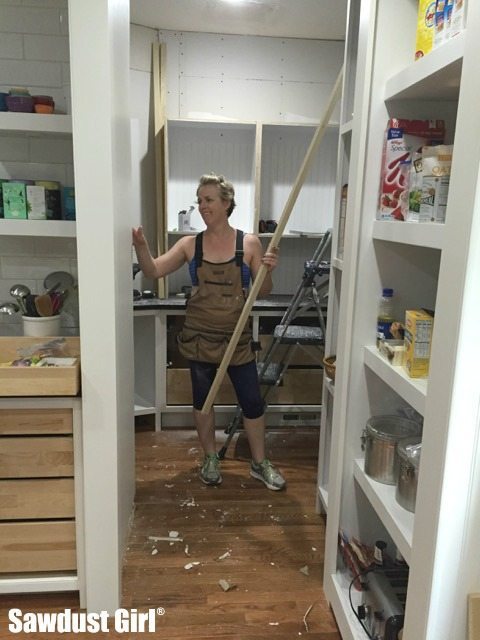
Wine storage cabinet - part 2.

I must have been swearing an awful lot because Madison volunteered to help me clean it all up.  😀

This was going to be such an easy process to build this small cabinet and install the faceframe.  LOL  After like 3 days I’m finally ready for a faceframe.
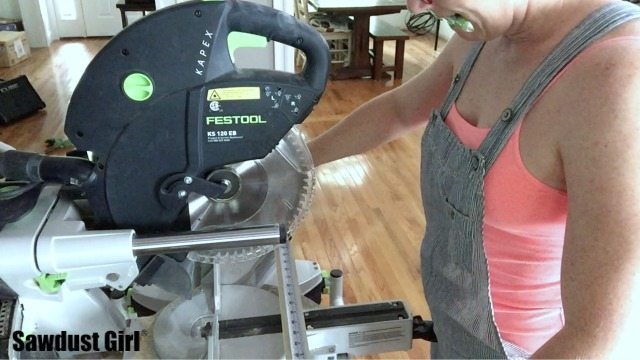
Wine storage cabinet - part 2.

I’m installing each individual piece, one at a time using glue and nails.  I use a combination square in order to make sure I leave the same overhang on each side – inside the cabinet.
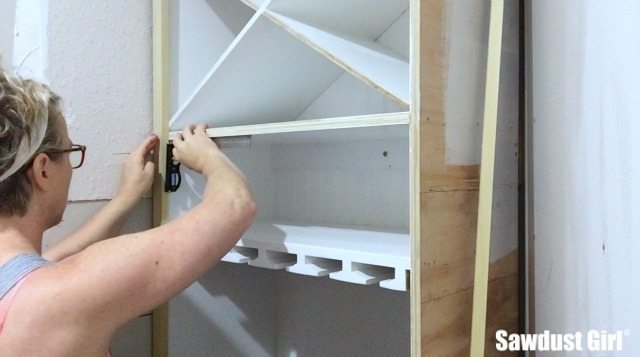
Wine storage cabinet - part 2.


A little sanding and wood patch.  This step is important!
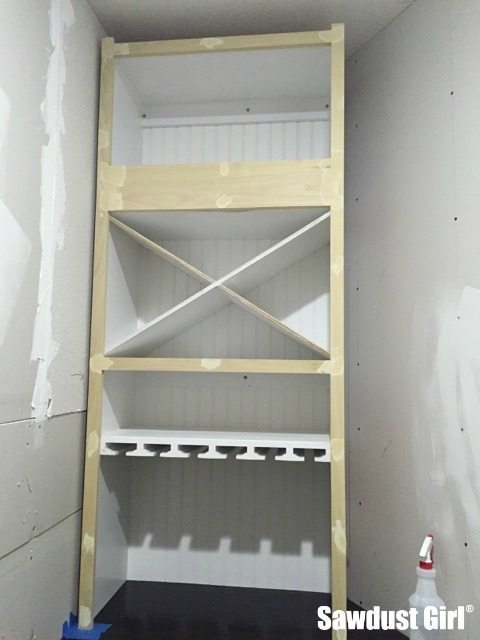
Wine storage cabinet - part 2.

Then prime and paint.  Yeah!
Wine storage cabinet - part 2.
Just for fun, I had to test out my storage devices.
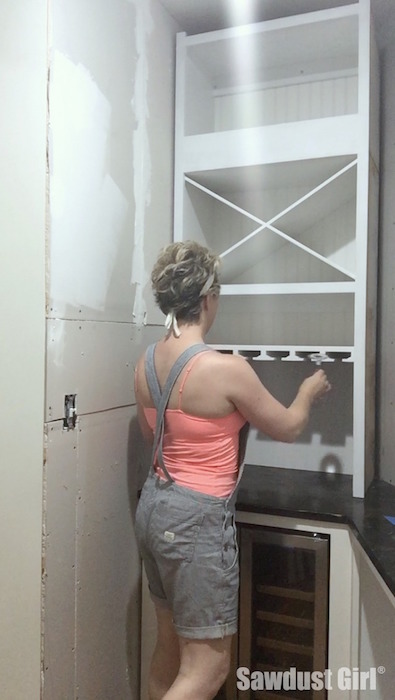
Wine storage cabinet - part 2.

Then put my wine glasses back in the kitchen because I have a ton more to do in here before we really get to use it.


I’m pretty excited about how this cabinet turned out.  It had a lot of details and felt like it took forever to build.  The rest of the pantry cabinets should be much easier and go faster.  I can’t wait to finish!
June 26, 2015 · 7 Comments

« How to use a Digital Height Gauge
Working with Angle Clamps »

Comments

  1. Cheryl says

    June 26, 2015 at 3:48 pm

    Awesome!!! You rock girl! So ready to have a glass of wine today.

    God Bless,
    Mom of 7

    Reply
  2. john @ AZ Diy Guy says

    June 26, 2015 at 6:24 pm

    This looks great. I appreciate the amount of work that went into it. More than that, I totally get the sidetracking stuff that pulls you down the rabbit hole, patch the ceiling, move the electrical, clean the mess… It happens to me all the time; maybe that’s why I never actually finish something to 100%

    Reply
    • Sandra says

      June 29, 2015 at 8:56 am

      It always happens, and then it feels like nothing is getting done but really we’re getting tons done…just not the visually appealing stuff. LOL

      Reply
  3. Frances says

    June 26, 2015 at 7:22 pm

    Do you prime and paint the beadboard backing or do you use it “as is”?

    Reply
    • Sandra says

      June 29, 2015 at 8:57 am

      The beadboard comes primed. If I’ve painted the inside of the cabinet first, I also paint the beadboard before I install it. It’s much easier to do that while it’s laying flat on a table.

      Reply
  4. Darlene says

    June 26, 2015 at 10:05 pm

    I just got two of the GR Rippers! I will be using them this weekend. Could you please share what primer, paint, roller cover, and patch material you use? I want to build like you!! Thanks for the video!!

    Reply
  5. nellie says

    June 30, 2015 at 11:24 am

    I see you have upgraded a lot of your tools to festool product. is the upgrades (quality of cut and precision) worth the tremendous jump in price from other brands?

    Reply

Leave a Reply Cancel reply

Your email address will not be published. Required fields are marked *

Categories

New Post email notification signup

You Subscribed!

Legal Stuff

Terms of Use

Privacy Policy

Disclosure

Recent Posts

  • Building and Installing a Giant Faux Beam on the Ceiling
  • White Wash Pine Wood Ceiling
  • Lodge and Life Update
  • How to Choose Which Track Saw to Buy in 2021
  • How to Choose a Paint Sprayer to Buy in 2021

Disclaimer:

Although it is my intention to provide accurate plans and clear instructions, not all plans have been tried and tested. Using plans or information found on SawdustGirl.com indicates that you agree with the Terms of Use policy and will accept full responsibility for the process and outcome of any project you attempt. All plans are for private use only. Plans and information published on SawdustGirl.com may not be reproduced, republished or distributed in any manner without written permission from Sandra Powell, Sawdust Girl. Actual projects built using Sawdust Girl plans may be published on your own site without instructions or "tutorial" as long as you provide a link to my original post with full post title or "SawdustGirl.com" as link title.

Copyright © 2022 · anchored theme by <a target="_blank"