Waterproof Shower Wall Board Installation
Bathroom progress… Slow and steady wins the race? After letting the mortar set up on the tile ready shower pan, it was time to move on to the waterproof shower wall board installation. These waterproof shower wall panels are lightweight and very easy to instal.
I’m using HYDRO BAN board from LATICRETE. It’s a high-density, reinforced polystyrene core with waterproof membrane on both sides. It is lightweight and cuts with a utility knife–similar to how you cut drywall. So much easier to work with than cement board!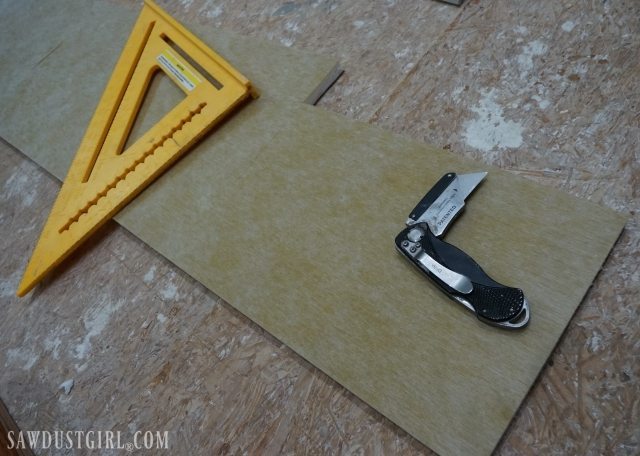
Installing Waterproof Shower Wall Board
I used 1 5/8” screws to secure the HYDRO BAN board to the wall studs.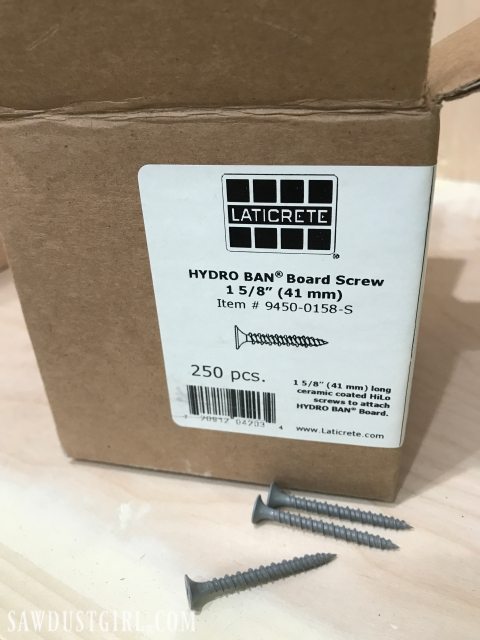
The screws need to be countersunk flush with surface of the board. Make sure not to tear through the membrane. Since I’m also tiling the shower ceiling, I needed to make sure the ceiling board wouldn’t pull through the screws under the weight of the tile. I added washers to the ceiling screws for additional support. I didn’t have the washers when I was ready to install the waterproof shower wall board but was anxious to get it done. So I just secured the ceiling with a few screws initially. Then I went back and added more screws with washers after I got them. 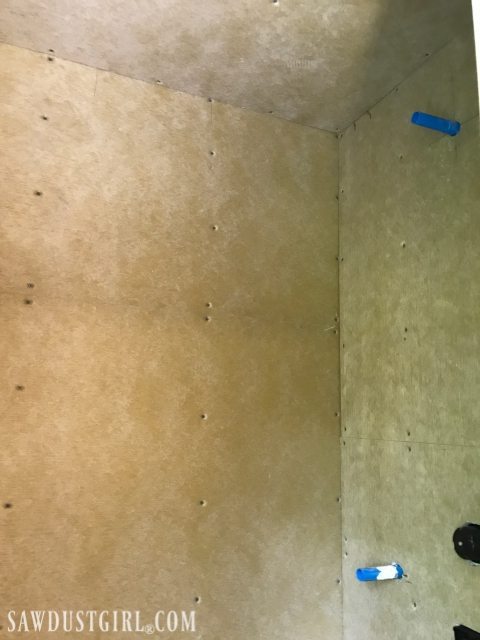
When I roughed in the shower I created a space for some niches. The HYDRO BAN pre-formed niches are waterproof and all four walls are pre-sloped. They can be installed any way you want them.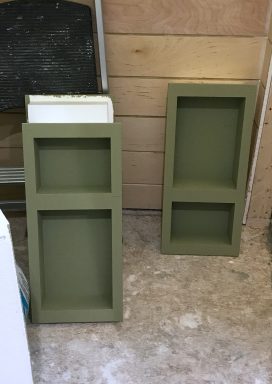 I played around with them to find the best configuration that offered as much storage as I could squeeze into my tiny space. I intended to use two, double niches. However, LATICRETE sent me a few extra, so I found a way to use them! I used the HYDRO BAN adhesive & sealant to glue the niches into place in the space I framed for them.
 Once the waterproof shower wall board was in place on the walls and ceiling, I used 2″ alkali-resistant mesh tape and thinset mortar to reinforce all of the panel joints. Any gap over 1/8” should be filled with a polymer fortified thin-set. On smaller gaps the mesh tape can just be painted with the HYDRO BAN liquid waterproofing membrane. I always mix up way too much thinset, so I used it everywhere, even though I didn’t need to.
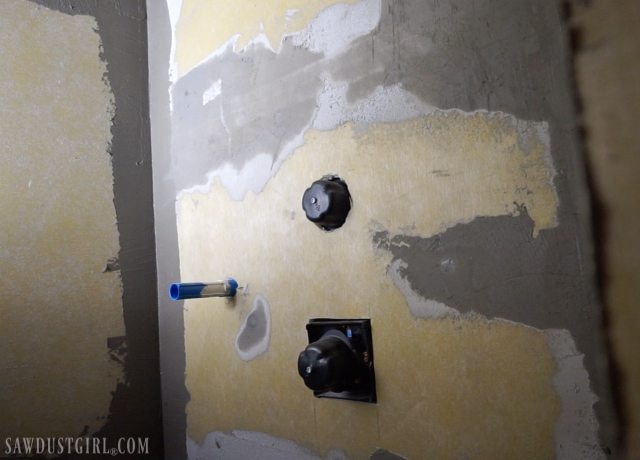
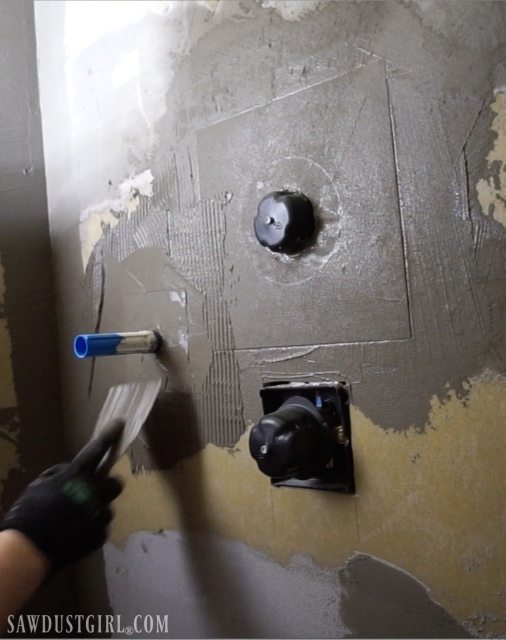
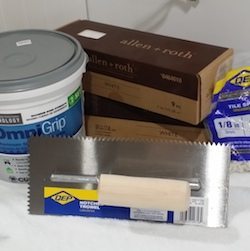
In installed pipe and mixing valve collars by applying thin-set mortar with a 1/4” x 3/16” V-notched trowel. Slid the appropriate collar over the pipe or mixing valve and pressed firmly into the adhesive. Any air was removed by spreading the thinset from the inside out using a metal putty knife.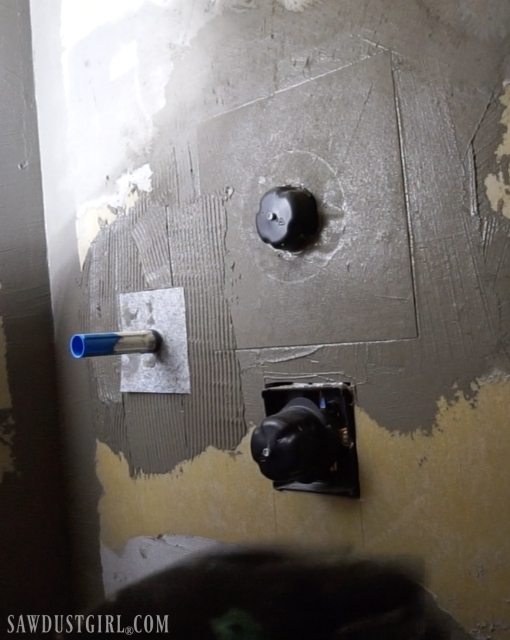
Applying liquid waterproofing membrane
Once the thinset dried, I painted over all the screws, panel joints and corners with two generous coats of HYDRO BAN liquid waterproofing membrane. Let the first coat completely dry before applying the second coat.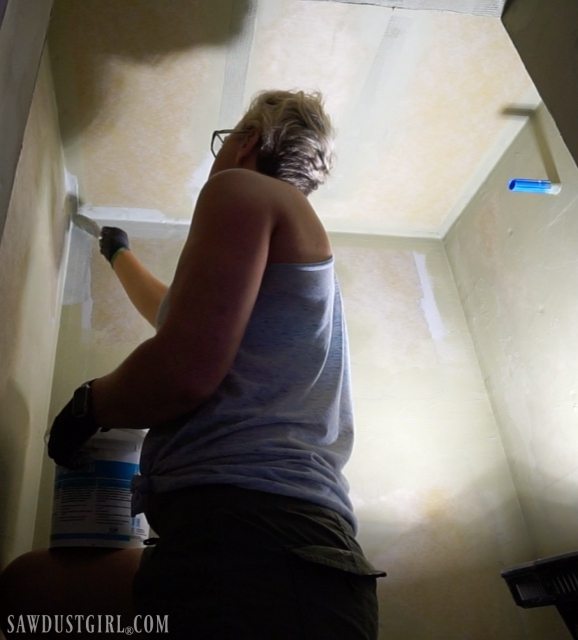
I almost forgot to cut a hole in the ceiling for a light fixture! Almost.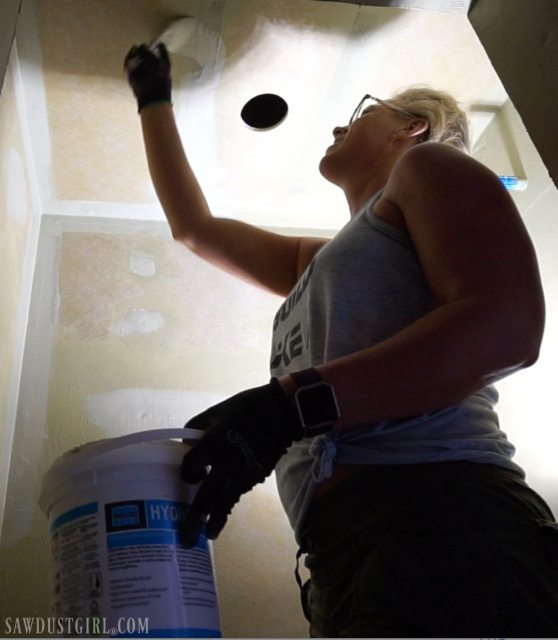
The liquid waterproofing membrane is light grey/green when wet but dries a darker green so it’s easy to tell when it’s dry.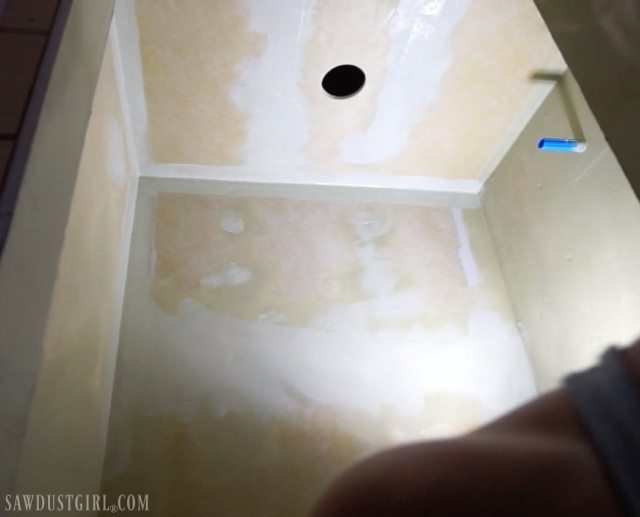
Once it’s dry, it’s ready for tile! I procrastinated installing shower system for a while because I was a intimidated by the unknown. Once I did it, it was a piece of cake! I will definitely choose waterproof shower wall board instead of cement board any day!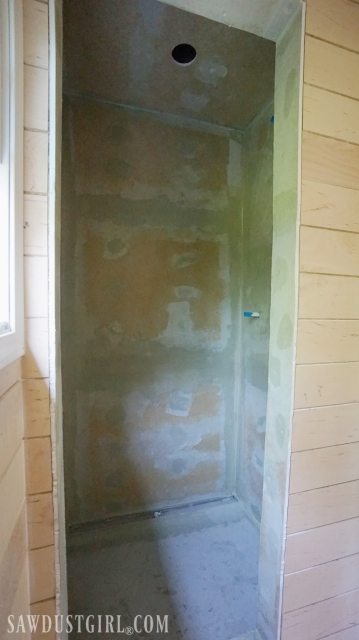
Thank You for the post! Love the way you laid out all the shower niches! Your work is inspiring to watch. I’m definitely feeling a bit intimidated. And then some paralysis by analysis! We all Thank You so much for sharing your knowledge!
I love how you said, “Intimidated by the unknown!” That right there slows me down so many times! Glad to know I’m not the only one!
I often procrastinate because of that intimidation. You’re definitely not alone.