When I started this bathroom remodel, I knew I wanted a tile shower including the shower floor. My choices were to either build my own mud shower pan, or find a tile ready shower pan. I didn’t want to try to build a mud pan so I quickly began the search for a tile ready shower pan. I spent some time on The Floor Elf website reading up on shower tiling tips. Based on “the Elf’s” experience and recommendations, I was sold on using HYDRO BAN (paint on) waterproofing membrane. I decided to try the LATICRETE HYDRO BAN® pre-formed shower system which includes a pre-sloped, waterproof, tile ready shower pan.
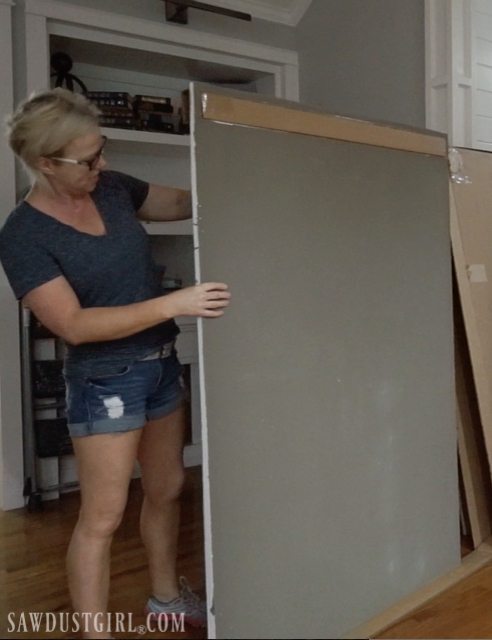
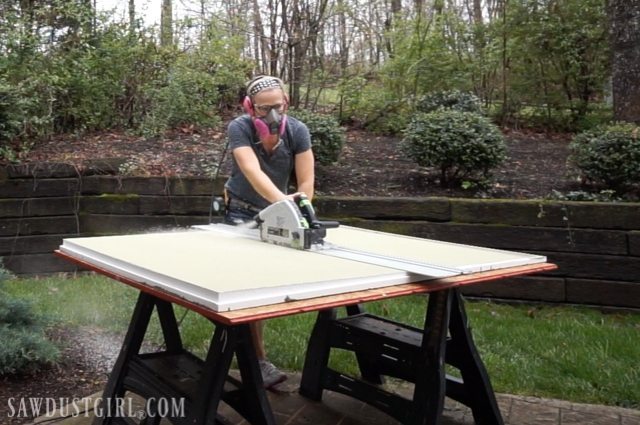
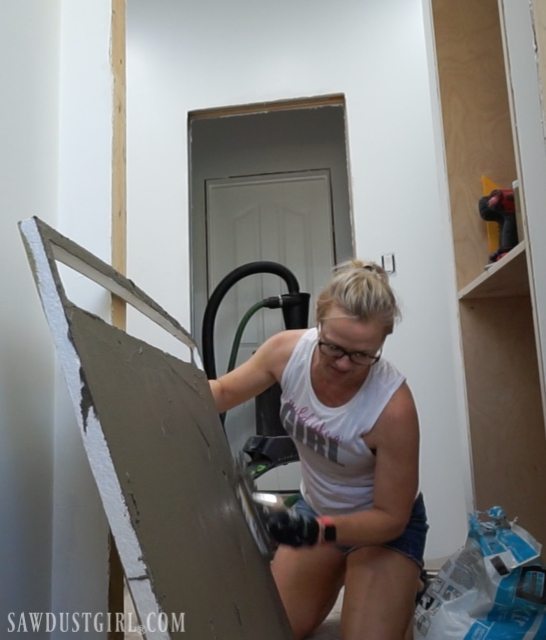
The drain placement was complicated because we have engineered floor trusses and, of course, there is a truss right smack dab in the center of my shower. You don’t want to go cutting into those so I had to get a shower pan with an off-center drain hole. I could have special ordered a pan made specifically for my space, but didn’t want the extra wait time. I went with a linear shower pan which has the drain located at one end. It was the exact right width but I had to trim it down to the correct length. It’s polystyrene and trimmed easily with my track saw.
There are two options for drain hookup of this tile ready shower pan:
- Hook it up from below, after the shower pan is installed.
- Rough in plumb the drain pipe to the correct height that it will need to be once the shower pan is installed in mortar. AND make sure that drain pipe is secure so you can properly seat your shower drain.
Option 1 is not an option for me since the space below this renovation is one of the few spaces in the basement that still has an intact ceiling. So I called in my plumber to do #2. (See what I did there?)
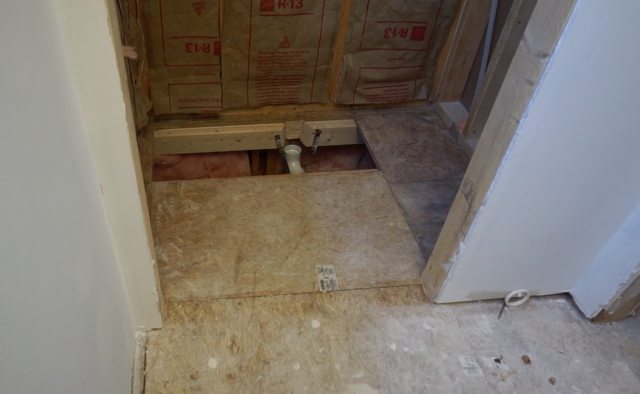
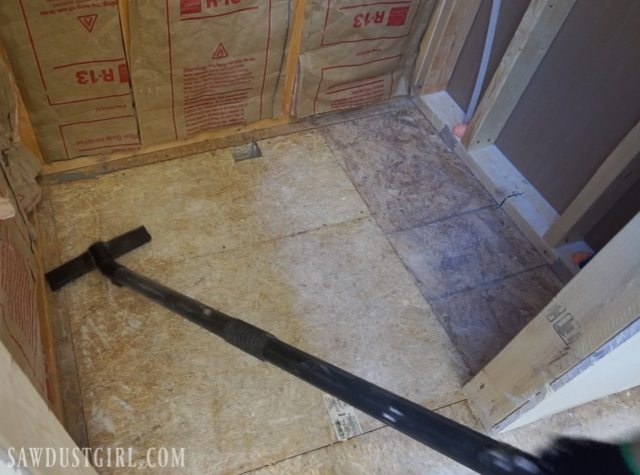
I had secured a 2×4 to the sill plate to support the subfloor patch. We notched that out and secured the drain pipe in the right location (we dry-fit the shower pan to make sure we got it right).
I cut out a 3″ hole in the subfloor patch, secured it in place and cleaned up.
Tile Ready Shower Pan Installation
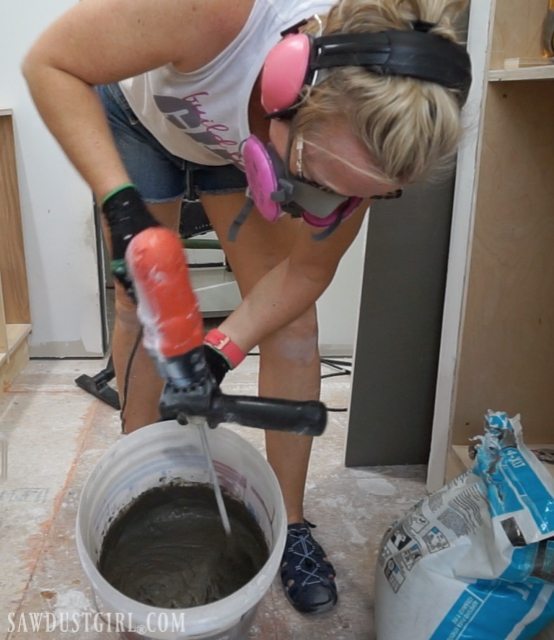
To install the tile ready shower pan, I mixed up 4XLT which is a medium bed, polymer fortified mortar.
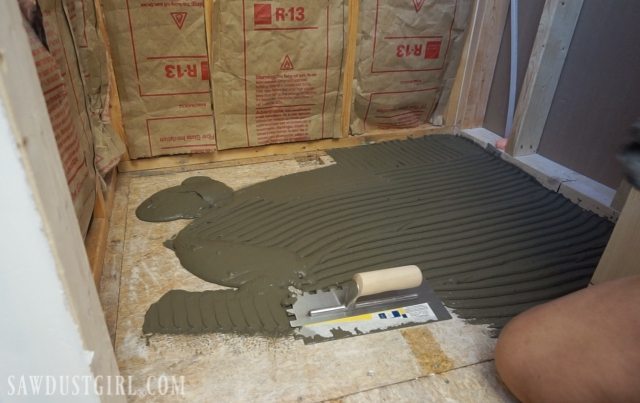
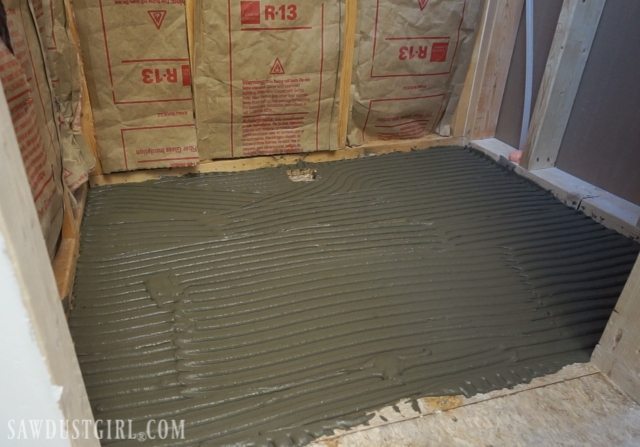
Using a 1/2″ x 1/2″ notched trowel, I spread the mortar onto the shower floor.
I also skim coated the underside of the shower pan with the same mortar.
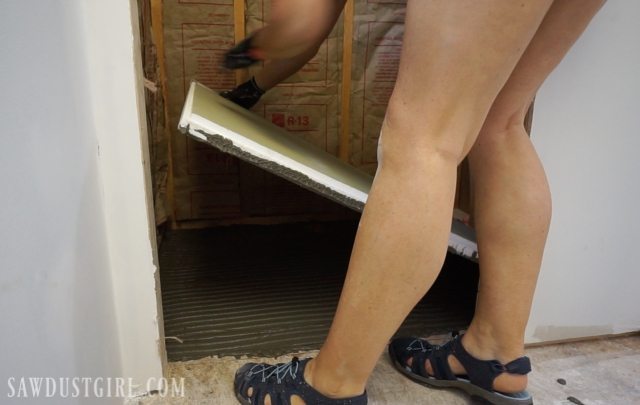
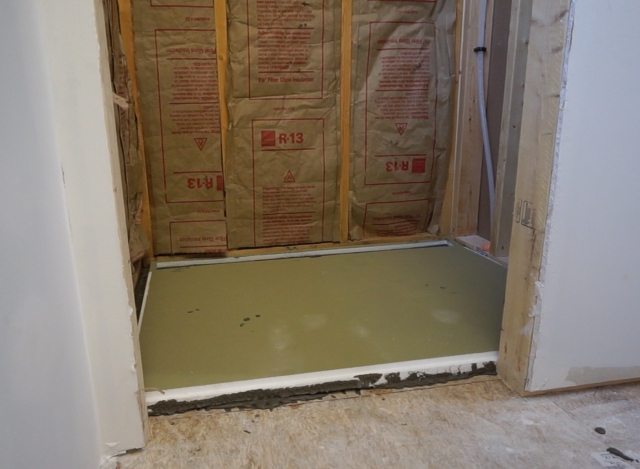
Then I set the shower pan in place, made sure it was level and weighted it down with plywood and a few cement pavers I scavenged from the yard.
The linear drain is installed in a similar manner with the addition of a bead of HYDRO BAN Adhesive & Sealant under the flange. However, because I had my plumber do the drain connection I have no pictures of this step. He doesn’t allow me to take video or photos of his work process. He says it has something to do with America’s most wanted…
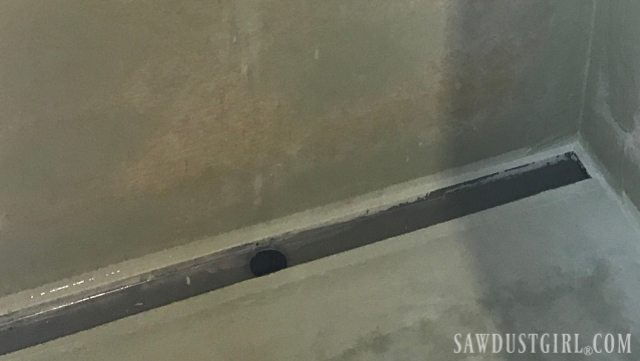
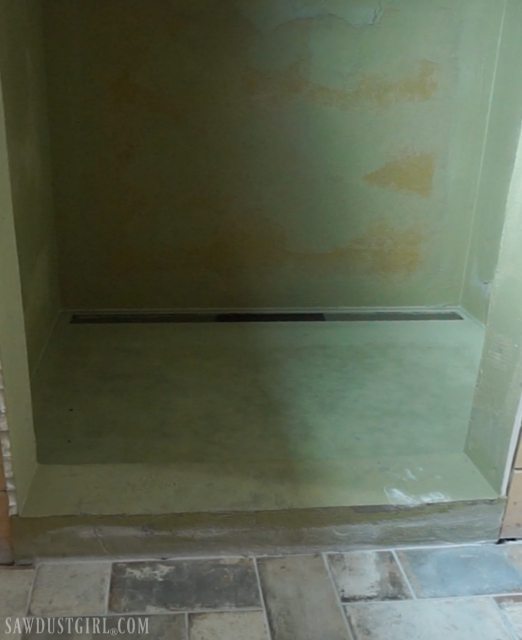
With the drain in place and all hooked up, painted at least two coats of HYDRO BAN over the drain flange and the Shower pan next to it.
This picture shows the walls in too but it’s the only drain pic I can find so …
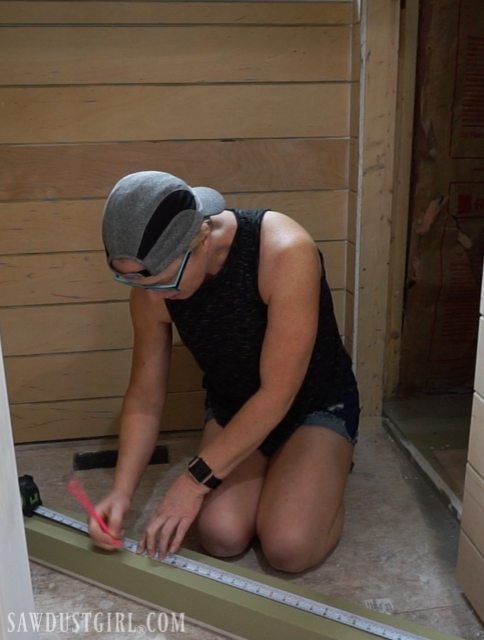
The threshold is made up of the same waterproofed polystyrene material as the shower pan. I cut it to length with my miter saw (because it was right there in the room) and set it into a bed of mortar with a bead of HYDRO BAN Adhesive & Sealant between the shower pan and the threshold.
I’ll share that process tomorrow. See you then!
*LATICRETE supplied product for this project.

Katherine says
Omg! I have read up on Laticrete because I’m foolishly considering redoing my shower by myself. I’m so excited to see you doing your shower with this product so I can pick up some more tips that prove that I have no business doing this on my own! Haha!
Sandra says
I was intimidated by it until I did it! SO easy. Having access to the plumbing from underneath would make the drain hookup 100 times easier but that’s why my plumber makes the big bucks! He deals with the tricky stuff. LOL Setting the pan was super easy!
Jamie says
Oh my gosh! Great Work! Can’t wait to read more! I’m thinking along the lines of the previous comment from Katherine…wondering if I can do this myself. Just about done with demo and on to these decisions. I saw your Laticrete pan on a previous post and wondered how you selected it from all the others; Schluter Kerdi, Wedi, traditional, etc.? I’ll read some on The Floor Elf, Thanks for that tip. Question about the fixtures: do you buy these at a big box store, your local plumbing supply store, or do you have an online source? Thanks and really enjoy your posts!!!
Sandra says
I ordered all my fixtures from Build.com. My plumbers swears the big box stores have lower quality valves. There are several companies that make the polystyrene, pre-formed shower pans and waterproof wall board. I looked into the Laticrete shower system while checking out HYDRO BAN liquid waterproofing membrane based on the Floor Elf’s site. I have never installed any other shower pan so I can’t compare the experience. Based on my imagination…
I like that the LATICRETE shower pan is one piece. The Shluter ones are two pieces. It seems like it would be challenging to make sure the whole pan is level and neither side sits proud to the other side because you pushed one side deeper into the thinset. It’s challenging enough get a one piece pan in place and properly seated into the mortar because there’s no access to the space. You have to lean in… I can’t imagine trying to manage getting two pieces in place, flush with each other AND level across the whole surface. I would need to actually install a Shluter shower pan though before I could give an actual comparison of ease of installation.
Jamie says
Thank You so much for the information! You have definitely helped me, and many others, with your knowledge.
Ray yanchitis says
Making your own pan is just about the same amount of work . I like the way yours came out very cool . But if you want a center drain the big box stores sell a kit that has tapered guides to make it easy any nice work 2 thumbs up. Ray Contractor
ron simler says
is redi trench shower base a good choice? or do you recommend any others
Sandra says
I’ve never used or heard of Redi Trench. I’ve used Shluter-Kerdi and Laticrete and the Laticrete was way easier to work with.