Upper China Hutch

Yesterday, I shared details about building my china hutch base. Today I’m sharing the upper cabinets, including my crazy idea for how to approach sliding doors. I joined two cabinets to create the total width of the China Hutch and I wanted to have access to one complete side an any given time. So instead of two doors per cabinet which would allow you access to one half of a cabinet at one time, I wanted one door per cabinet and have each cabinet door slide completely over to the other cabinet space. It took a little playing around in SketchUp until I came up with the perfect plan. My cabinets might look like they were put together by a 5 year old but I planned it this way. Really.
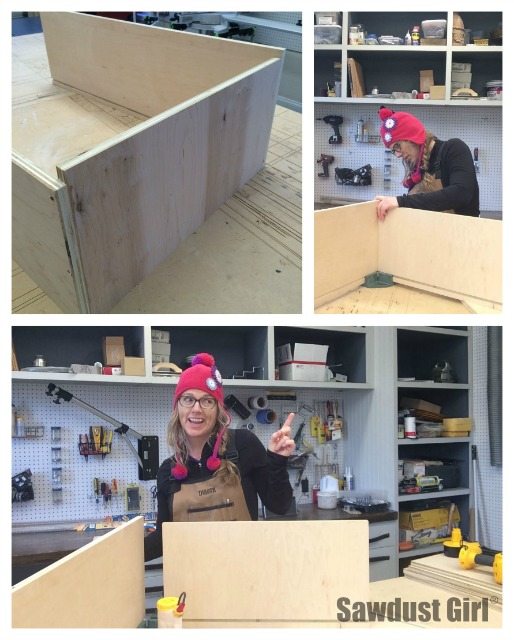
The inside is 3/4″ wider than the top and bottom which are 3/4″ wider than the outside. The second cabinet is made exactly the same way — only mirrored so the two insides match up and the widest sides are both on the outsides.
I used french cleats to hang these cabinets on my kitchen wall and then started on my sliding door plan!
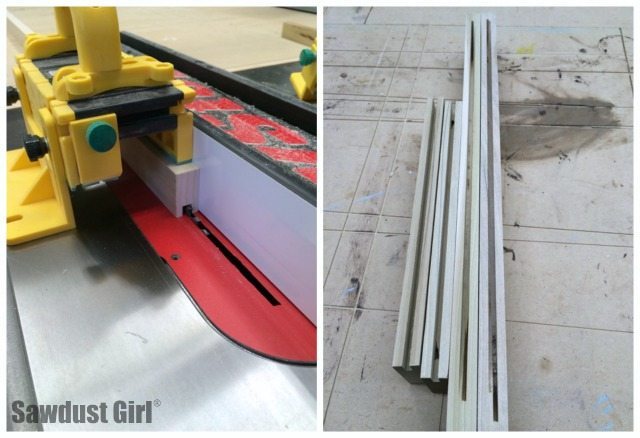
I cut dados in two rails that I secured to the top and bottom of my joined cabinets. I also added a center style to cover the two raw cabinet edges.
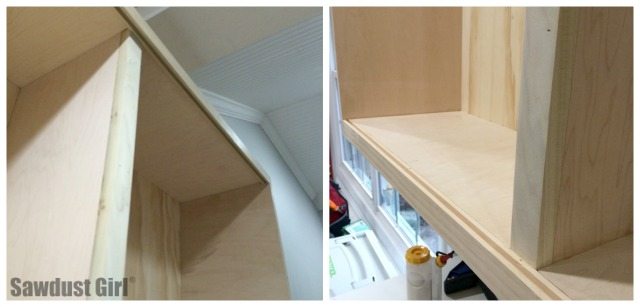
Then I cut dados in the regular faceframe parts, built the faceframe and attached it to my cabinet.
Then there was lots of sanding.
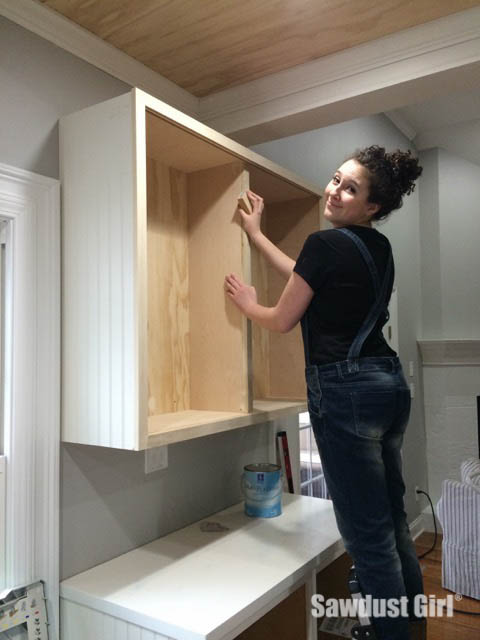
Then there was painting. I first painted the inside the same color as the outside but the lighting in the room plays tricks on my eyes and made the inside of the cabinet look pink so we painted it a second time with a whiter white.
And here you can see my full cabinet access tracks that will allow me to slide one cabinet door over; in front of or behind (respectively) the other cabinet door.
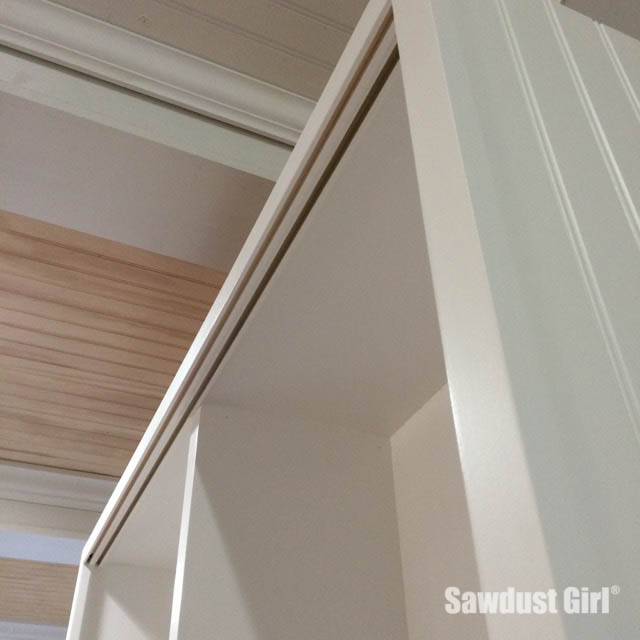
I have yet to build the cabinet doors to put my plan through the “but does it work” test, but as soon as the weather warms up I’m all over that! It doesn’t NEED doors. It looks great as is but I want the doors as a functional aspect to keep dust out of our dishes. It does need shelves however and I showed you my homemade shelf pin drilling jig which I used to make quick work of drilling shelf pin holes for this cabinet. But that’s not so important quite yet…

Corbels first! But before corbels, I think it needs some molding on the bottom of the upper cabinets.
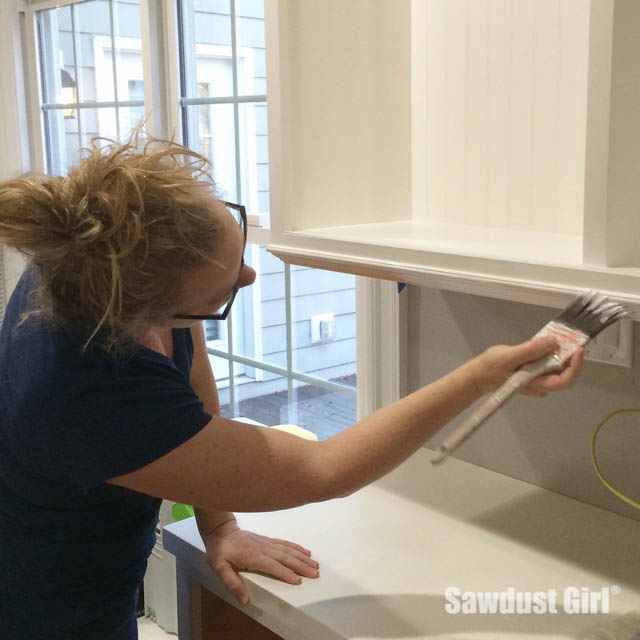
Because I like lots of molding all over the place!
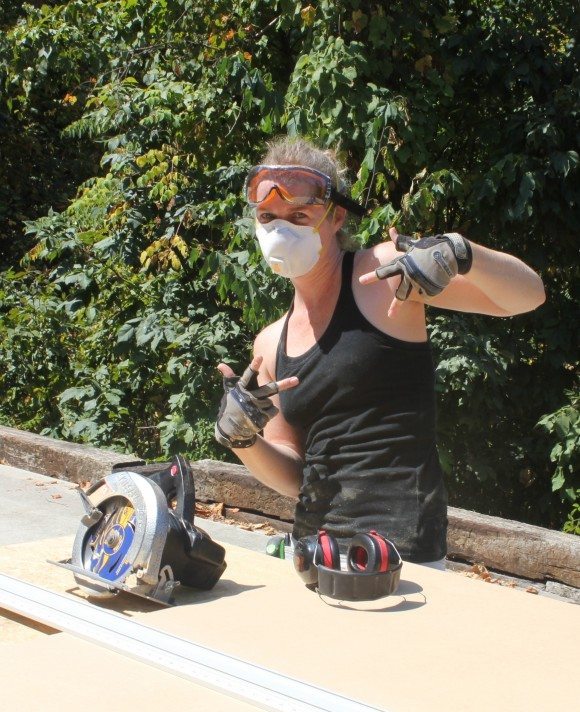

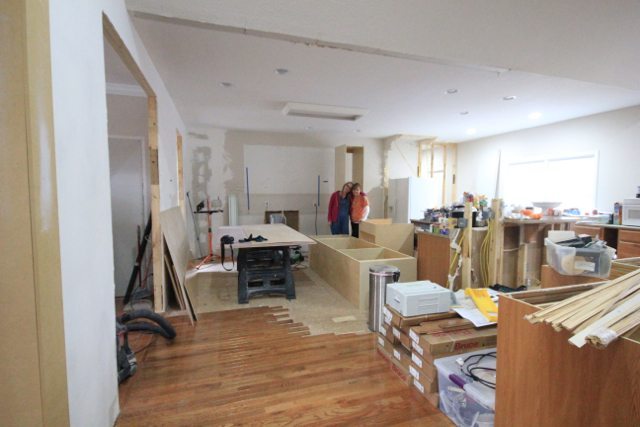
Looking so gorgeous! I can’t wait to see the finished room. Ya’ll look like you’re enjoying making it too.
Looks good, but you actually cut grooves, not dados, in your face frame. A dado runs across the grain, a groove runs with the grain.