Reversible, Ruffled, Reusable Grocery Bags
I always try to remember to take reusable grocery bags to the grocery store. Because I like to do my part, however small, to take care of this lovely Earth! Also, because my bags are cuter than the ones the Grocery store sells for $1.99 each. (And I think that $1.89 of that cost is for printing their own name on the bag.)
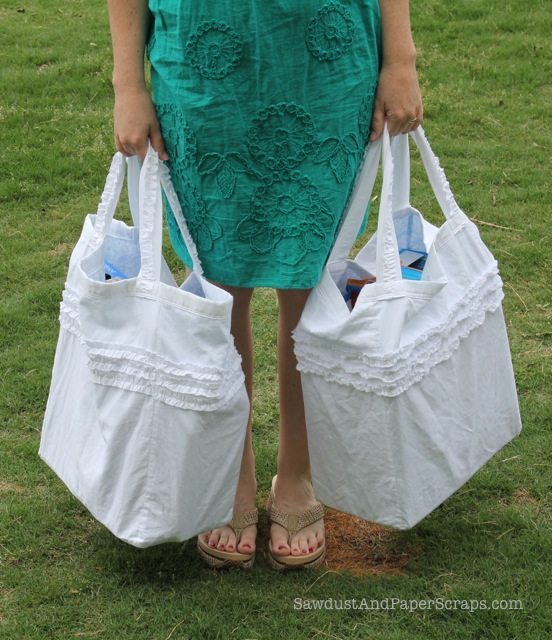
Reversible, Ruffled, Reusable Grocery Bags
I chose WHITE as my color because it is my favorite color. I made these ruffled grocery bags out of an old white sheet (No stains just old and nubby) and 2 cute pillowcases (because I wanted a little POP of color in the liner).
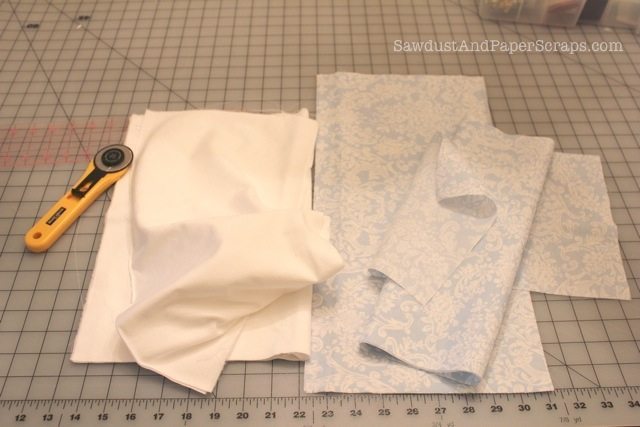
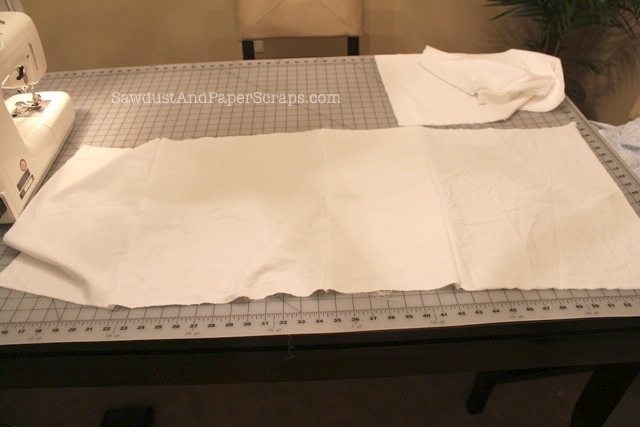
3. If you are going to add any kind of embellishment, now is the time. I’m adding three rows of ruffles!
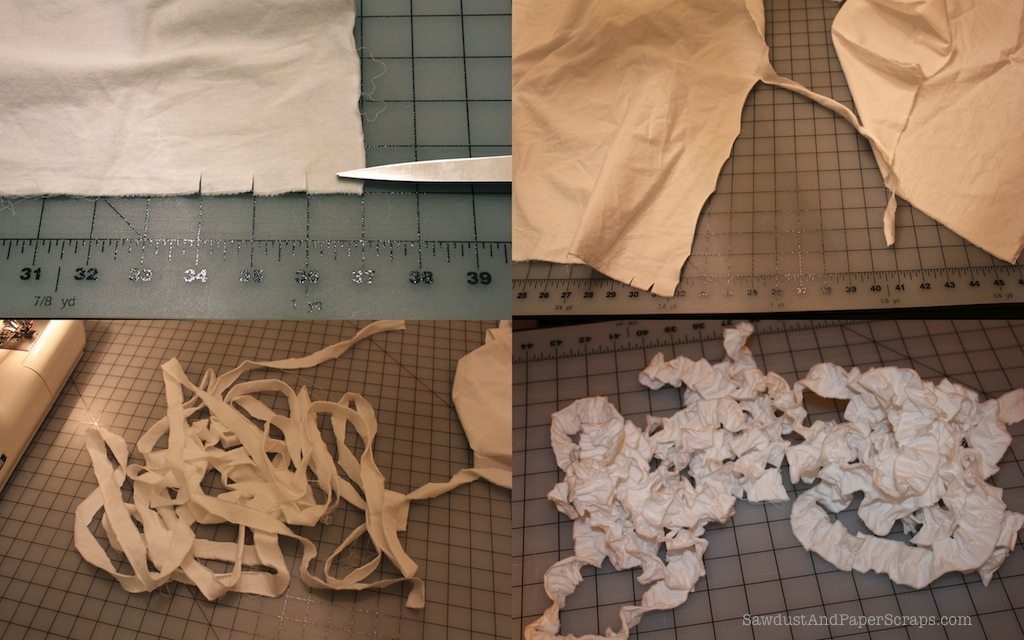
- To make my ruffles, I cut small slits in the fabric 1″ apart from each other.
- Then I ripped them the rest of the length! If you’re not comfortable with the ripping technique, go ahead and cut 1″ strips.
Either use a ruffling or gathering foot, or stitch using a large stitch and pull one string to gather up your fabric.
4. I used a mark b gone marker to mark my fabric on the RIGHT side where I wanted my ruffles. (It disappears in the wash which is another great thing about these bags. You can throw them in the wash. Just make sure you wash your fabric before you start the project if using NEW sheets or pillowcases.)
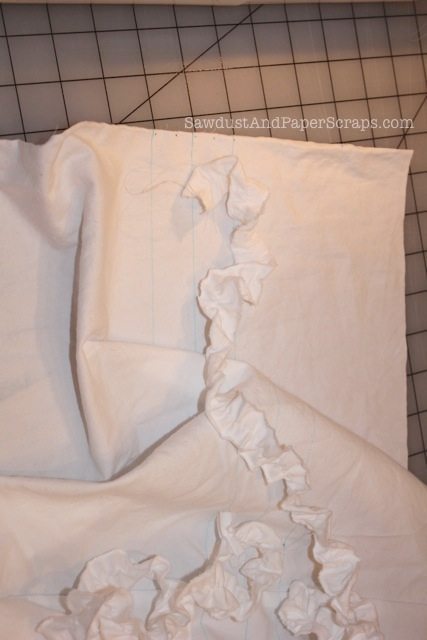
5. Pin the ruffles on and sew right down each center line!
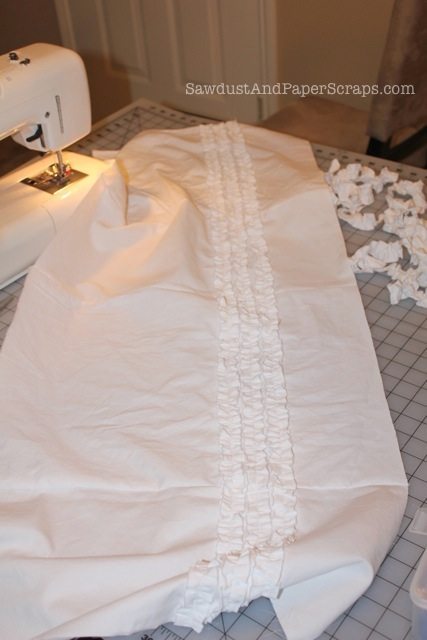
6. Now pin the sides together inside out making sure your rows of ruffles meet up and sew that together.
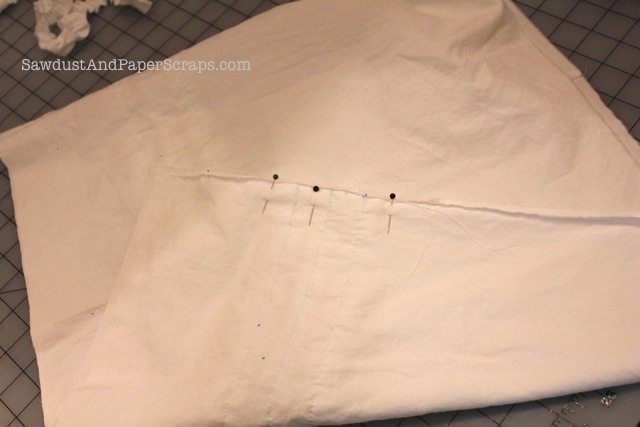
7. Pin the bottom on to make sure it fits and make adjustments accordingly. You might have to pinch the corners but it’s just a grocery bag. No one’s judging!
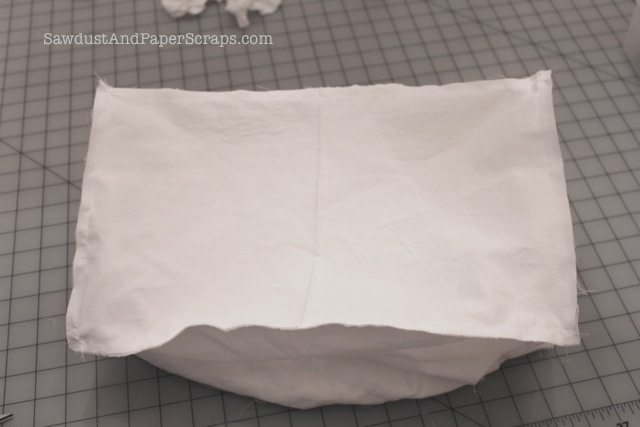
8. Now sew your liner the same way with or without the ruffles, depending on what you want to see when/if you reverse your reversible reusable grocery bag. (I just wanted to say that again!)
9. Pin the liner inside the bag so the WRONG sides are facing each other. (So you see the RIGHT side of the liner when you look in the bag.)
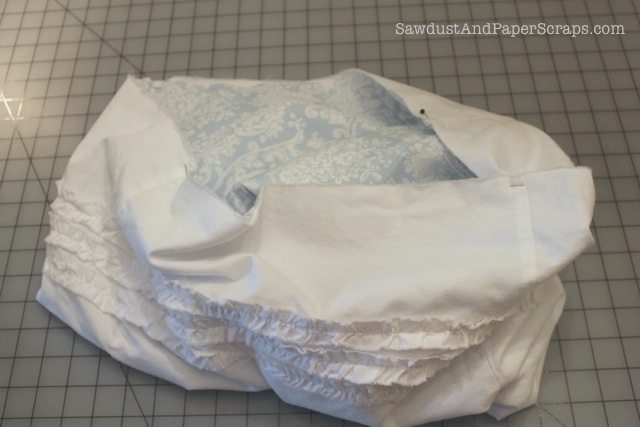
10. Cut a piece of either fabric about 48″ long and 4″ or 5″ wide.
- Iron it with the ends meeting in the middle.
- Fold it in half and iron again.
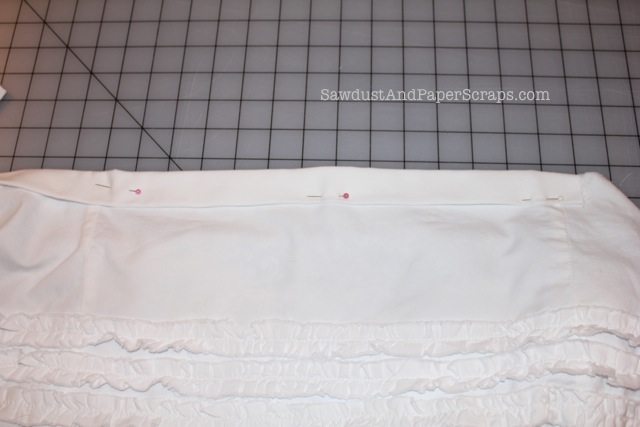
- Pin it onto the top of your bag with the fold at the top so the “band” covers both the inside and outside of your bag.
- When the ends meet, fold the top one under to make a hem so it overlap the bottom piece by about an inch. (You might want to trim a little.)
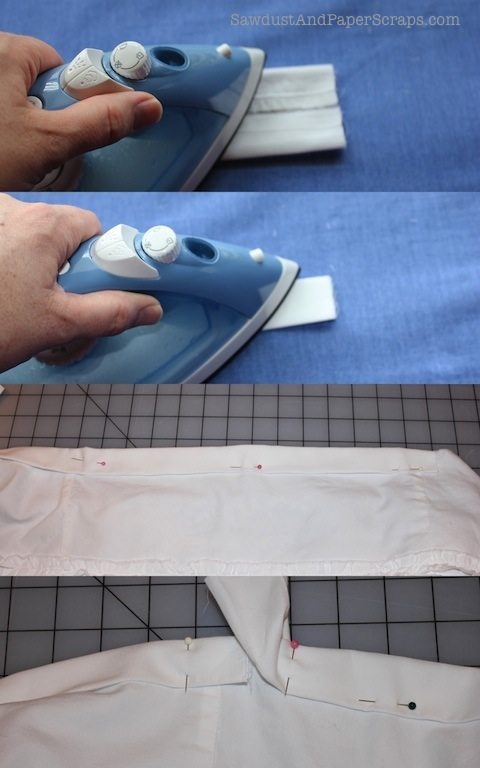
11. I sewed close to the bottom edge and then went back and put a second row of stitching about 1/4″ from the first one both to strengthen the seam and because I like the look of a double stitch.
12. I cut 2 handles about 20″ long and 3″ wide and sewed them closed at the side and one end.
13. Then I turned them right side out, snipped off the closed end, ironed them with the seam in the middle and sewed another ruffle in the center of each one.
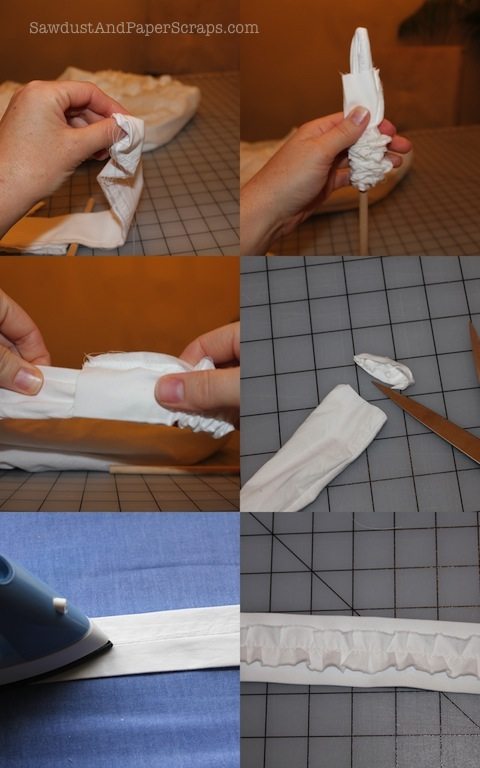
14. Fold the ends under and pin in place. I made sure my “band” ended where I was going to place my handle so that seam would be covered.
15. Sew handles in place however you want. I sometimes do criss cross applesauce and a square around that. This time I just did a double stitch at the top and bottom.
Now, I’ve learned from experience, that having a little tab to go over the metal hook-ey-ma-thingy at the grocery store is handy for holding the back of the floppy fabric bags up while you use one hand to hold the other end and another hand to load it up!
16. Make a hanging tab.
- Cut a piece of fabric about 4″ long by 2″ wide.
- Fold and iron like you did for the top band (But fold your ends in first like I DIDN’T do in this picture). It should end up being about 1/2″ wide.
- Sew it closed.
- Make a loop and sew it onto the front of bag. I layed my tab down into the bag and sewed along the top because I didn’t want the tab sticking out when not being used.
Before you sew these bags, you might want to make a Magnetic Pin Holder to hold all your pins. 🙂

You can also use sheets found super cheap at thrift stores!!!!
A king sheet will go for about $3.50 at goodwill.
What is your etsy site? I’d buy a couple too!
I would love to buy a couple too!!!
SWEEEEET! 😀
Great tutorial ! Thanks so much for sharing. Can’t wait to make a few.:)