Lodge update part 5 – Drywall
Well, I decided to stay in TN to move things a little further along on the Lodge before I go out to Idaho. It was a tough call to make but… Julie went, and I stayed so dad got some help and company and I made progress on the Lodge. We now have drywall!
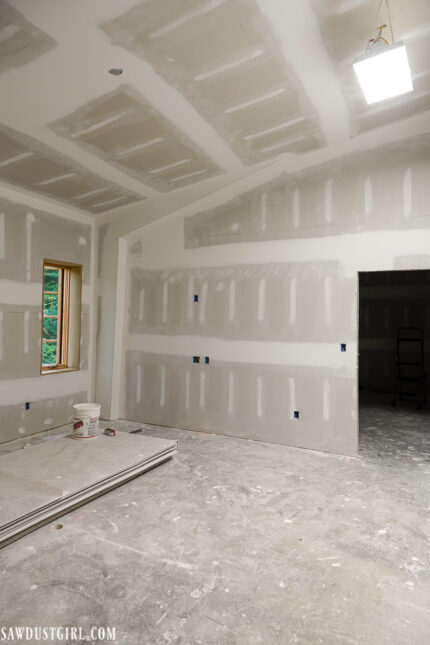
In my last post, I complained about no-one being available to install my windows. I ended up renting a 50′ “cherry picker” and my weekend helpers and I got it done. It’s not pretty on the outside but it won’t leak (probably) and is just temporary. I still have to find someone to install/replace the heavy gauge metal siding AND fix the gutters so I’ll have them redo the trim while they are at it. The important thing was to get the windows framed in before the drywall hangers showed up.
There were a few crucial details that needed to be done before drywall went up. I had drywall scheduled for June 14 so had a hard deadline to complete the things on my list. I have never before in my life pulled a double day/double nighter — until now! I slept for two days after but I got almost everything done that was on my list:
- add blocking in some areas so the hangers had something to screw the drywall onto.
- hook up ducting to all the bathroom vents that were going to be covered
- finish framing the side entrance coat nook
- add noiseproofing insulation
- frame 2 pocket doors (did not complete these)
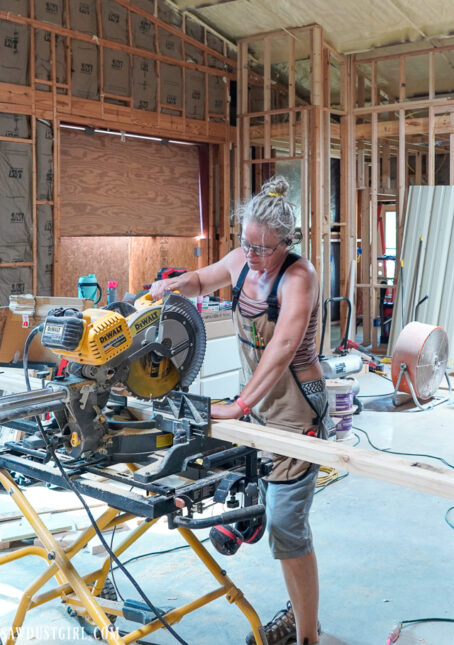
NoiseProofing
I wanted to do as much as I could to isolate sound in bedrooms and my office. After my experience installing Purple SoundBreak XP in my last house, I was pretty confident I would use that. However as I started getting quotes for drywall, I priced it out and it was an unaffordable $100 per sheet! I’m not sure if that’s because Covid caused production slowdown or if that’s a normal price. Whatever the reason, $100/sheet was out of my budget.
I did a ton of research and figured out that I could spend thousands of dollars and do all sorts of different building techniques — and not achieve “sound PROOF” rooms. I decided to do the best I could without spending a fortune and then be ok with the results.
Impact noise from above will be dealt with when I install flooring upstairs. Ambient noise will be quieted by the insulation in the walls and ceiling. I’m on the fence about using “sound absorbing” insulation verses less expensive pink stuff. There’s lots of claims that cotton is the best…but then there are “experts” that say less expensive fiberglass insulation works as well as anything. I didn’t have time to go to 20 stores to get enough of any one thing so I have an assortment of insulation in my wall cavities. I can’t tell you if there’s a noticeable difference.
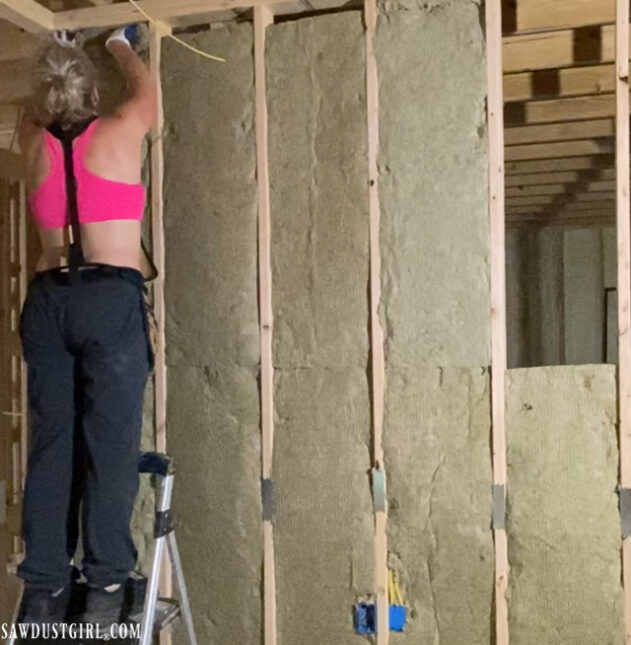
I can tell you that putting the fiberglass stuff in the ceiling (above me) left me WAY more uncomfortable after installing it! I stayed up all night finishing this bedroom because drywall was coming the next day. I spent the next 3 days paying for doing that job in a tank top!
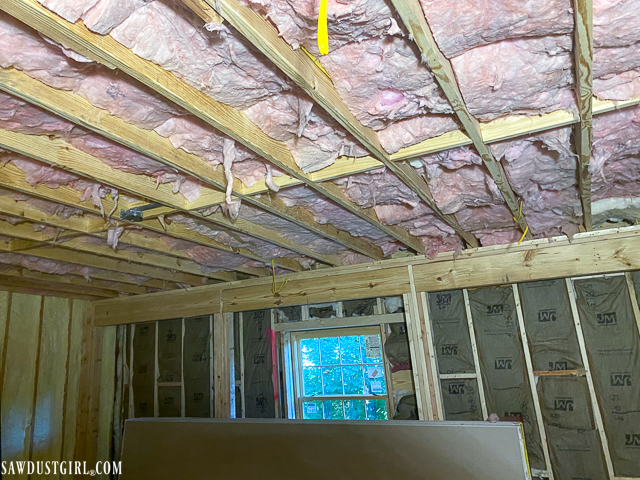
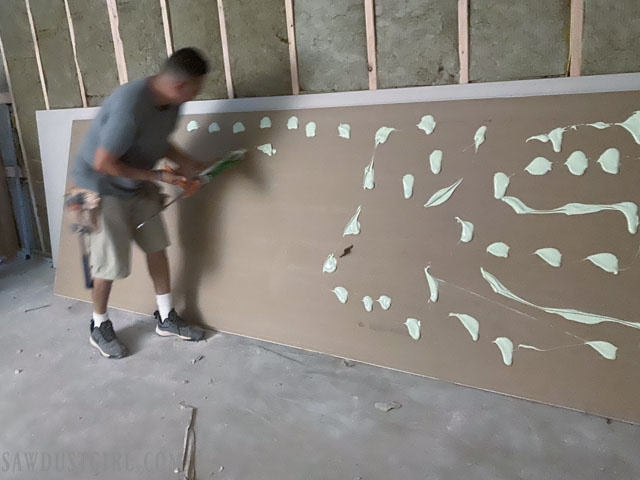
In addition to insulation in the cavities, I had the drywall hangers double up the ceiling with Green Glue Noiseproofing Compound in between layers. (We used 3 tubes per 12′ sheet.)
Drywall Delivery
The big hole in the wall is where the front doors will go once the deck/addition is built. We created temporary plywood hinged doors to keep out the elements and animals. The large opening is perfect for crane action – delivering materials!
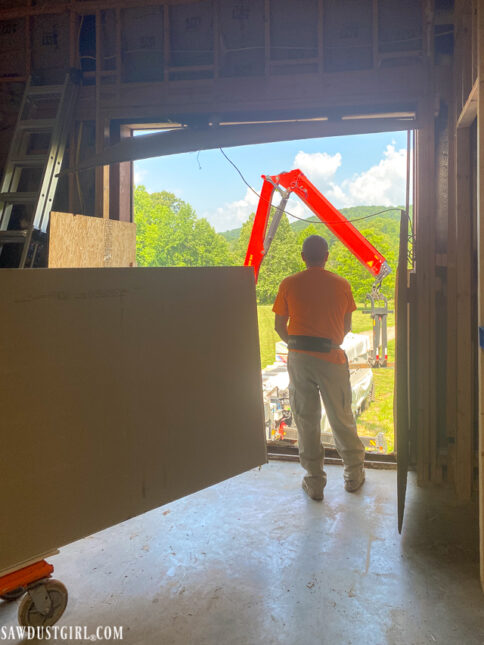
The delivery team dispersed the drywall between all the rooms, which was awesome. I guess I was expecting them to lay it in a big pile in the main room. That would have been a LOT of weight in one spot so — good on them.
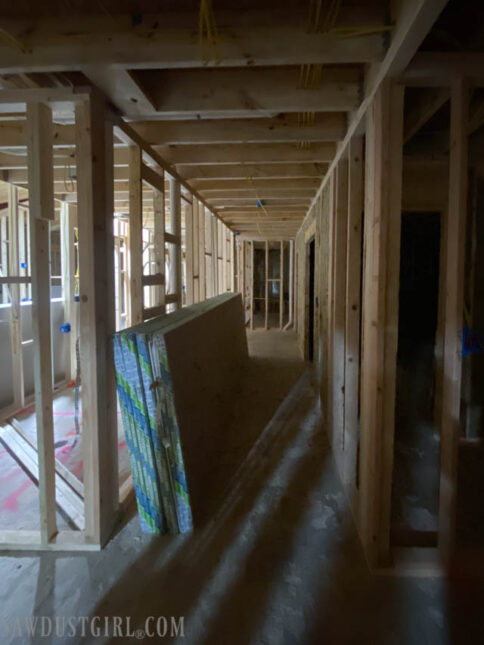
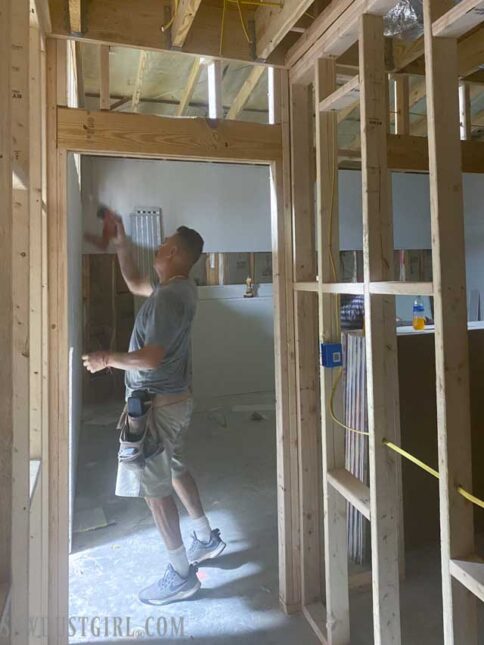
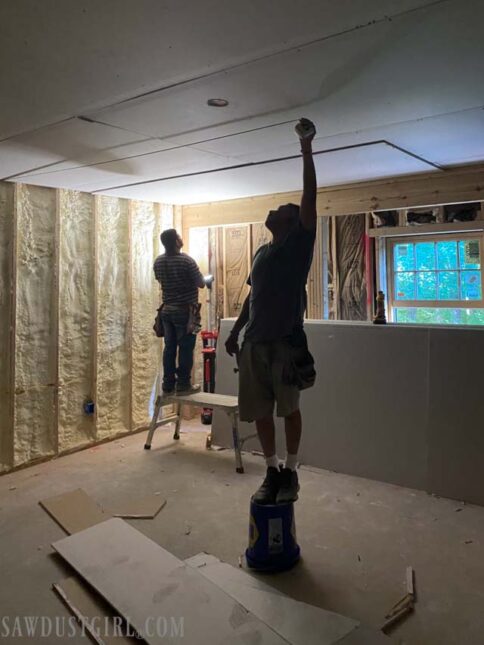
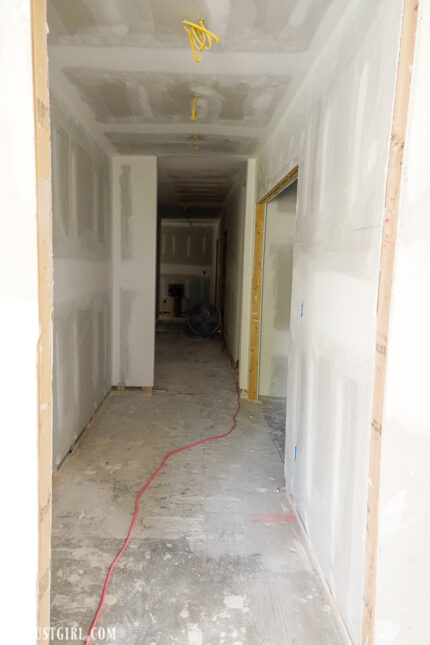
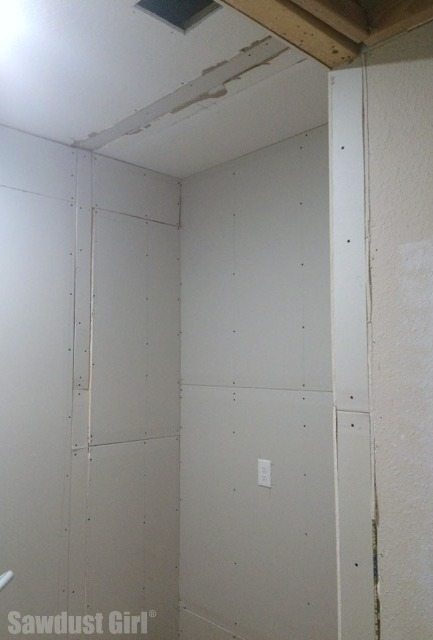
One team hung the drywall and then the finishers came in. It took about a week and a half to complete and man does drywall make a BIG difference!
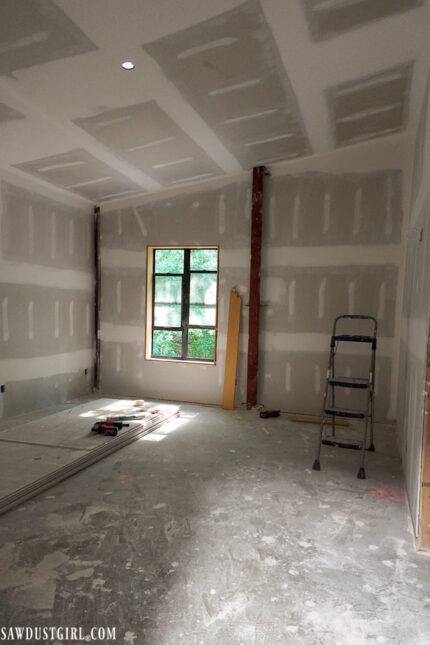
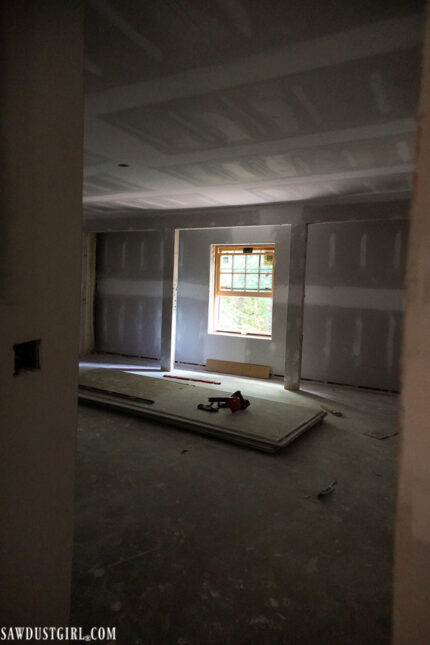
Now it looks like a place you could actually live!
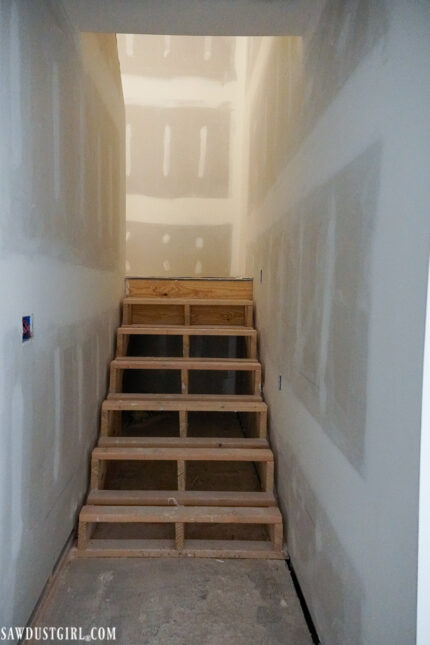
Lots Still to Do
This is my office. That window has to be changed out and may possibly become a door but I’m waiting for the ramp to go in before I decide what I want. For now, I told them not to drywall that whole wall. On one hand, it would be nice to have a pretty, finished room- temporarily. On the other hand, if they drywalled it now, I’d have more demo to do when it comes time and I don’t need more work to do!
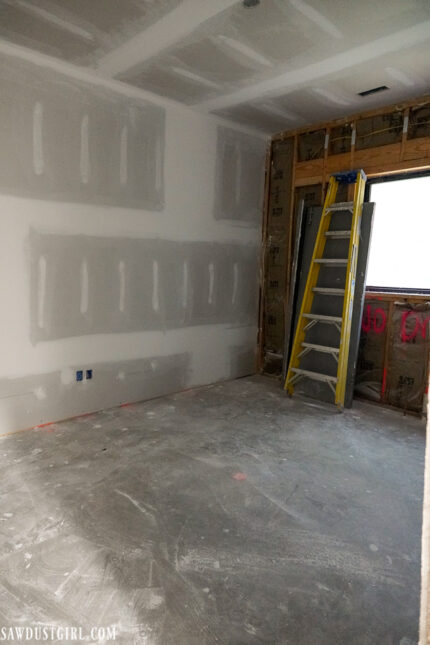
Ceilings: I still don’t know what I want to do with the ceilings. They need a layer of something between the roof and the living space to isolate the sound when it rains – which it does A LOT. I just haven’t yet decided what.
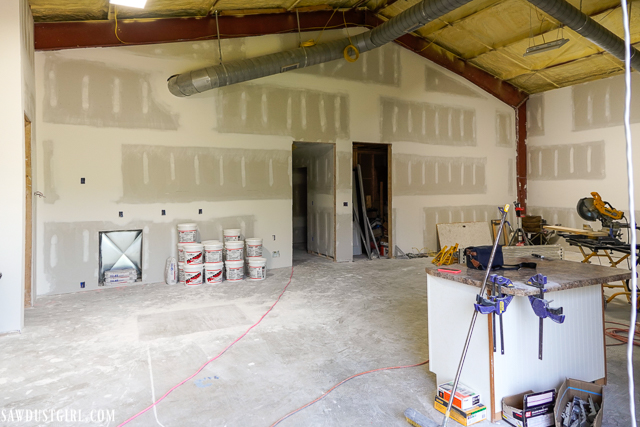
This week I get to start priming and painting! I’m eager to get that done so I can get some air conditioning pumping in here! I’m doing mini splits in the suites and they don’t go in until the drywall is up. And here we are! The HVAC company is scheduled to be here next week to get that stuff completed. I don’t HAVE to paint first but it will be much easier to do it before the units go in so I don’t have to mask them off. So I’m going to hustle and see if I get things painted first. I believe I can if I don’t have any issues with my sprayer. Crossing my fingers for good luck.

I’m unclear as to which soundproofing material you did use. Please clarify for me. We really need soundproofing in our home and have only begun our product search!
It’s starting to feel worth it. Still tons of effort and money to spend to make it a home though. lol
Idaho is where we grew up and where my dad lives. Trust me, I read about every single way to noise proof and did what I did on purpose. For the reasons stated. LOL (BTW, My husband grew up in Jerome.)
Interesting project. Why Idaho? I have friends that live in Jerome, but like it here in Tennessee much better without the cold winters and snow.
Although it still might be an expensive proposition, another soundproofing way is to build two walls back-to-back with the studs staggered between the normal 16-inch centers. Still have to use twice the amount of insulation.
Great work!
Wow! Lots more to do, but lots already done! Excellent! Stay strong. It will all be worth it!