Kristy’s Bedroom – Part 2
I think Kristy deserves “most dedicated builder” award. She has had a few bumps and bruises–a kind of major bump actually. I told her she needs to take a video of herself explaining it because she’s flippin hilarious telling it. She’s OK though. It’s only funny now that I know she’s good to go, like 3 weeks later. Don’t get worried that power tools were involved, it had NOTHING to do with power tools. It’s her story to tell though, so I’ll say no more… on from part 1 to Kristy’s next update.
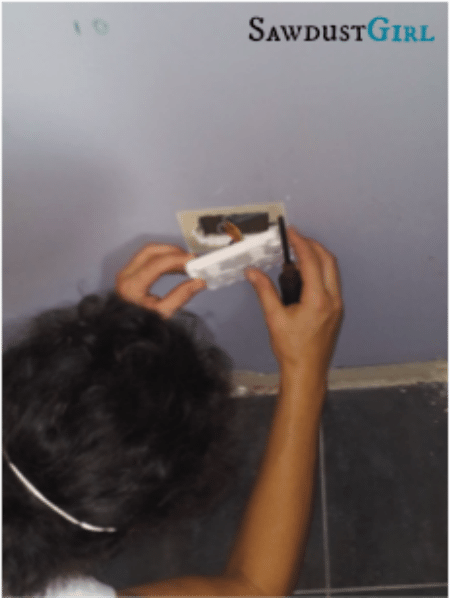
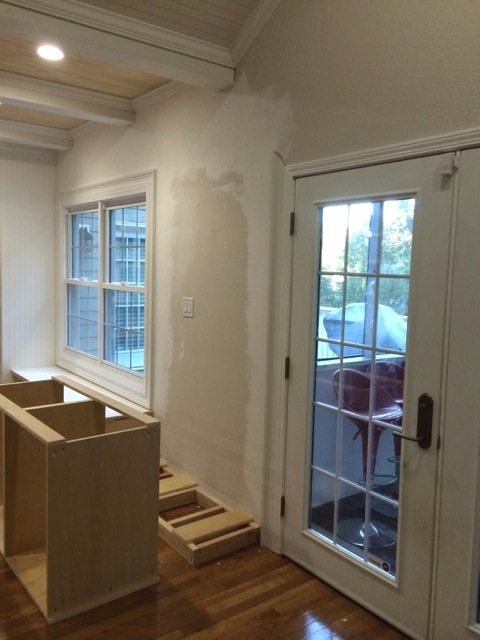
This is where we left off – Towers are up!! Just finishing off bases for them to sit on and getting ready to remove the cornice and baseboards so I can slide them in place. I have been avoiding the power outlet which is in my way…. because it hurts my brain! Electricians are super busy and expensive so I must look at this before I can fit tower two.
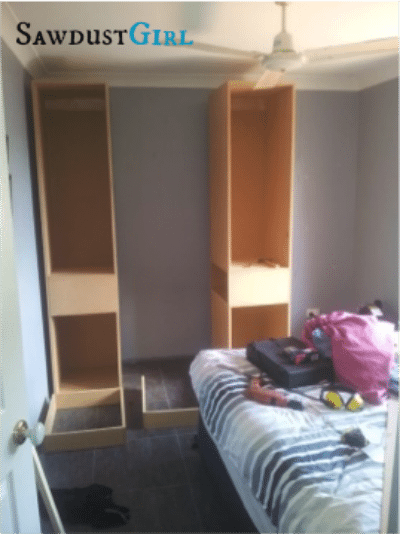
For a few days I have been working my way through some tedious jobs, I removed the cornice very carefully in an attempt to reuse it….only to find out that it would only cost $5 for a whole new piece! I have also removed the baseboards…if you could call them that…they are tiny and very unimpressive so I shall replace them with something far more awesome and fancy. I attempted to see what was happening in the wall behind the outlet but looks a bit beyond my current capabilities so I will have to just get someone in.
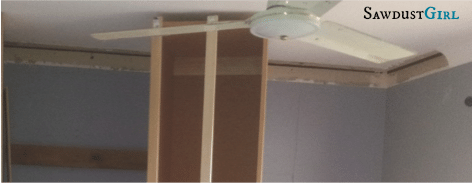
So excited to push tower one in place and secure it to the wall, I am now working on the faceframe and paneling for this tower while I wait for an electrician. I was unable to find beadboard, it is not common here so I am using tongue and groove paneling instead. Similar finished look but a bit more of a pain to put in. I have no table saw and had no safe place to use my circular saw for long lengths like these so I ended up cutting the last piece of paneling down with a hand saw. I am pretty sure the neighbors think I am crazy!
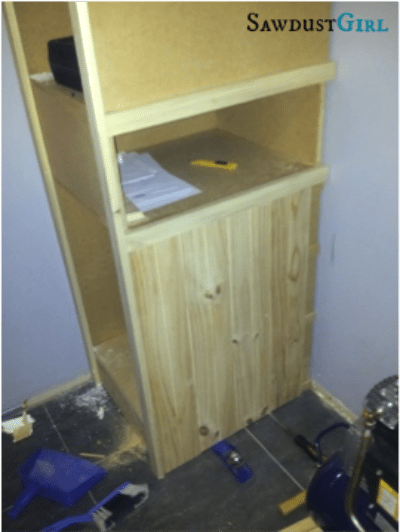
Super happy with how it has turned out…I am standing here imagining a glossy white finish with beautiful mouldings and my mum says….Great job… there is a lot of wood isn’t there……are you going to keep it like that? Now I must add that my mum is biggest supporter (up there with hubby) but after trying to explain my vision to her with great excitement it became clear that people may find it hard to see past this wooden box.
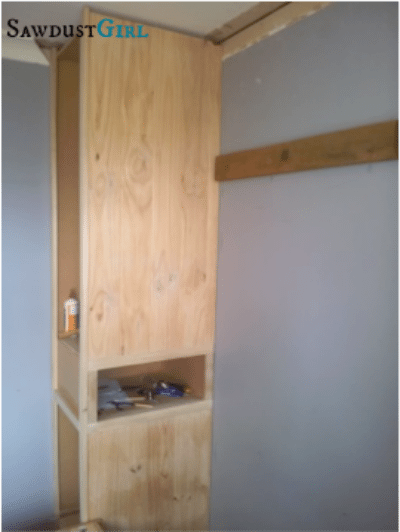
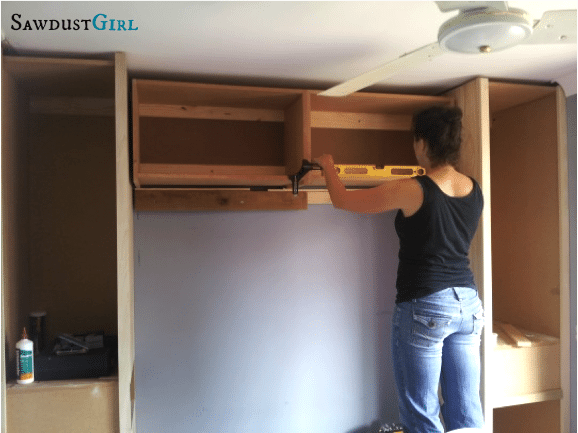
While STILL waiting on an electrician I have moved onto building my first top cabinet. I have put a level brace on the wall at the right height to sit the cabinet on so I can hold it up there and screw it in more accurately. I did a totally an awesome job of hanging said cabinet by myself. Did I mention that I am using 3/4 “ MDF and this is a fairly good sized cabinet. Ahem…I also did a super fantastic job of pulling every muscle in my back and putting my neck out. I have learned today that doing things by myself can feel very empowering but there are also times such as these that I should get some assistance. This was totally a two person job.
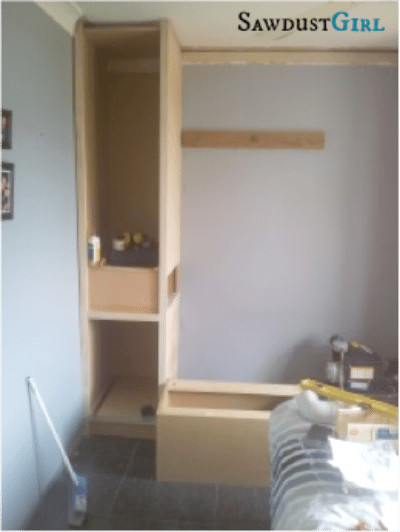
Shane made me do a re-enactment (without the actual lifting) as he wanted photographic evidence of my poor judgement haha. I laugh but only so I don’t cry!!! Now I can’t do ANYTHING that requires lifting (a concept which my 3 year old is not really grasping). I have cost myself a few days progress at least.
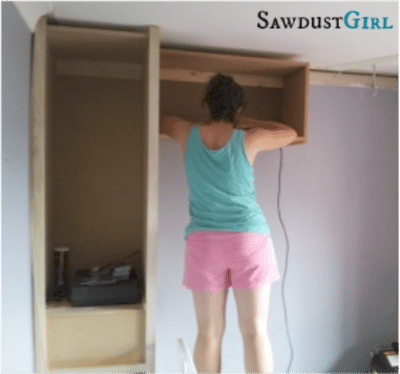
The Electrician finally came to move the pesky outlet today – thank goodness for family connections – this seemingly small job cost $250 but at least we found someone who was willing to come out and undertake a small job (thanks to my little brother and his mate!) after two hours work we had a new outlet nicely out of the way and only a few holes to fix in the plasterboard. Hallelujah!!!
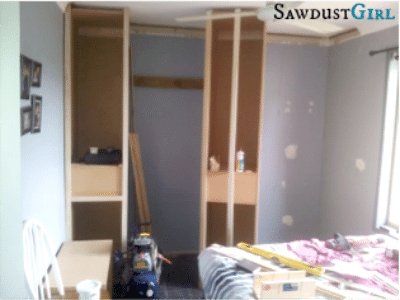
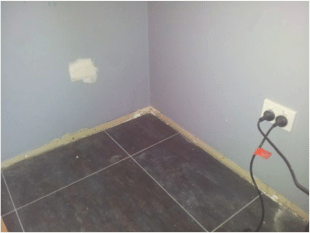
I am attempting to rest my back but can’t help pacing past the bedroom door thinking about all that I could do now that the outlet has been moved!
Day three after the “incident” and all systems go despite the stiff back and neck because apparently I simply cannot help myself. Got tower two in, secured, face frame on and paneling done……all jobs which did not require too much heavy work.
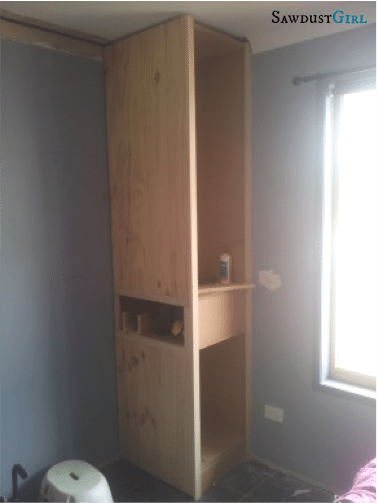
I also decided that purchasing the MDF for my second top cabinet would not be too stressful for me….and then decided that popping it together would also be okay……WRONG…it was not okay, I have now done my whole left side…shoulder elbow and wrist, and I can’t even pick up a cup with my left hand today. On a positive note my back is less stiff…I think the pain just went on vacation to my arm. I am wondering if I will ever learn to listen to my body???
Now after all this I spoke with Sandra and we decided I should take down the top cabinet that I had already installed as it was only hitting one stud and this thing is going to be hanging over my head while I sleep so that didn’t fill me with confidence! I teetered on falling in to a great depression at the idea of taking that blasted cabinet down again but had to shake it off. I put up two horizontal beams which hit all three studs and am now good to go putting up both top cabs! Because I cannot bare to sit idle I decided to put my foreman’s cap on and my supportive husband was very patient with me giving him strict direction and double checking level every 10 seconds as he screwed in the top cabinets for me.
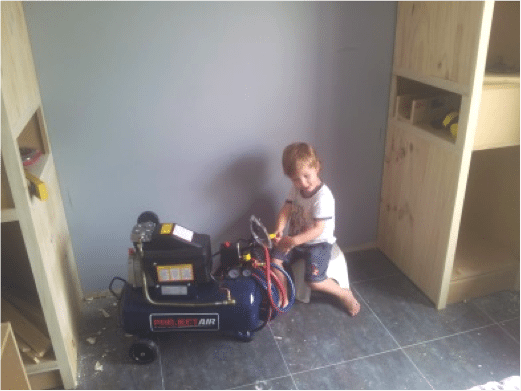
A shout out to all the mums at home with kids today….I am thinking of you because I cannot get anything done today!! I can usually steal moments throughout the day to run in and do the odd bit of work but today the little man is stuck to me like glue. I am going to down tools until daddy gets home and have some play time instead. Mainly because this is what William’s “help” looks like….this pic was taken about two seconds after I said “don’t touch that!”
It’s a new day and I am back at it!!! Today I have given William some wood scraps, a cordless drill (with no attachments in it) and some “goopy glue” to “build” something special. It seems to be doing the trick so far. The underside of my top cabinets need to be covered so we chose to use the paneling there too. Unfortunately I got ahead of myself and installed it all in the opposite direction to what the plan had been. I could have left it this way but after talking with Sandra I decided to remove it. This was a good plan BUT apparently I was so good at installing it that I can’t get it off!! It is so well secured on there that I can’t get it off without risking damage to the cabinet itself. I am now nearly ready to prime the cabinets which I will continue with while waiting for an electrician to install some wall lights for me!! Looks like it might be little brother to the rescue again this week!!
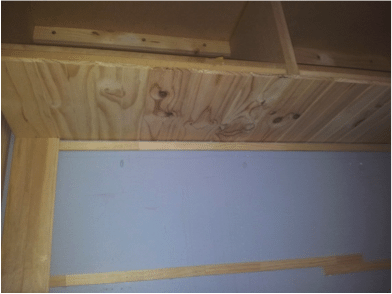
I am sure at this stage no one can see my vision and I am starting to feel a little stuck again myself, I can’t do the wall panlling in the center until the wiring for the wall lights is done . Getting the face frame right at the top has been fiddly and time consuming but I am now ready to prime!!!
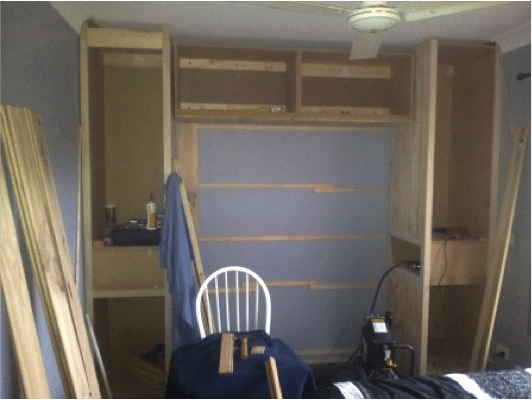
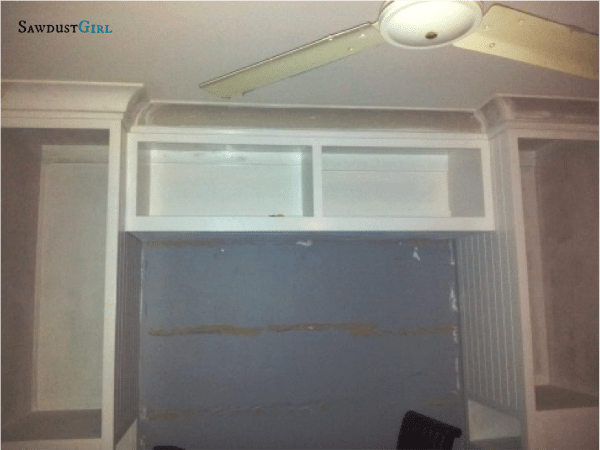
This is SO flipping exciting, I can’t stop looking at it!!! What a transformation, my little grub is becoming a beautiful butterfly with every swipe of my brush. I ate dinner in here tonight so I could admire it (was still a little dusty though). I tackled my first ever attempt at cutting and putting up plaster cornice. Now while I think I did a bang up job on this tiny piece it did take me the best part of the day and gave me a new pet peeve ARGH cornice why are you so difficult?

After many cutting attempts and a huge amount of frustration at why my 45 deg miters did not look like 45 deg when put up to the ceiling, I turned to YouTube (Sandra would have been fast asleep due to our time difference)! After watching a couple of “how to” videos I was feeling a tad more confident and had a second crack at it. This is possibly the most gratifying thing I have done so far, I cannot describe the feeling when I finally conquered the cornice.
I have to address a few things:
One: In Australia, the crown moulding (cornice) is made of plaster. Kristy has to use a hand saw to make all her compound miter cuts. Then she has to plaster the seams. That is a crazy amount of work and she seriously ROCKED it.
Two: When hanging cabinets on the wall, you want to make sure the cabinets are SOLID and that they are solidly secured to the wall. ESPECIALLY when they are hanging OVER YOUR HEAD.
Which Kristy did on both accounts! Have no fear, those cabinets would still be attached to the wall if the whole wall came down.
*Just an important tidbit to think about if attempting to recreate this design at home.
Of course, I’ve seen Kristy’s room a little further (A LOT actually) along than this and it looks totally amazing. I can’t wait to share. The best thing about Kristy’s story is that her family can now see her vision and they are all excited too. She has worked SO hard and I’m so glad she has supporters and cheerleaders in her court.
So if you are a reader who doesn’t like to DIY but like to see what others can create, feel proud of your role as “Props giver” and “taking the kids to the park so mommy can work-er” because your role is SUPER important too. Thank you for your service. 😉
Read the next update – part 3
0 Comments