Kitchen Progress – Five Years Later
A while back I decided that in order to expedite completing this house before another 7 years passes, I needed to hire out a few things. Cabinet doors for the kitchen was one of those things. I measured all the cabinet openings for doors and drawer fronts– three times to make sure I ordered the correct sizes. Then I placed my order. (There are lots of companies that make custom cabinet doors, both online and locally. Do an internet search and you might be surprised how close to home you find a source. Some places will even paint them for you.)
The doors and drawer fronts arrived weeks ago so I stacked them in the corner of the living room until I was ready to deal with them. I’m excited to say that I am finally FINISHING the kitchen!
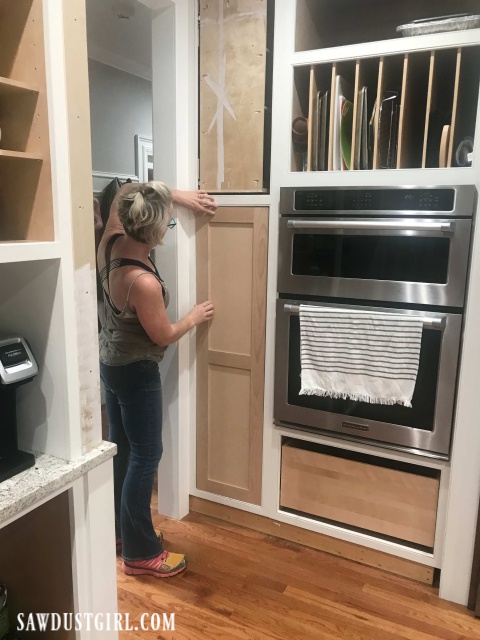
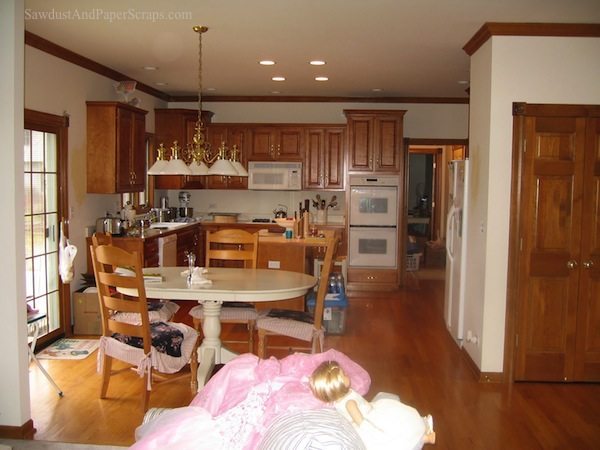
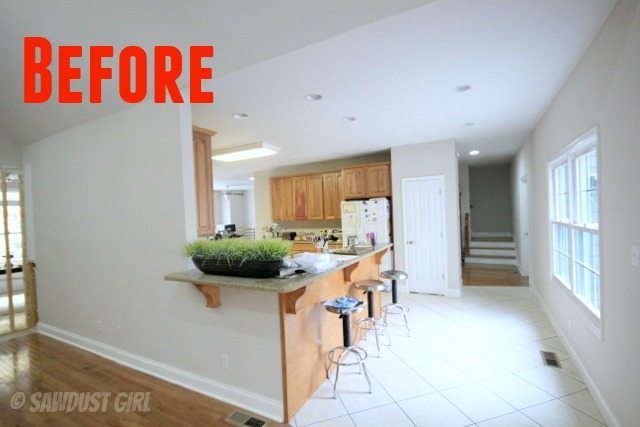
Kitchen 5 years ago
Yes, this is the kitchen I built 5 years ago. Cabinet doors have not been a priority because I had lots of projects that needed to be done for functional purposes. The kitchen looks just as it did when I last posted about it. That post was probably about the New, new, new pantry. (Third time’s a charm.) It looked about like this.
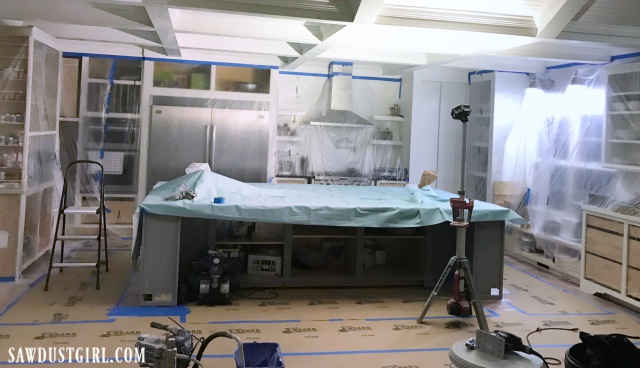
I normally take over Wes’ garage to create a spray booth for painting. It’s currently cold and wet outside and temperature and humidity always negatively affect my painting experience. So the garage is out.
Painting Cabinet Doors
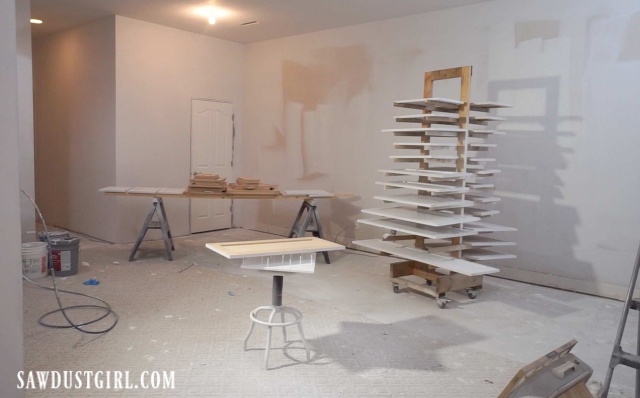
Being in the middle of the basement remodel provided a perfect place for me to paint the cabinet doors. The carpet is getting replaced so I don’t have to protect the floor. I haven’t painted the walls yet so I can use the walls to test my spray pattern without having to tape up large sections of craft paper. Also the basement is large so there is lots of room for “drying places” for the doors. I set up sawhorses with 2x4s for extra space next to my drying rack. Even with that, I had to do the doors in three batches.
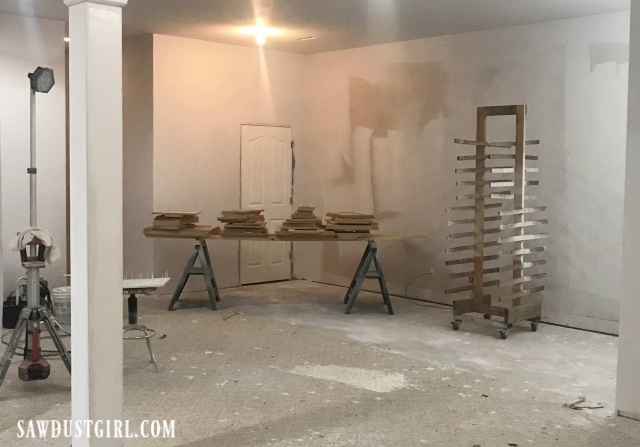
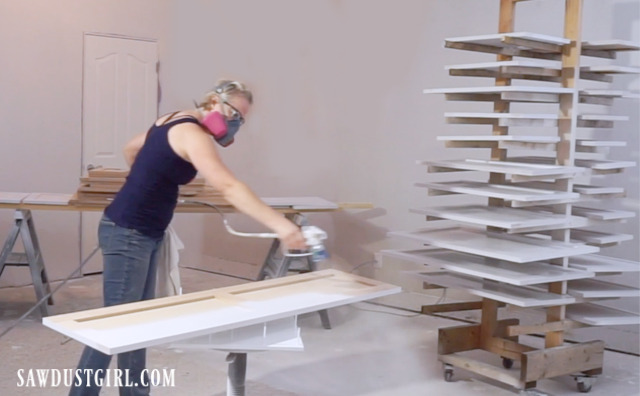
Painting cabinet doors is such a tedious process. Prime the fronts. Let that dry. Prime the backs. Let that dry. Lightly sand. Paint backs. Dry. Paint fronts… I spent 5 days completing that process.
I’ve included a video of the spraying process. Lifting the door off the “rotating stool” and setting it into a slot on the drying rack. Front and back, sand, front and back again. 5 days. ‘Nough said.
Repainting Kitchen Cabinets
While cabinet doors were drying…
I worked upstairs on the kitchen. I needed to repaint all the cabinets. Five years ago, I painted the island cabinets grey. Five years ago, grey was THE color! Grey is no longer — so the grey had to go. I went with white because it is classic and safe.
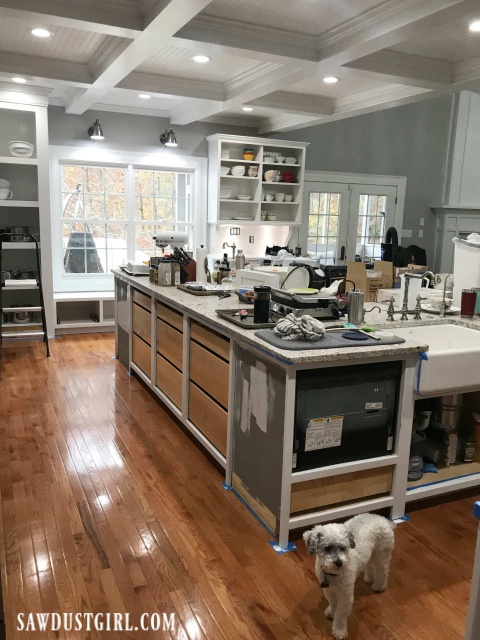
I repainted the white cabinets as well because the white cabinet paint I used five years ago is not going to match freshly painted cabinet doors, even if it were the same color. That being said, it is not the same color. The white cabinet paint I used five years ago was more creamy than what I currently enjoy.
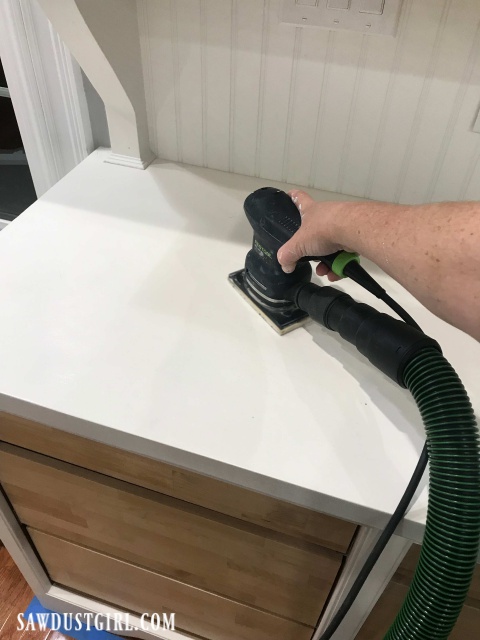
I originally coated the top of the China Hutch with clearcoat so I sanded all that off before painting.
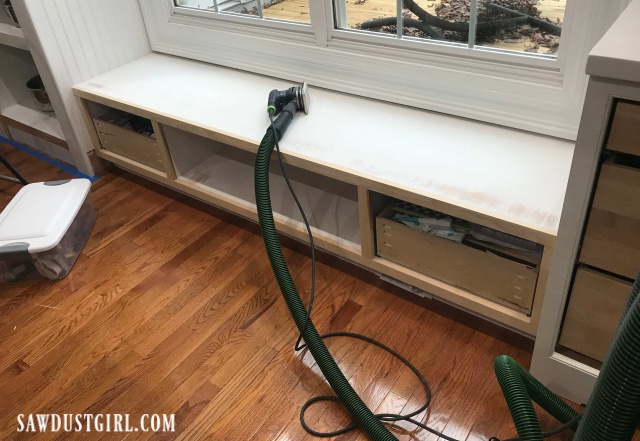
The window seat (with a toe kick vacuum port), never even got a complete paint job. It required filling nail holes and sanding before prime and paint. Still to be done, the toekick vacuum port needs to be pushed forward a couple inches. It is not easy to access because of the depth of the toekick. No better time to do that but now.
I had to remove one of the floating shelves anyway because the light quit working so I removed them all. It’s much easier to paint them with the sprayer, downstairs.
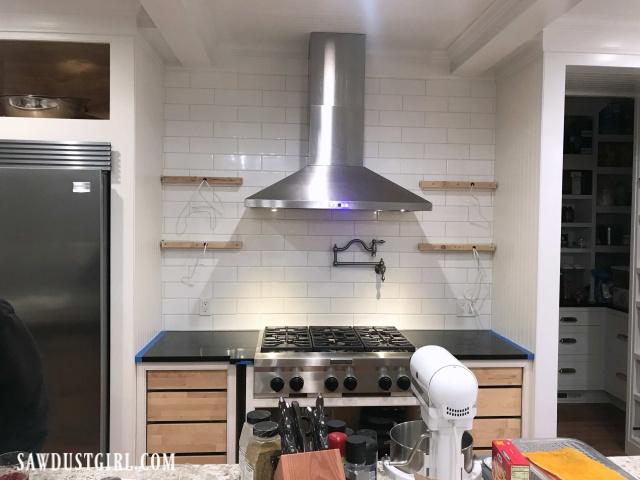
I removed a couple screws and pulled the whole fridge/freezer combo forward. That took about 2 minutes. Taping off takes a bit longer and doesn’t always work as you want it to. So I opted to move the fridge out of the way. The ovens, I taped off.
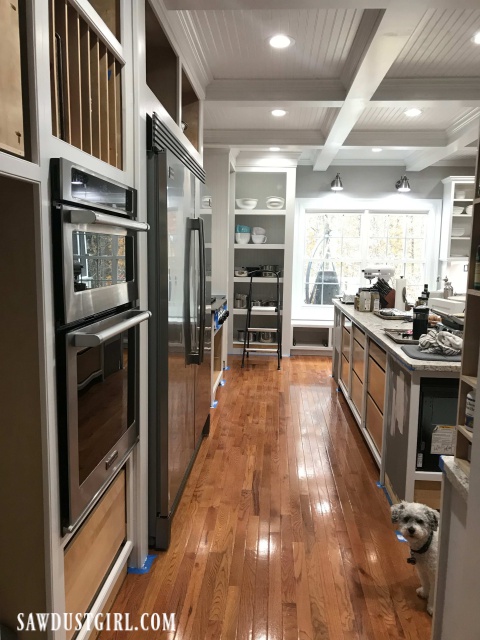 In this last week I used my sprayer to paint ALL the cabinet doors and drawer fronts for the kitchen. And I crawled around with a roller and brush and painted to paint the faceframes and visible cabinet sides. (Note to self: use knee pads on day 1 instead of waiting until day 2 when your knees are already bruised and sore.)
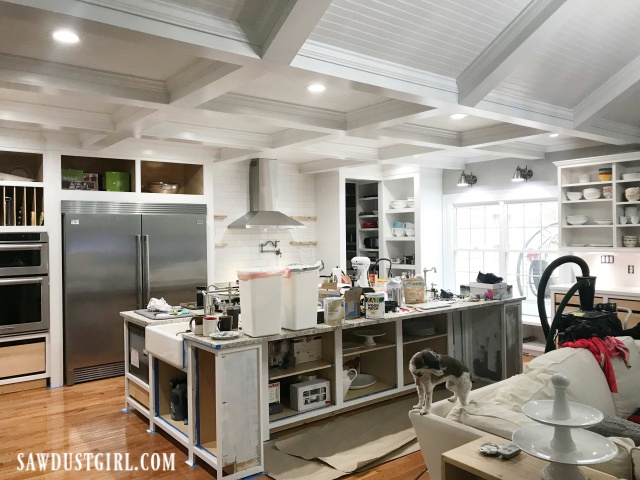
The kitchen is a bit of a mess because I had to pull stuff out of cabinets so they weren’t in my way. They got piled on the island — because it’s just for a day or two. (Note to self: just find a place to neatly store things so the kitchen continues to be pleasantly useable, instead of —this!)
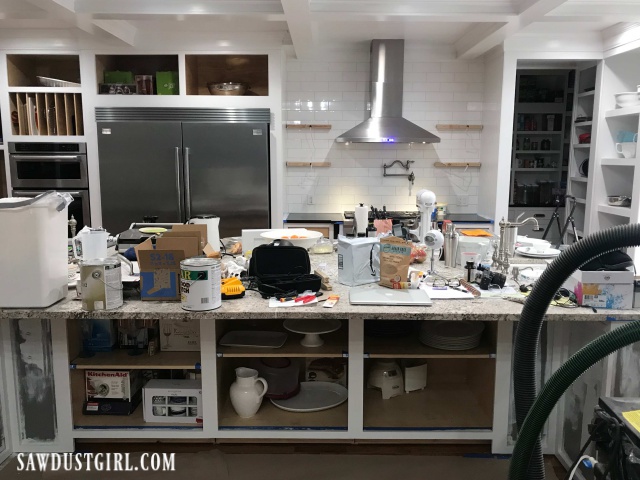
You all know how much Wes loves living in chaos. AND he really doesn’t like anyone messing up his kitchen. LOL He’s being a good sport about it though because it’s a means to an end.
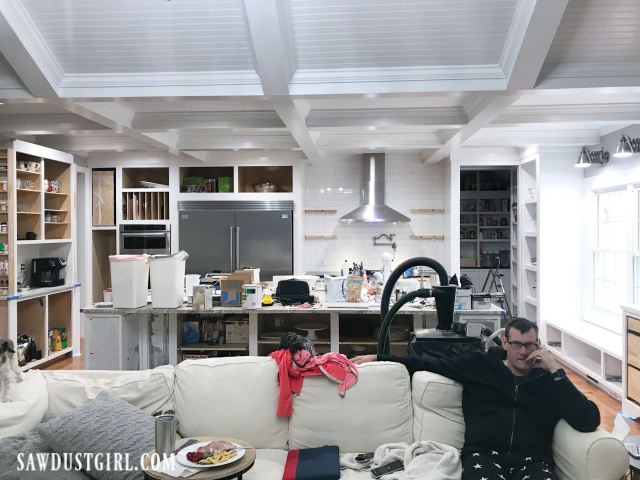
I think that will last about another week so I need to use that as a goal for completing the install. Installing full inset doors is super tedious. It makes me tired just thinking about it. Which is another reason I probably put this project off for SO LONG. But I’m in it now so there’s no other way to approach it than “full speed ahead” and keep going until it’s done.
Looks amazing! What a great idea to put the doors on a rotating stool instead of moving around all 4 sides! That would have made my kitchen remodel SO MUCH EASIER.