There’s nothing like raised panel wainscoting. There are lots of other types of wainscoting, but if raised panel is the look you want, the only way to create it is with a LOT of woodworking skill and knowhow and a shaper or router table. Even then, these giant panels would have been impossible for me to create on my router table. They are just too big. Sometime’s, even DIY’ers can get some help.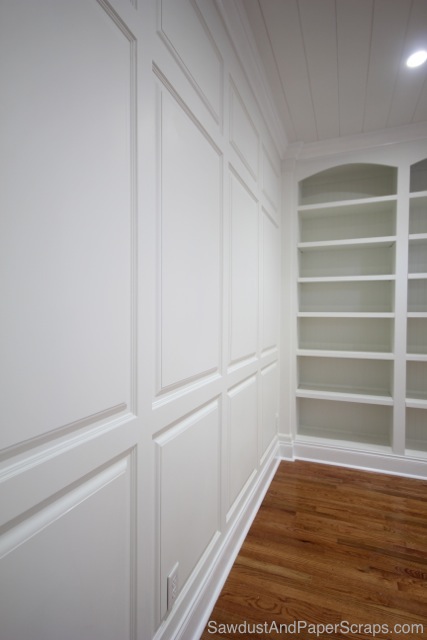
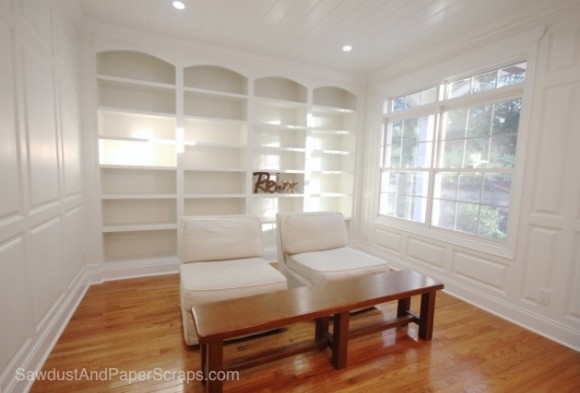
I knew I wanted full wall wainscot to to echo the lines in my bookcases so I built those first. I built them out to the point where the faceframe was installed against the side walls so I could get accurate measurements as well as design my wainscoting. This is the point that I ordered from IntriG. (Sadly they are no longer in business.)
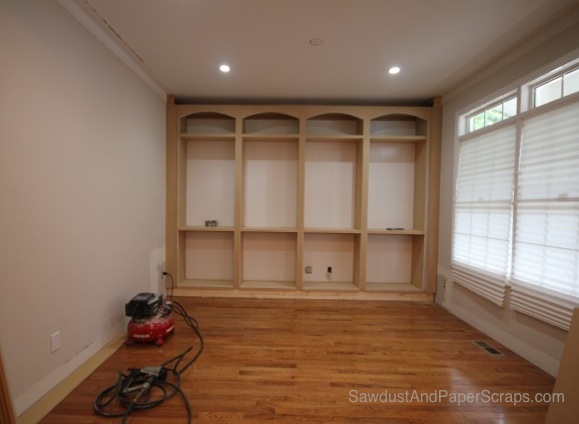
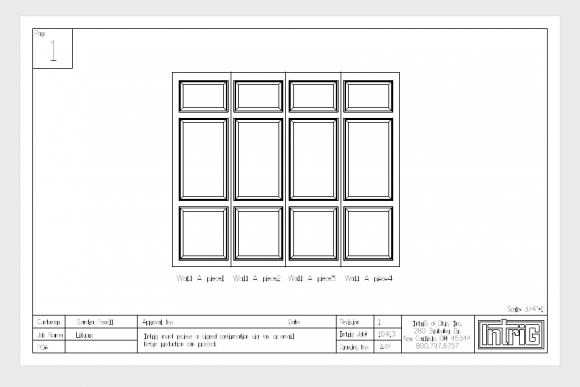
I drew up general plans with measurements and then Adam (my sales rep, nice guy) whipped up the real plans. The best part? They did all the math.
I knew I wanted 3 panels high. The bottom one medium height, the middle panel large and a small one on top. His computer program took that info along with my measurements and put that into drawing so I could visualize exactly what it would look like on my walls.
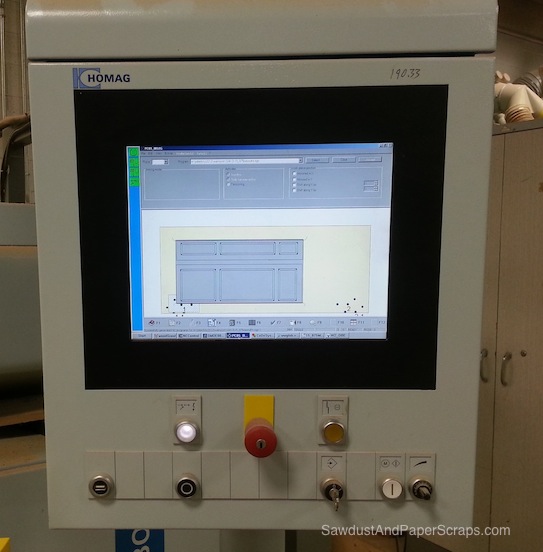
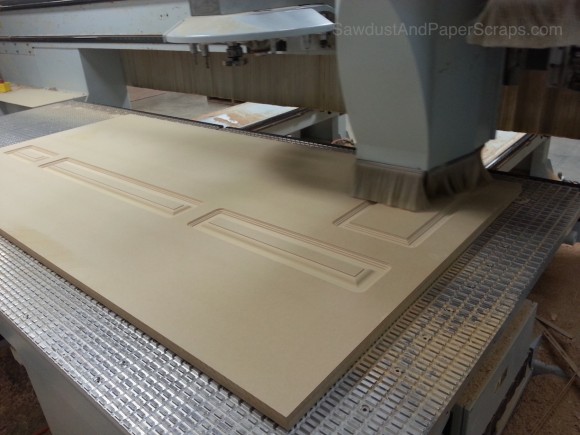
I approved the sketches and then it was GO time! Adam sent me some pics of how it goes down on the Wainscoting farm. It’s all computerized in this technological world.
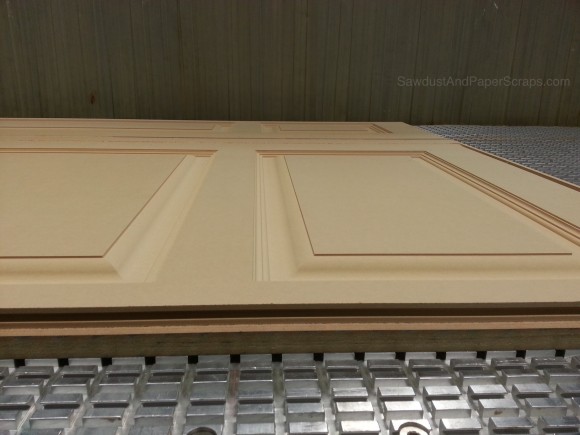
Full sheets of HDF (like MDF only High Density) are routed by a big machine. When I’ve seen routered raised panels before, the corners are always rounded like you see in this picture. That is what I DID NOT want. But, IntriG has a super secret way of fixing that.
It’s super secret so I have no idea how –but the corners are sharp as a tack and look awesome! They were sanded and primed and then shipped out.
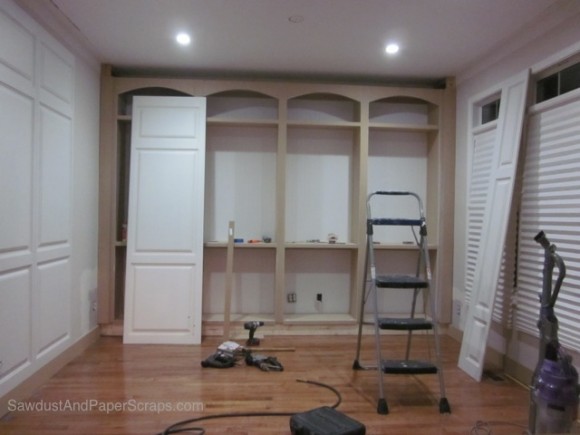
And this is how it arrived on my doorstep. Now the DIY comes back into play.
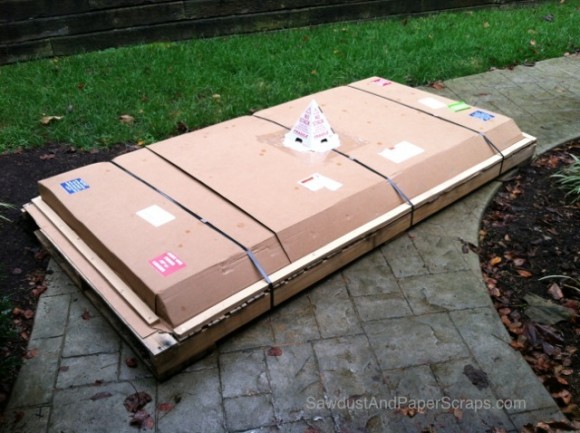
The panels were very heavy so it would have been wise to wait for Wes to help me but I’m too impatient to wait and did it myself. It would have been easier with two people, but I did it.
I installed a filler 5″strip on the floor to sit my wainscot on top of because I wanted them as tall as possible. I made sure to point that out in my design when I ordered. My baseboards only cover 1/4″ of my wainscot that way.
I made sure the filler strip was level so all my panels would also be level I marked my studs on the ceiling and the filler strip so I’d know where to nail. Other than the weight factor, installation was easy! All I had to do was glue the tongue and groove seams and nail the panels in place. I used a wood block and mallet to tap the panels together to get tight seams.
One thing I did wrong: I applied glue to a seam and then tried to put the next panel up and realized there was an outlet there. I had to measure, mark and cut that hole and by the time I installed the panel the glue had start to harden so I didn’t get a really tight seam. It wasn’t too bad but I had to use some extra Bondo there.
The panels were all labeled and numbered so I knew where to start and which panel went where. I only had to trim a little bit off the end panels because IntriG sends those panels a little extra wide in case your measurements weren’t quite perfect or in case your walls aren’t plumb.
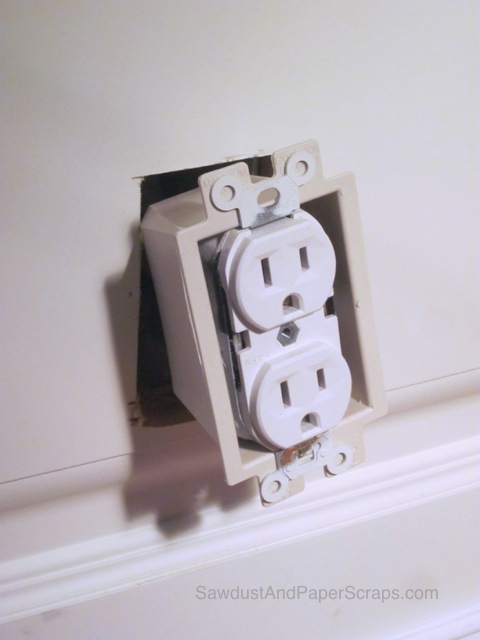
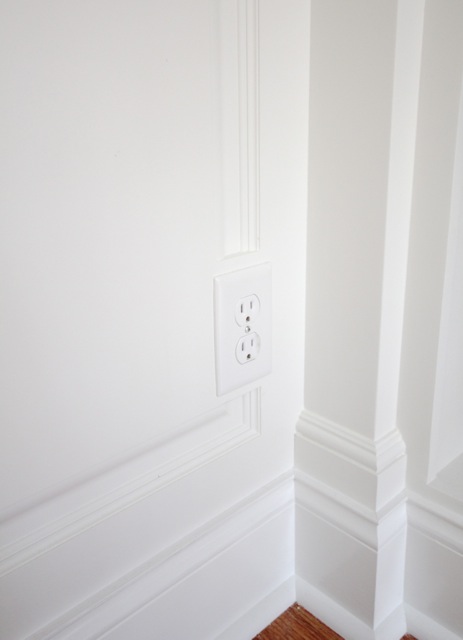
I had to cut out several outlet holes and the wainscoting is 5/8″ thick, so I installed these extenders — which come with screws that reach the junction box. Nice, neat, clean. Just the way I like it.
A couple outlets were right on my routed profile but IntriG thought of everything. My order came with a reverse profile strip that fits inside the panels.
You cut off what you need and glue it in where you need it.

All primed and painted.
The window was a bit tricky. The fact that I did full wall wainscot added to that. I had to measure and cut a U out of two panels. I had some gaps here but just filled it with Bondo and they completely disappeared.
I wasn’t satisfied with the window at this point. My window trim was exactly the same width as the wainscot so it didn’t look like I had any window casing.
Also, the part of wainscot above the window was too narrow to have a routed panel so it was just plain and I thought it looked odd.
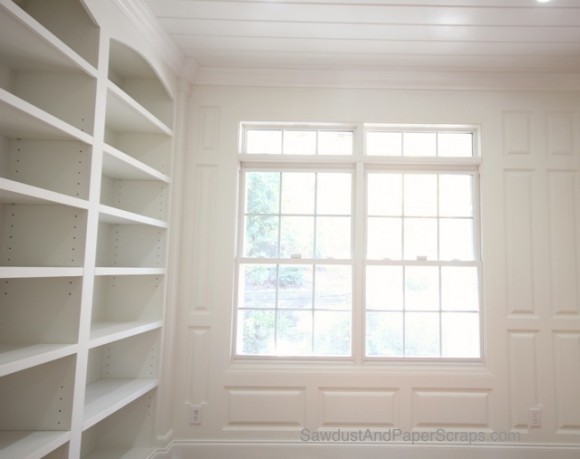
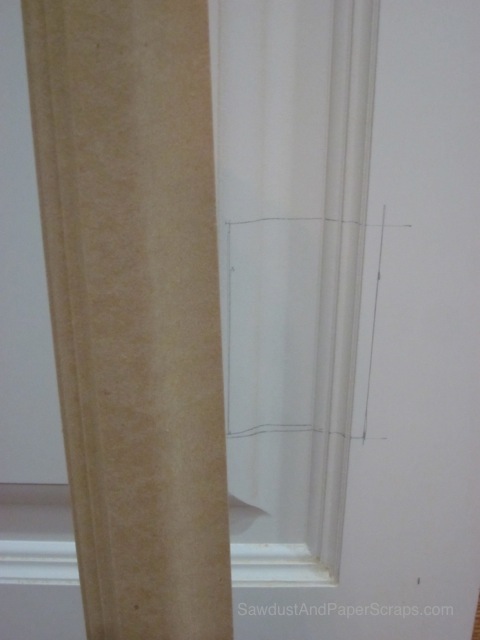
So I trimmed the outside of my existing window casing with a thin little strip of moulding to make it look like a chunky window casing. I also added a jury rigged crown piece at the top that I created using like 5 different strips of wood and moulding. It was a hot mess while I created it but it looks good in the end.
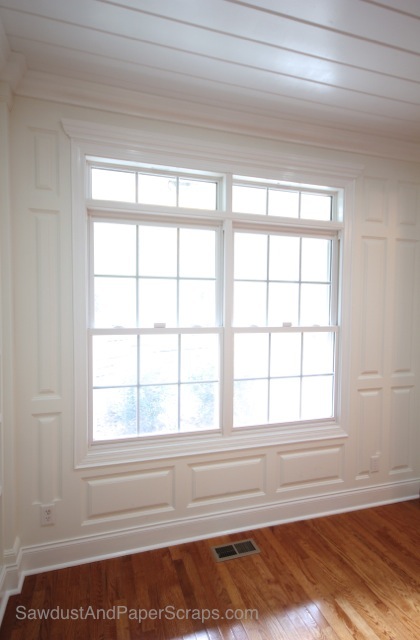
And that is how I installed the wainscoting in the library.








Too bad they went out of business. They had such a great product.