How to replace weather stripping
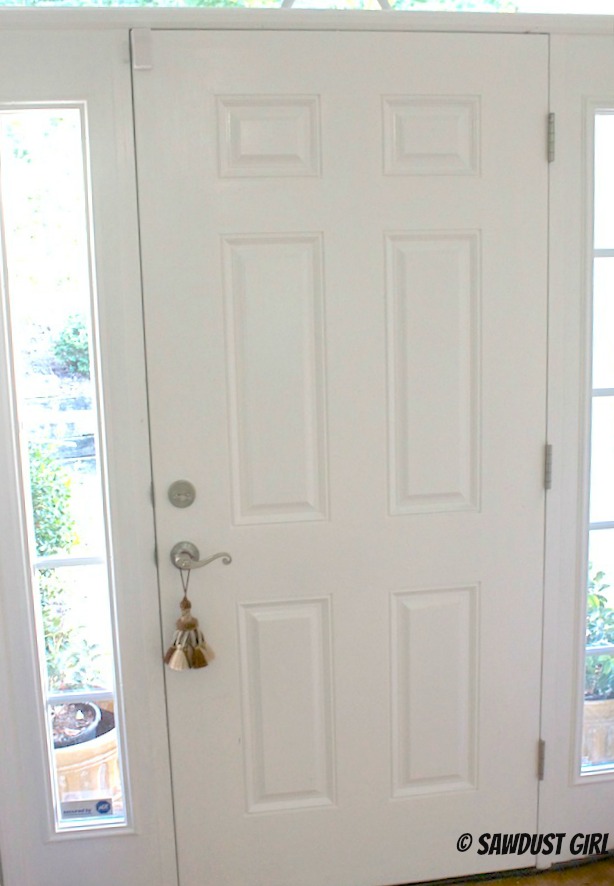
At some point in this house’s history, the front door jamb sustained some damage. The wood was dinged and the weather stripping had a big chunk torn out of it. It’s always bugged me so when I painted my front door, I pulled the damaged piece of weather stripping off. That was about 3 months ago and we’ve been seeing daylight through that gap ever since. Now that cooler temperatures are approaching, it’s time to winterize. Lucky you, I’m going to show you how to replace weather stripping! lol
This post is sponsored by TheHomeDepot.
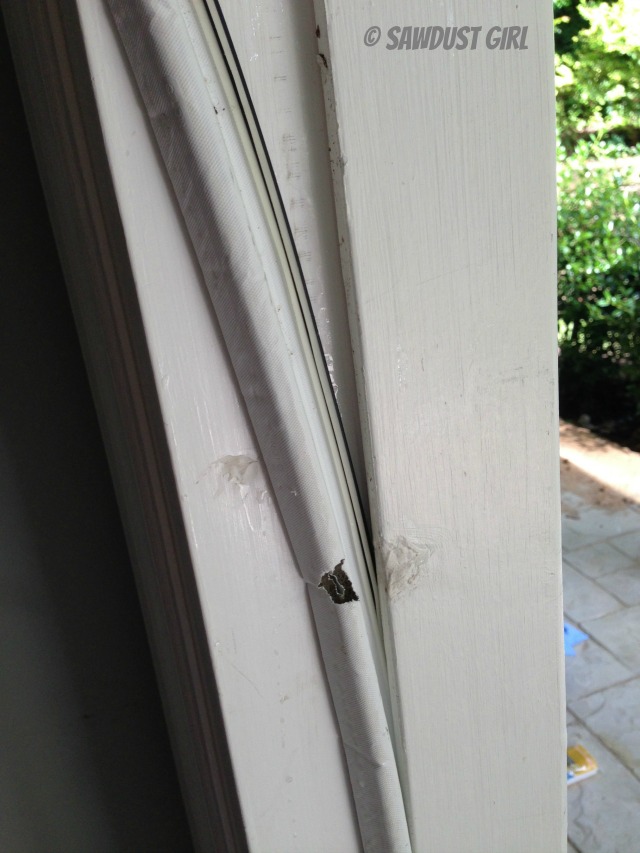
How to replace weather stripping
I checked out the Home Depot Efficiency Audit before I went to pick up my supplies to see if there were any other opportunities for me to improve my home’s efficiency. Seal and Insulate was what I was looking at. My home is newish so it’s buttoned up pretty tight. I will need to replenish the insulation in the attic after all the remodeling work is done. With all the tramping around up there, the blown in insulation has been squashed in a lot of places and it could use a “touch up”. BUT, with a major kitchen remodel coming up (as soon as I can secure a reliable contractor) I’m going to wait on that.
I headed to Home Depot in search of new weather stripping and a couple tools to fix the damaged wood.

I might have wandered around for a while, getting distracted by the new and shiny– but I found my weather stripping and picked up a new 5 in 1 painters tool and a new sanding sponge.
Let’s do this!

First thing to do is take care of the ugly wood “fix” job. I scraped off all the excess wood putty and then sanded it smooth. Took about 5 minutes. A little paint and that will look as good as new baby!
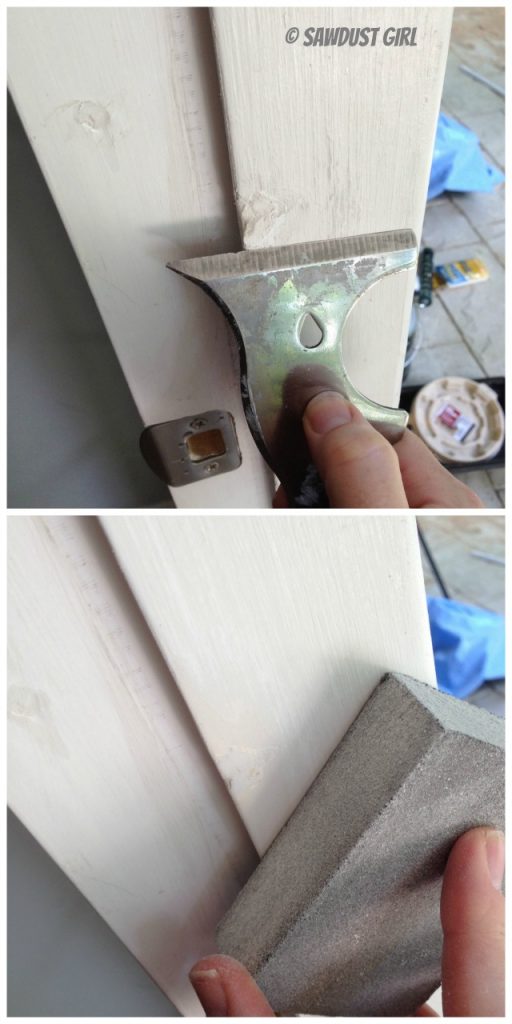
Next up — remove the rest of the old weather stripping. If you’re going to do something, you might as well do it right. Right? Right! It pulls out pretty easily for the most part. If it acts stubborn, a little nudge with a pair of pliers is helpful.

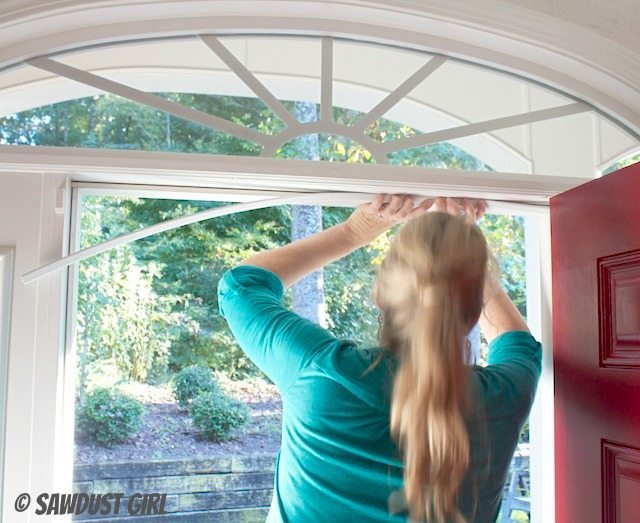
Start with the top jamb, making sure not to cut the weather stripping too short initially. Start on one side, pushing the “lip” on the weather stripping into the groove on the door jamb. Work your way to the other side and then trim to fit so you get it exactly the right length.
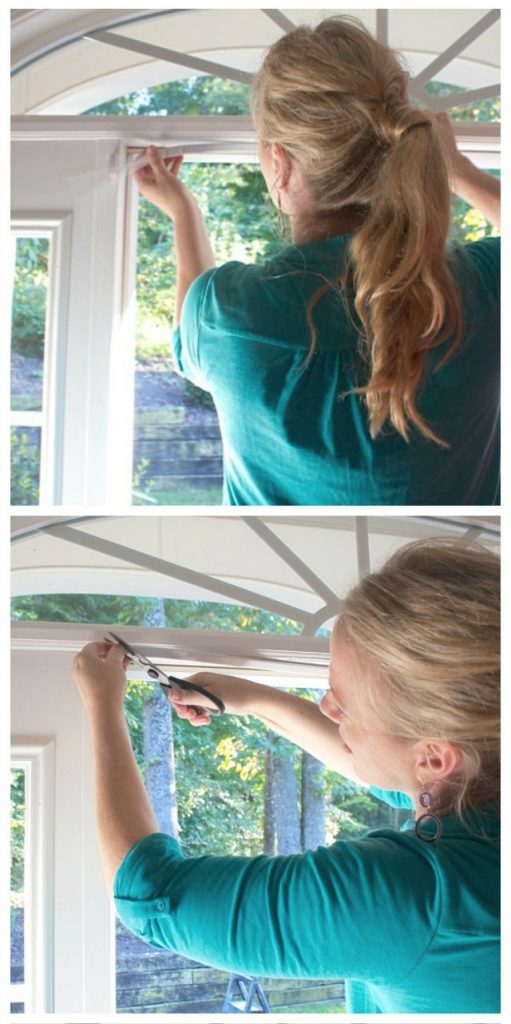
Cut the ends at an angle to create mitered joints, just as you would with wood moulding.
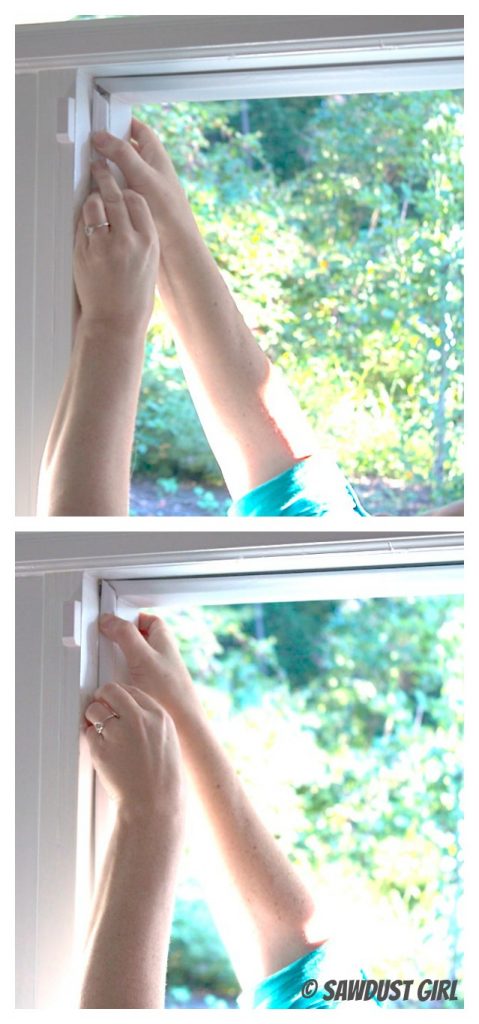
It makes for a nice, clean joint.

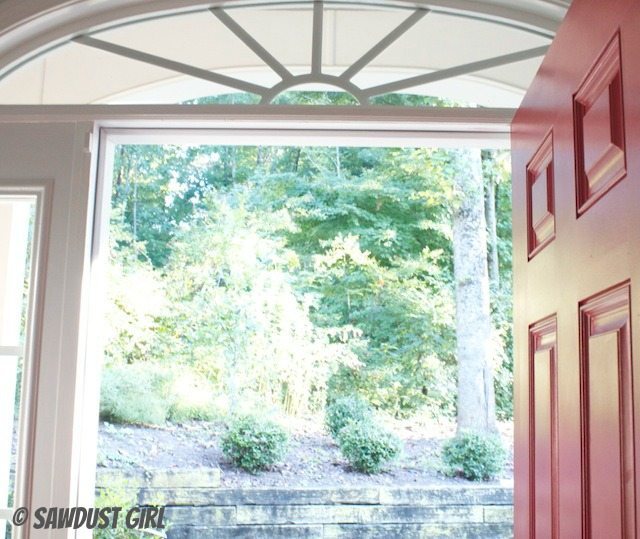
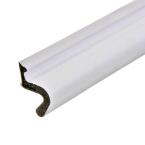
This weather stripping is made with a lip that should slide into perfectly sized groove in the doorjamb.
SHOULD slide right in. Sometimes it does.
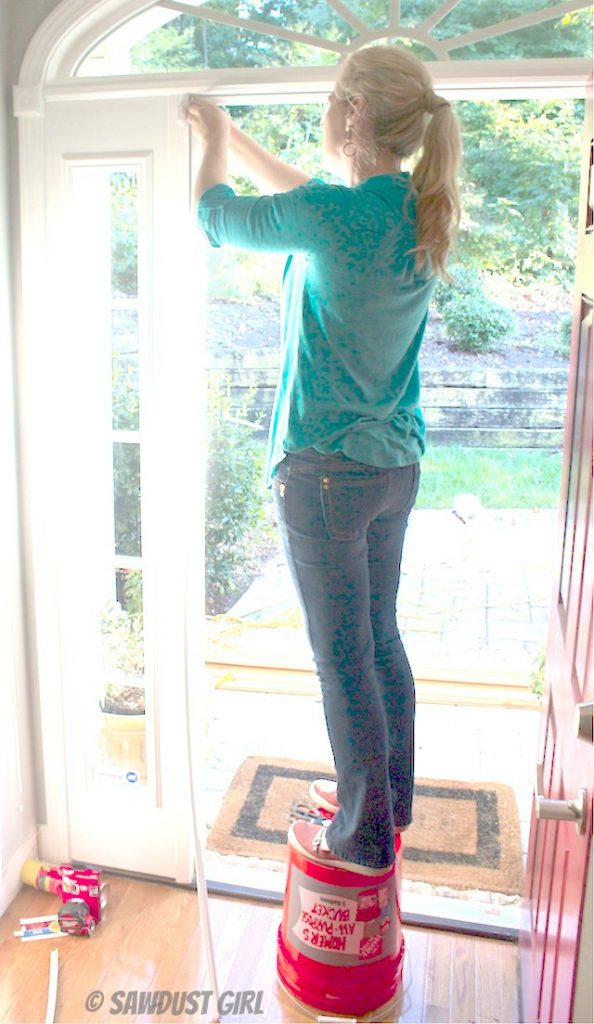
But sometimes it can take a little muscle to push that lip into the groove. Just SQUEEZE really hard and grit your teeth — that always helps me!
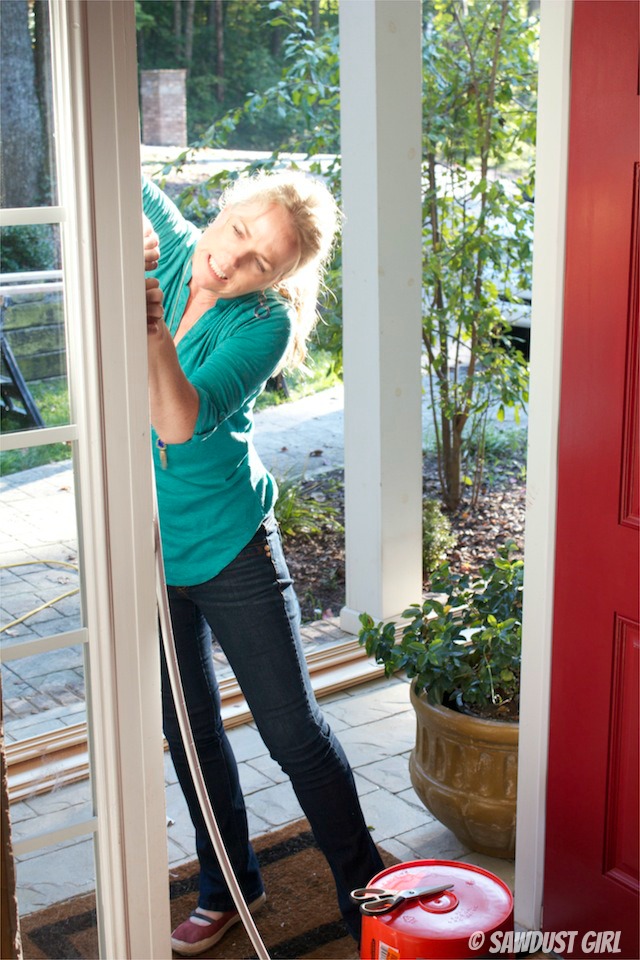
It’s worth the sore jaw muscles from all the clenched teeth though, because it keeps out the daylight, bugs and cold (or hot) air.

“I acknowledge that The Home Depot is partnering with me to participate in this Weatherizing Project. As a part of the Weatherizing Project, I am receiving compensation in the form of cash and gift cards, for the purpose of promoting the Weatherizing Project and The Home Depot. All expressed opinions and experiences are my own words. My post complies with the Word Of Mouth Marketing Association (WOMMA) Ethics Code and applicable Federal Trade Commission guidelines.”


Great tutorial! I have been needing to fix my drafty front door, but its old and doesn’t have the small grooves along the edges to push the weather stripping in. The old “weather stripping” is just strips of metal which is doing no good! Any recommendations on what to use? Or how to cut my own grooves?
Great! Fantastic way to fix up a drafty door. Done this many times myself!! but PLEASE, don’t use a homer bucket to reach!! Use a ladder. You don’t want to get 1/2 way done and have to go to the hospital because the bucket tipped over!! SAFETY FIRST!!