How to build big, bulky, decorative columns
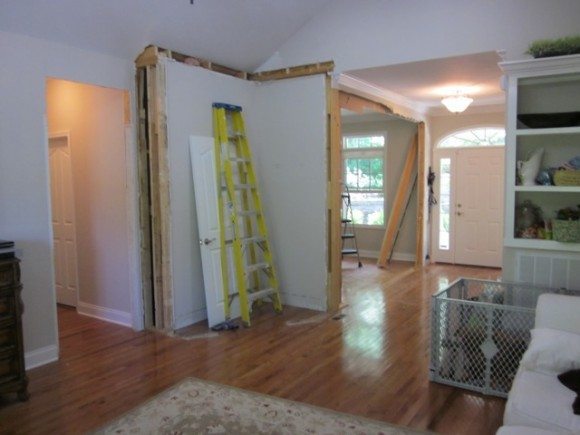
The doorway from the entry to the living room used to be pretty boring — just drywall meeting drywall. I wanted to create something more substantial and interesting, so I built a decorative column on each side and topped it with a pediment. It made a huge difference and added character to an otherwise flat wall.
Now I’ll show you how to build your own decorative columns.
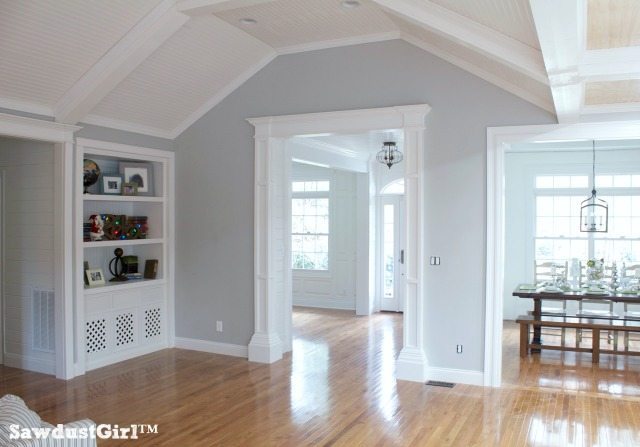
Build Bulky Decorative Columns
1. Base Structure
I used 2x4s and 2x6s for my base structure because that was the size that created proportionate columns for my specific space. You may want to use 2x8s if you have an extremely tall and wide doorway. It’s all about proportions and preferences. For the sake of this tutorial I will refer to the sized that I used — modify as needed.
Secure a 2×4 on one side of your corner wall. Overlap that with a 2×6 on the adjoining wall. This will give you a 1/2″ discrepancy in width.
2. Wrap
Cover the 2x framing with 1/2″ mdf on 3 sides. Leave the end of the 2×6 uncovered evening out the width of both sides of your column to 6″.

3. Trim
I used prime pine but you can use any 1×2 material. I mitered the outside corners – check out my tutorial for using painter’s tape with a mitered joint.
Optional: Add horizontal dividers wherever you like to create sections – it’s completely up to you. Personally, my design-oriented brain gravitates toward the rule of thirds.
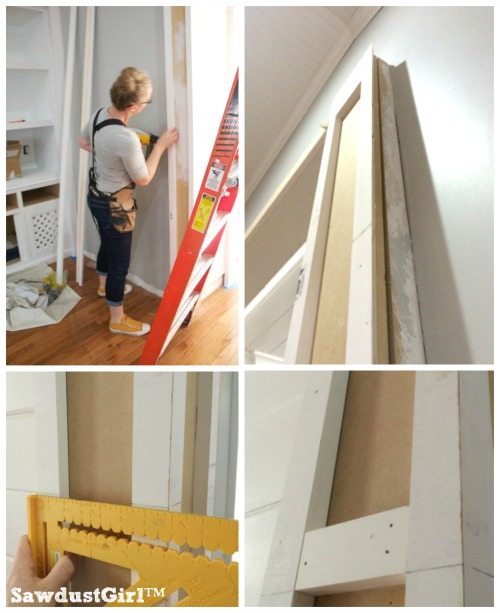
4. Pediment
I built my pediment by installing a 2×6 and then covered that with MDF. I didn’t cover the header with 1x material like I did the columns. I wanted my columns to protrude passed my pediment because it looks really cool when you get to the part where you add the crown molding!
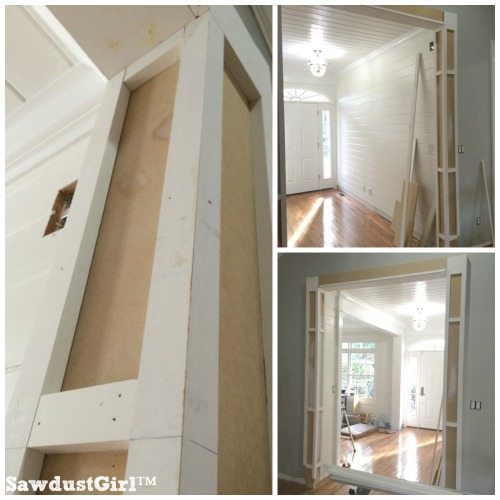
5. Layered Baseboard
I wanted a really chunky look—about 14″ tall. So I placed my lower horizontal divider at 14″ from the floor and built down from there, alternating between two different baseboard styles to create a thick, stacked profile.
- Use scraps to block out the lower portion of the column with each additional layer you add.
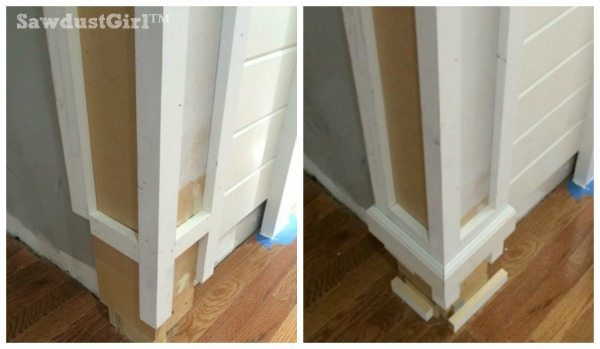
- Miter all your corners
- My bottom layer is 1/2″ MDF topped with a small cove molding.
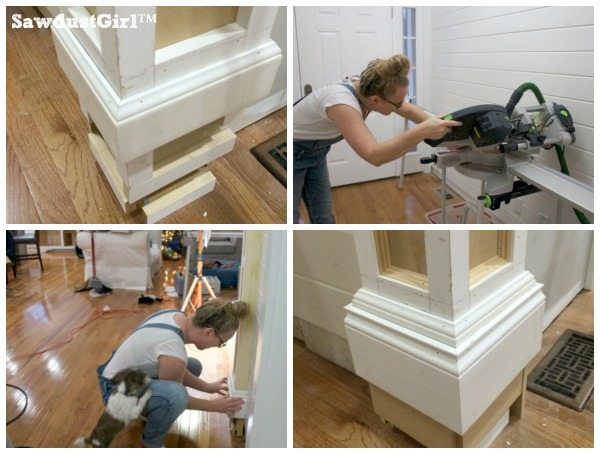
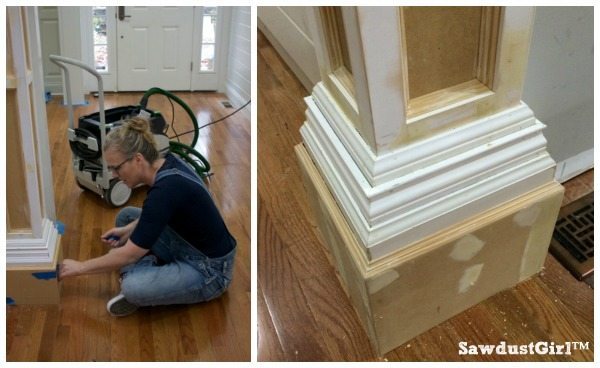
6. Optional: Applied Trim
I added a small decorative molding to the inside of the “boxes” on my columns to give them more detail. You can skip this step if you want a simple design or don’t want to hassle with it. (It is a LOT of cuts.)
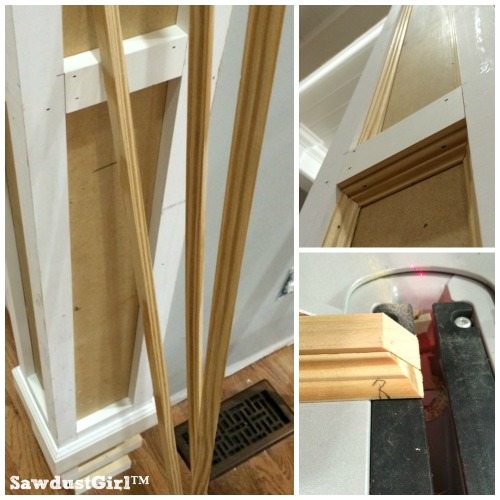
*Tip – Use a piece of scrap wood as backing when cutting small molding to prevent tearout and give you cleaner cuts.
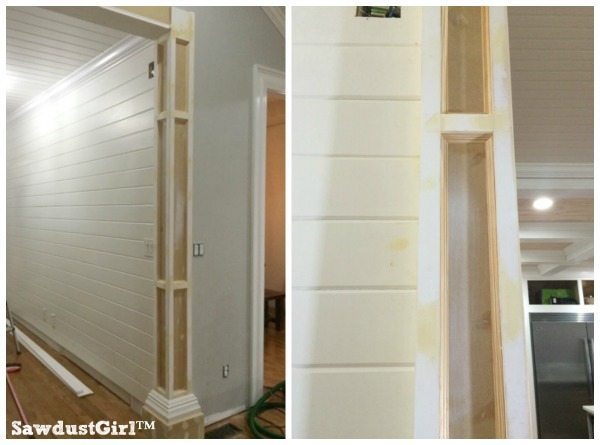
7. Crown Molding
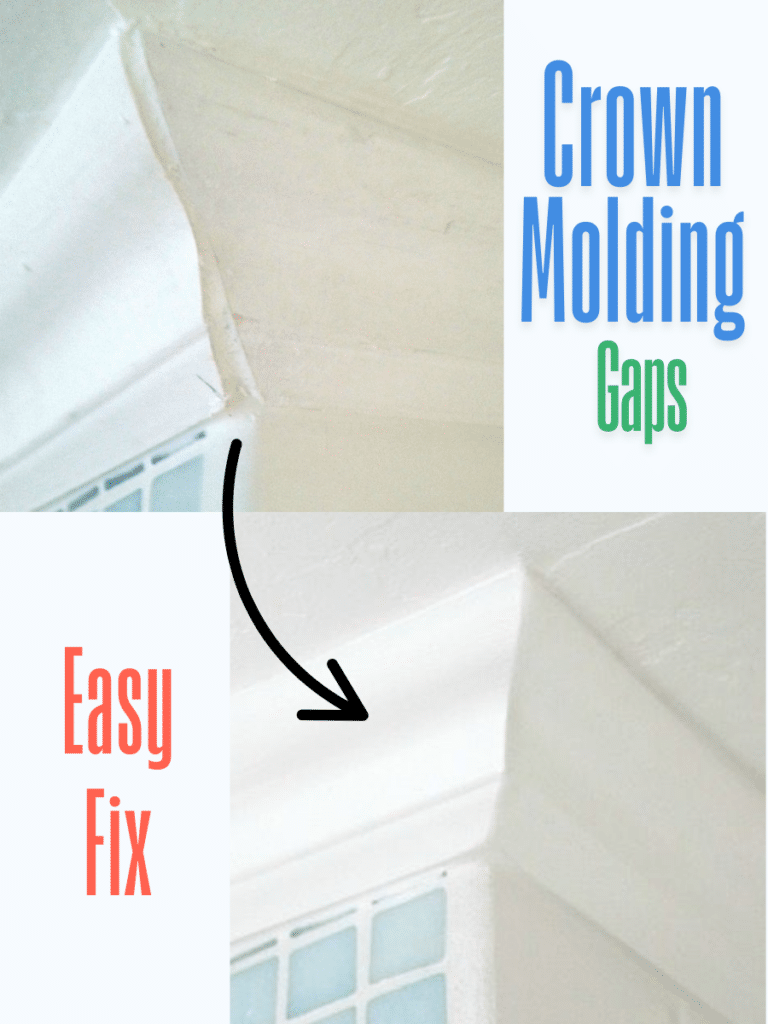
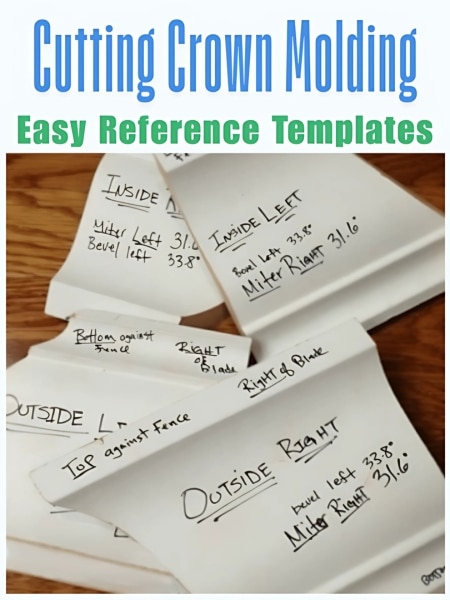
Use my Crown Molding Templates to make that step easy as pie!
8. Optional Additional Trim
I also added a small decorative molding to the bottom of the header. I’m not sure what it’s officially called, but it was an easy addition – just simple mitered cuts, not compound angles like you’d need for crown molding.
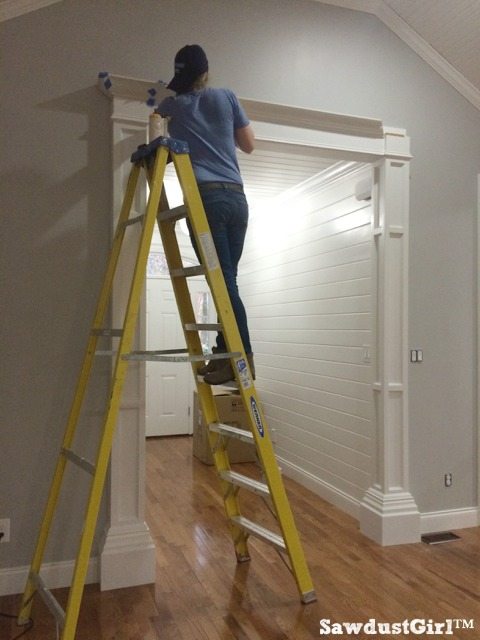
9. Caulk, Prime and Paint.
Putting all three of those items in one bullet point makes it sound like it will be fast and easy. Maybe easy but probably not fast. Prepping and painting takes as much time as building the whole thing if you do it well. Unless you spray it. Then you just have to fill and sand and then mask off the area…so yeah, that’s gonna take a minute!
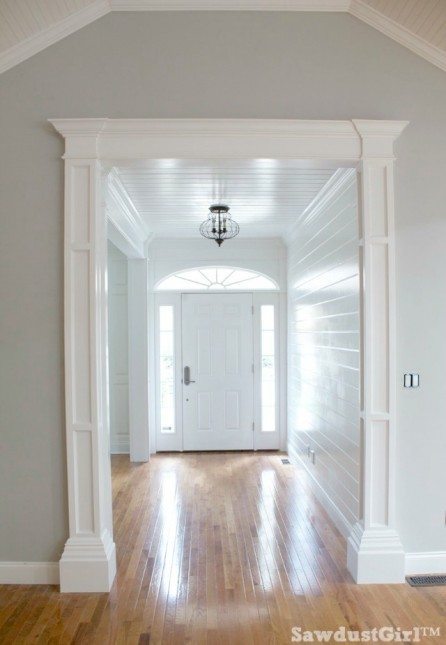
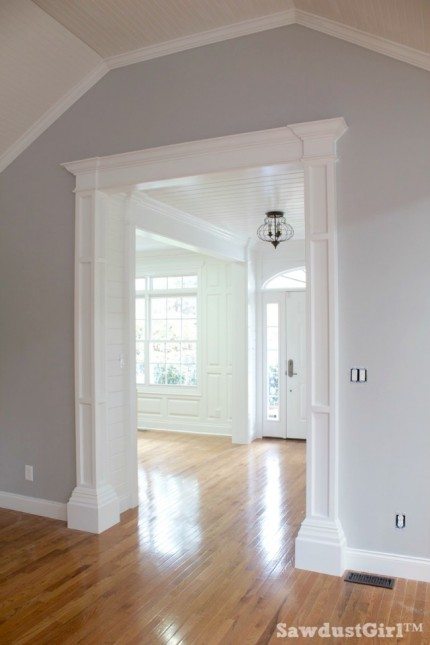
But it will be worth it! Obviously I did more to this “doorway” than just build the decorative columns and pediment.
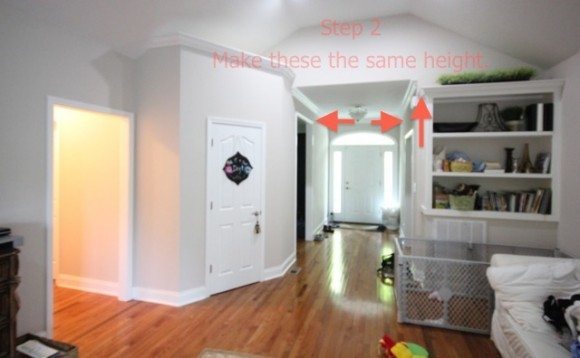
Those elements definitely add a layer of sophistication and architectural interest.

Well done. As a guy who makes his living doing both framing and finish work, I applaud you. Beautiful. And smart use of materials to keep the price in check.
I often will go through a property that is being flipped or gutted, and know immediately that the work that I’m looking at is a homeowner’s do-it-yourself special. It takes experience, judgement, and finesse to get it right.
I wouldn’t know from looking at your work that it wasn’t that of a full time pro. In fact, the only giveaway as I think about it, might be it’s so good. That takes time and unless it is a million dollar home, it is probably going to be done with less effort and detail to save time.
Nicely done. Just lovely.
3″ screws for the overhead 2×6 then nails for the rest.
This looks amazing! What did you use to secure the 2×6 and the other pieces? Was it all brad nails or were there wood screws involved?
That flooring is narrow, 3/4″ red oak, prefinished…generic big box store stuff.
What kind of flooring did you use in this post?