How to Build a Kitchen Cabinet with wood screws
As I explained in my last post about three ways to build a cabinet, the fastest and easiest method is with butt joints and wood screws. Those screws will be visible unless you cover the sides with a thin panel like beadboard but if the sides of the cabinet will be butted up to another cabinet or the wall and they won’t ever been seen, who cares? Wood glue and screws will provide strong joints and you can build the cabinets quickly and securely.
This post shows dimensions for a standard 34 1/2″ Kitchen Cabinet that is 24″ wide. You can modify this plan to build cabinets of different widths. Refer to my post on Cabinet Building Basics for additional information, tips and techniques.
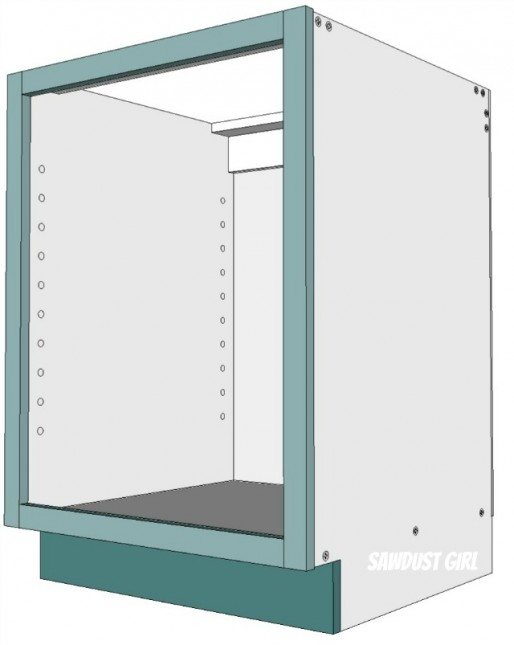
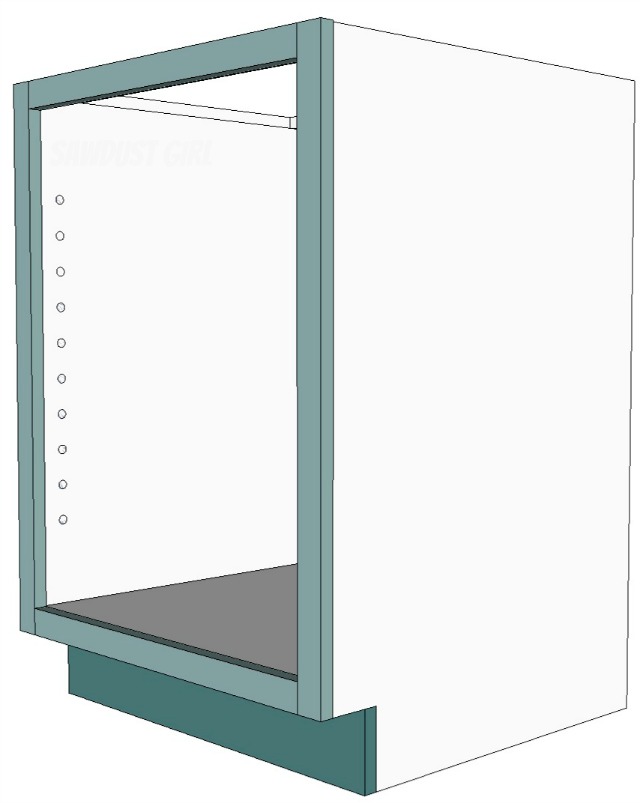
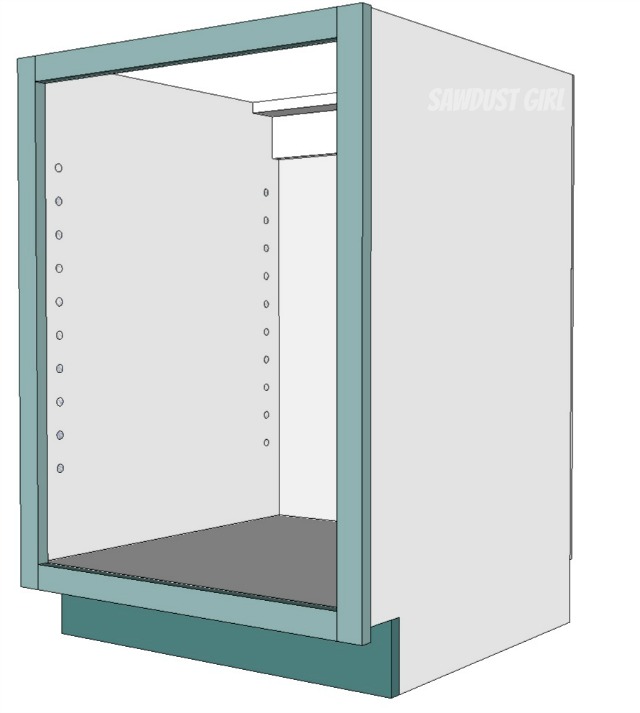
How to build a cabinet with toe kick using wood screws
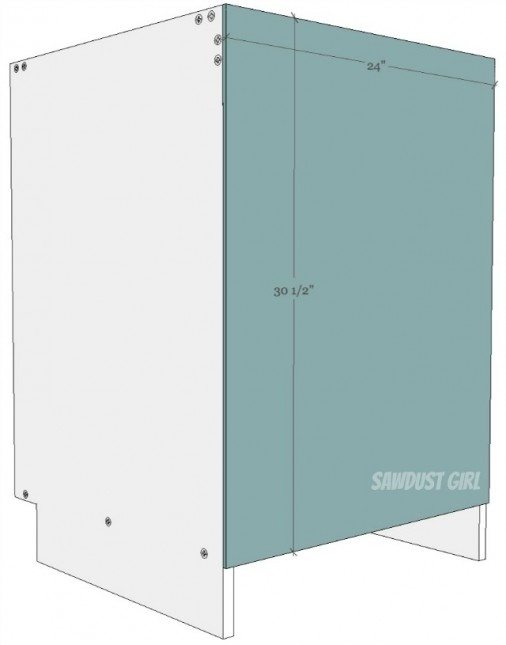
The final dimensions of this cabinet after the back and face frame are attached will be 24″ but the sides, bottom and shelves are 23″ deep. The height is 34 1/2″ tall. The toe kick is 3″ deep by 4″ tall cut out of the sides with a jigsaw. The cabinet material is 3/4″ thick.
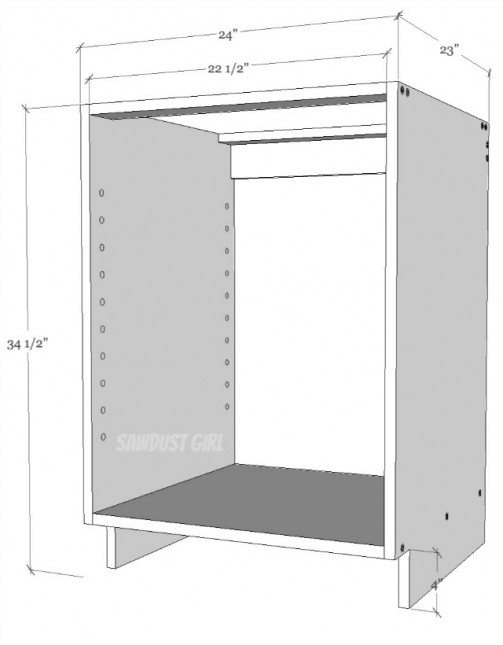
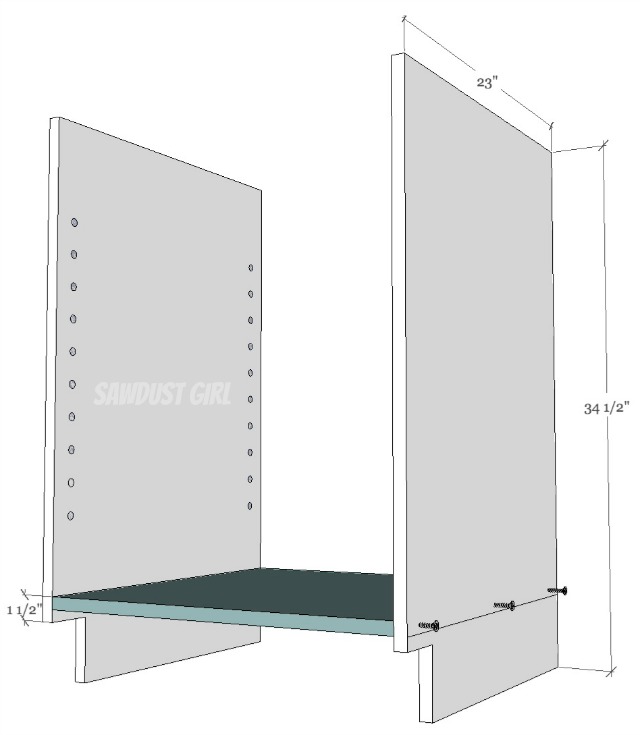
Step 1: Attach bottom to sides
- Use wood glue and 1 3/4″ wood screws.
- Pay close attention to the location of the “bottom”. It will be flush with the bottom rail in the face frame once that is installed.
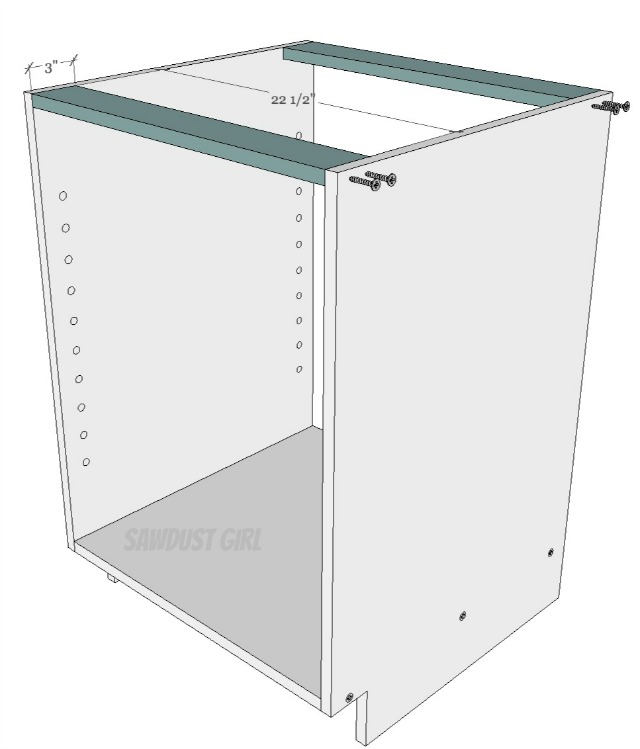
Step 2: Attach top cleats
You can use a full top if your situation calls for it. If you are covering the cabinet with a countertop there is no need to use the extra material.
- Use wood glue and 1 3/4″ wood screws.
Step 3: Attach back cleat
This is what you will use to secure the cabinet to the wall after everything is all leveled. Drive 3″ cabinet screws through this cleat into the studs.
- Use wood glue and 1 3/4″ wood screws.
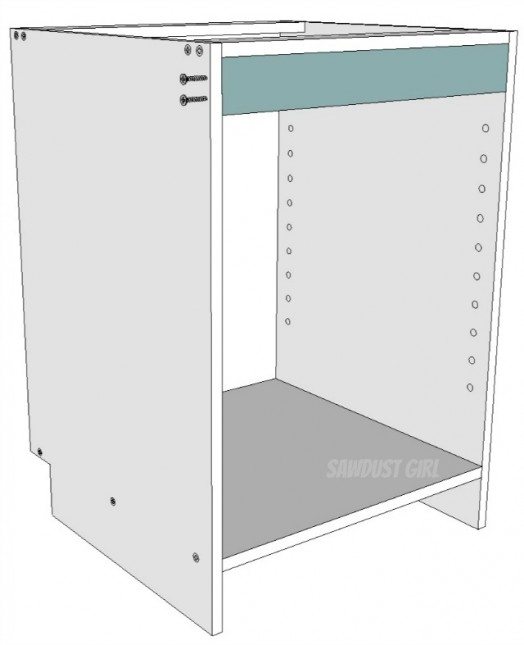
Step 4: Attach back
- Square up your cabinet first
- Use 3/4″-1 1/2″ staples or small screws.
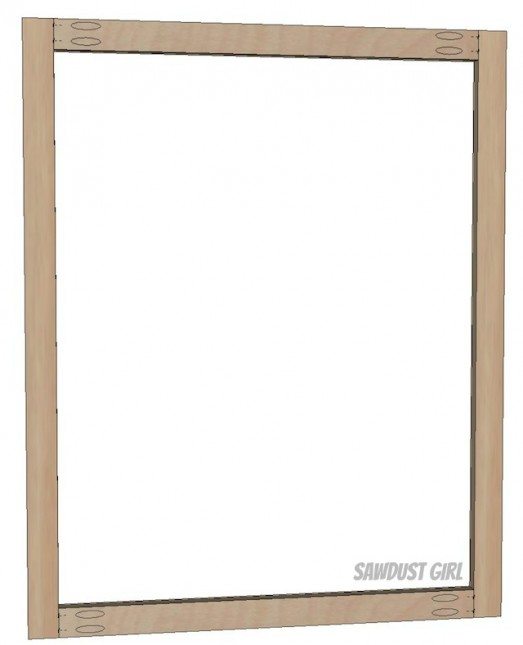
Step 5: Build and Attach Faceframe
A whole tutorial in itself which you can find right here.
Step 6: Nail a “kick plate” onto the recessed toe kick.
- I find it’s easiest to paint this before installing

That is the fastest and simplest method for building a basic cabinet. If the cabinet sides will not be visible after installation this way rocks. If you will see the sides you can still use this method if you cover the cabinet sides with a panel of 1/4″ beadboard, smooth hardboard or plywood or something else. Just make sure to plan for that when you build your face frame.
Get my Cabinet Building 101 eBook. All the information in one place that you can download and keep on hand!
$9.99Add to cart
I just love your blog!
Do you know what the general cost of one of these base cabinets would be? I could probably figure it out myself, but I’m lazy. I just thought you might know offhand. If you don’t, you can just tell me to stop being so lazy 😀
I really love your blog! It’s so informative and has such great projects for inspiration! Every time I read something on your blog I think, “I can do that (as long as I follow the directions)!” So thank you so much for these wonderful resources!
So if the one side was going to be exposed, would I cover with bead board first then measure for the toe kick? These plans are amazing. Thank you so much Sandra.