Framing The Lodge – part 2
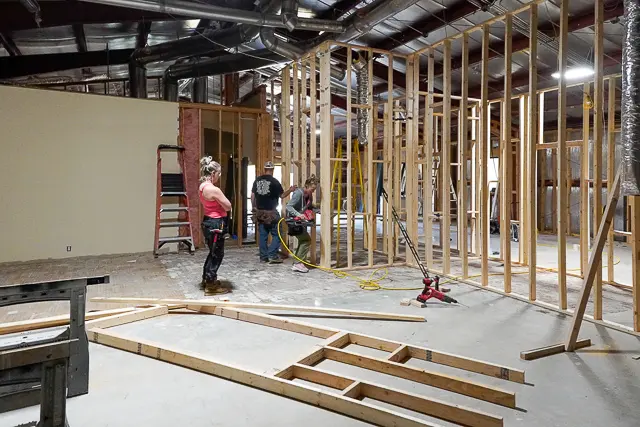
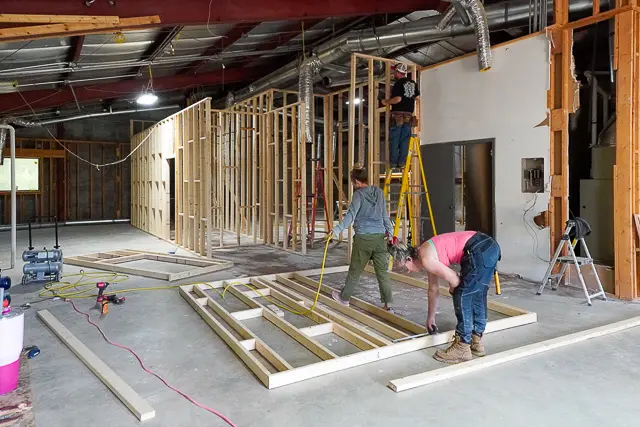
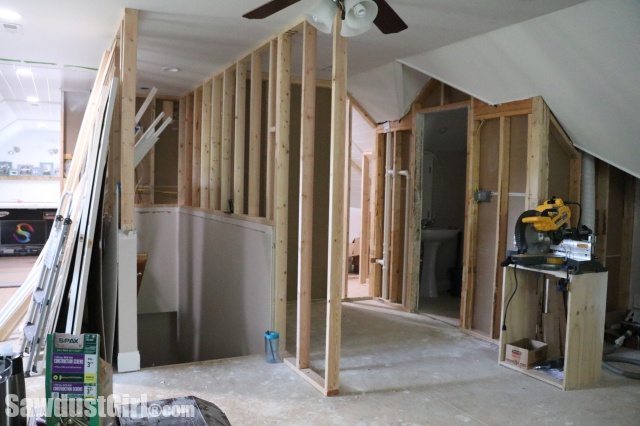
Julie, Terry and I made more framing progress on The Lodge (the upstairs portion of the B&B). We worked last weekend and one day the weekend before. I’m pretty amazed with what we’ve accomplished in three days of work.
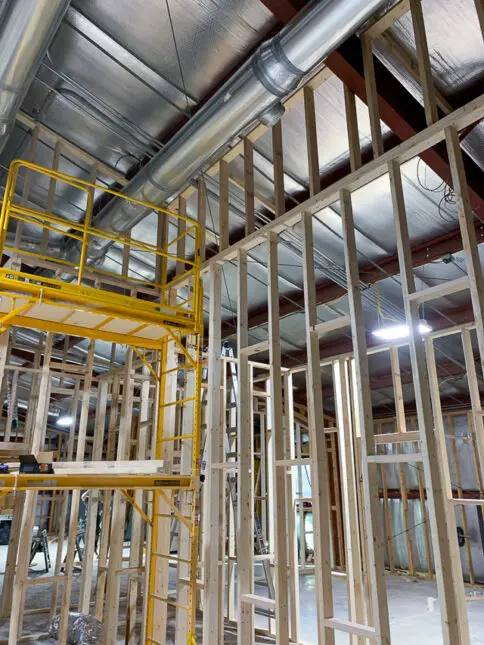
Where we left off last time
If you recall, we stopped early on our first round of framing so I could reimagine a couple things that didn’t “feel” optimal when we were standing in a real life space that looked fine on my paper plan.
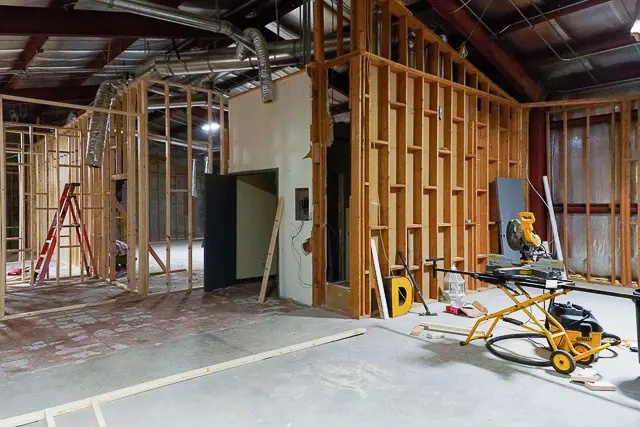
Right Side (Studio)
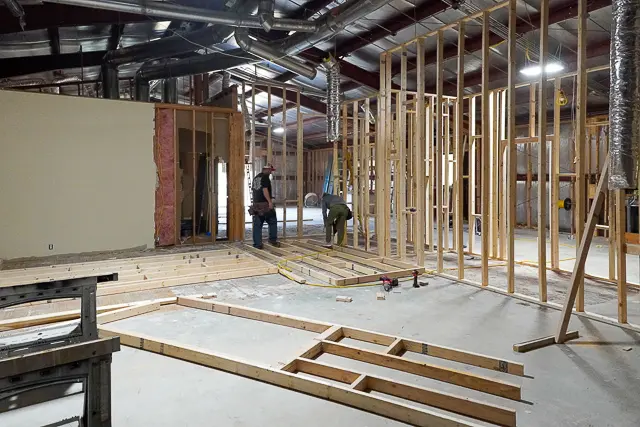
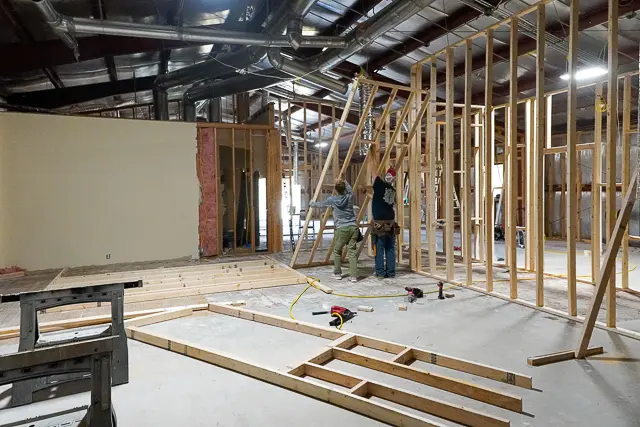
This weekend we took down a few walls, moved them over, relocated doorways, and added more walls.
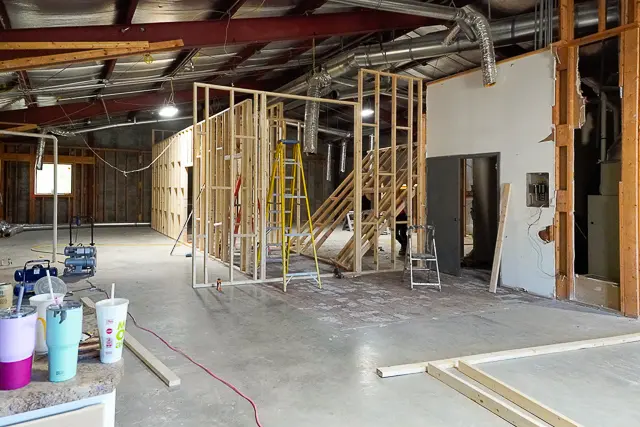
Left Side (Bedroom, Office, and Bathrooms)
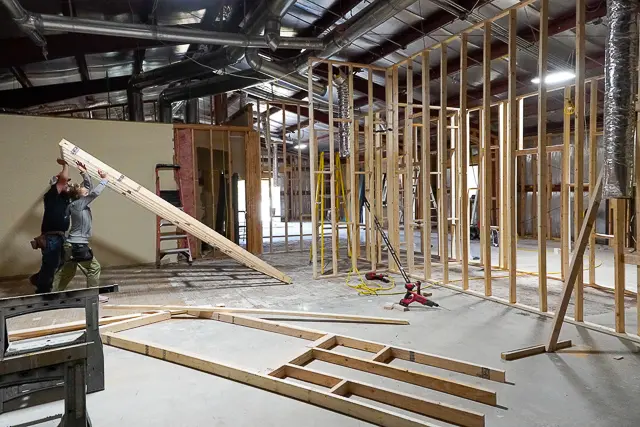
We quickly changed the few other things that needed to be changed and then finished building the rest of the walls.
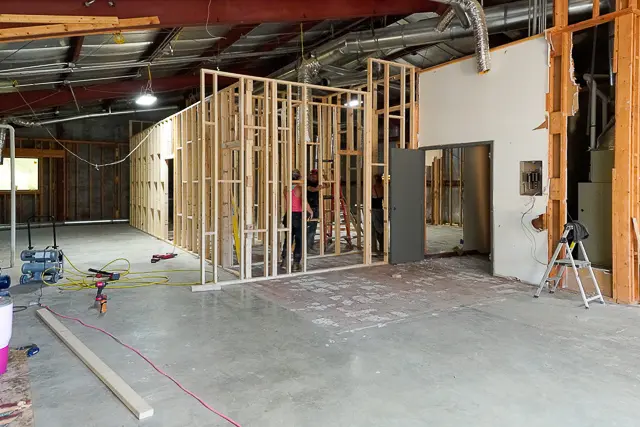
The left side you see us building in the gif below will have a ceiling. The right side and front half we are leaving the industrial ceiling, ducting etc. exposed. (That’s the current plan anyway.)
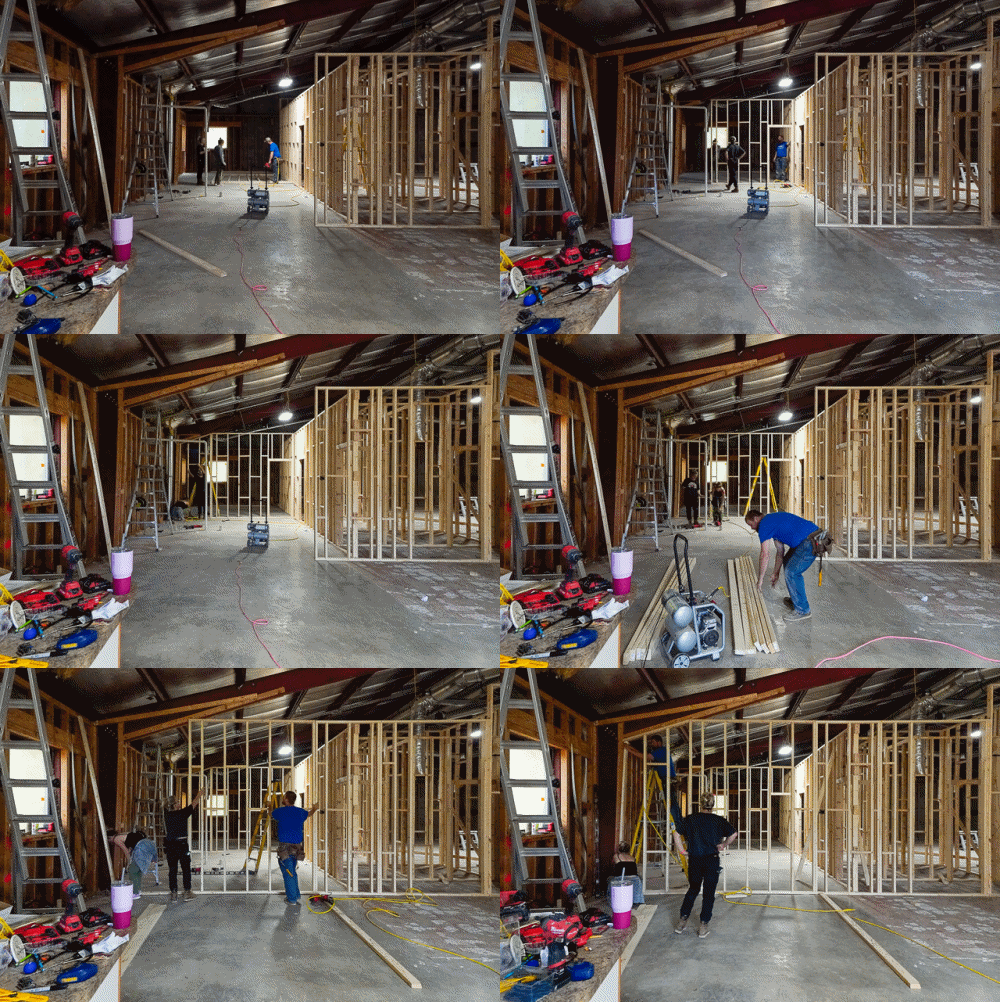
I’m reluctant to show you my drawn plans because I’ve already changed my mind multiple times and it may yet change again. So I’ll just show you what we do as we do it.
Moving Entrance and HVAC
One of the most optimizing changes is at the entrance onto this second level- at top of the stairs. I’m doing away with the double doors because they open up into what will be the kitchen. Instead of walking “straight in”, there will be a door to the left and another to the right.
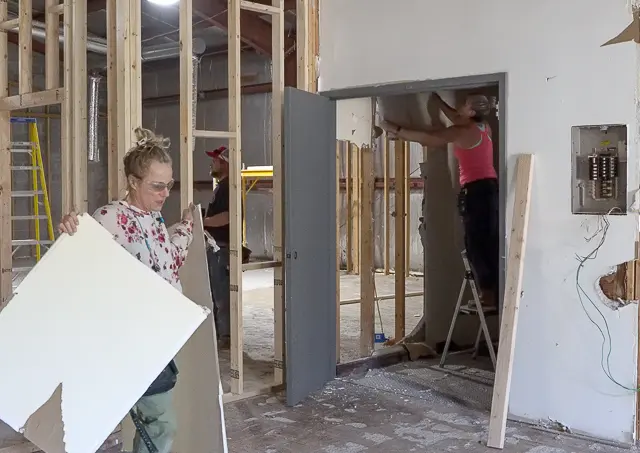
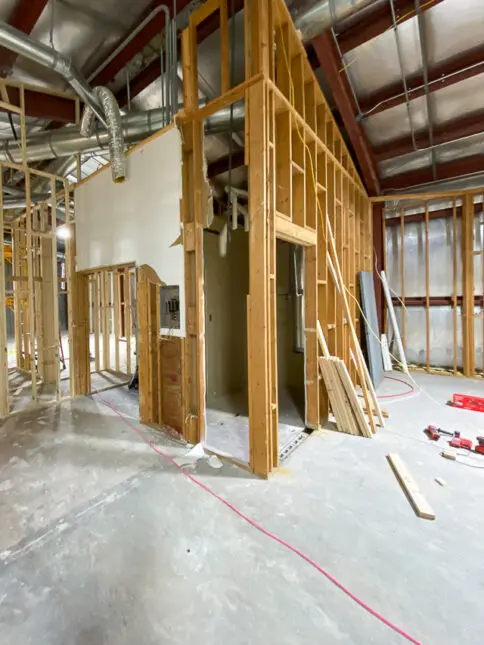
The new HVAC equipment will be located in the “attic”, above the room in which the equipment was occupying allowing that room to become a mudroom.
Upper Section of Walls
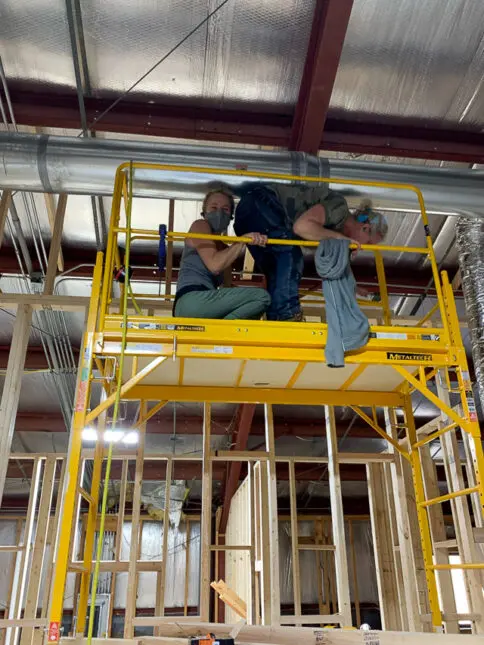
This building is TALL. The ceilings on both floors are very high and the second floor peaks at around 20′. I already had two sets of scaffolding but I had to purchase supports and a safety cage so we could use them stacked. Julie and I worked up top while Terry cut studs to size and handed them up to us. (And rolled us when we needed to move down the wall.)
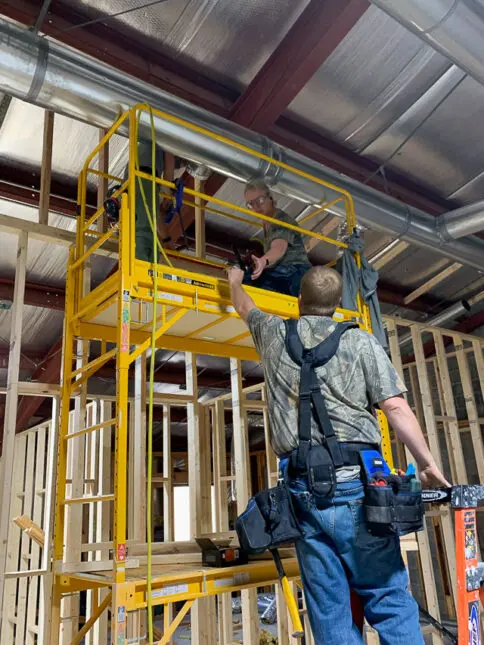
We’ll most likely use the ductwork that was already in place so we had to work around it. Ducking and scrunching around it was a pain but having it in place already is going to save on cost when the new systems are installed.
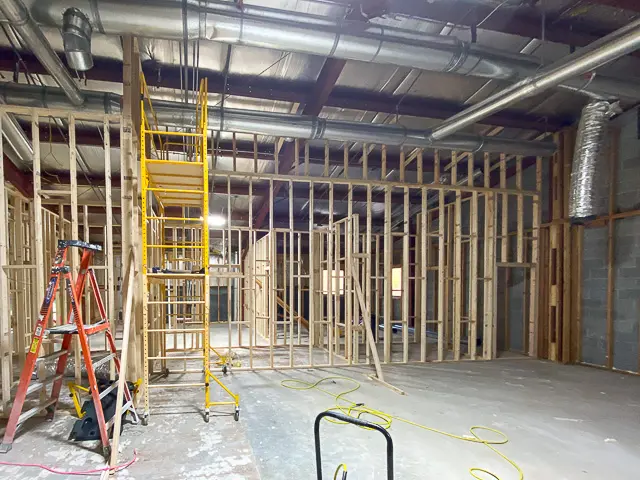
The view from up that high!
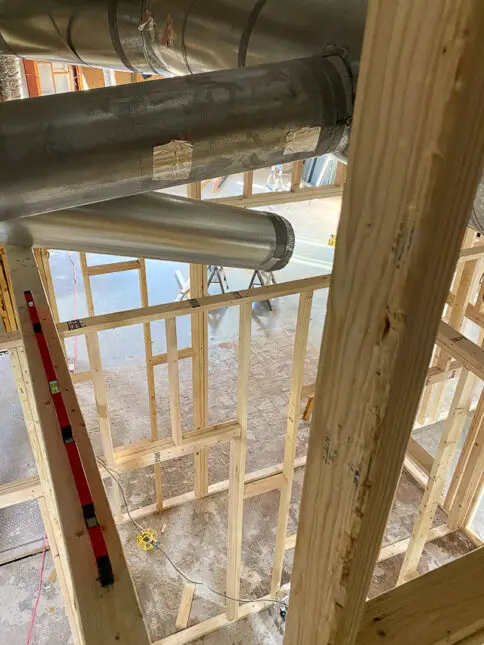
The upper section of wall had to be installed stick by stick. This was especially tricky on the angled walls. I was generally the runner and stud cutter while Julie and Terry installed and yelled out measurements to me.
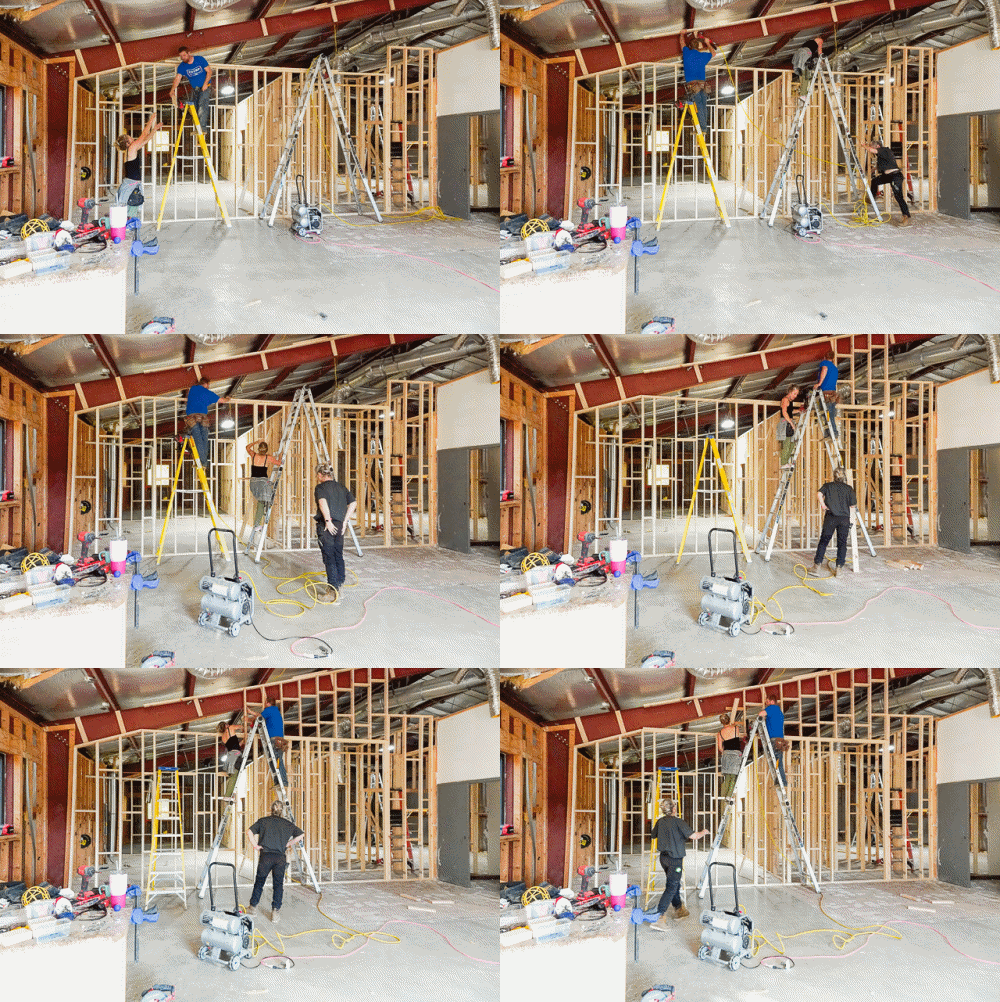
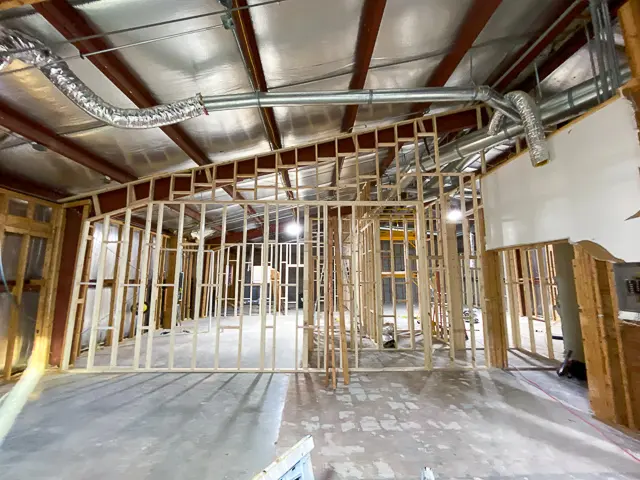
We have another weekend of framing ahead of us and we’re waiting for quotes on insulation and HVAC. This second floor is coming along nicely.
Comparing the second floor to the first floor, starting from scratch and making whatever I want out of a big space is so much easier than demoing and working within the constraints of things that can’t be changed.
It’s practically fun working up here!
Julie may or may not agree with my sentiments!
This place is keeping me busy! See you soon with more updates.
OMG I can totally relate to your videos, been there, done that!
So happy you decided to do a training and teaching program.
I am almost retired in residential remodeling, so glad you are making carpentry accessible to more women.
You go girl!
Connie
The house I have in Indiana has sprayed walls. I hate them. I’m deciding whether or not I want to tackle this. If I choose to when I do my kitchen which is an open concept would you leave the appliances in or remove them while smoothing the walls?
I can’t imagine removing appliances to paint. Only you can decide how much prep you want to do before tacking a project. Is it going to be easier to remove appliances or mask them off?
I think of skim coating a bit like painting. I’d mask everything off for sure but depending on HOW you sand, it could get really dusty. Good luck with your decision and with your project!
I love following! Want to build myself soon!
Thanks for sharing your progress. I can’t wait to come and take classes!!!
❤️ it’s coming along!! Congratulations 🍾🎉🎊🎈