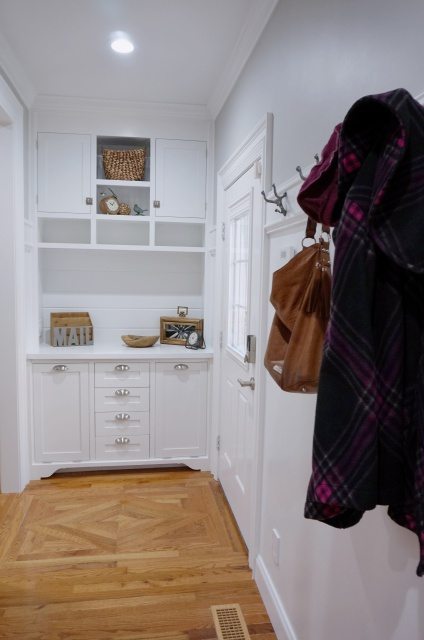
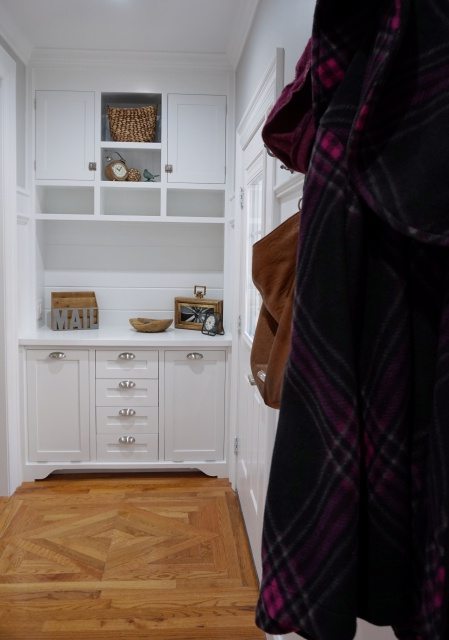
I finished up the Kitchen Entry project with lots of moulding. ‘Cause moulding makes everything awesome! I’ve already shared the Decorative Columns I built and how I added Crown Moulding. Today I’m finishing up with baseboards and a decorative coat rail! (And I’m sure it won’t surprise you to see I re-painted part of my walls too.)
This post is sponsored by Metrie. I was provided with materials and compensation to share my creations with you.
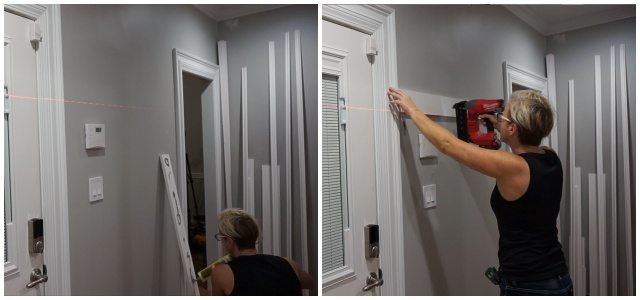
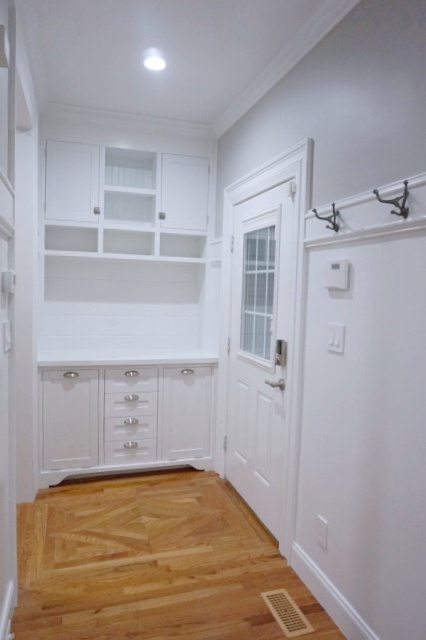
I was originally planning on putting hooks in the hutch area because I had hooks there when it was a bench and that is where I hung my purse. Now that this is an, almost completely completed, functional entry, I realized that we need somewhere to hang other things, like coats. So I decided to put in a coat rail. (I think I made up that name. It’s like a chair rail but it’s higher and has hooks on which to hang up coats.)
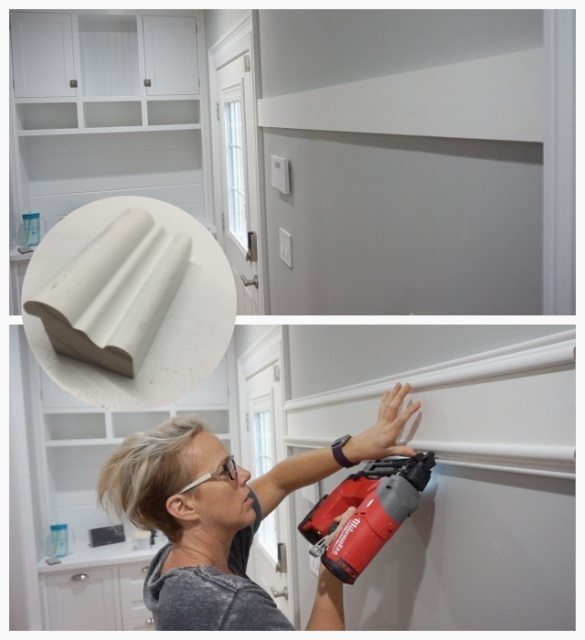
I used construction adhesive and nails to install 5 1/2″ Fingerjoint Pine Flat Stock. I’ll refer to this as a 1×6. I added construction adhesive because this is the pocket door wall and I don’t have any real studs to nail into on half the wall.
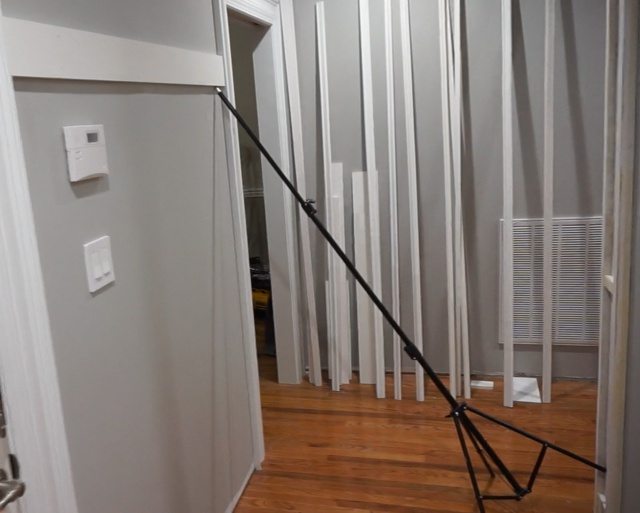
I didn’t want the rail sliding down while the adhesive cured so I jarred an extension pole between the opposite wall and the rail. It worked!
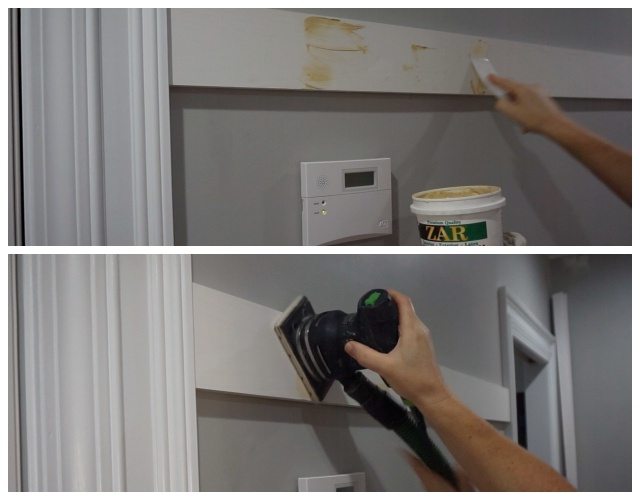
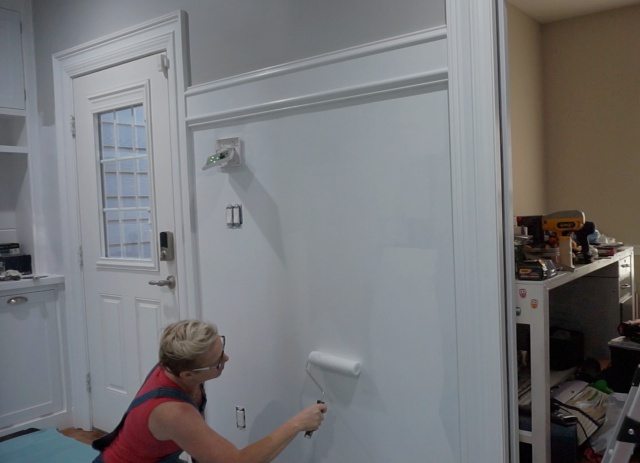
I filled, sanded and painted the 1×6 before moving on so I could roll the paint on at this point. Rolling is easier than brushing.
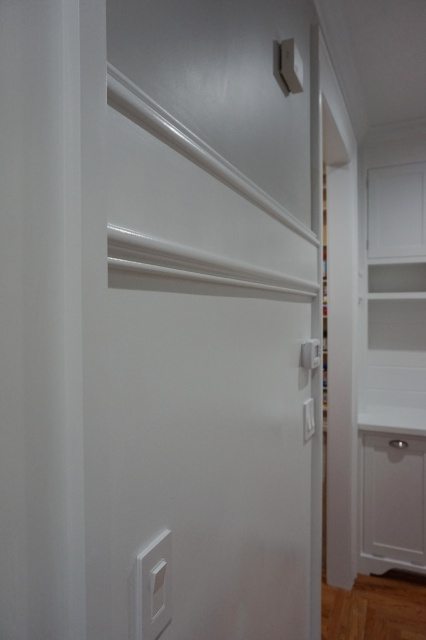
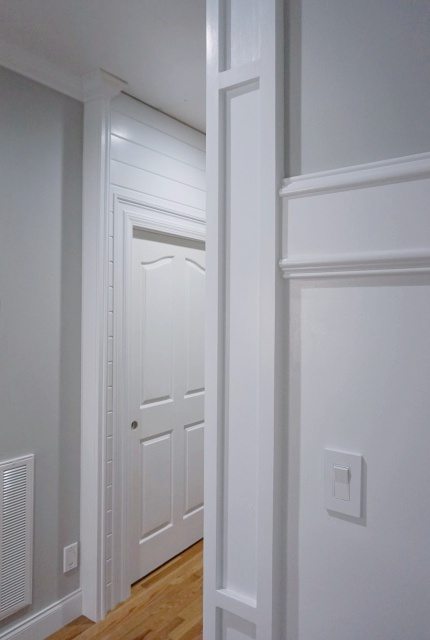
Next I added an applied moulding to the top and bottom of the 1×6. This is Metrie’s 42PR Pine panel mould. It’s the same moulding that I used on the decorative column/end of the plank wall.
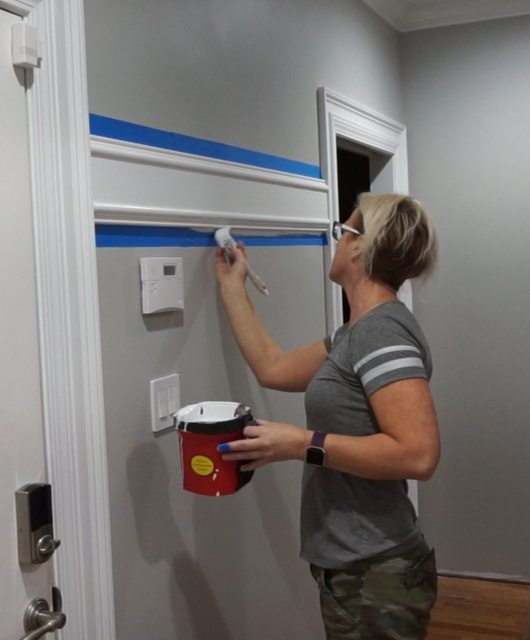
Next I painted the moulding with a brush. Flat part was already painted. Boom!
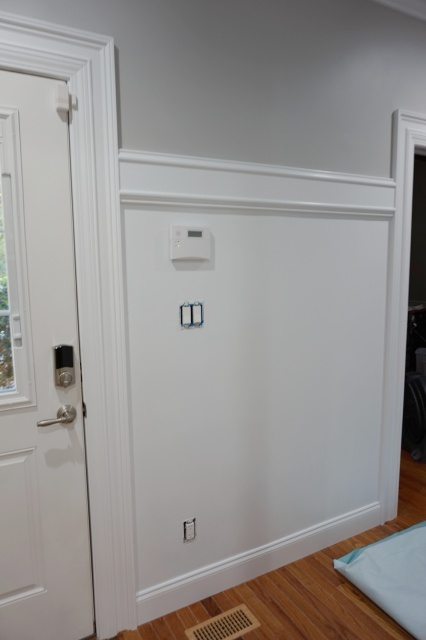
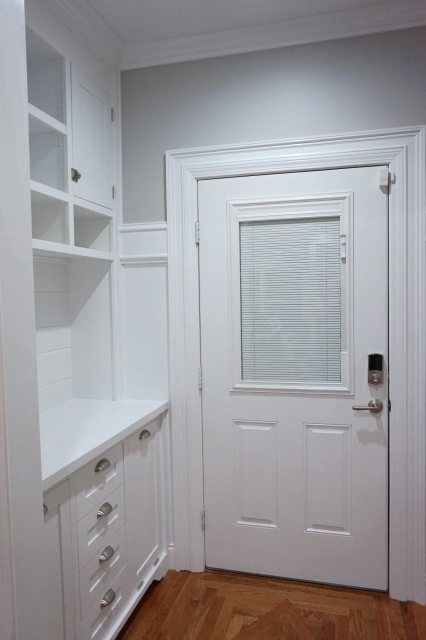
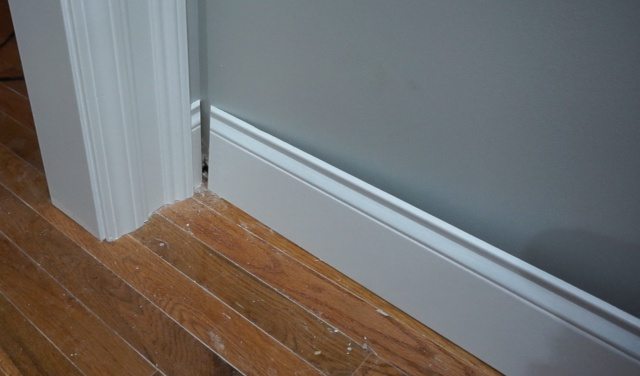
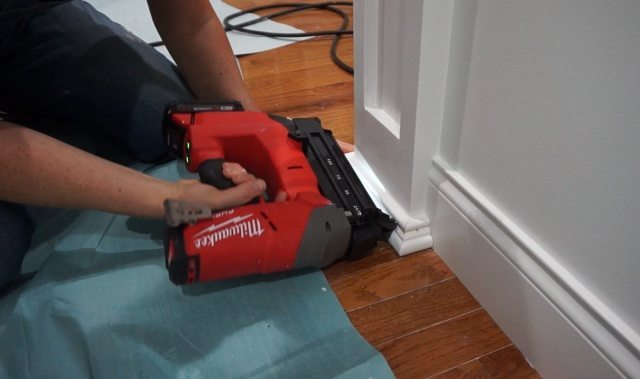
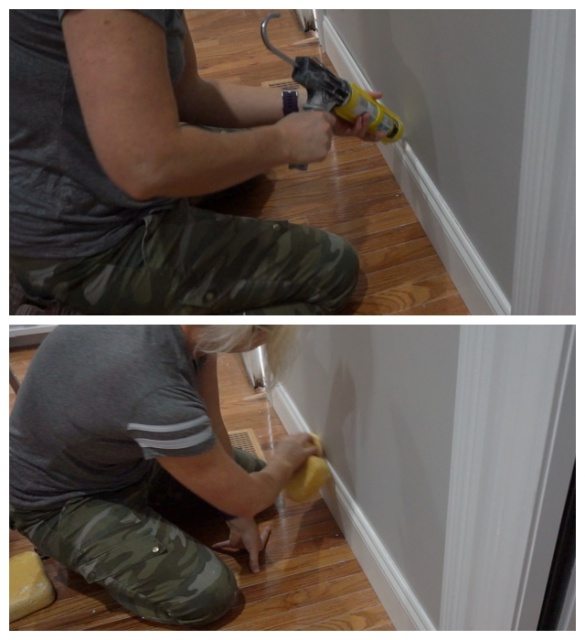
Then I installed my baseboards. Again, I used construction adhesive on my pocket door wall and then caulked to make it pretty. I use the same 5 1/4″ Metrie baseboards throughout the house.
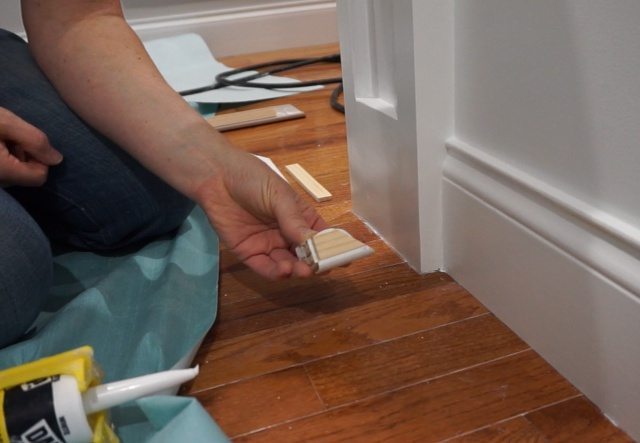
I installed all the baseboards in the entry space, including the small reveal behind the new pocket door trim. I use caulk to set those small pieces in place. If I can get a nail in them too, great. If not, caulk will hold them just fine.
THEN I decided I wanted to re-paint the walls under the coat rail. I went with the same color and sheen (SW -Decorator White in semi-gloss) as the coat rail. The Light French Grey is a flat paint and the semi gloss will hold up better against wet jackets and such.
In installed the decorative coat rail on the opposite side of the hallway too. (The other side won’t get hooks though –so it probably wouldn’t be called a “coat rail”.) I think having hooks on both sides of the hallway would make it feel cramped when walking through. If you were wondering. Probably didn’t need to worry about moving the thermostat because I won’t hang anything on the wall after all. It feels better moved over, regardless.
I left the end wall all grey. It is part or a whole other hallway and I may change my mind again when I get to that hallway. For now, the end wall is all grey. The columns and crown moulding look great!
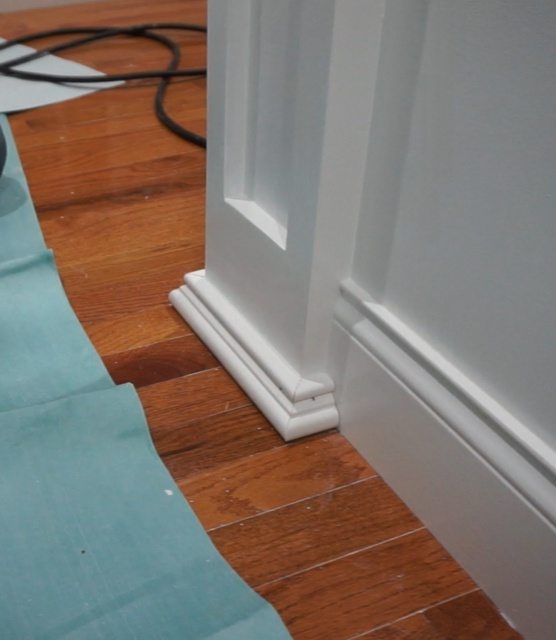
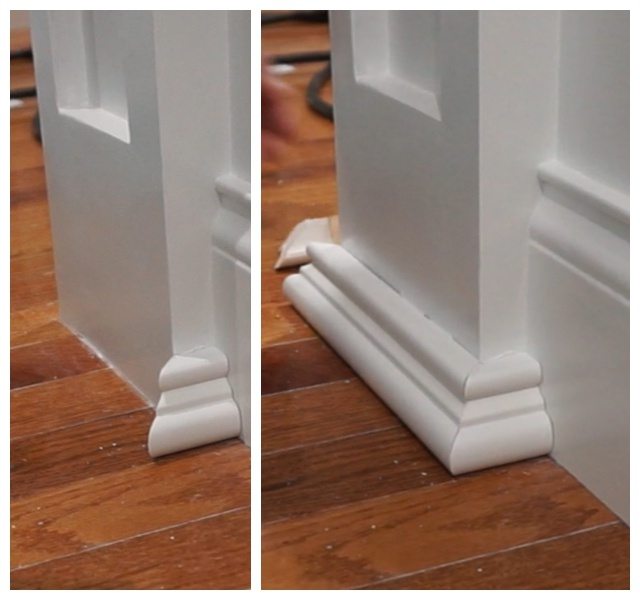
But I wanted to add something to the base of the column. I held a piece of the 42PR Pine panel mould in place and loved the look so I trimmed out the base in that.
I ripped some pine to fit into the rabbeted edge of the moulding and used caulk to glue it in place. It probably wasn’t necessary but I put it anyway. In case a lead footed someone ever kicks the moulding. ‘Just seemed like a good idea.
I mitered the corners, adhered all the pieces with caulk and nailed them into place.My eyeballs are so much more happy with this architectural column than they were with the plain, drywall corner. All the chunky moulding really MAKES the project.
I love lots of moulding- and I love that this “one” day remodel is DONE!
Some tchotchkes are purely decorative but most serve a functional purpose. My favorite thing is the wood bowl that holds my keys. Well, I guess my absolutely favorite thing is — now this space is ready to be lived in.
I’m already loving the function of the coat hooks and all the storage drawers. No more cluttered bench!
The kitchen entry hallway is definitely more functional now and it’s an added bonus that it’s so dang pretty. I love walking through here every day. Even though my one day turned into 28 days — it was worth it.
This post is sponsored by Metrie. I was provided with materials and compensation to share my creations with you. Check out Metrie.com to see the entire line of interior moulding and doors.
Jake's a Girl says
Hubby and I think this a beautiful ending to the best “Day” ever! You knocked this one out of the park!
Kate says
Oh wow – this was well worth a month of your time (I say comfortably from my couch). It looks SO GOOD! I love everything about it. And I love reading along as you make decisions and change your mind – love it all! xx
feral turtle says
Beautiful as always Sandra! Great job. Cheers.
Ken says
Sandra Your idea and the way you cut the curve molding was really a great idea. Where do you live? I’d like you to see the old church I’m planning to make in to home.
You have great ideas I will view them all. Keep it up…… Ken
Sandra says
Thanks, Ken! That sounds like an awesome project–I’d love to see your end result. Happy Holidays to you!
Tammara says
Outstanding!! Extremely talented, you are! Looks gorgeous. Was a little confused about you using nails in addition to construction adhesive cause if you have a pocket door didn’t think you could nails..Maybe the drywall is thicker than the one I used.
“I used construction adhesive and nails to install 5 1/2″ Fingerjoint Pine Flat Stock”
Jo says
Wow….it’s gorgeous!!!
Dale says
Beautiful job. Would you mind explaining how you added the moulding around the existing doorway moulding? Thanks
Julie@followyourheartwoodworking says
I like how you use so much moulding, it’s very pretty!
Elizabeth baker says
Congratulations! It’s so beautiful. And…just in time for Thanksgiving!
Jill says
woot!! woot!! 😀
TucSonPatty says
It is beautiful! I love the white and gray paint colors. You did an awesome job!
Sharon C says
Wow, it’s absolutely gorgeous…..what a lovely welcoming entry point and so very practical. I just love all your attention to details, crown molding, decorative post, coat rail……it’s so worth it and makes it look oh so classy!! Job well done Sandra. Can’t wait to see your next project. Happy Thanksgiving!
Sandra says
Thank you so much, Sharon! 🙂
OrangeBlossom says
Inspiring! Love the idea of painting the wall under the coat rail different than the wall color. Such great ideas! Thanks for giving me confidence that women can do these things.
Carolina says
I wait until the end to make a comment. This is great!! I love your one day relovation.
Stacy says
It looks amazing Sandra!!!!
Mrs mike says
This looks beautiful!!! I loved this series as it’s given me some great ideas for when we tear out our coat closet (the space is going to expand our pantry on the other side) and plan to do hooks on the new wall for storage as well. Thanks for the excellent tutorials as well.
Sandra says
Awesome! I’m glad to help. 🙂 Hope your project goes well! Thanks for the lovely comment.
Cassie says
You are amazing! This was a fun project to keep tabs on. It is probably my favorite entry I’ve ever seen. Thanks for sharing.
Sandra says
Thank you so much! 🙂
Jacqui says
Looks amazing – loved following along on this project. You are so talented.