Festool Systainer Storage Cabinets
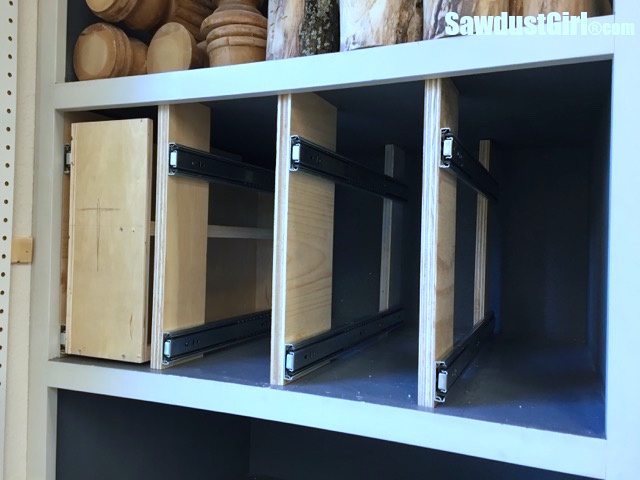
I finally finished one of my workshop projects! After years of dealing with getting to the bottom tool in a stack Festool Systainers, I finally took the time to build an organized storage solution. These cabinets have shallow drawers that each hold one Systainer (the plastic storage boxes). The drawers are deep enough that I can open the Systainer and access the tool, without removing the Systainer from the drawer.
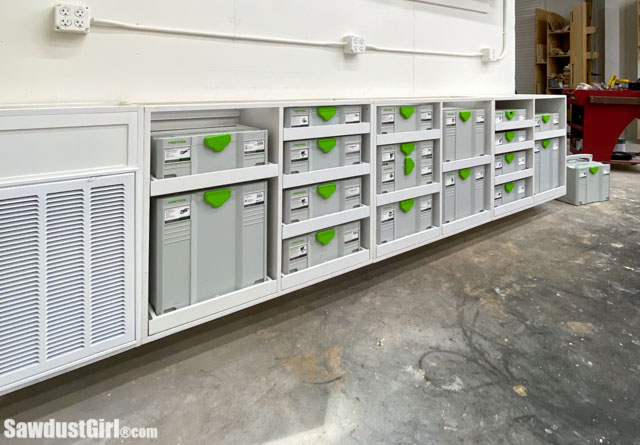
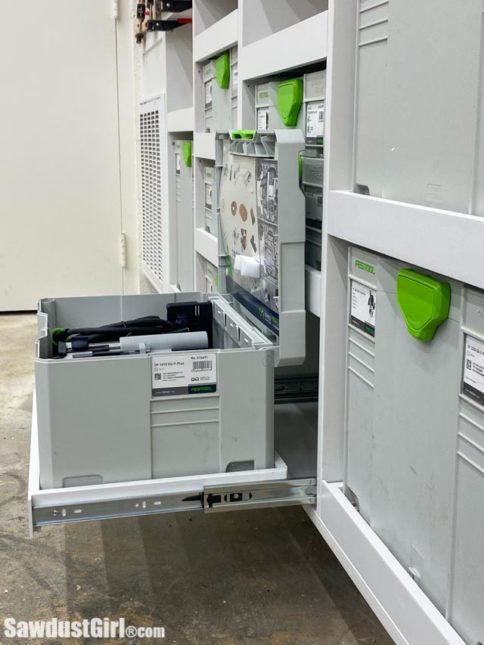
It took a little experimenting for me to get my drawer design just right. I’ve included free downloads for both the cabinet and drawers at the end of this post. The drawers in the download are for the final design. (If you are one to closely inspect all of the photos in my tutorials, please note that I grabbed screen shots from my video footage that would “tell the story” of building these things — but they might not be the drawers that match the final plan and download.)
Building Storage CABINETS for Festool Systainers
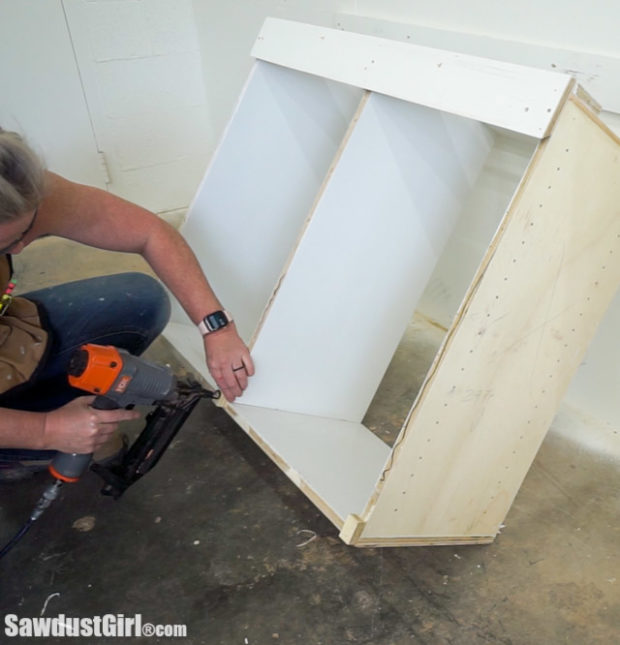
These are what I call “quick and dirty” cabinets. They are built simply and with butt joints, secured with 1 3/4″ screws. That’s how I built mine anyway. You could get as fancy as you want with the construction. I wanted these done quickly so I went simple. The drawers will be secured to the sides of the cabinets so there won’t actually be any weight on the cabinet bottom.
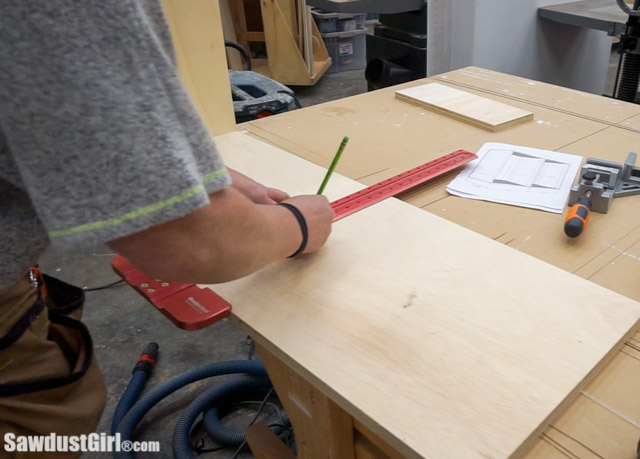
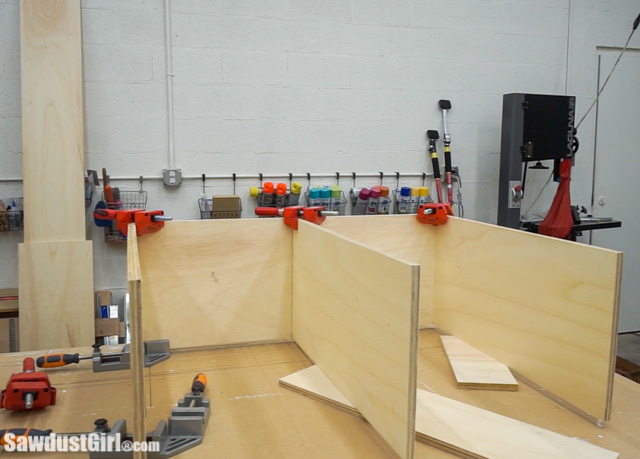
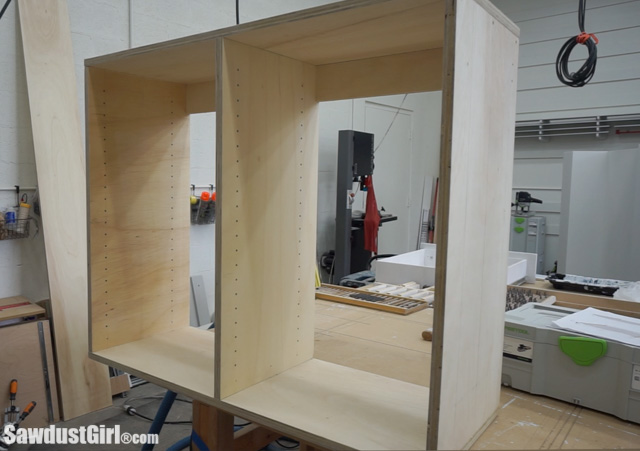
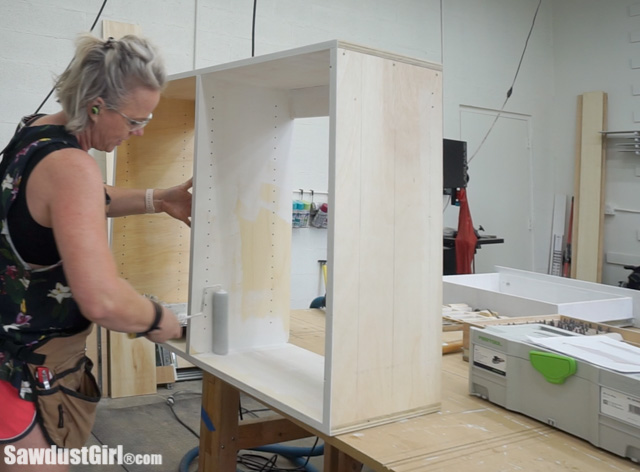
I have probably shared all these tips before in Cabinet Building 101, but I’ll bulletpoint a few for your convenience.
- Mark the location for the center divider on BOTH sides of the top and bottom parts. Use the inside marks to align the center divider. Use the outside marks for screw placement.
- 90• corner clamps keep parts square to each other while you secure them.
- You can get a good, clean finish by painting plywood edges without edge banding. (MDF too – but I didn’t use mdf.)
- It’s easier to prime and paint BEFORE assembling. If you’re using wood glue as part of assembly, don’t paint. Wood glue generally adheres to primed wood though so go ahead a pre-prime regardless.
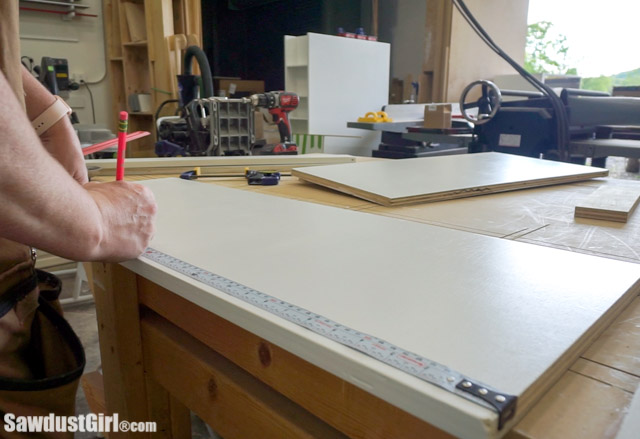

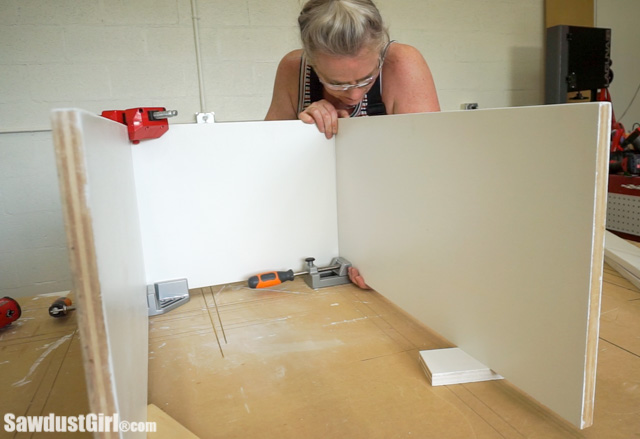
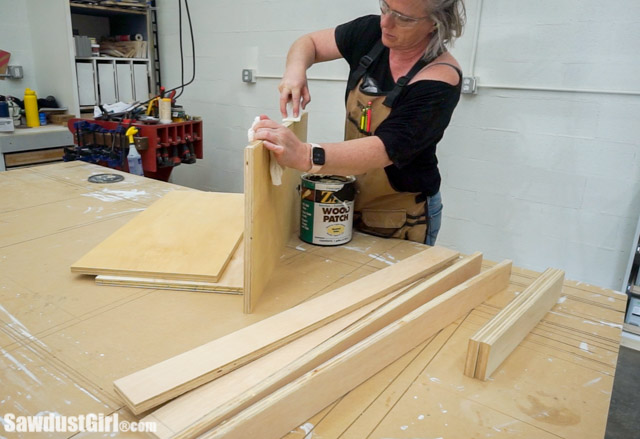
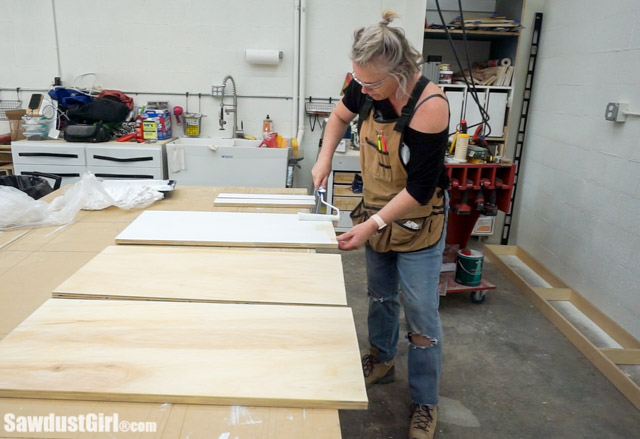
Alternatives and things to note
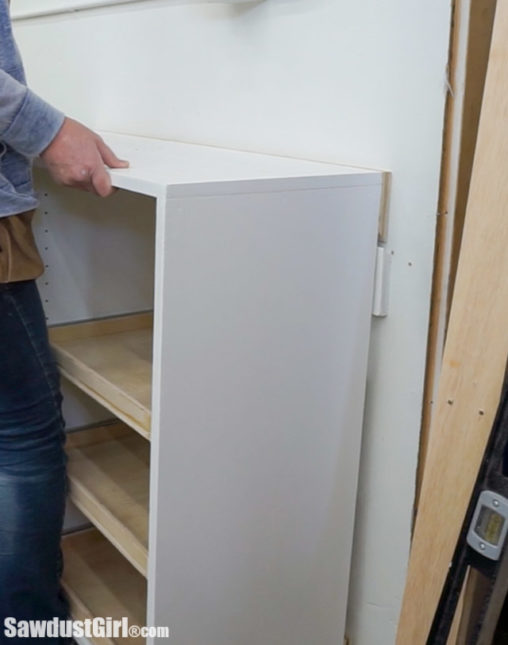
One thing I changed after building my first cabinets was the top. I switched from a full piece to two cleats, simply to stretch my material. I’ll be putting a countertop over the whole bank of cabinets so I don’t need full tops.
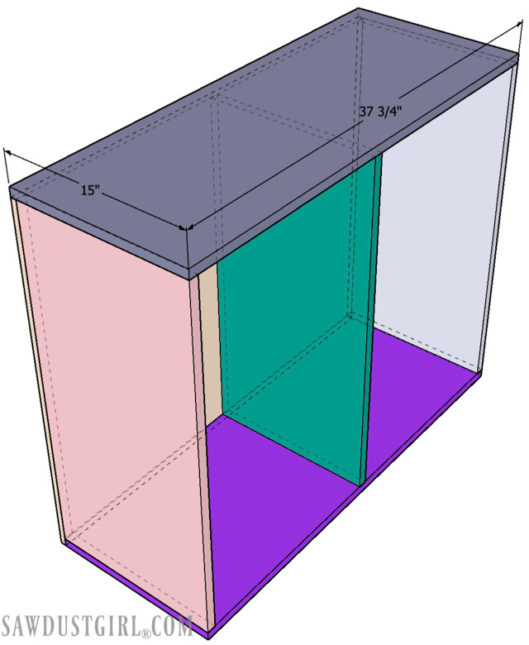
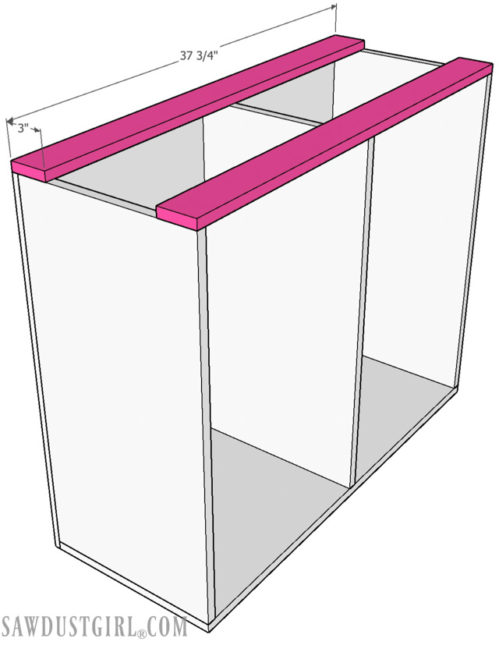
There’s also several options for the cabinet back. I skipped a full back and used pocket holes to attach cleats inside my cabinet. Then I attached a French cleat to use to hang my cabinets.

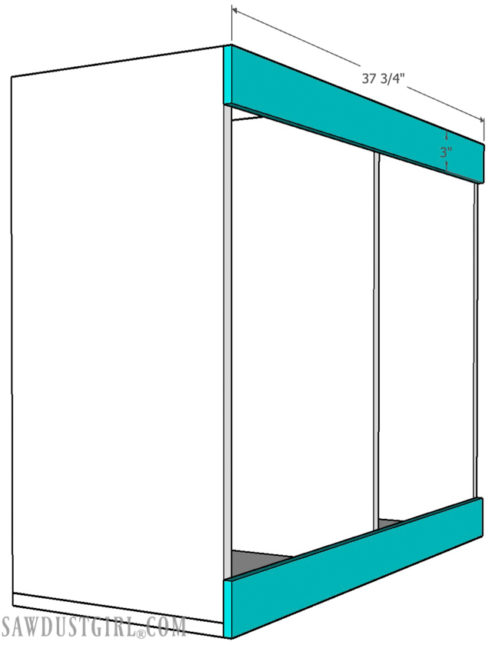
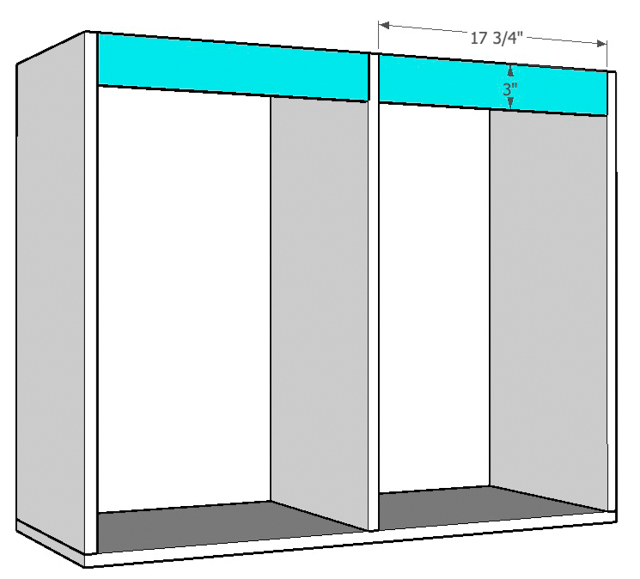
The cabinets have a center divider so you get two columns of drawers in each cabinet. You could certainly build single cabinets but it would use more material. You could also certainly build a triple column cabinet but once they get too big, they’re hard to handle. A double was about my limit.
Sizing the Cabinet for Drawers
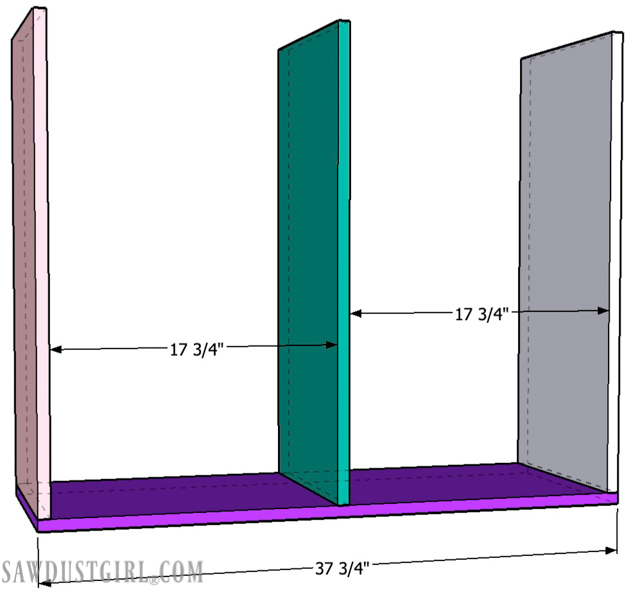
Width
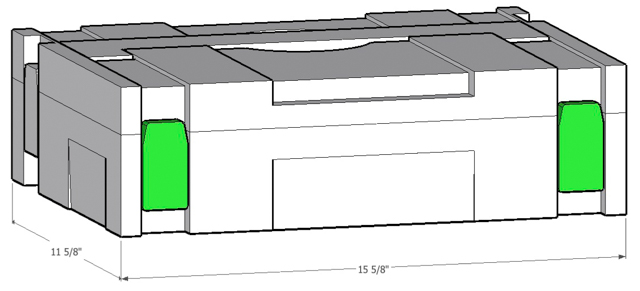
I sized the cabinet opening with these points in mind: I’d be using 1/2″ thick drawer slides, 1/2″ thick drawer material and the Systainers are about 15 5/8″ wide. I left a little wiggle room in the width as I didn’t want the Systainers fitting in super tight.
Depth
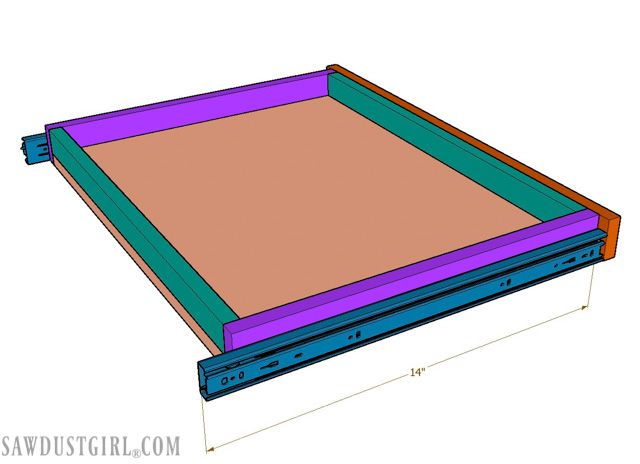
I wanted my drawers to pull out far enough that I could open the Systainer and retrieve a tool, without removing the Systainer from the drawer. I determined that 14″, full extension drawer slides would allow for that. My cabinets are 14 1/2″ deep because I want the false drawer front to recess inside the cabinet and I’m using 1/2″ MDF for my false fronts.
DRAWERS
Again, I used the simplest construction method possible to get the first batch of drawers built. 1/2″ plywood, glue and nailed together.
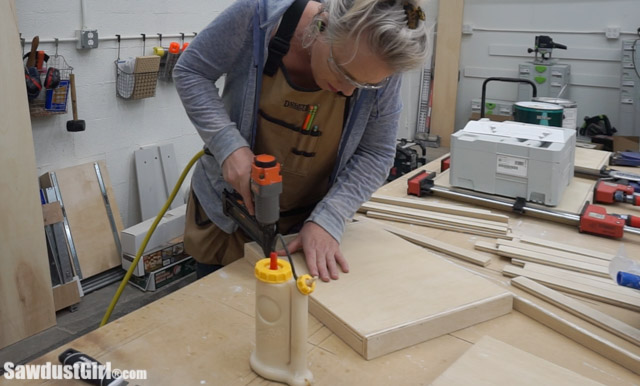
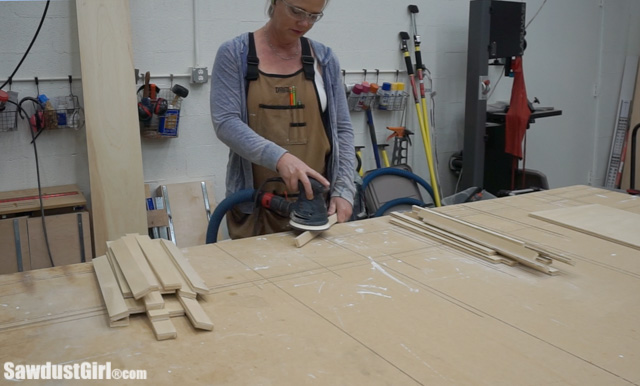
I did take a minute to sand down all the sharp edges before assembly. It’s just way easier and faster to do it before.
Testing Drawers
Once they were built, I experimented a bit with installation. In my first cabinet, I drilled shelf pin holes thinking I’d use them for drawer installation. That way I could reconfigure the drawer location as my Festool collection grows. With all my planning, the holes I drilled did not line up where I needed them to. I used normal screws, which went really fast and I decided it wasn’t worth the time to drill holes in any more of my cabinets.
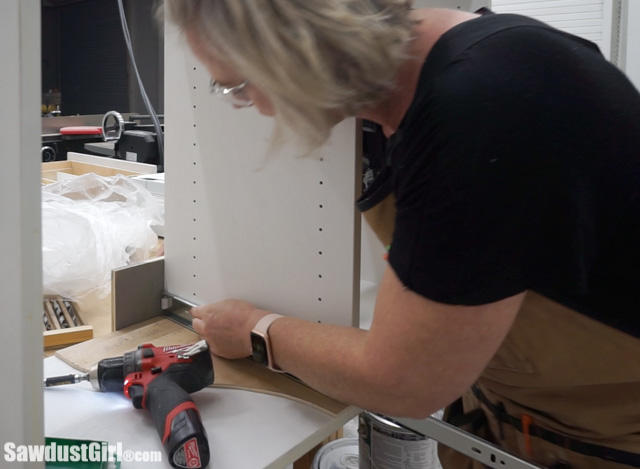
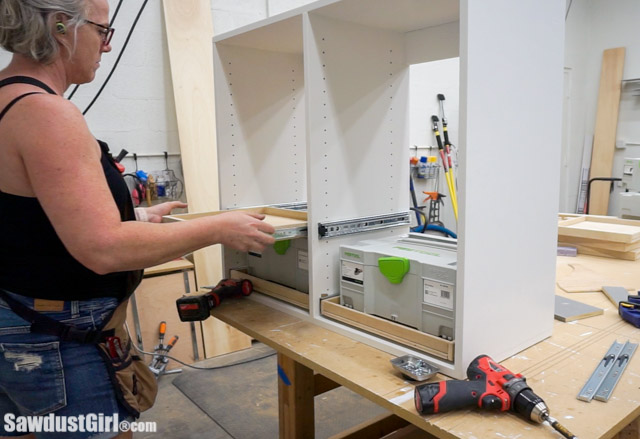
I didn’t spend too much time configuring drawers until I got all my cabinets built and installed on the wall. I just put in enough drawers to put in some Systainers and see if I’d planned well and I could open the lid and easily get to the tool inside. Once I tested out my initial cabinets and drawers — I built 2 more “double” cabinets and what felt like a gazillion more drawers.
French Cleats
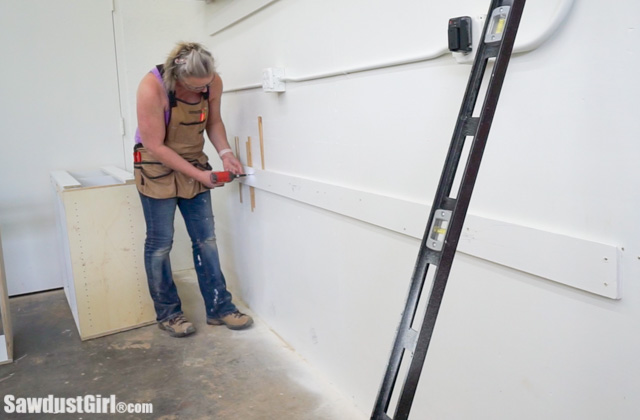
I initially built a base and started installing these cabinets on one wall. At some point, for a reason I don’t even remember, I decided to hang them on a different wall. So I attached a French cleat at the top and small blocks at the bottom (because I didn’t want to waste material on a whole additional cleat.)

As I write this up, it seems odd that I was THIS frugal with my lumber. I think I was using up all the lumber I had on hand because this was somewhere around full-on “shelter in placing” on account of CV19 and I didn’t want to get lumber that I didn’t absolutely need.
This wall is wonky as all get-out so I had to shim the wall cleat so it would be flat.
More Drawers
My first batch of drawers, I built 14″ deep, simply because my glides were 14″ long. This is too deep to keep the Systainer from sliding back and forth. I added a couple MDF scraps behind them to keep them pushed to the front of the drawer. The extra 2″ (or so) is enough to allow the Systainer lid to stay open while the drawer is pulled out.
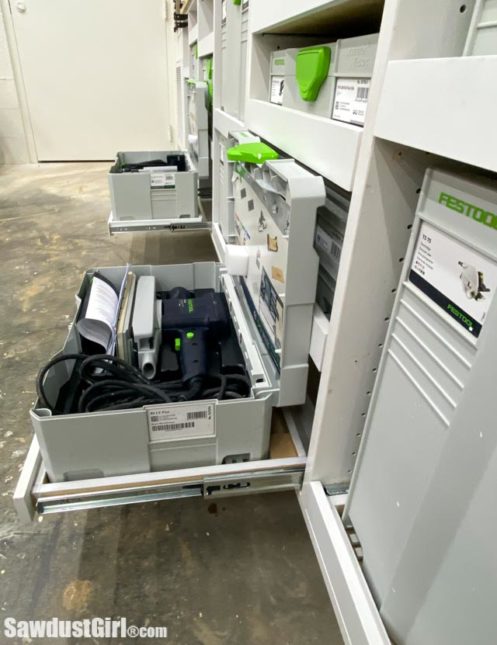
I decided to scrap that wasted space in the drawer which “saved material” and I didn’t have to do the extra step of adding blocks to keep the Systainers in place. Plus, it just looks cleaner.
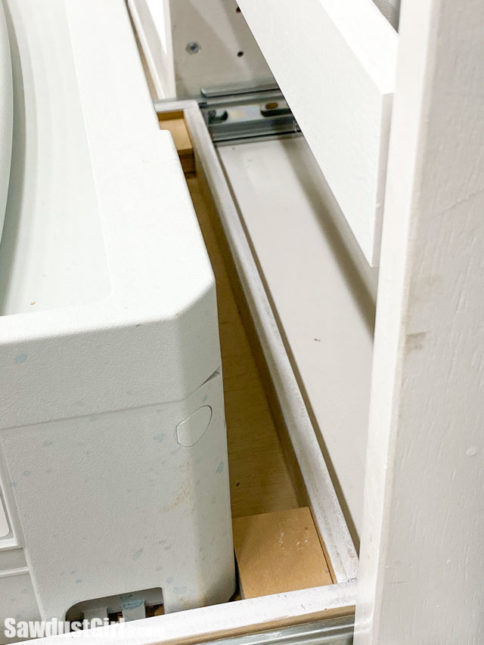


I used 1/2″ MDF for the drawer fronts, attached using the same method I use for regular cabinets.
Probably the hardest part of this project was configuring the tool layout. I moved a lot of drawers in an effort to get all the “like” tools grouped together while making the most use of the space available inside the cabinets. I didn’t end up with enough space to house all my Festool Systainers so I’ll need to build few more cabinets that will go above these. For the time being, this is a GREAT improvement over having them stacked against the wall. Mainly because the stacks didn’t stay stacked on account of me needing access to the tool that I needed always happened to be on the bottom of the stack.
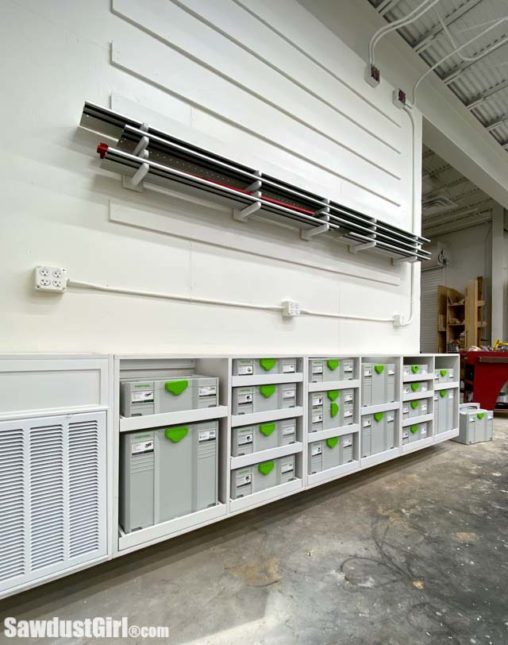
No more moving one Systainer to get to another one. Simply pull open a drawer and open the lid of the one plastic box I need access to.

Free Downloads
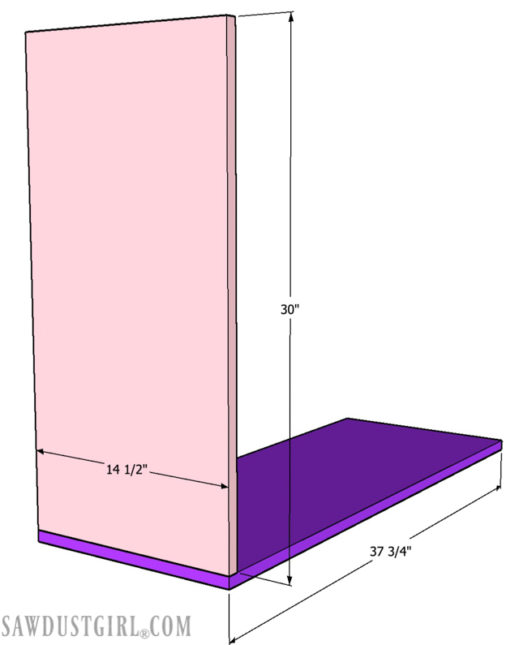
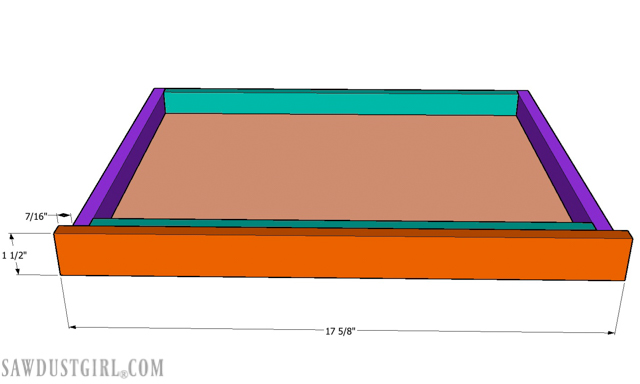
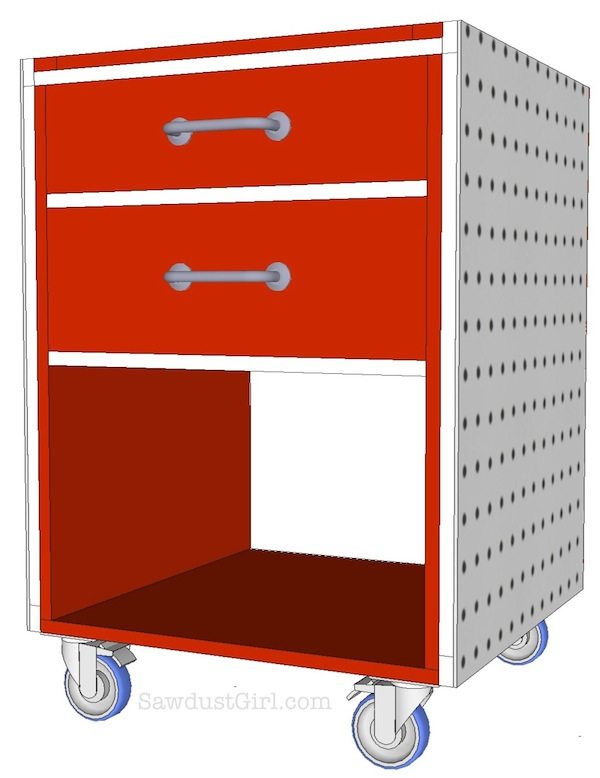
If you want to see more details that you can see on the small photos of my plans in this post, I’ve included full sheet PDF’s for both the Cabinet plans and the Drawers.
FYI: What you see here is what you get. The included downloads are simply the full sheet drawings that you see below.
Systainer Storage CABINETS



DRAWERS for Systainers


Thank you so much for sharing this wonderful design. It really helps us newbies! I’m starting my first Festool storage cabinet today.
thanks, Just want to be on the mailing list