I have ONE more drill bit storage organizer to share with you, this one is for regular ole’ drill bits. The dividers are permanently fixed but the labels can be rearranged to accommodate new bits. Like in my adjustable pegboard divider organizer where I store my Spade and Forstner bits)
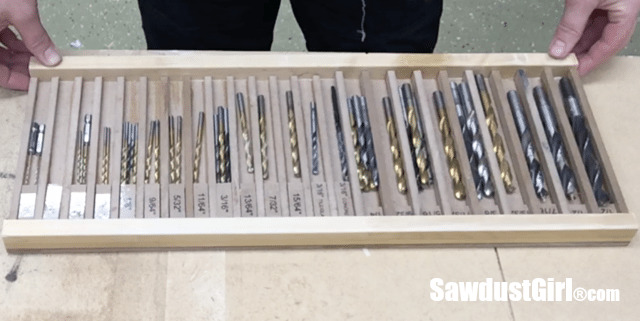
Drill Bit Storage
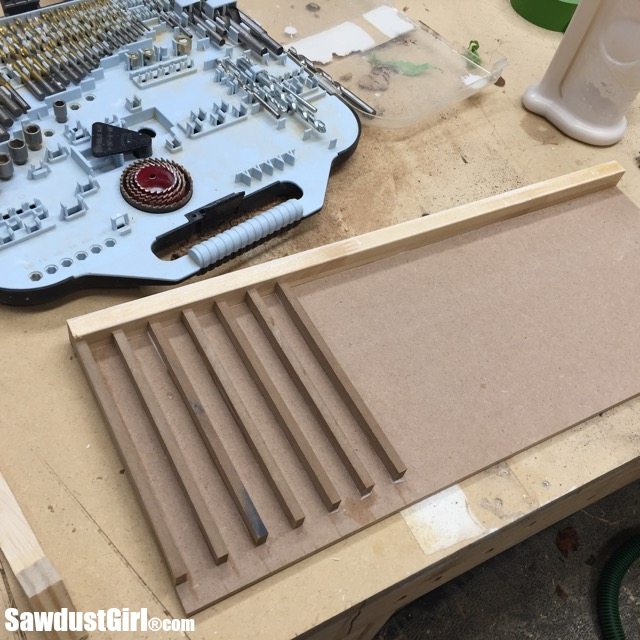
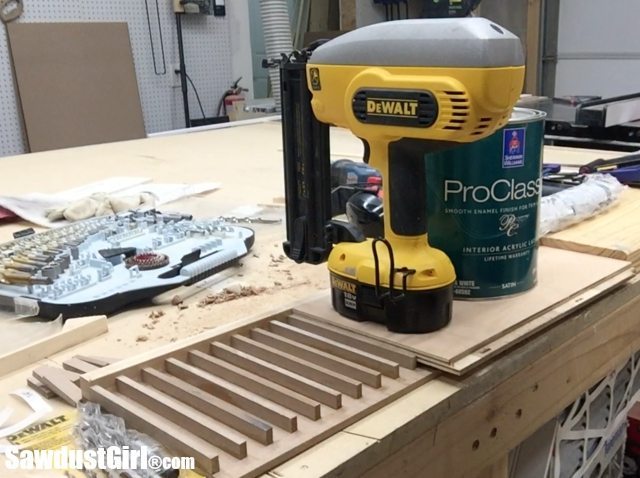
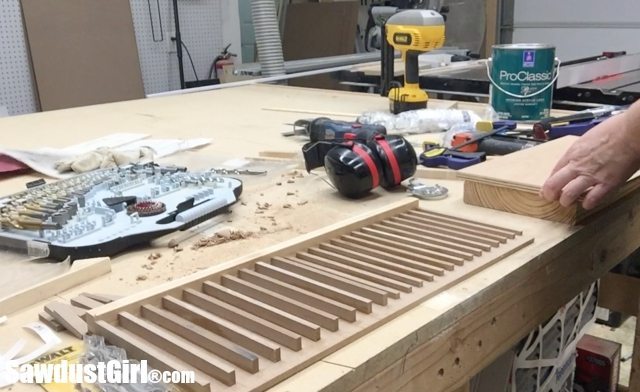
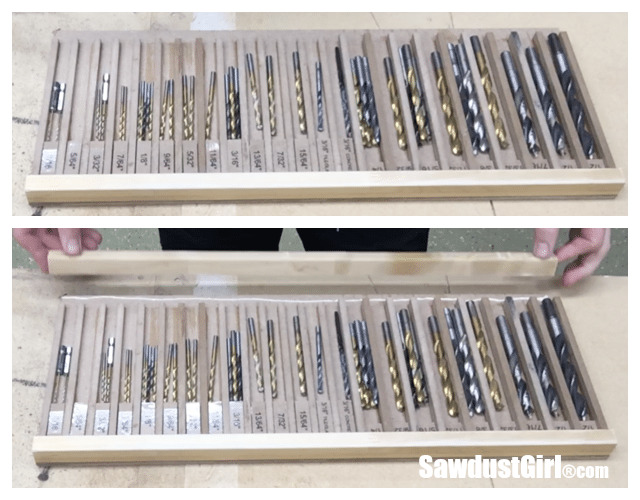
This simple drill bit organizer tray is made of a 1/4″ mdf bottom, sized to fit my drawer. I attached a scrap piece of birch (about 1″ tall) across the top of the tray. The dividers are 1/4″ MDF strips that I cut on the table saw with my MicroJig pushblock. I cut half the dividers 1/2″ wide and the other half at 1/4″.
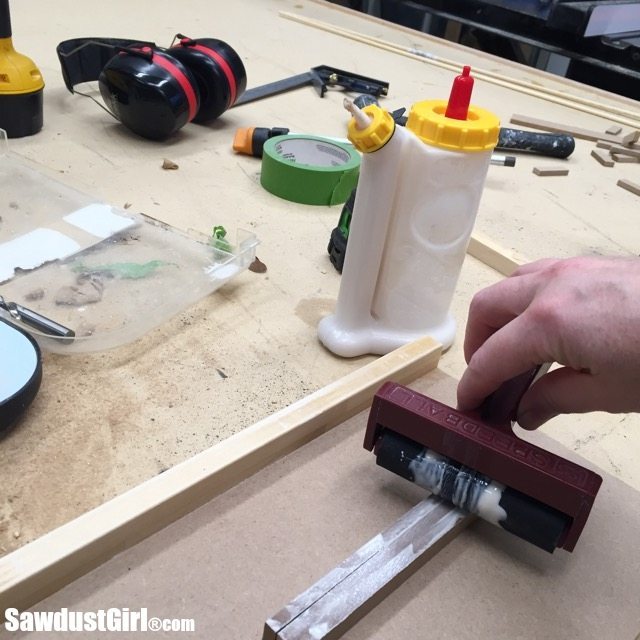
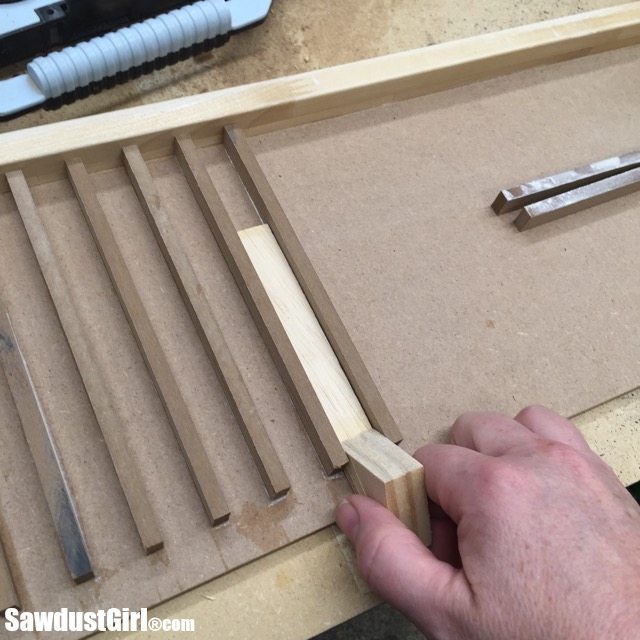
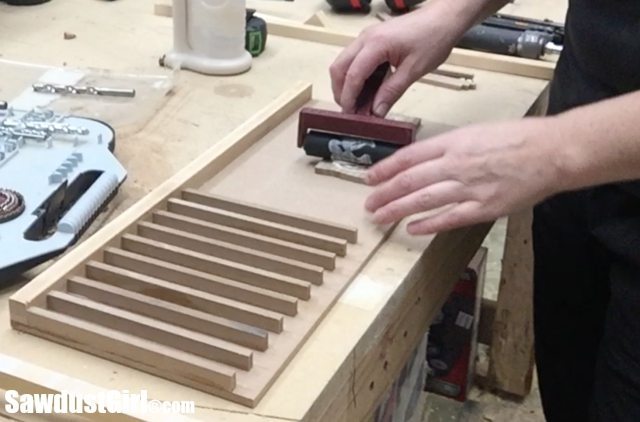
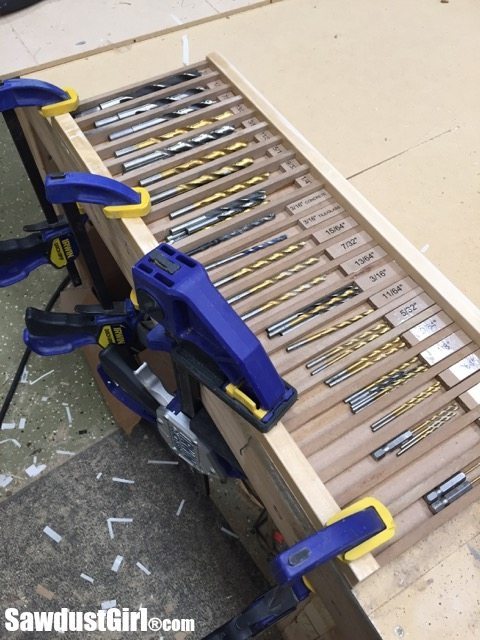
I glued the dividers onto the bottom piece using a scrap of wood as a spacer to make sure the dividers were all evenly placed. (Actually a clamping aid I made) that I picked up off my messy shop floor.) Affiliate links: Glue Bot glue bottle and Speedball Rubber Roller
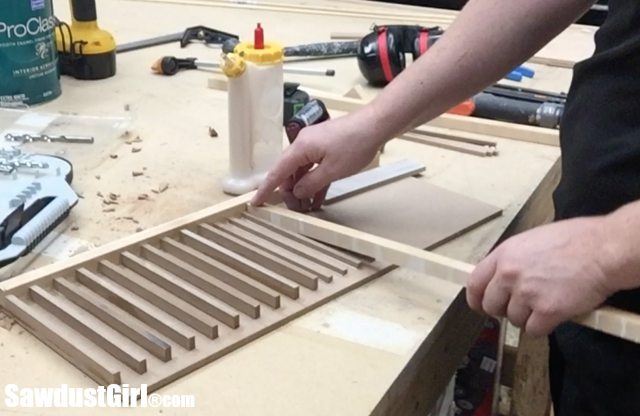
After I’d glued on half the tray with the 1/2″ tall dividers, I set a piece of wood on top of them and then weighted that down while the glue set up.
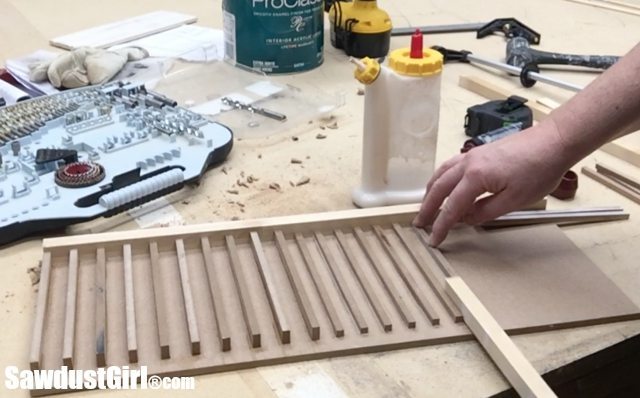
Then I attached the shorter dividers. These are for smaller bits so the dividers need to be shorter to make it easy to retrieve the bits.
The smaller bits don’t need as much room so I used a smaller spacer between these smaller dividers as well.
Then I weighted these shorter dividers down and waited for the glue to set up.
At this point you could attach another piece of wood at the bottom of the tray to enclose the drill bit slots. I waited on that step until I had put all my bits away because I knew I’d probably have to rearrange them a few times to make them fit and it’s a little easier to simply slide the bit out of the open space than it is to pick it up.
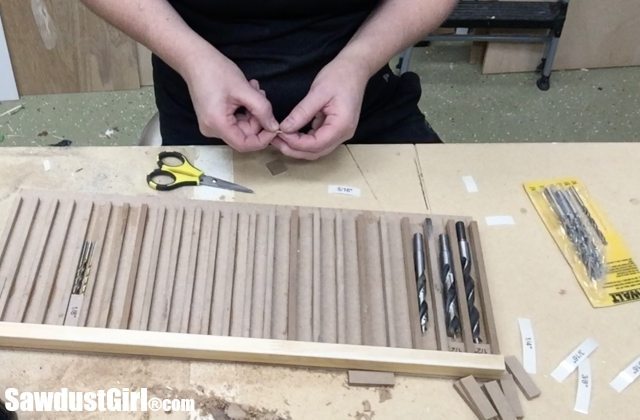
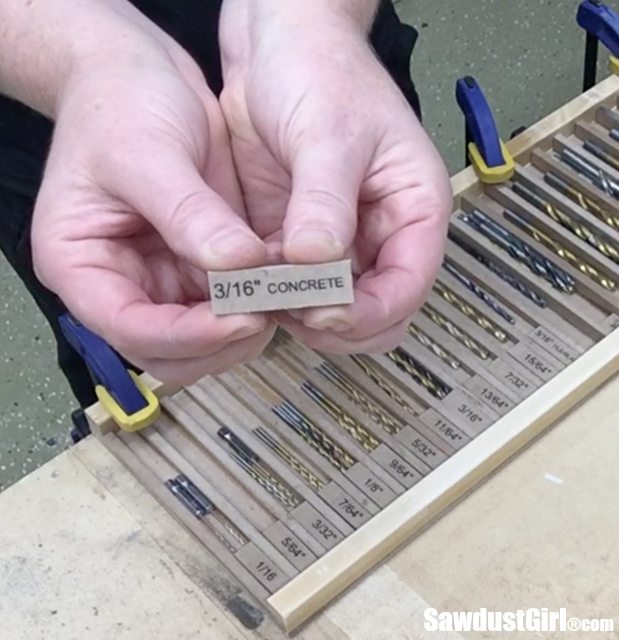
Time to make labels and move all the drill bits out of all the random packages and kits I had all over the shop.
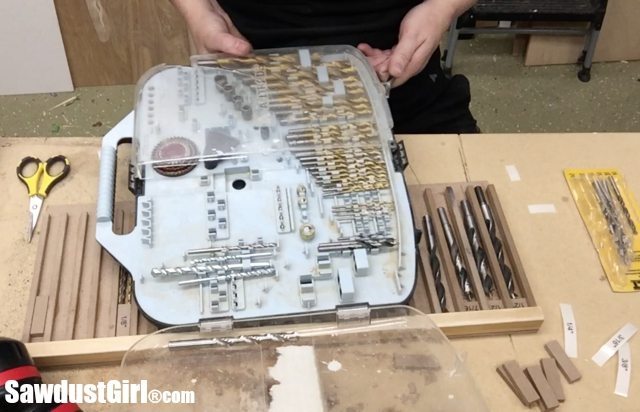
I had this one larger drill bit set “kit” where the case was always a pain to open and the bit sizes were so hard to read I needed a magnifying glass. I had to take it out of the drawer to do both tasks I just mentioned so removing only the bits I will ever use and storing them in my new tray with large enough to read labels is a great upgrade for me.
Once all my bits were in place I attached a piece of wood to enclose the bottom so all my bits don’t slide out now that I want them to stay put.
I even had enough space to store my completely “one time use 5 years ago” bits like the ones for concrete and glass but I might as well keep them because I might need them again some day so they’ve been kicking around in my junk drawer.
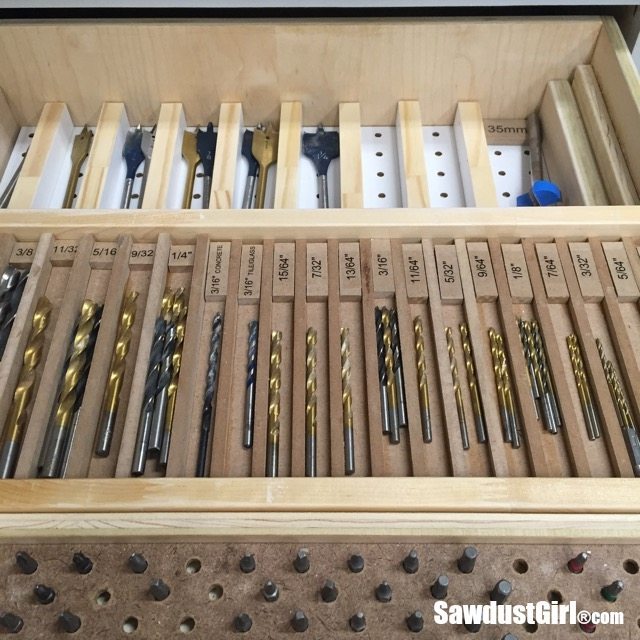
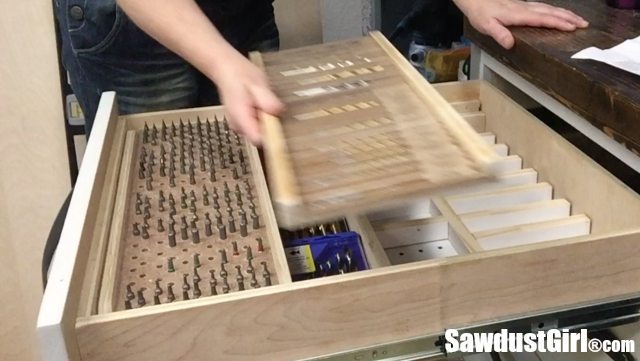
And this tray fits right over my spade and Forstner bit storage organizer that I shared yesterday. I can reach one or the other half of the bottom set by sliding the top tray back or forward.
Or I can easily remove the whole tray to access the complete bottom part of the drawer. Boom.

Roxanne Veinotte says
Okay Sandra! Stop it, like, yikes, that is way too organized for me! LOL hahhhahhahahahahaha
Sandra says
I can’t stop! Bwahahaha 😀
Revital Mitchell says
I love how practical you are! I now have to build a drawer for my drill bits… I must admit that I just read your 40 things about you post, I laughed so hard I was wondering if my son thinks I am a little crazy! You are funny, creative and absolutely AWESOME! If you lived closer – I would have definitely would have liked to hang out with the likes of you! I hope I don’t scare you with my bold statement. If you ever come to Minnesota, come build something with me. Keep up your incredible work. Tal
Sandra says
You are so sweet. You forgot to add “a little crazy” to your list of my endearing qualities. It seriously is one of my best features! If I ever come to Mennesota we will build!
Lisa says
You are truly a wonder! I am ashamed to go out to our garage and grab the rubber maid container which is the home for almost every drill bit we own!
Sandra says
No shame in that. That’s what I was using for 10 years until I finally took a day and just dealt with it. 😀 Now I can’t believe I didn’t do it sooner!
Tony says
Amazing! Great job!
Corey burtwell says
This is absolute genius!! I’ve been searching for a way to store bicycle spokes at the bicycle shop i work at because it’s become a place of wasted space. Though i probably won’t be able to bring this idea to life anytime soon (because our budget) i will definitely make a note. I’m actually excited i found this, thank you!!
Sandra says
Great idea to do this for Bicycle spokes. If anyone at your shop has a workshop and has scraps lying around it would be a totally free project.
Angelo says
Excellent idea and one I am going to build
Reggie Lynch says
for easier access to the smaller drills, i like to use halved tubing instead of wood uprights….can use larger tubing for the larger bit also!! SURE beats buying Huot stuff
C says
Looks great! I’m new to woodworking. How do you make the labels?
Sandra says
I used a label maker. (Wish I could find that thing! ha)