DIY Table Lamp – Make Your Own Lamp
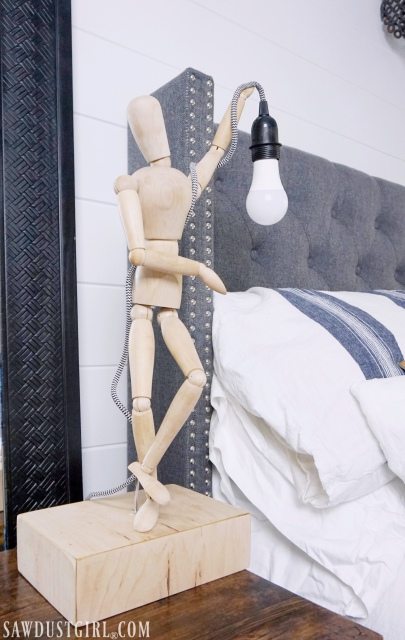 Once in a while I have to step away from the home remodeling work that goes on and on for months and months without looking like any progress is being made …and make something that I can start and finish in one day. For sanity sake! After finishing three weeks of back breaking demolition on Calderwood Cottage, I needed a sanity project. So I made this fun, DIY table lamp with Krazy Glue. And guess what? I’m going to show you how to make your own lamp too!
This project is sponsored by Krazy Glue. Project idea, process and opinions are my own.
How to Make your Own Lamp
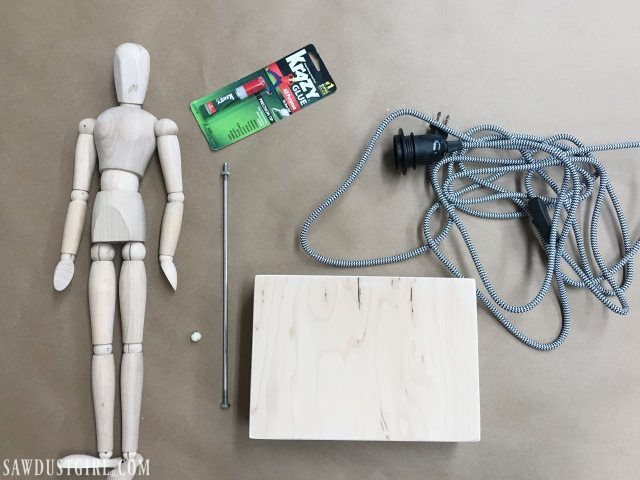
What you’ll need:
- Sturdy base (Mine is a 6″x12″ 3/4″ plywood box grabbed from a bin full of unfinished projects.)
- 20″ articulating artist mannequin Kit (Female) or (Male)
- LED bulb and lamp cord
- Krazy Glue (I used “All Purpose”)
- M6 Threaded insert nut
Prepare Base
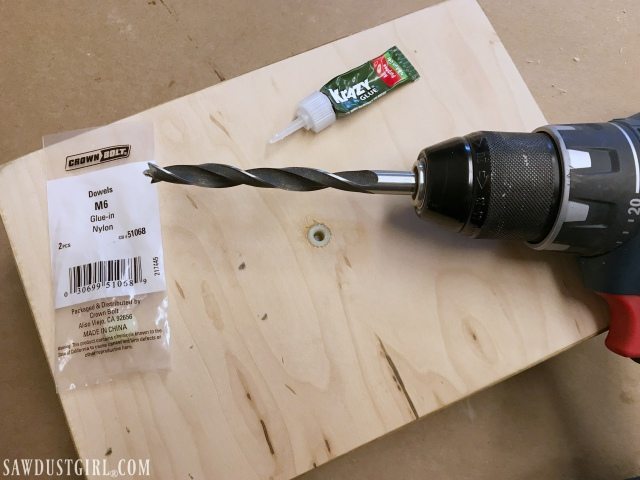
The mannequin I referenced in my “materials list” comes as a kit with a long bolt and small mdf base (which has a threaded insert nut). If you want to, very carefully, try to remove that metal insert nut so you can re-use it. I used a band saw and cut notches and was able to remove mine. It was a bit precarious AND then I lost that insert nut anyway. Had to run to the hardware store to buy one anyway… So you might just pick one up to begin with. 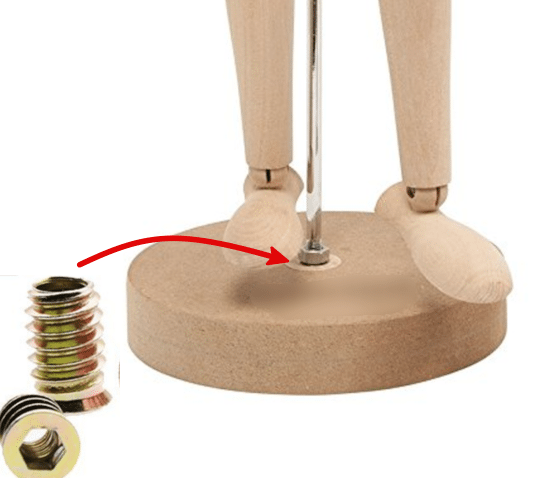
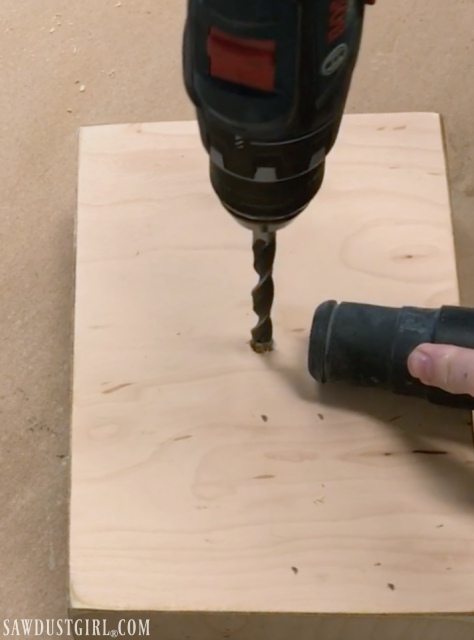
Drill a hole for the M6 threaded insert nut with a 6mm drill bit.
Since I lost my metal threaded insert nut, had to go buy a new one. The hardware store only had a plastic one in the size I needed. Whether using plastic or metal, it’s always a good idea to add glue if you want your insert nut to be permanently installed. With threaded inserts, you drive them in – like a screw. These plastic ones were meant to be glued in are just pressed in. Those definitely need to be glued! I squeezed in a couple drops of Krazy glue and pressed my insert nut in place. A rubber mallet was required because my thumbs are seriously wimpy. Despite my daily thumb workouts.
Give the glue ample time to set up.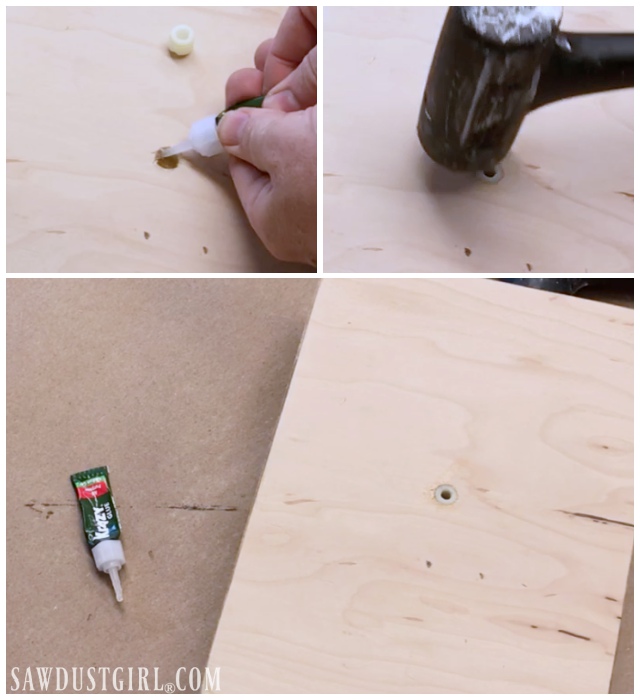
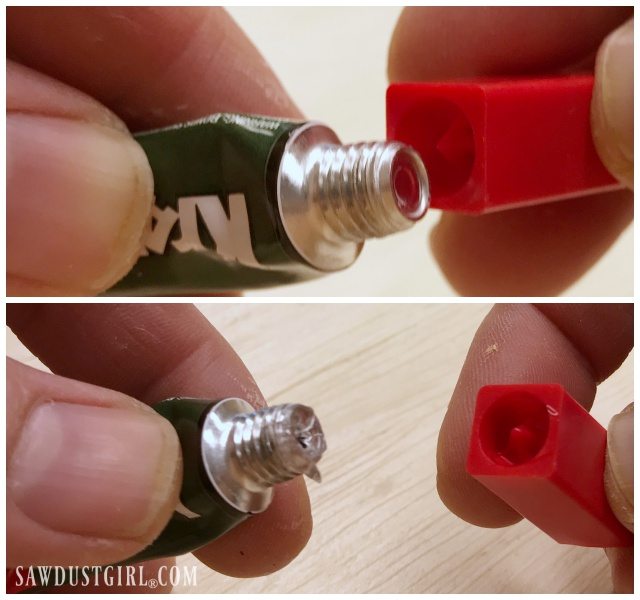
Just in case you think your brand new bottle of Krazy Glue bottle is dried up because nothing comes out when you squeeze…you have to remove the nozzle and break the seal. The top of the cap has a handy point made for this purpose.
Attach Mannequin to DIY Lamp Base
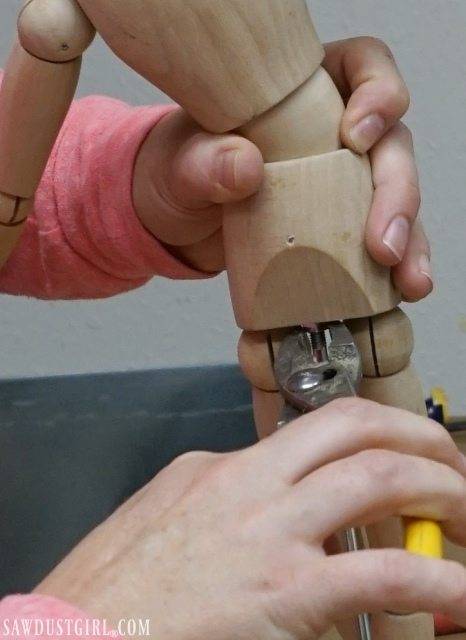
Now you can secure the long bolt to the base. Screw the bolt into the base and then tighten with one of the included nuts. Make sure both nuts are on the bolt before you secure the mannequin.
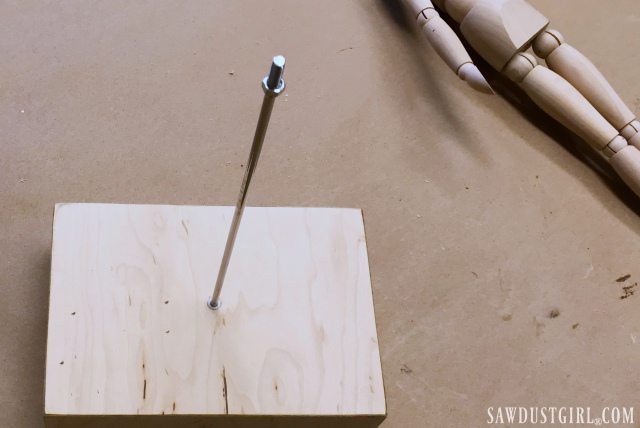
Next secure the mannequin to the bolt and tighten the second nut.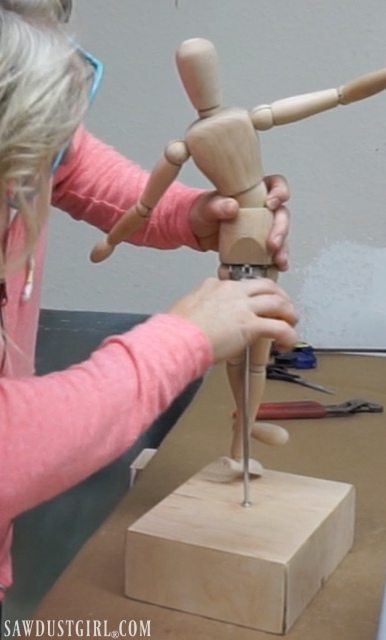
DIY Table Lamp Cord Management.
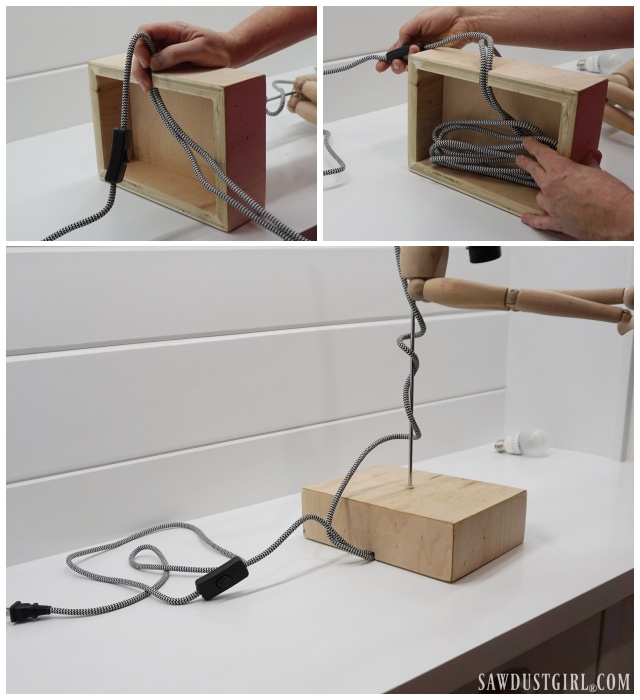
This step was the solution to a problem I discovered after setting my DIY lamp on the table. The cord was all over the place. It would definitely be easier to do this before attaching the mannequin. I used my table saw to cut a small notch in the back of my base.
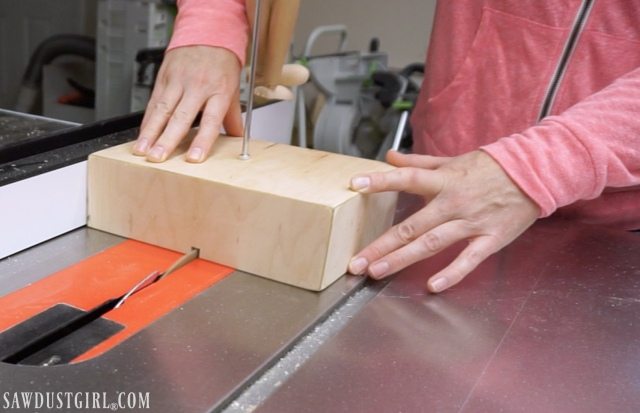
The notch is large enough for the cord to go in and out, with whatever portion of cord not needed to reach the receptacle left IN the box.
Secure Cord Kit to Mannequin
My lamp does not weigh 2000 pounds so I wasn’t able to test out the “krazy strong” claim that a single drop of Krazy Glue can hold up to 2,000 pounds. That’s a lot of weight! A couple drops did secure the light cord to my mannequin’s hand. (It dries very quickly so you have to watch where you put your fingers!) I pressed the cord firmly into the glue for 30 seconds and that was that.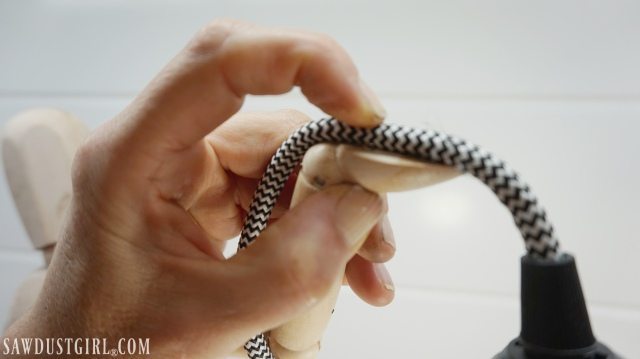
Since the mannequin’s joints articulate, I intended to use some glue to keep him permanently positioned how I wanted him. However, the tension in his joint was tight enough to hold his position. Also, it’s fun to change up his position.
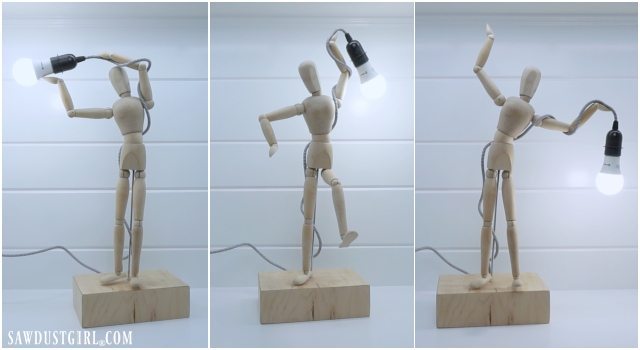
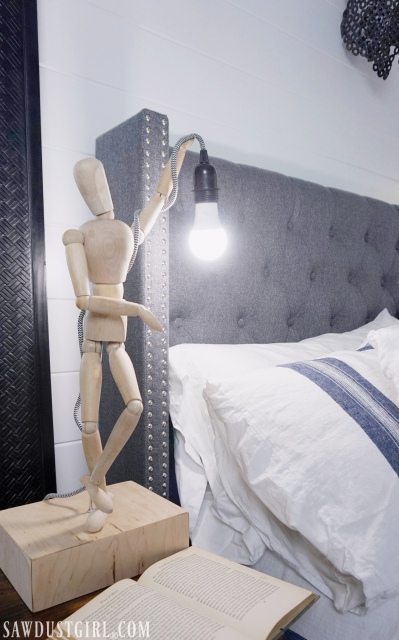
I had so much fun making my DIY table lamp that I want to share the fun! I’m giving away a $100 Visa gift card to one lucky winner –so you can make your own lamp too!
Enter for a chance to win $100 Visa GC
- Leave a comment on this post AND
- Click in the Rafflecopter Giveaway box below
Thanks to Krazy Glue for sponsoring this post. Good luck y’all!

Fun easy project, exactly what you need every now and then.
I love the way the mannequin can be positioned. I’m going to try this!
I love this lamp idea! It’s great that you can adjust it too.
Great project!!
Thank you for sharing. I LOVE this idea. My daughter has a mannequin…think we can do this project together.