Calderwood Cottage – Round 2 (part 1)
Hey Guys! I finally had time to edit photos and write a few posts. Julie and I just spent another 3 1/2 weeks working on Calderwood Cottage! We were super enthusiastic to get started and had everything planned out and a strict schedule to maintain. (Because we want to finish this house in Julie’s Round 3 trip.) I filmed the following video on day 1.
Day 2, we got to work! We filled our trusty trailer with supplies and started our daily trek to CC.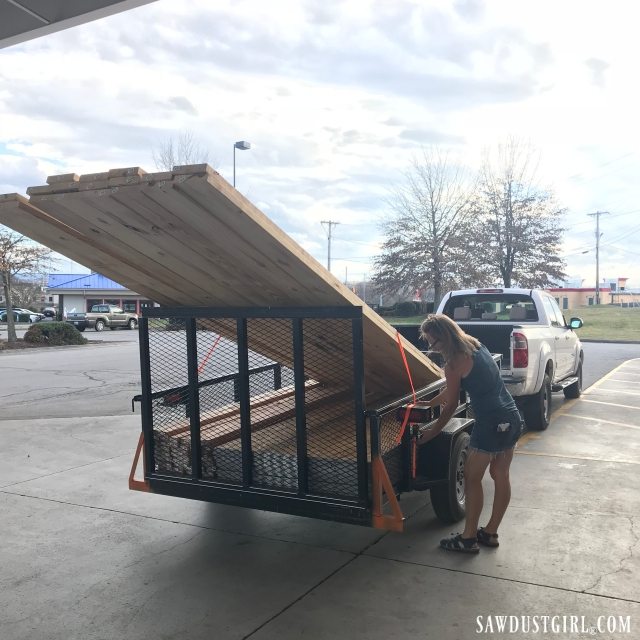
Picking up where we left off
It is exactly as we left it 3 months ago. We needed to replace the subfloor in the old hallway and bathroom area.
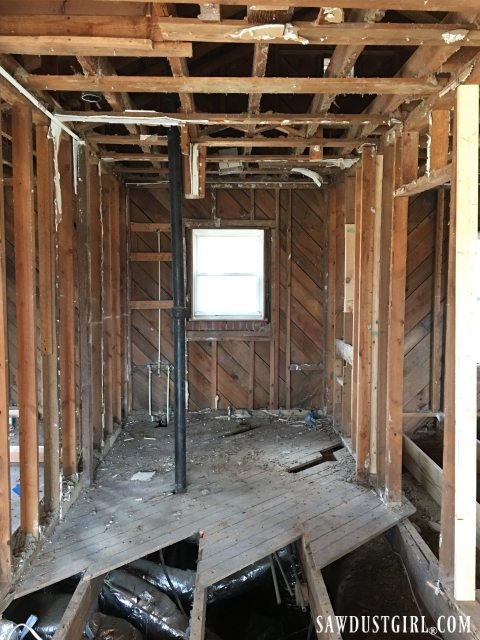 We had to work in sections. The area below is dug out about 7′ deep so we had to balance on the floor joists as we worked our way back. Pulling up the diagonal strips that made up these old subfloors is no easy task. They are nailed down with 5″ long, giant nails, spaced 2″ apart.
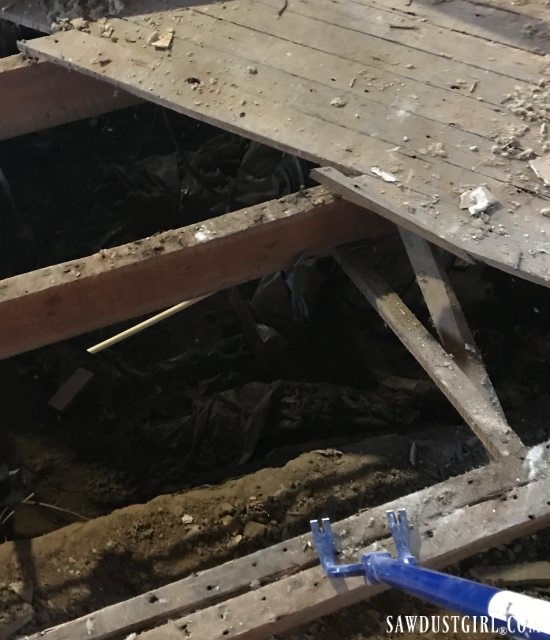
Pulling 5″ long nails takes muscle. It was really hard!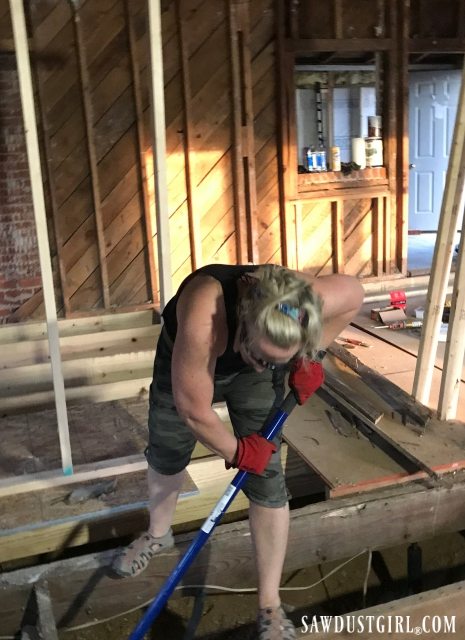
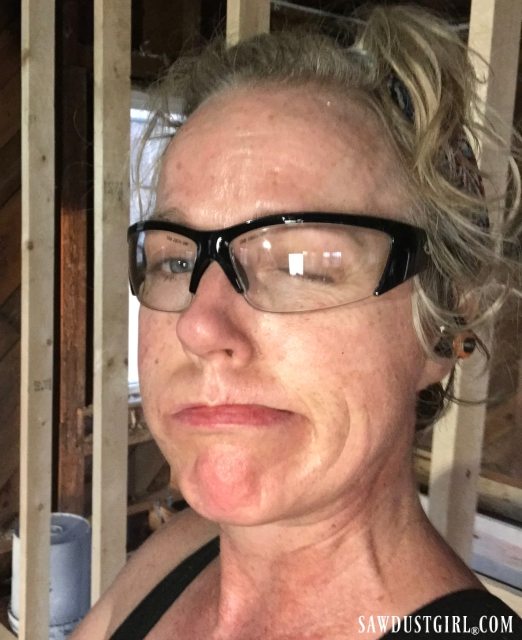
My glasses kept sweating up because the weather was in the high 70’s – low 80’s (for a few days).
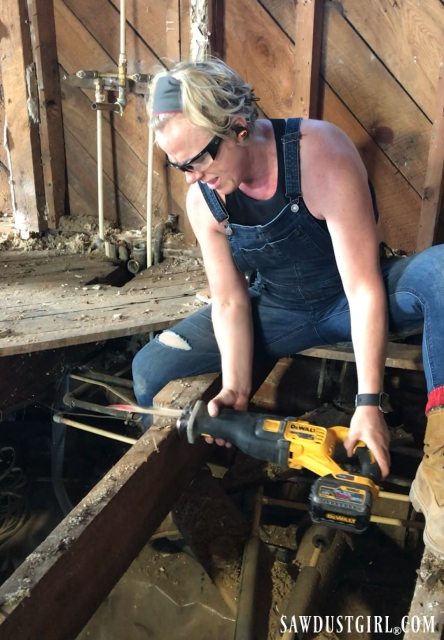
On the second day of pulling nails, I started just cutting them off. Worked great! Apparently, according to many people on Instagram, I need an angle grinder for this job. I used a reciprocal saw which worked awesome! But maybe an angle grinder would be smaller and make it easier. I’ll try it some day if I get an angle grinder. (probably won’t)
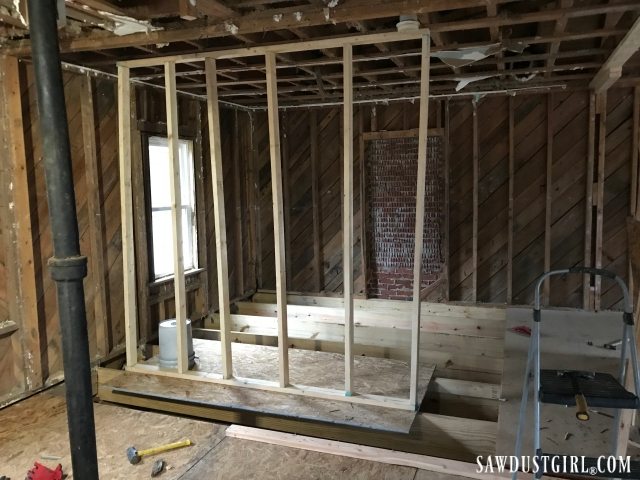
Eventually we had to remove the old walls. One of them was load bearing so we build a temporary wall to take the weight. Then we laid new subfloor.
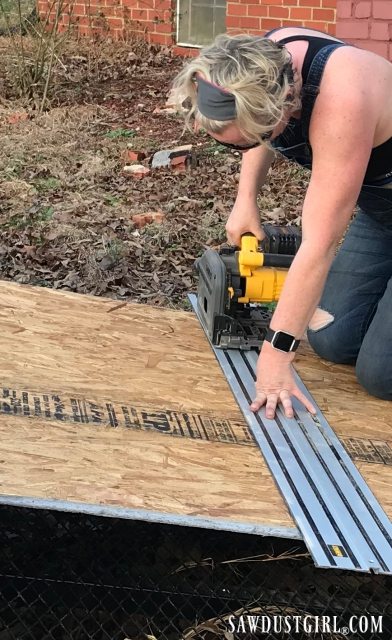
I cut down the subfloor and enjoyed the beautiful, sunny, warm 73 degree weather.
Framing
With new subfloor installed, we built a new wall where the old one had been. Minus the door to the master bedroom. We reconfigured where the bedroom entrances are located…and some other things.
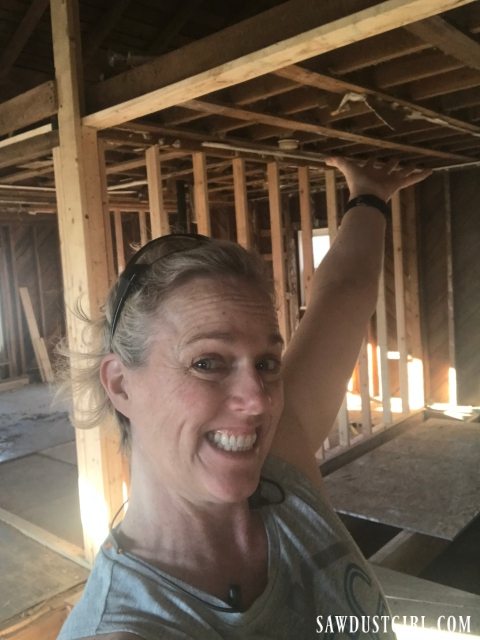
Almost everything we did in the last 3 1/2 weeks was like choreographing a dance between and around the sub contracted work we needed done. We had to have the right walls and subfloors in place for the plumber to rough in work where it was needed. But we had to leave enough of the subfloors off so the plumber (and others) could get things where they needed them to be without crawling around in our tiny crawl space.
Plumbing
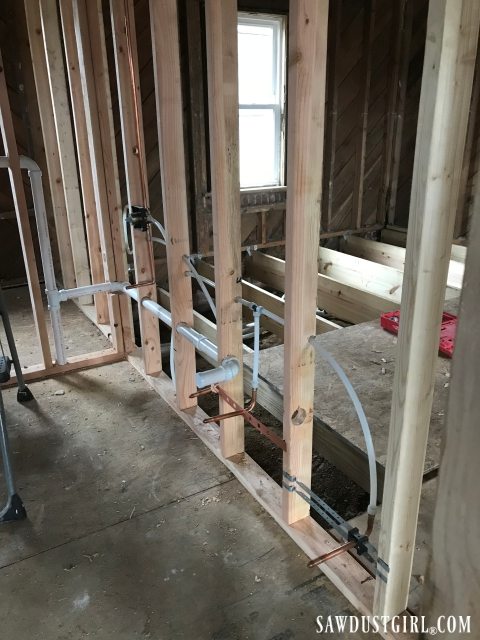
The plumbers came and went. They said it would take 2 days and in 2 days they got their work done. Boom.
We did a little more framing on the other side of the house while they were working.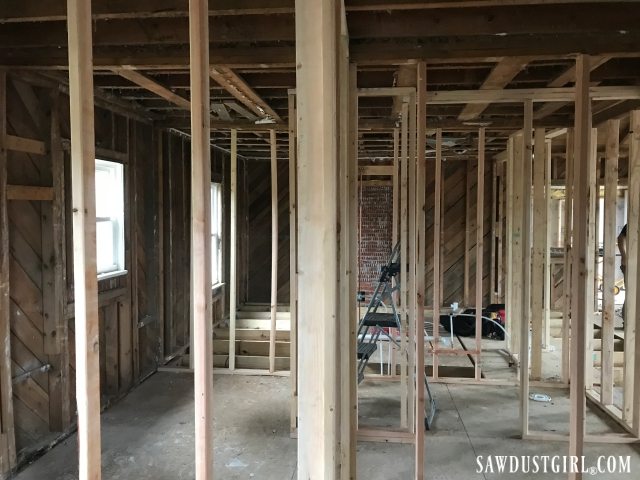
Once the plumbers were done, Julie and I put down ONE piece of subfloor where we needed to build the master bedroom wall. The rest we left open for the electrician and HVAC guys.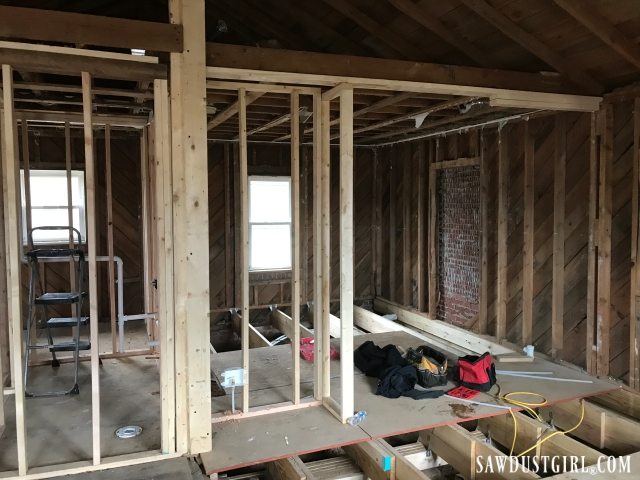
Then we built that wall. Notice that the entrance to the master bedroom is located on the far side of the below picture. We put the doorway there because that was our optimal plan.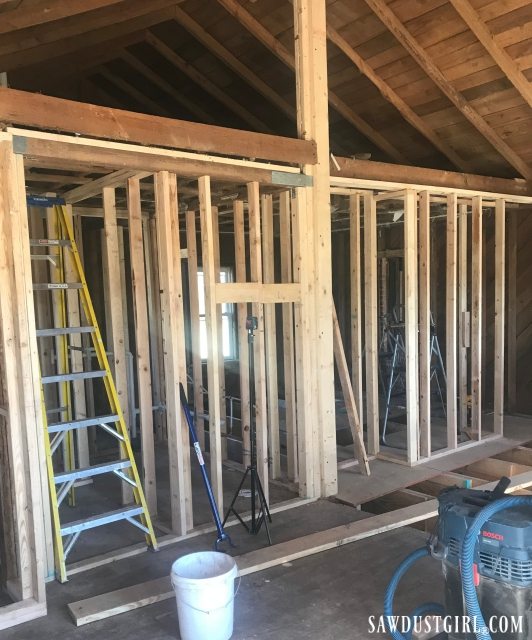
We also framed out the wall that separates the new loft area into two sections. The back section is the loft. The front is…going to be super cool!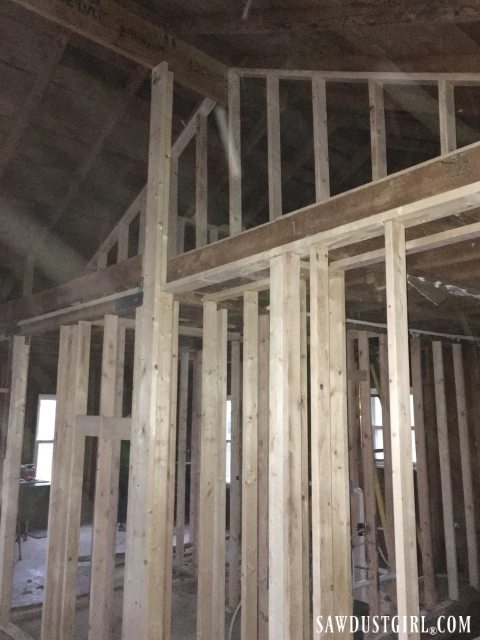
The HVAC engineer wanted to put a big ugly return in the center of our super cool upper lofty section. Julie and I both did not hesitate to give a HARD NO to that idea. We suggested something else –that he accepted as a perfectly good option.
That option meant we needed to move the door to the bedroom and build a closet for the ductwork where we had originally put the door. (We will decide later how to make the return grill not look stupid where we suggested it go.)
Also, we needed to dig a big trench for the ductwork to get to it’s new location.
We asked how deep.
He said 18″. Julie swears he said 18″. I wasn’t paying attention.
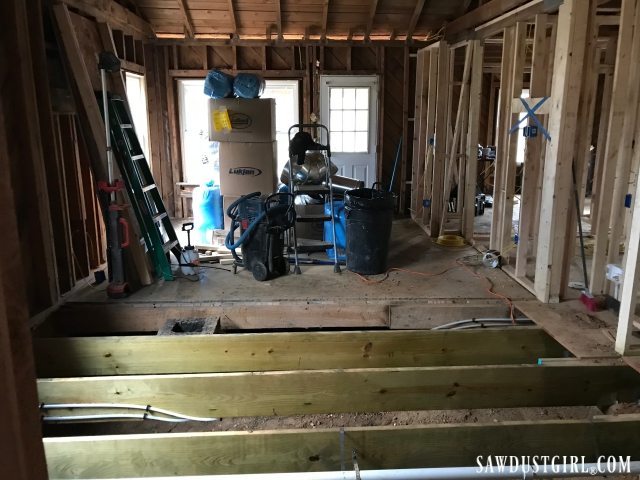
We had one day to dig our trench so we got busy digging…
Read part 2, soon. 🙂
You’re doing such a great job! I can’t wait to see the end result!
Love this series!